
As I scrolled through my recipe collection, the vibrant image of the Strawberry Earthquake Cake stopped me in my tracks. This dessert isn’t just visually stunning; it brings together the sweet tang of ripe strawberries with a luxurious chocolate layer and a creamy cheese filling that delights the senses. This Strawberry Earthquake Cake is the perfect way to satisfy your sweet tooth while still being a crowd-pleaser at gatherings, and the best part? It can easily be made gluten-free or dressed up with healthier swaps like Greek yogurt. Whether you’re looking to impress guests or simply treat yourself, this cake promises to be an unforgettable culinary adventure. Ready to dive into this deliciously rich experience? Let’s get baking!
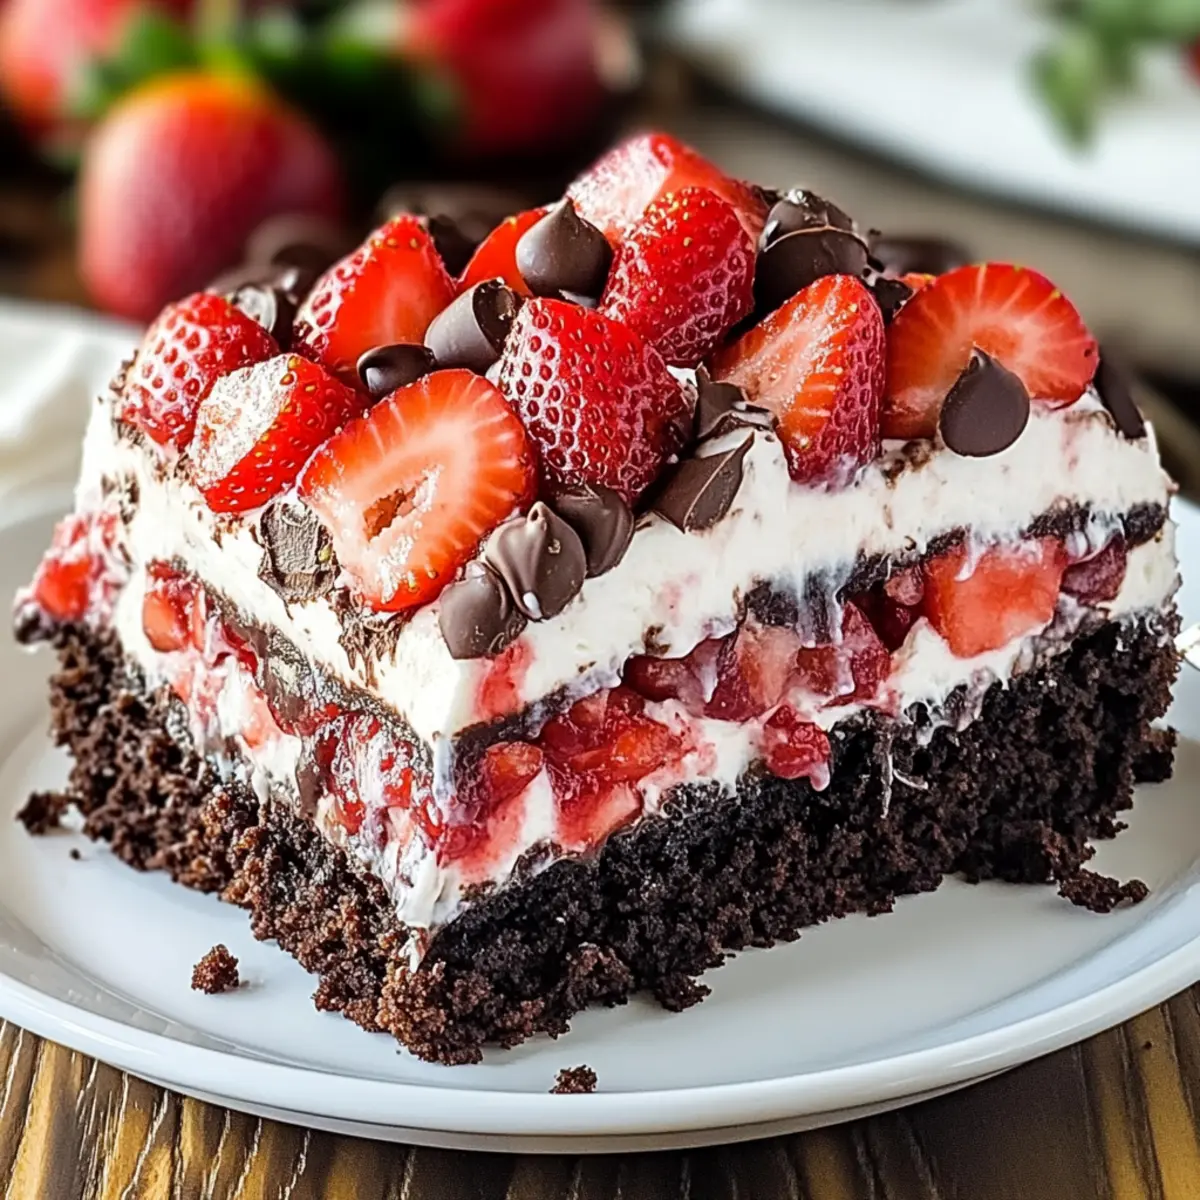
Why Is This Cake a Must-Try?
Unforgettable Flavor: The Strawberry Earthquake Cake combines luscious chocolate, sweet strawberries, and creamy cheese, delivering a taste that will linger in your memory.
Easy Baking: No professional skills required! Just mix, layer, and bake to achieve a bakery-level treat right from your kitchen.
Crowd-Pleaser: Perfect for family gatherings, parties, or simply a cozy evening at home, this cake is sure to impress anyone who gets a slice.
Versatile Options: Want something different? Feel free to switch out strawberries for your favorite berries or make it gluten-free for dietary needs.
Quick Prep: With only a few steps and common ingredients, you’ll have a stunning dessert ready in no time. For more delightful dessert ideas, check out my Japanese Cheesecake Light recipe!
Strawberry Earthquake Cake Ingredients
For the Cake
• Chocolate Cake Mix – Provides a delicious cake base; swap for a gluten-free mix if preferred.
• Eggs – Binds the ingredients perfectly; no egg substitute is needed unless for dietary conditions.
• Vegetable Oil – Adds moisture and richness to the cake; can be replaced with applesauce for a lighter option.
For the Strawberry Layer
• Frozen Strawberries – Sweet and juicy addition; make sure to thaw and drain to avoid excess moisture.
For the Cream Cheese Filling
• Cream Cheese – Creates a rich and creamy filling; consider using Greek yogurt or dairy-free cream cheese for a lighter option.
• Powdered Sugar – Sweetens and adds a smooth texture to the frosting; no substitute is recommended for the best consistency.
Get ready to create a melt-in-your-mouth Strawberry Earthquake Cake that everyone will be talking about!
Step‑by‑Step Instructions for Strawberry Earthquake Cake
Step 1: Preheat Oven and Prepare Pan
Preheat your oven to 350°F (175°C) to ensure it reaches the perfect baking temperature. While the oven warms up, grease a 9×13-inch cake pan using non-stick cooking spray or butter. This will prevent the Strawberry Earthquake Cake from sticking and ensure easy removal once baked.
Step 2: Mix the Batter
In a large mixing bowl, combine the chocolate cake mix, eggs, and vegetable oil. Use a whisk or electric mixer to blend these ingredients until you achieve a smooth, consistent batter. This should take about 2-3 minutes. Once mixed, set aside the bowl and admire your rich chocolate mixture.
Step 3: Fold in Strawberries
Take your thawed and drained frozen strawberries and gently fold them into the chocolate batter. Use a spatula to incorporate the fruit without breaking it apart. This step adds delightful bursts of flavor to your Strawberry Earthquake Cake, so make sure the strawberries are well-distributed but still remain intact for visual appeal.
Step 4: Layer the Batter
Pour half of the cake batter into the prepared cake pan, smoothing it out evenly. Next, scoop dollops of the cream cheese filling over the batter. Then, gently spread the remaining batter on top, ensuring the cream cheese mixture is covered completely. The layering is what gives this cake its “earthquake” effect when baked.
Step 5: Bake the Cake
Carefully place the cake pan in the preheated oven and bake for 45 minutes. Keep an eye on the cake as it rises and cracks slightly—this is a good sign! To check for doneness, insert a toothpick into the center. It should come out clean or with just a few moist crumbs for the perfect Strawberry Earthquake Cake texture.
Step 6: Cool and Transfer
Once baked, remove the pan from the oven and allow the cake to cool in the pan for about 10 minutes. This cooling period helps set the cake. Afterward, use a butter knife to gently loosen the sides, then flip the cake onto a wire rack to cool completely. This step is crucial for achieving that perfect fudgy texture.
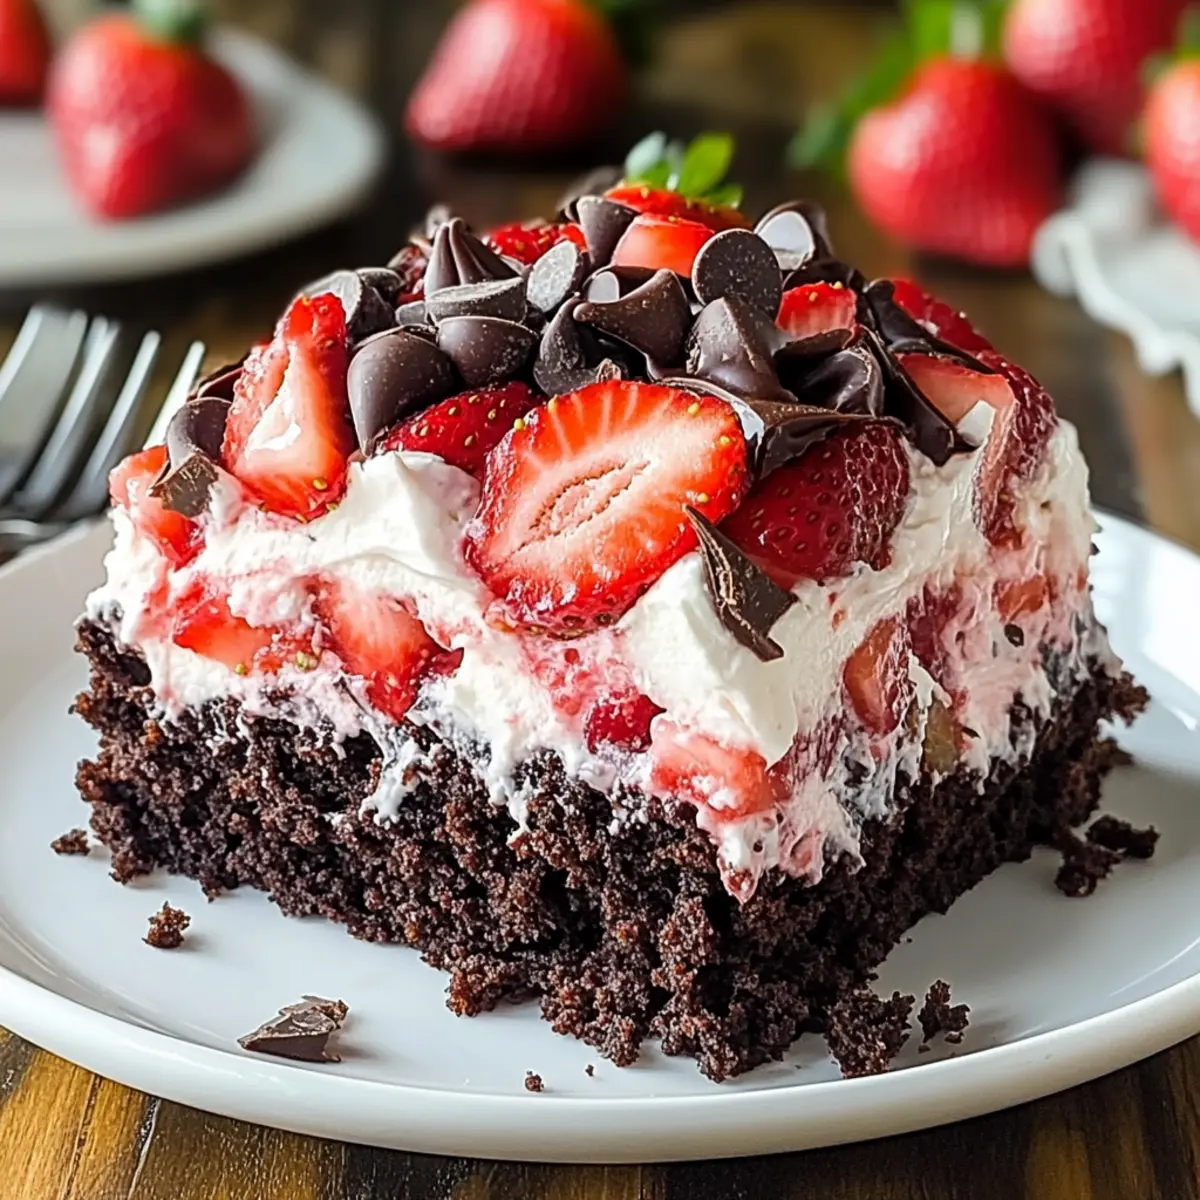
Strawberry Earthquake Cake Variations
Feel free to customize your Strawberry Earthquake Cake into something uniquely yours with these delightful twists!
- Dairy-Free: Substitute cream cheese with dairy-free cream cheese for a vegan-friendly option that doesn’t skimp on flavor.
- Gluten-Free: Use a gluten-free chocolate cake mix to make this delectable dessert accommodating for those with gluten sensitivities.
- Berry Bonanza: Replace strawberries with a medley of blueberries and raspberries for a colorful, berry-filled explosion of taste.
- Nutty Crunch: Add chopped walnuts or pecans to the batter for a delightful crunch that complements the fudgy texture beautifully.
- Lighter Option: Swap vegetable oil for unsweetened applesauce to cut calories while keeping it moist and delicious.
- Chocolate Lovers: Mix in chocolate chips into the batter to intensify the chocolate flavor and add extra gooeyness in every bite.
- Zesty Twist: A splash of vanilla or almond extract can enhance the flavors and provide a lovely aromatic element to your cake.
- Extra Indulgence: Top with a dollop of whipped cream or serve a scoop of vanilla ice cream alongside for an extra decadent treat.
Each of these variations can elevate your cake experience, just like how a slice of my Japanese Souffle Pancakes can add a light and airy touch to your dessert table! Enjoy experimenting!
Storage Tips for Strawberry Earthquake Cake
Room Temperature: Store the cake covered for up to 1 day if you’re enjoying it right away; otherwise, refrigeration is recommended.
Fridge: Keep the cake in an airtight container or covered tightly with plastic wrap for up to 3 days to maintain its moisture and flavor.
Freezer: For longer storage, freeze the cake (whole or sliced) wrapped in plastic wrap and foil for up to 2 months. Thaw in the fridge before serving.
Reheating: Enjoy it warm by microwaving individual slices for about 20-30 seconds, restoring that gooey, delicious experience of your Strawberry Earthquake Cake.
Make Ahead Options
Preparing the Strawberry Earthquake Cake ahead of time is a fantastic way to simplify your baking while keeping flavors just as vibrant. You can mix the cake batter and store it in the refrigerator for up to 24 hours; just make sure to cover it tightly to prevent it from drying out. Additionally, you can prepare the cream cheese filling ahead and refrigerate it for up to 3 days. When you’re ready to bake, simply fold in the strawberries and layer the mixture as directed, then bake as usual. This approach not only saves time on busy days but ensures that your cake remains moist and delicious, perfect for any occasion!
Expert Tips for Strawberry Earthquake Cake
• Drain Strawberries Well: Ensure the thawed strawberries are fully drained to prevent excess moisture that could make your cake soggy.
• Check for Doneness: Insert a toothpick into the center of the cake; it should come out clean or with a few moist crumbs for the perfect Strawberry Earthquake Cake.
• Layer Generously: Don’t skimp on the cream cheese filling! Proper layering not only enhances flavor but also creates that signature “earthquake” effect when baked.
• Cool Completely: Allow the cake to cool completely to achieve that ideal fudgy texture. Skipping this can result in a crumbly consistency.
• Sift for Appeal: For a beautiful finishing touch, sift powdered sugar over the cooled cake before serving. It not only looks stunning but adds a touch of sweetness as well.
What to Serve with Strawberry Earthquake Cake
Indulge in a delightful dining experience by pairing your cake with complementary flavors and textures that will elevate your dessert.
-
Whipped Cream:
This light, fluffy topping adds a creamy, airy contrast that perfectly balances the rich chocolate and strawberries. A dollop is always a good idea! -
Vanilla Ice Cream:
A scoop of vanilla ice cream brings a delightful chill and a sweet creaminess that enhances the moist cake, making each bite refreshing. -
Chocolate Ganache:
Drizzling warm chocolate ganache over the top deepens the dessert’s chocolate flavor and adds a beautiful sheen, enticing everyone to dig in. -
Fresh Berries:
A mixed berry medley on the side offers a fresh, tangy pop, complementing the sweet notes of the cake while enhancing its visual appeal. -
Mint Leaves:
A sprig of fresh mint on top not only provides a vibrant color but also a refreshing herbal note, brightening the overall dessert experience. -
Coffee or Espresso:
The rich, bold flavors of coffee pair superbly with the chocolate elements in the cake, making for a satisfying after-dinner treat. -
Sparkling Water with Lemon:
A refreshing sparkling water adds a crisp finish and cleanses the palate after the richness of the cake, keeping the meal perfectly balanced. -
Caramel Sauce:
Drizzling warm caramel sauce adds a sweet, buttery touch that contrasts beautifully with the chocolate and fruity strawberry layers. -
Chocolate-Covered Strawberries:
For the ultimate indulgence, serve chocolate-covered strawberries alongside your cake, uniting flavors in an elegant yet simple way.
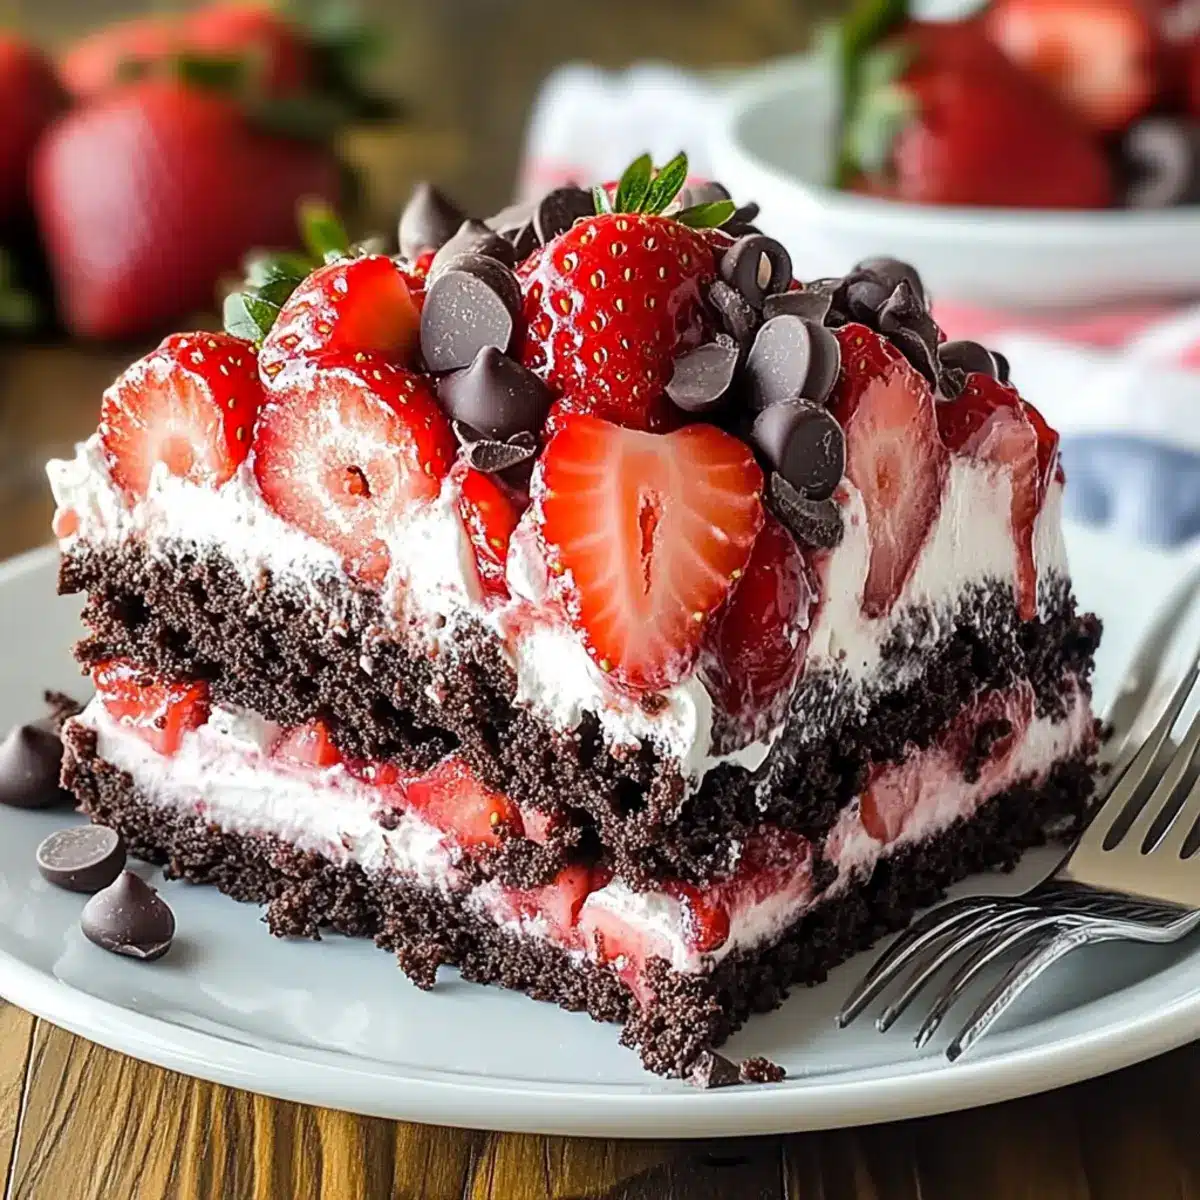
Strawberry Earthquake Cake Recipe FAQs
How do I choose the right strawberries for my cake?
Absolutely! Look for strawberries that are vibrant red, firm, and fragrant. Avoid berries with bruises or dark spots all over, as they may be overripe. If you can’t find fresh strawberries, frozen ones work beautifully, just make sure to thaw and drain them to avoid excess moisture in your Strawberry Earthquake Cake.
What is the best way to store leftover cake?
Very! Store your Strawberry Earthquake Cake covered in the refrigerator for up to 3 days. This will help maintain its moisture and flavor. If you want to enjoy it longer, you can freeze it; just wrap it tightly in plastic wrap or aluminum foil, and it can last up to 2 months. Thaw it in the fridge overnight before indulging in a slice!
Can I freeze my Strawberry Earthquake Cake?
Absolutely! To freeze your cake, ensure it is completely cooled first. Then, wrap it tightly with plastic wrap followed by foil to prevent freezer burn. You can freeze the whole cake or individual slices for up to 2 months. When you’re ready to enjoy it, simply transfer it to the fridge for several hours to thaw before serving.
What can I do if my cake is too dry?
No worries! If your Strawberry Earthquake Cake turns out dry, that may be due to overbaking or insufficient moisture from the strawberries. To remedy this, serve the cake warm with a scoop of ice cream or drizzle a bit of simple syrup (1 part sugar to 1 part water heated until sugar dissolves) over the top for added moisture and sweetness.
Are there any dietary considerations for my guests?
Very! If you’re serving guests with dietary restrictions, consider swapping the cream cheese for Greek yogurt or dairy-free cream cheese to make it lighter or vegan. Additionally, use a gluten-free chocolate cake mix to accommodate those with gluten sensitivities. It’s always a great idea to have options for everyone, so everyone can enjoy this delightful dessert!
What should I do if my strawberries leak into the cake?
If you notice the strawberries leaking too much juice, make sure they are well-drained after thawing. If they’ve already leaked into the batter before baking, don’t panic! Just bake it as planned, and you’ll still get that wonderful strawberry flavor mixed throughout your Strawberry Earthquake Cake. Enjoy the delicious fruitiness!
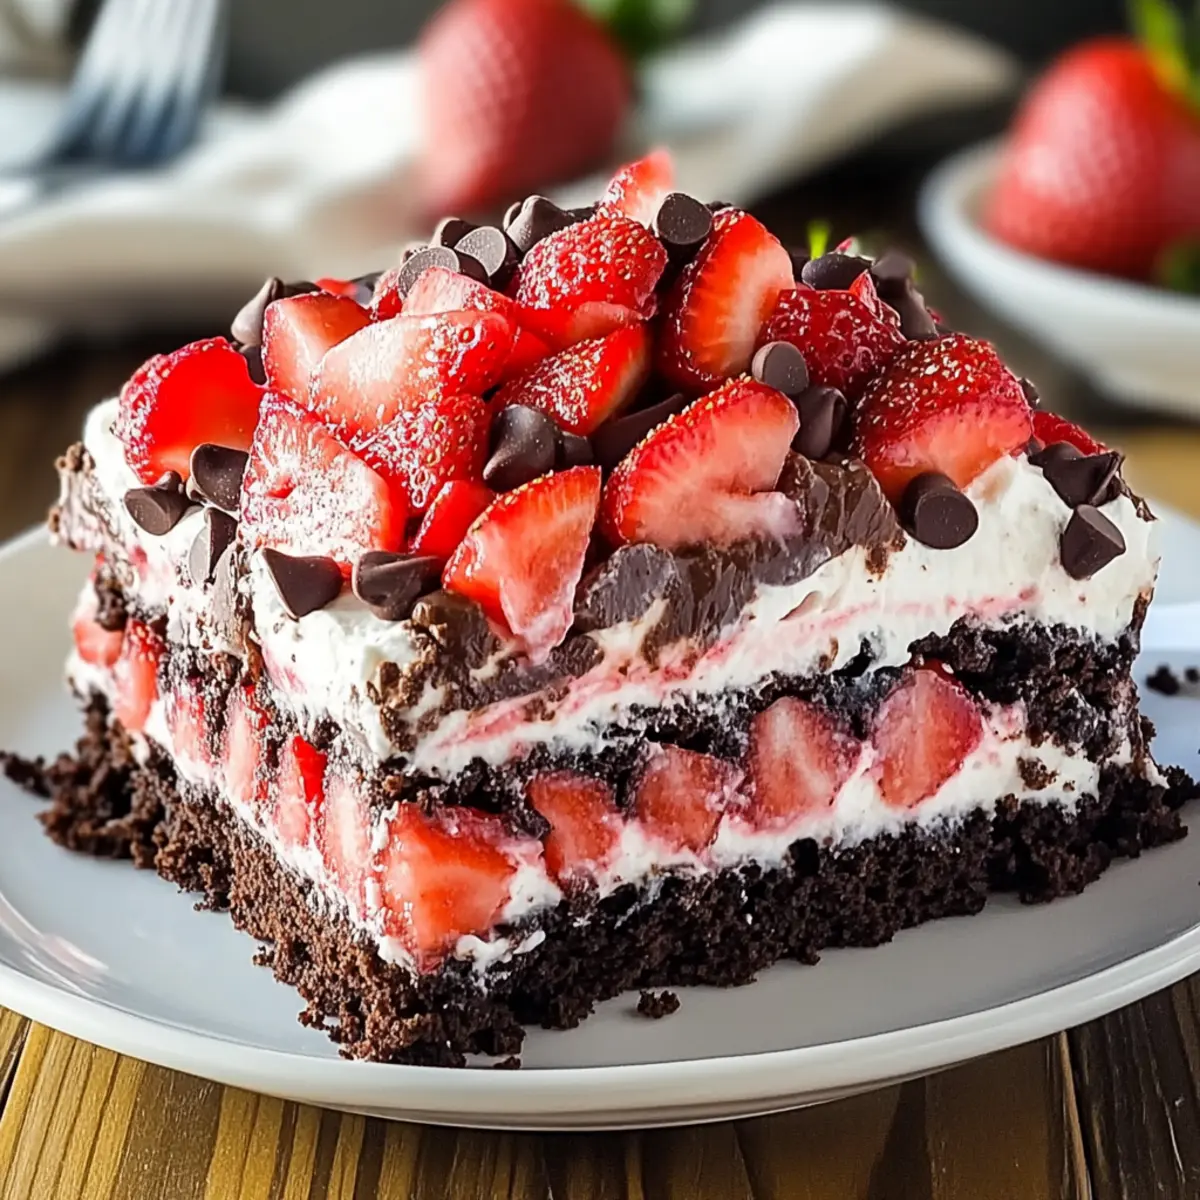
Ultimate Strawberry Earthquake Cake: A Sweet Taste Explosion
Ingredients
Equipment
Method
- Preheat your oven to 350°F (175°C) and grease a 9x13-inch cake pan.
- In a large bowl, combine the chocolate cake mix, eggs, and vegetable oil until smooth.
- Gently fold in the thawed and drained strawberries into the chocolate batter.
- Pour half of the batter into the cake pan, layer with cream cheese filling, then top with remaining batter.
- Bake for 45 minutes, checking for doneness with a toothpick.
- Cool in the pan for 10 minutes, then transfer to a wire rack to cool completely.
Leave a Reply