
The unmistakable sizzle of chicken meeting hot oil has a way of instantly conjuring the warmth of home. That’s exactly how I felt when I first whipped up these Italian Chicken Cutlets, a recipe that elevates a simple weeknight dinner into something truly special. Each cutlet boasts a crispy exterior that crunches beautifully with every bite, revealing a juicy, tender interior that promises satisfaction. Not only are these Italian Chicken Cutlets a treat that you can prepare in less than 30 minutes, but they also pack all the restaurant-quality charm into your kitchen. Perfect for impressing guests or indulging on a cozy evening at home, I can already envision how your family will gather around the table, eyes gleaming with anticipation. So, shall we dive into the details of this delightful dish?
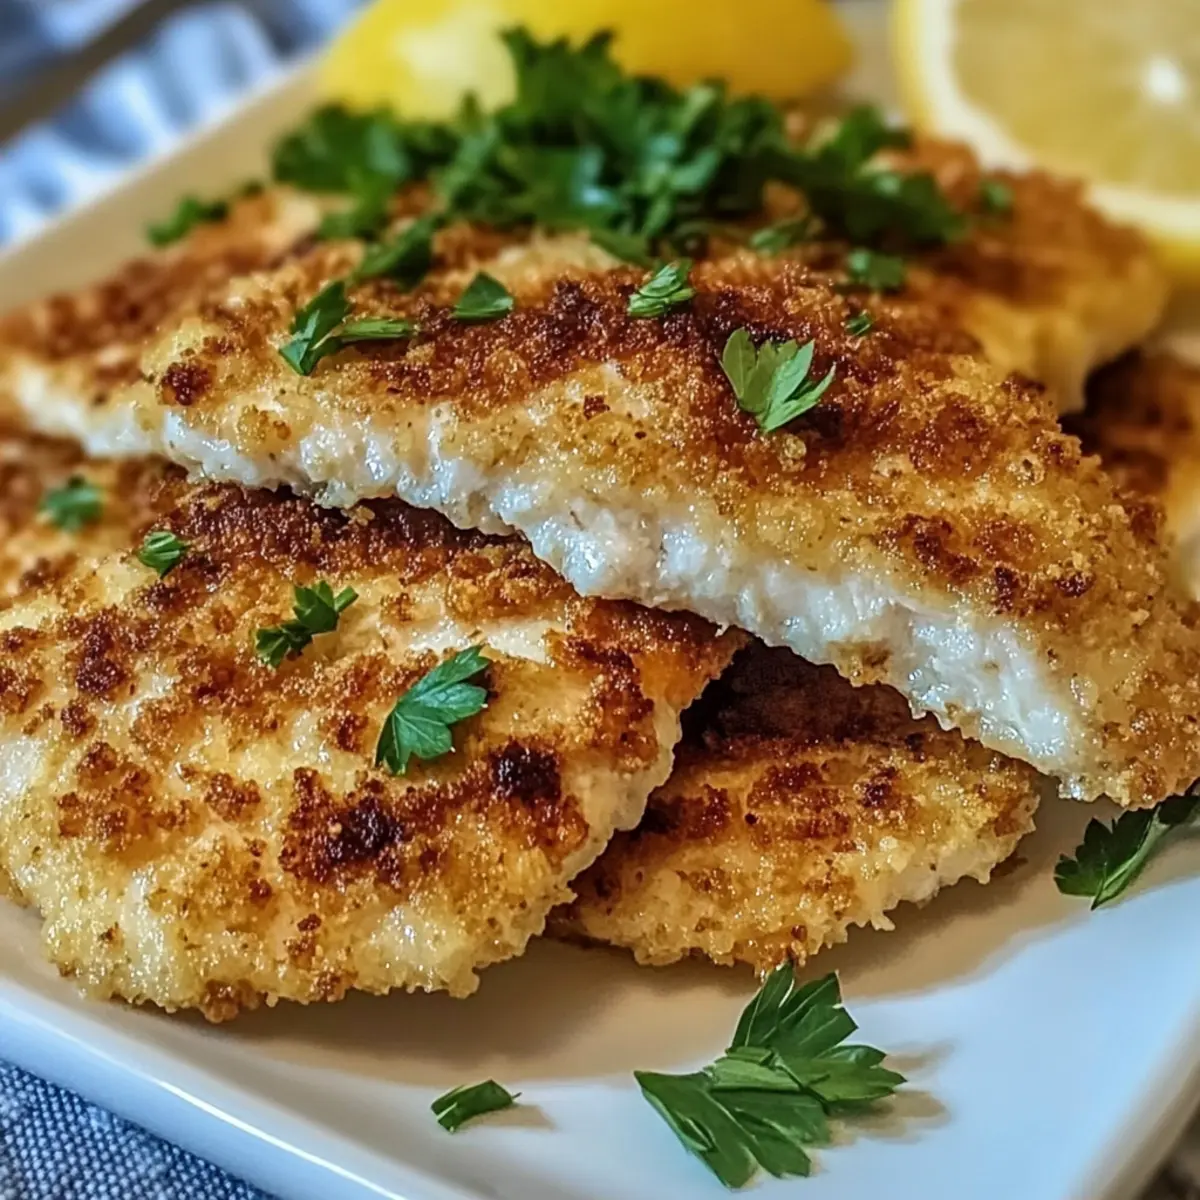
Why You’ll Crave These Cutlets?
Deliciously Flavorful: The blend of herbs and Parmesan cheese creates an unforgettable taste that dances on your palate.
Quick and Easy: With just a 30-minute time commitment, you can create a meal that feels like a special occasion, without the restaurant price tag.
Perfect for Any Occasion: Whether it’s a family dinner or a cozy date night, these Italian Chicken Cutlets will leave everyone asking for seconds—maybe try pairing them with creamy pasta for a delightful twist.
Versatile Serving Options: Serve them as a main dish alongside a fresh salad, or transform them into a scrumptious sandwich for lunch the next day.
Impressive Presentation: Garnished with lemon wedges and parsley, these cutlets not only taste incredible but also look stunning on your dinner table.
With such irresistible qualities, it’s no wonder these Italian Chicken Cutlets will quickly become a family favorite!
Italian Chicken Cutlet Ingredients
• Here’s what you’ll need to create these delectable Italian Chicken Cutlets!
For the Cutlets
- Chicken Breasts – Use boneless, skinless chicken for the easiest preparation and tender results.
- Breadcrumbs – Panko breadcrumbs will give you an extra crispy texture that elevates these cutlets.
- Parmesan Cheese – A key flavor booster in the breading; substitute with Pecorino Romano for a tangy twist.
- Eggs – Essential for helping the breadcrumbs adhere perfectly to the chicken; beat well for even coverage.
- Flour – Ensures a smooth coating before dipping in eggs; any all-purpose flour will do, or opt for whole wheat for a healthier choice.
For the Seasoning
- Salt – Enhances the natural flavors of the chicken and the seasoning mix.
- Garlic Powder – Adds a subtle depth; feel free to adjust for your taste preferences.
- Black Pepper – A classic seasoning that rounds out the flavor profile.
- Italian Seasoning – A delightful mix of herbs that captures the essence of Italian cuisine.
For Frying
- Oil (for frying) – Necessary for that crispy texture; while vegetable oil works, using olive oil will add a nice richness.
With these Italian Chicken Cutlet ingredients, you’re on your way to an unforgettable meal that combines restaurant-quality charm with comforting home-cooked goodness!
Step‑by‑Step Instructions for Italian Chicken Cutlets
Step 1: Prepare Chicken
Start by placing the boneless, skinless chicken breasts between two sheets of plastic wrap. Use a meat mallet or rolling pin to pound them to an even thickness of about ½ inch. This step ensures uniform cooking and helps keep the chicken juicy. Once pounded, set the chicken aside while you prepare the breading station.
Step 2: Set Up Breading Station
Organize your workspace by arranging three shallow dishes. In the first dish, add all-purpose flour; in the second, beat a couple of eggs until smooth. In the third dish, combine panko breadcrumbs and grated Parmesan cheese for that delightful crispy coating. This setup allows for smooth and efficient coating of the chicken in your Italian Chicken Cutlets.
Step 3: Coat Chicken
Take each flattened chicken breast and first dredge it in the flour, shaking off the excess. Next, dip it into the beaten eggs, ensuring it’s fully coated. Finally, press the chicken into the breadcrumb and Parmesan mixture, making sure every inch is covered. This thorough coating is crucial for achieving a crispy texture when frying.
Step 4: Heat Oil
In a large skillet, pour enough oil to cover the bottom by about ¼ inch and heat over medium heat. Use a candy or deep-fry thermometer to monitor the temperature, aiming for 350°F (175°C). When the oil shimmers and a breadcrumb dropped in sizzles, it’s time to fry your breaded chicken cutlets to crispy perfection.
Step 5: Fry Chicken
Carefully place the coated chicken cutlets in the hot oil, making sure not to overcrowd the pan. Cook each cutlet for approximately 3-4 minutes per side, or until they turn a beautiful golden brown and are cooked through. You can check for doneness by ensuring the internal temperature reaches 165°F (74°C), guaranteeing juicy Italian Chicken Cutlets.
Step 6: Drain
Once cooked, use tongs to remove the cutlets from the skillet and transfer them to a plate lined with paper towels. This step helps absorb any excess oil, keeping your Italian Chicken Cutlets crispy and not greasy. Allow them to rest for a few minutes before serving to enhance their flavor and texture.
Step 7: Serve
Plate your Italian Chicken Cutlets with fresh lemon wedges and a sprinkle of chopped parsley for a vibrant presentation and a burst of flavor. Whether served alongside a crisp salad or as a sandwich, these cutlets are sure to impress your family and bring warmth to your home-cooked meals. Enjoy the delightful crunch and juicy tenderness in every bite!
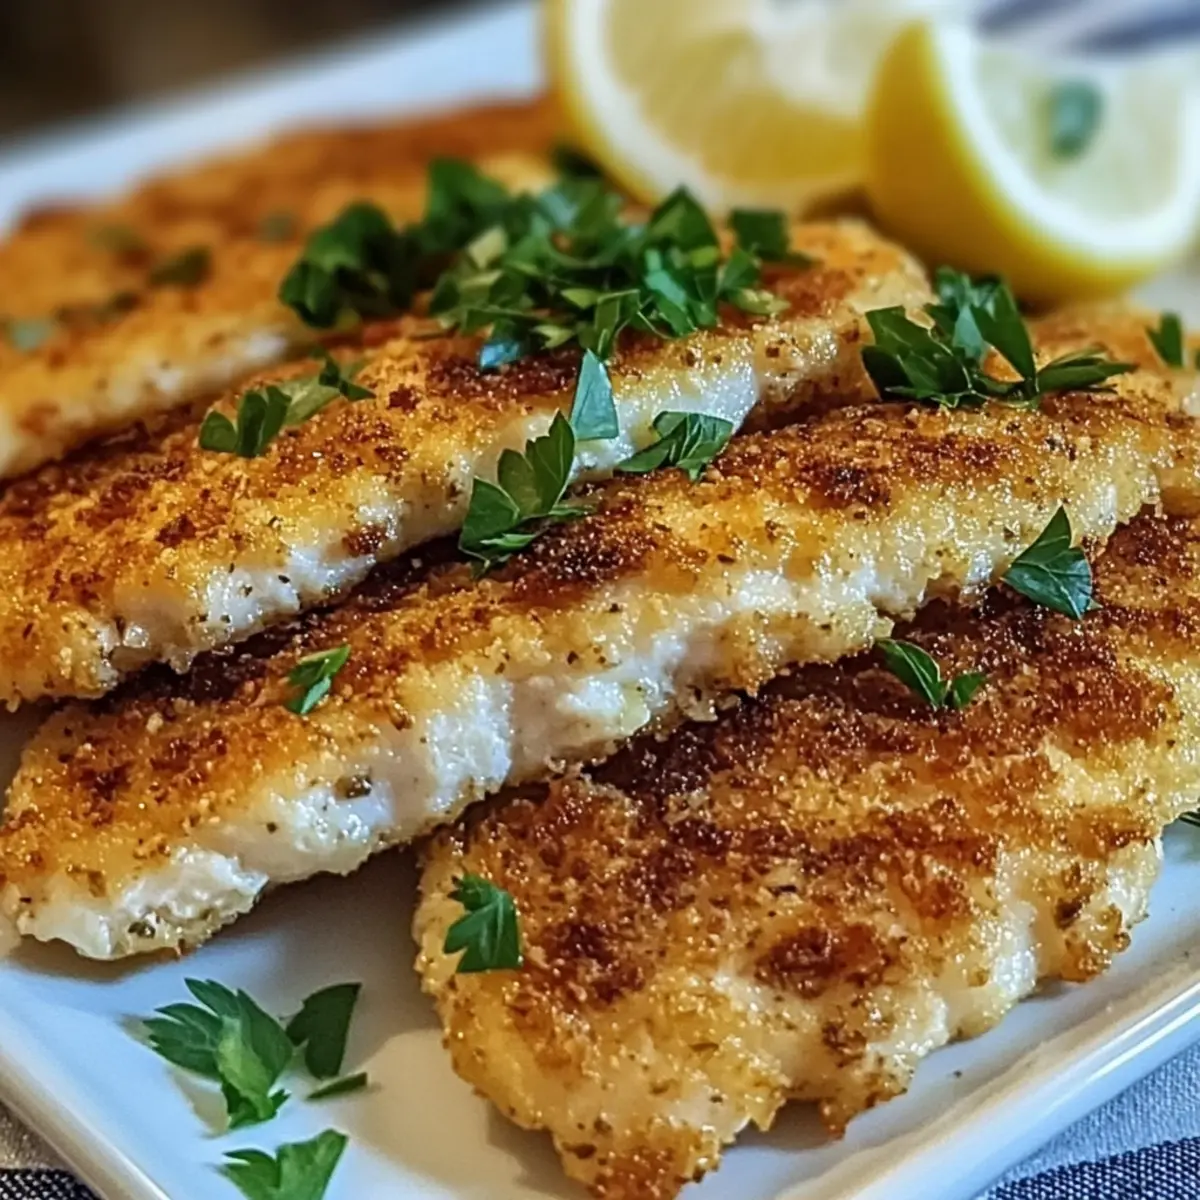
Italian Chicken Cutlets Variations
Feel free to let your imagination run wild and customize these Italian Chicken Cutlets to suit your taste buds!
-
Gluten-Free: Substitute regular breadcrumbs with gluten-free panko for a crispy, gluten-free option. Everyone can enjoy this fabulous dish!
-
Spicy Twist: Add cayenne pepper or crushed red pepper flakes to the breadcrumb mixture for a delightful kick. Your taste buds will thank you!
-
Herb-Infused: Incorporate fresh herbs like chopped basil or oregano into the breadcrumb mix to amplify the Italian flavors further. A sprinkle of freshness goes a long way.
-
Cheesy Delight: Top the fried cutlets with slices of mozzarella cheese and briefly broil until melted. Picture gooey goodness combined with crispy perfection!
-
Lemon Zest: Add the zest of a lemon to the flour mixture for a bright, citrusy undertone that brightens the entire dish. It’s a refreshing contrast!
-
Parmesan Variation: Swap out the Parmesan for Pecorino Romano cheese in the breadcrumb coating for a sharper, more robust flavor. It adds a delicious twist!
-
Air-Fried Option: For a healthier approach, use an air fryer instead of frying in oil. Brush the cutlets lightly with oil before cooking for that crispy finish while cutting down on calories.
-
Savory Marinade: Marinate the chicken breasts in Italian dressing for a few hours before breading. This adds fantastic flavor and moistness throughout the chicken.
With these variations, your Italian Chicken Cutlets can be effortlessly tailored to the preferences of everyone around your table. And for a delightful side, imagine serving them next to some creamy pasta or a fresh salad. Enjoy the creative journey!
Make Ahead Options
These Italian Chicken Cutlets are perfect for busy weeknights or meal prep enthusiasts! You can bread the chicken cutlets up to 24 hours in advance and store them in the refrigerator; just make sure to separate layers with parchment paper to prevent sticking. The un-fried cutlets will retain their crispy potential when you’re ready to cook. When it’s time to serve, simply heat your oil and fry the cutlets for about 3-4 minutes on each side until golden brown. By preparing these Italian Chicken Cutlets ahead of time, you ensure a quick, satisfying dinner that feels fresh and delicious, saving you precious time on hectic evenings. Enjoy restaurant-quality flavor without the last-minute rush!
Expert Tips for Italian Chicken Cutlets
-
Pound Evenly: Ensure chicken breasts are pounded to ½ inch thick; this promotes uniform cooking and prevents dry, uneven textures.
-
Oil Temperature: Use a thermometer to maintain oil at 350°F for optimal frying. Too cool oil leads to soggy cutlets, while too hot can burn the coating.
-
Coating Technique: After dredging in flour, shake off excess; excess flour can cause uneven breading and lead to a gummy texture when fried.
-
Rest Before Frying: Let the breaded chicken rest for 5-10 minutes before frying to help the coating adhere better, ensuring crispy Italian Chicken Cutlets.
-
Fry in Batches: Avoid overcrowding the pan; fry in small batches to maintain the oil temperature and achieve crispiness without greasiness.
-
Let Drain Properly: After frying, place cutlets on paper towels to absorb excess oil, keeping your Italian Chicken Cutlets light and delicious.
Storage Tips for Italian Chicken Cutlets
Fridge: Store leftover Italian Chicken Cutlets in an airtight container for up to 3 days. This keeps them fresh while preventing moisture loss.
Freezer: If you want to keep them longer, freeze the cutlets individually wrapped in plastic wrap and then placed in a freezer bag for up to 2 months.
Reheating: For best results, reheat in the oven at 375°F (190°C) for about 10-15 minutes to restore their crispiness. Avoid using the microwave, as it can make them soggy.
Tips: Before freezing, consider flash freezing the cooked cutlets on a baking sheet for an hour. This technique ensures they don’t stick together.
What to Serve with Crispy Italian Chicken Cutlets
Transform your Italian Chicken Cutlets into a splendid meal with these delightful pairings that tantalize the taste buds.
-
Creamy Garlic Mashed Potatoes: The smooth, buttery texture of these potatoes complements the crispy cutlets beautifully, creating a comforting harmony on your plate.
-
Arugula Salad: Crisp, peppery arugula balances the richness of the cutlets, providing a refreshing contrast that brightens each bite while adding vibrant color.
-
Lemon Garlic Pasta: Tossed in a light lemon-infused sauce, this pasta resonates with the flavors of the cutlets, enriching your meal with zesty brightness.
-
Roasted Seasonal Vegetables: The slight char and natural sweetness from roasted veggies provide an earthy counterpoint, enhancing the overall flavor profile of your dish.
-
Herbed Quinoa: Nutty quinoa seasoned with fresh herbs offers a wholesome, protein-packed side that pairs perfectly with the crunchy cutlets while keeping the meal light.
-
Red Wine: A glass of medium-bodied red wine complements the savory notes of the cutlets, creating a sophisticated dining experience to savor.
-
Ricotta Cheesecake: End your meal on a sweet note with a slice of creamy ricotta cheesecake, its light texture providing the ultimate finish to the delicious savory flavors.
Savor the crispy magic of these Italian Chicken Cutlets surrounded by a variety of flavors and textures that will surely delight your family and guests!
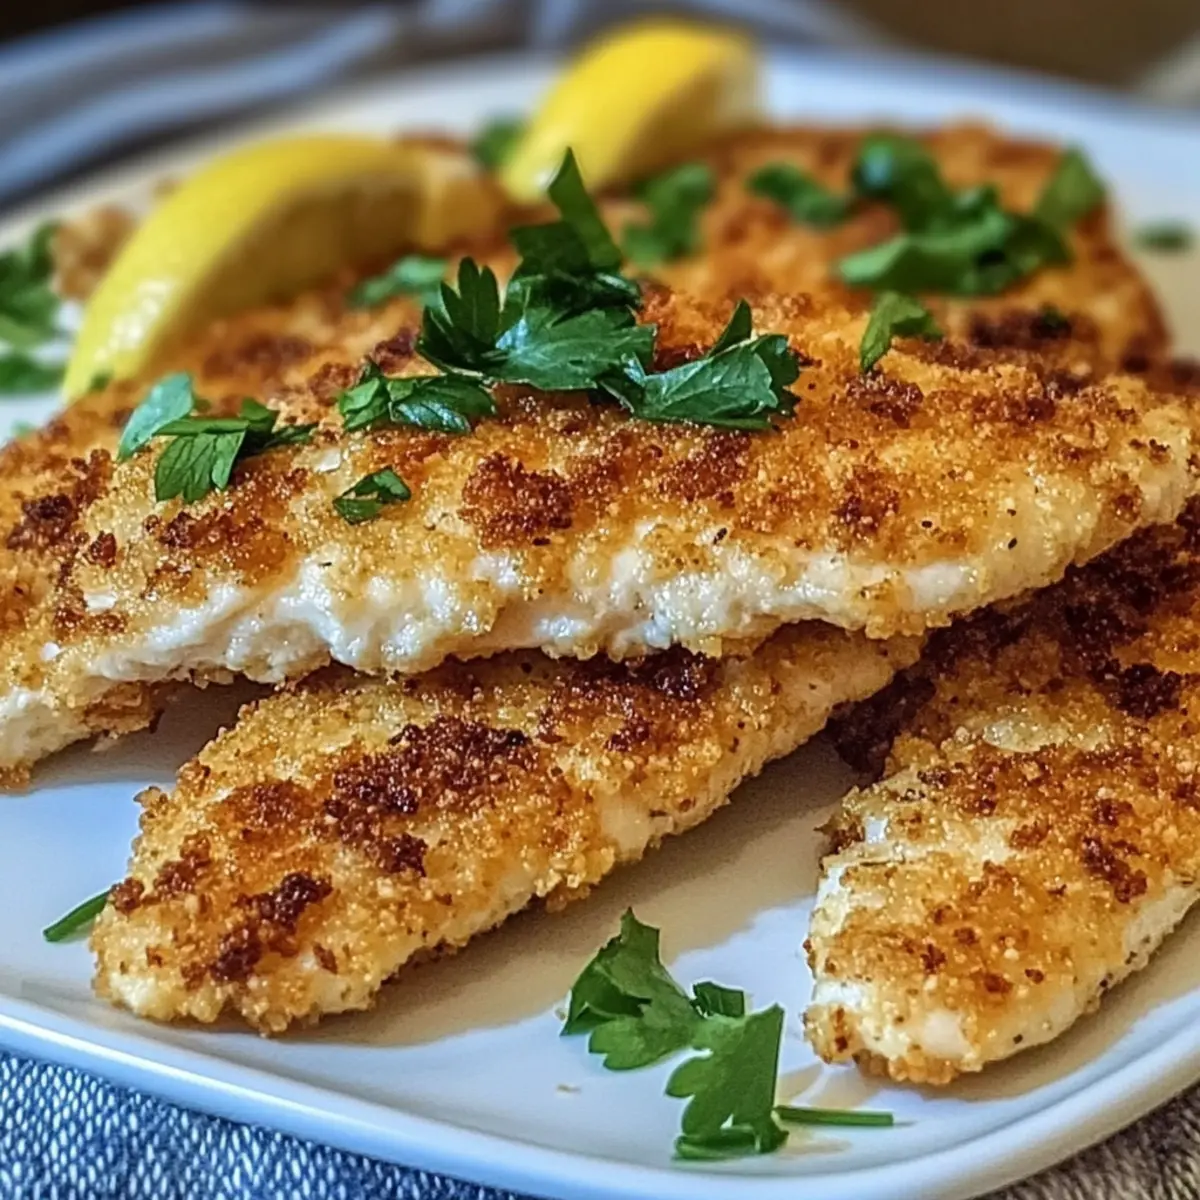
Italian Chicken Cutlets Recipe FAQs
How do I know if my chicken is at the right ripeness?
Absolutely! Fresh chicken should have a pinkish color with a slight sheen and no strong odor. Avoid chicken with dark spots or a sour smell, as these are signs of spoilage.
What is the best way to store leftover Italian Chicken Cutlets?
For the fridge, store leftovers in an airtight container where they can last up to 3 days. Just make sure to let them cool completely before sealing. For texture preservation, reheat them in the oven at 375°F (190°C) for about 10-15 minutes to maintain their crispiness.
Can I freeze cooked Italian Chicken Cutlets?
Absolutely! To freeze, place your cutlets on a baking sheet and flash freeze them for about an hour so they don’t stick together. Then, wrap each cutlet in plastic wrap and place them in a freezer-safe bag. Enjoy them within 2 months for the best quality!
What should I do if my coating is falling off while frying?
Oh no! If your coating is coming off, it may be due to not letting the breaded chicken rest before frying. Try letting the coated cutlets sit for 5-10 minutes to help the coating adhere better. Also, ensure that your oil is at the right temperature—around 350°F (175°C)—to achieve that perfect crispy texture without sogginess.
Are there any dietary considerations for Italian Chicken Cutlets?
Yes! If you’re serving them to young children or anyone with egg allergies, consider using a flour and water slurry instead of eggs for coating. Additionally, for gluten-free versions, substitute regular breadcrumbs with gluten-free panko or crushed rice cereal to maintain that lovely crunch.
How can I tell when my chicken cutlets are fully cooked?
To ensure your Italian Chicken Cutlets are cooked through, use an instant-read thermometer to check if the internal temperature reaches 165°F (74°C). If you don’t have a thermometer, make sure the juices run clear and there’s no pink meat visible. Enjoy this delicious dish worry-free!
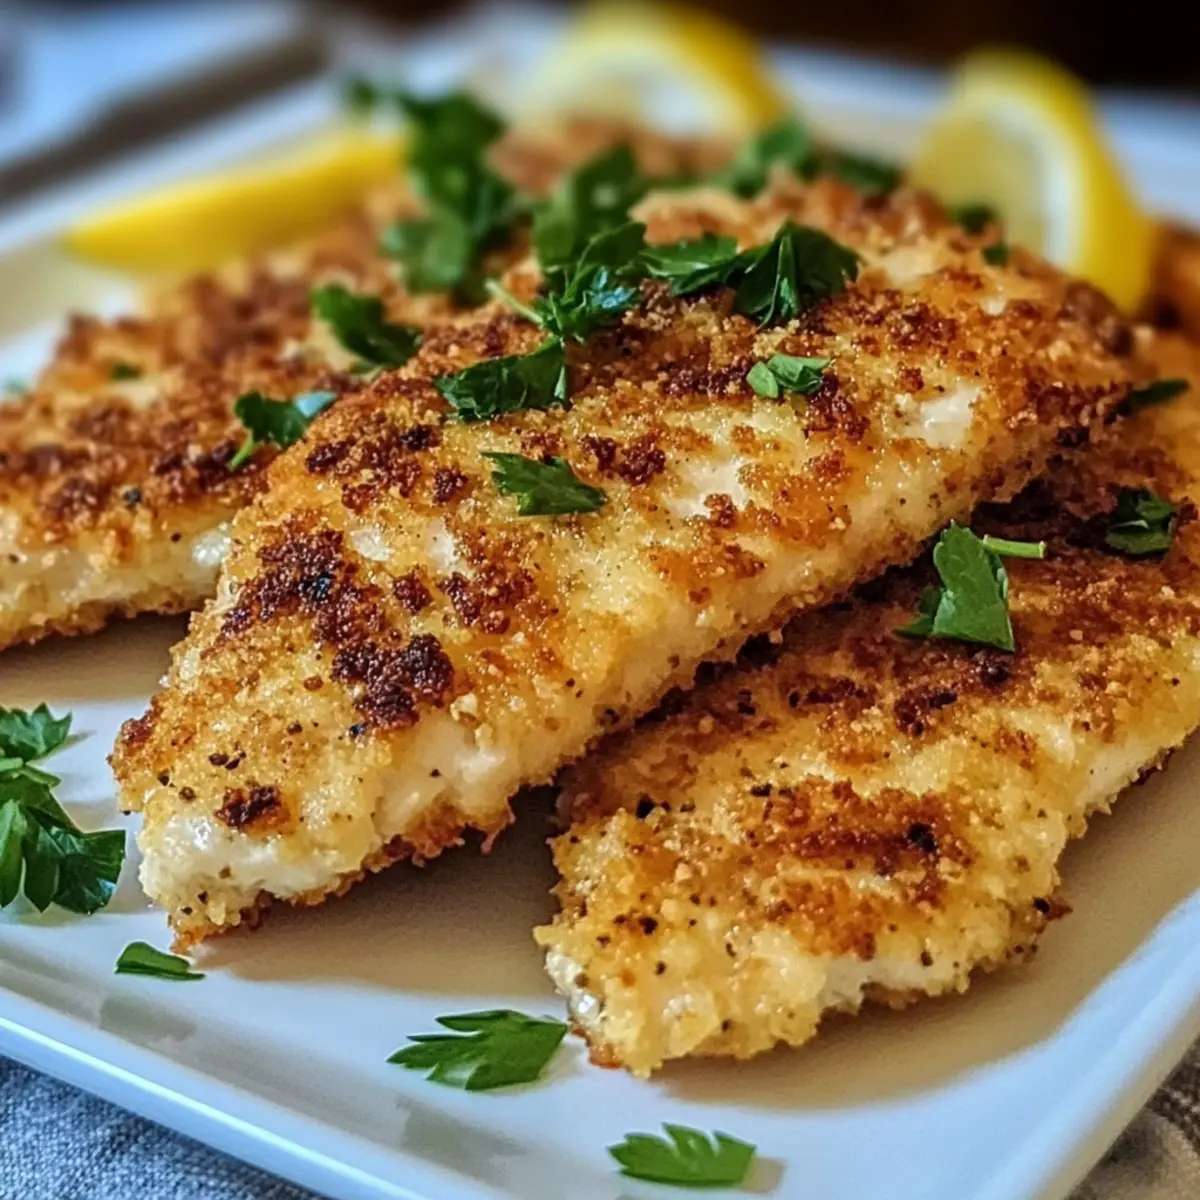
Crispy Italian Chicken Cutlets That Bring Comfort Home
Ingredients
Equipment
Method
- Prepare Chicken: Pound the chicken breasts to an even thickness of about ½ inch and set aside.
- Set Up Breading Station: Arrange three shallow dishes with flour, beaten eggs, and a mixture of breadcrumbs and Parmesan.
- Coat Chicken: Dredge each chicken breast in flour, dip in eggs, then coat in the breadcrumb mixture.
- Heat Oil: Pour oil into a skillet to cover the bottom and heat to 350°F (175°C).
- Fry Chicken: Cook each cutlet for 3-4 minutes per side until golden brown and cooked through.
- Drain: Remove cutlets and place on paper towels to absorb excess oil.
- Serve: Plate with lemon wedges and parsley for a beautiful presentation.
Leave a Reply