
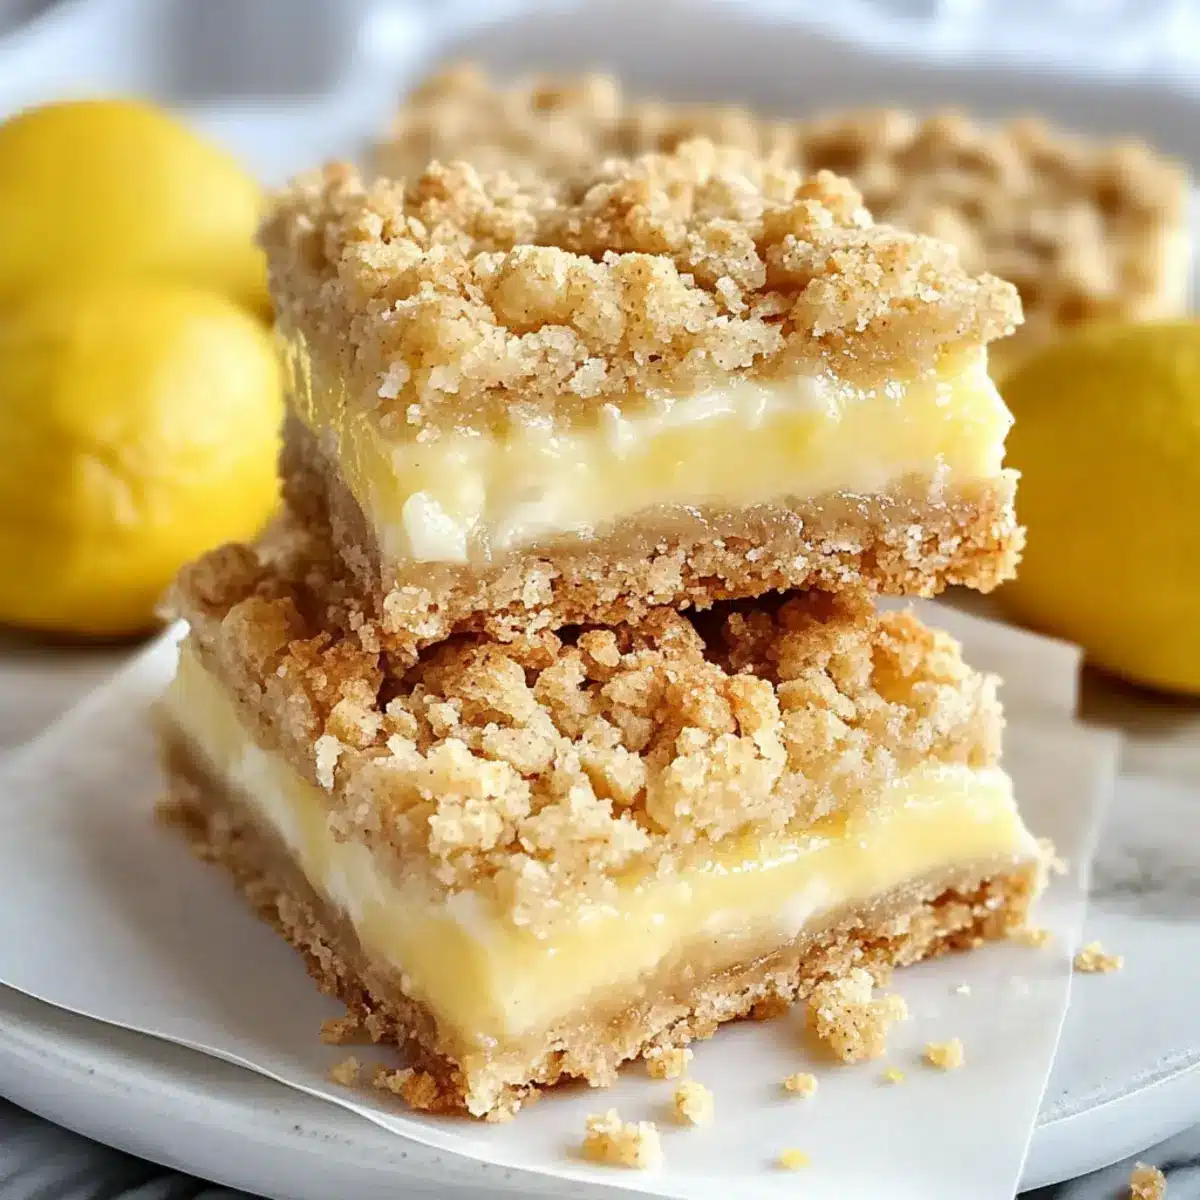
There’s something magical about the aroma of fresh lemon zest wafting through your kitchen, isn’t there? My Homemade Lemon Crumb Bars are the ultimate way to capture that sunshine-filled essence, bringing a delightful burst of citrus to your dessert table. With a creamy lemon filling nestled between a buttery crust and a crunchy oat topping, this treat is not just easy to whip up but also a crowd favorite, perfect for sharing or savoring all to yourself. Plus, they’re incredibly versatile—easily transformed to accommodate gluten-free diets or even other fruity flavors! Curious about how to make these zesty squares that promise to brighten any occasion? Let’s dive into this simple, yet impressive recipe!
Why Are Lemon Crumb Bars So Irresistible?
Bright, Citrus Flavor: The tangy lemon filling offers a refreshing contrast to the rich buttery crust, creating a perfect balance of taste.
Easy to Make: This recipe requires minimal prep time, so anyone can create this delightful dessert without fuss.
Versatile: Feel free to swap lemon for lime or orange juice for a twist, catering to your taste or seasonal fruits.
Crowd-Pleasing Treat: Perfect for gatherings, these bars will impress guests and have everyone buzzing about your baking skills.
Gluten-Free Options: Want to accommodate different dietary needs? Use gluten-free flour for a similar texture without sacrificing flavor!
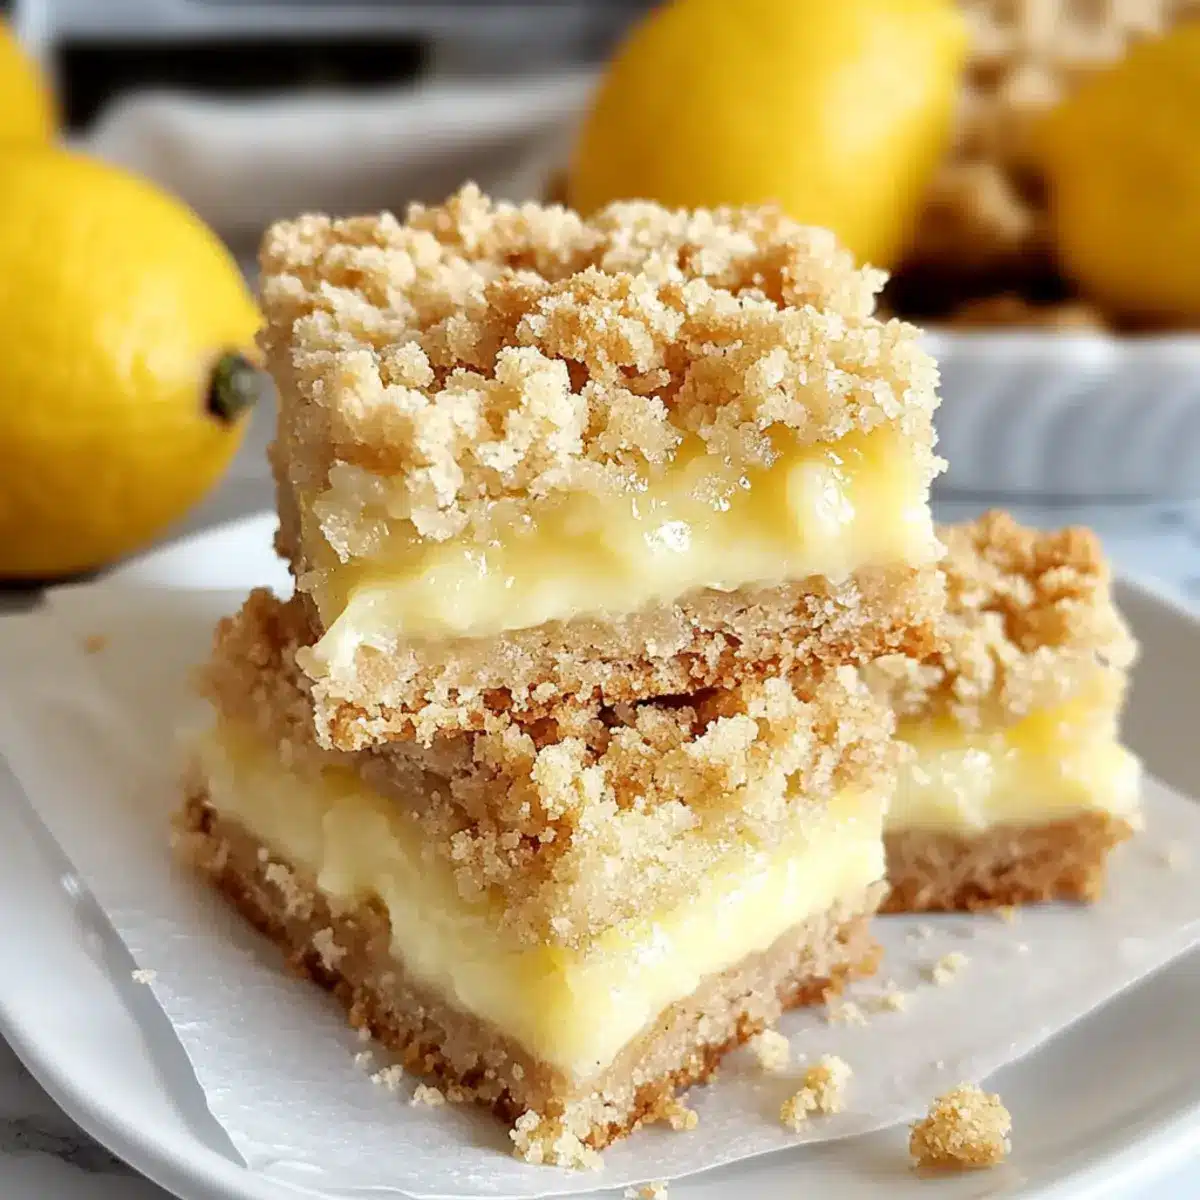
Whether you enjoy them alone or alongside a scoop of ice cream, these Homemade Lemon Crumb Bars are bound to be a hit!
Homemade Lemon Crumb Bars Ingredients
• Get ready to make a zesty delight!
For the Crust
- All-Purpose Flour – Provides structure and base for the crust; substitute with gluten-free all-purpose flour if needed.
- Old-Fashioned Oats – Adds a lovely texture and crumbly topping; these are essential for that classic taste.
- Salt – Enhances flavor; a must-have for balanced sweetness.
- Baking Soda – Works as a leavening agent, helping the crust rise; you can use baking powder if you’re in a pinch.
- Butter (melted) – Creates a rich, buttery crust and crumbly texture; margarine can be a good dairy-free alternative.
- Brown Sugar – Adds a warm sweetness to the crust; light brown sugar can easily substitute darker variants.
- Vanilla Extract – Enhances overall flavor; almond extract is a delightful alternative if you fancy a change.
For the Filling
- Sweetened Condensed Milk – Forms the creamy base of the lemon filling; a vegan option could be coconut milk.
- Sour Cream or Yogurt – Adds creaminess and tang to the filling; Greek yogurt works exceptionally well here.
- Egg Yolk – Binds everything together for that perfect filling; consider unsweetened applesauce or chia seeds for vegan swaps.
- Lemon Juice & Zest – Provides that signature zing; you can switch to lime or orange juice for variations.
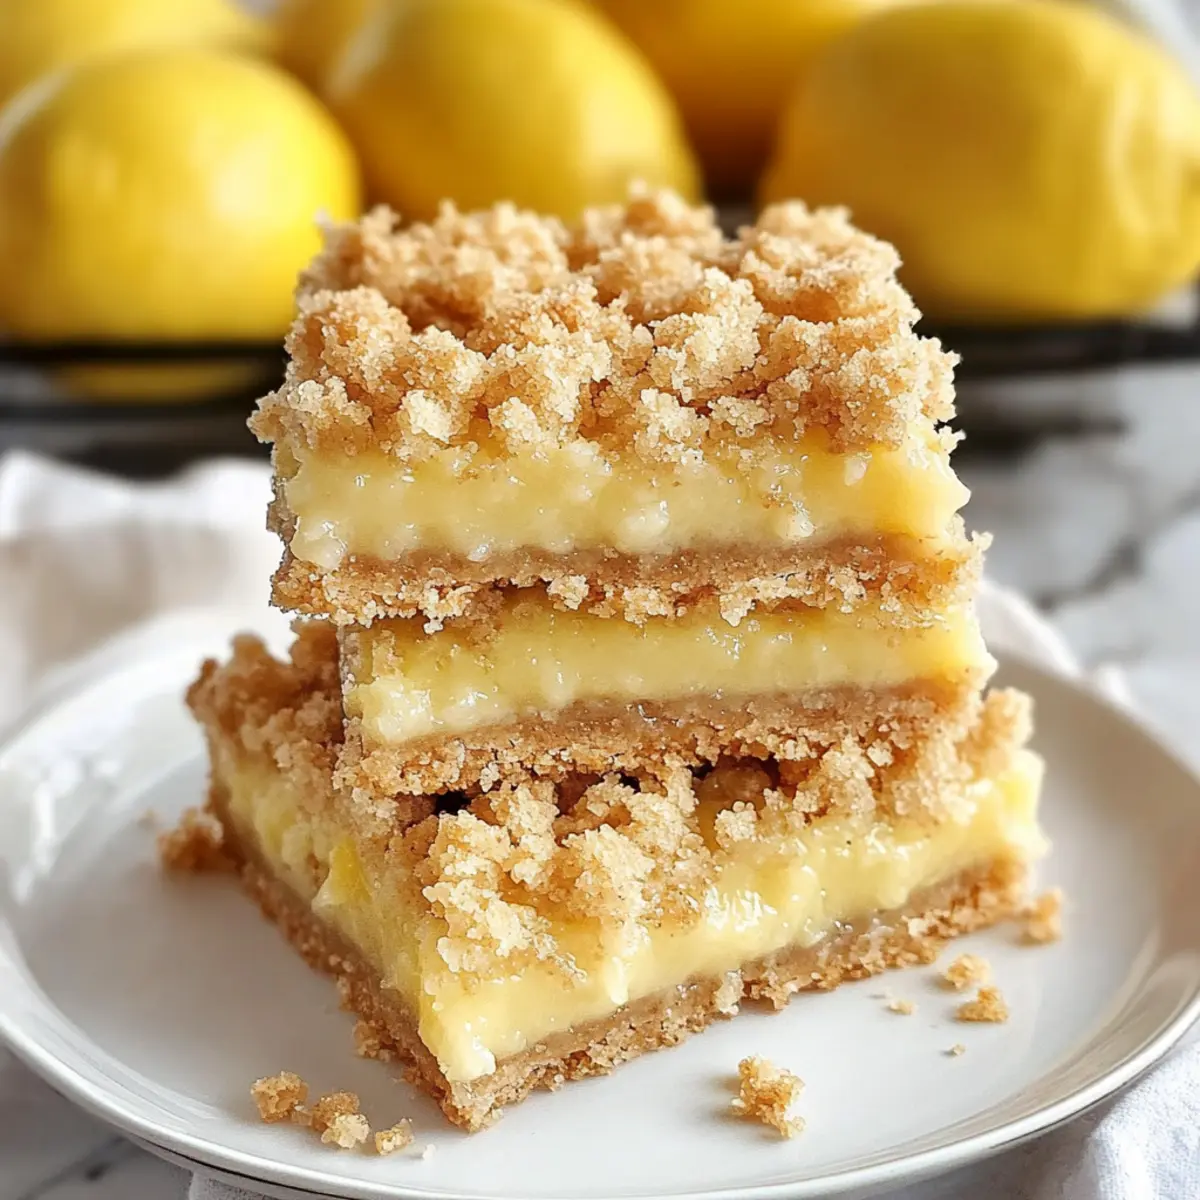
These Homemade Lemon Crumb Bars easily cater to your cravings for a bright, citrusy dessert while allowing for delightful experimenting!
Step‑by‑Step Instructions for Homemade Lemon Crumb Bars
Step 1: Preheat and Prepare
Begin by preheating your oven to 350°F (175°C). While it warms up, grab a 9×9-inch baking pan and line it with parchment paper or aluminum foil, allowing some overhang for easy removal later. This step is crucial for the Homemade Lemon Crumb Bars, as it ensures they bake evenly and come out beautifully.
Step 2: Combine Dry Ingredients
In a medium mixing bowl, whisk together 1 cup of all-purpose flour, 1 cup of old-fashioned oats, a pinch of salt, and 1 teaspoon of baking soda. Mix these dry ingredients until well combined, ensuring there are no clumps. This creates the essential crumbly texture for the topping and crust of your Homemade Lemon Crumb Bars.
Step 3: Mix Wet Ingredients
In a large bowl, melt ½ cup of butter and then add ½ cup of brown sugar and 1 teaspoon of vanilla extract. Whisk these ingredients together vigorously for about one minute until the mixture is smooth and slightly fluffy. This step builds the base flavor of the Homemade Lemon Crumb Bars, making them rich and delicious.
Step 4: Combine Wet and Dry Mixtures
Carefully stir the dry mixture into the wet mixture until just combined; you want a soft, crumbly dough. Reserve ¾ cup of this dough for later as the crumb topping. Press the remaining dough evenly into the bottom of the prepared baking pan to create a solid and even crust for your bars, which is a vital step in achieving that signature taste.
Step 5: Bake the Crust
Place the pan in the preheated oven and bake the crust for 10 minutes or until it begins to turn lightly golden. This step pre-bakes the crust, allowing it to firmly hold the creamy lemon filling. Keep an eye on it to avoid over-baking. Once done, remove it from the oven and let it cool slightly while you prepare the filling.
Step 6: Prepare the Lemon Filling
In a mixing bowl, whisk together 1 can of sweetened condensed milk, ½ cup of sour cream or yogurt, 1 egg yolk, ½ cup of fresh lemon juice, 2 tablespoons of lemon zest, and 1 teaspoon of vanilla extract until the mixture is completely smooth. This creamy filling is what makes the Homemade Lemon Crumb Bars irresistibly tangy!
Step 7: Assemble and Bake
Pour the lemon filling over the slightly warm crust, ensuring it spreads evenly. Carefully sprinkle the reserved crumb mixture over the top of the filling, creating a lovely layer. Return the pan to the oven and bake for an additional 17-20 minutes, or until the top is lightly golden and the filling is set but still slightly jiggles in the center.
Step 8: Cool and Serve
Once baked, remove the Homemade Lemon Crumb Bars from the oven and allow them to cool completely on a wire rack. This crucial step helps the filling firm up. After cooling, use the parchment overhang to lift the bars out of the pan, slice them into squares, and serve. These bars are perfect for any occasion, brimming with delightful citrus goodness!
What to Serve with Homemade Lemon Crumb Bars?
The bright, tangy flavors of these bars can be beautifully complemented by a selection of delightful accompaniments.
- Fresh Berries: Juicy strawberries, blueberries, or raspberries add a burst of freshness that balances the rich citrus flavor.
- Whipped Cream: A light, fluffy topping offers creamy goodness to enhance the zesty experience, creating a pleasing contrast with each bite.
- Vanilla Ice Cream: The creamy sweetness of vanilla ice cream tastes heavenly alongside the tartness of the lemon bars, making it a classic duo.
- Mint Sprigs: Fresh mint leaves not only add a pop of color but also provide a refreshing herbal note that elevates the dessert.
- Lemon Sorbet: For a citrusy twist, serve lemon sorbet alongside for a double dose of refreshing taste that’s perfect on a warm day.
- Iced Tea or Lemonade: Enhance the flavor experience with a glass of sweet iced tea or homemade lemonade that echoes the zesty tones of the dessert.
- Chocolate Drizzle: A simple drizzle of rich chocolate adds a sweet note, creating a delightful blend of citrus and sweetness in every bite.
- Chilled Prosecco: Looking for a treat on the patio? A glass of bubbly prosecco offers a festive touch that pairs beautifully with these bars.
- Cheesecake Mousse: A light cheesecake mousse can serve as a luscious pairing, matching the creamy filling while introducing subtle richness.
Your Homemade Lemon Crumb Bars will shine even brighter when shared with these delightful additions, creating a truly memorable dessert experience!
Homemade Lemon Crumb Bars: Customization Ideas
Explore exciting ideas to tweak your Homemade Lemon Crumb Bars, making them uniquely yours.
-
Gluten-Free: Use gluten-free all-purpose flour to keep the delightful flavor without the gluten. You’ll still enjoy the same delicious texture!
-
Citrus Swap: Change lemon juice for lime or orange juice for a delightful twist. Each option brings its own vibrant zing to the bars.
-
Dairy-Free Delight: Substitute sour cream with coconut yogurt or use almond milk for the filling. Enjoy a creamy treat without the dairy!
-
Extra Sweetness: Drizzle melted chocolate over the cooled bars for an indulgent layer of flavor. The combination of chocolate and tart lemon is simply heavenly.
-
Berry Infusion: Mix in fresh blueberries or raspberries into the filling for a fruity surprise. This adds color and bursts of sweetness with every bite.
-
Crispy Crunch: Add chopped nuts like almonds or pecans to the crumb topping for a satisfying crunch. It’ll elevate both the texture and flavor profile.
-
Herb Flavor Boost: Stir in a pinch of fresh mint or basil into the lemon filling for an unexpected herbal note. It’s a refreshing twist that offers a unique flavor journey.
-
Layered Treat: Create a layered dessert by adding a thin layer of your favorite jam beneath the lemon filling. It adds a sweet surprise underneath the zesty top layers!
Don’t hesitate to experiment! For even more inspiration, check out these delightful treats like Nut Free Bars or try making some refreshing Cereal Bars Homemade. Each bite promises a burst of happiness.
How to Store and Freeze Homemade Lemon Crumb Bars
Room Temperature: Store your Homemade Lemon Crumb Bars in an airtight container at room temperature for up to 3 days to maintain their delightful texture and flavor.
Fridge: For longer freshness, refrigerate the bars, where they will last up to a week. Ensure they are wrapped tightly or stored in a sealed container to prevent drying out.
Freezer: If you want to save some for later, freeze the bars! Cut them into squares, lay them on a baking sheet to freeze individually, then transfer to a freezer-safe container for up to 3 months.
Reheating: Thaw in the fridge overnight before enjoying. For a quick bite, reheat in the microwave for about 10-15 seconds; enjoy the refreshing taste of lemon!
Expert Tips for Homemade Lemon Crumb Bars
-
Gentle Pouring: When adding the lemon filling over the crust, pour slowly to prevent breaking. A steady hand keeps your bars intact!
-
Crust Perfection: Aim for a golden crust but don’t overbake. The center should have a slight jiggle; it will firm up as it cools, ensuring perfect Homemade Lemon Crumb Bars.
-
Neat Slicing: Clean the knife between cuts for beautifully uniform squares. This little step makes your bars look as good as they taste!
-
Flavor Variations: Consider adding a dusting of powdered sugar or a drizzle of chocolate on top. Get creative with flavors by switching lemon for lime or orange!
-
Storage Tips: Once cooled, store the bars in an airtight container. They’ll stay fresh at room temperature for up to three days—perfect for sharing with friends!
Make Ahead Options
These Homemade Lemon Crumb Bars are perfect for meal prep enthusiasts! You can prepare the crust and crumb topping up to 24 hours in advance; simply store them separately in airtight containers at room temperature. When you’re ready to finish the bars, all you have to do is bake the crust and add the lemon filling! To maintain their delicious quality, keep the lemon filling ingredients mixed until you’re set to pour them on the crust. Once assembled, these bars will keep well in the fridge for up to 3 days—just ensure they cool completely before covering to prevent sogginess. Enjoy the convenience of homemade goodness, even on the busiest days!
Homemade Lemon Crumb Bars Recipe FAQs
How do I choose ripe lemons for my Homemade Lemon Crumb Bars?
Absolutely! Look for lemons that are firm and heavy for their size, indicating they’re juicier. A bright yellow color without any dark spots is ideal. These visual cues ensure your bars are packed with vibrant flavor!
What’s the best way to store Homemade Lemon Crumb Bars?
For optimal freshness, keep your bars in an airtight container at room temperature for up to 3 days. If you want to enjoy them for longer, refrigerate the bars where they will stay fresh for about one week. Remember to wrap them tightly to prevent them from drying out—trust me, you won’t want to lose that yummy texture!
Can I freeze my Homemade Lemon Crumb Bars? If so, how?
Yes, you can! Slice the bars into squares and place them on a baking sheet to freeze individually for about 1-2 hours. Once frozen, transfer them to a freezer-safe container, separating layers with parchment paper to avoid sticking. They will keep well in the freezer for up to 3 months. To enjoy, thaw them in the fridge overnight, and they’ll be as delightful as the day you made them!
What should I do if my crust is too crumbly or hard?
Very! If your crust ends up too crumbly, it may not have enough moisture. Next time, check that your butter is well incorporated and consider adding a touch more melted butter to achieve the right texture. Alternatively, if it’s too hard, you may have overbaked it; keep an eye on your crust during baking and aim for a light golden color.
Are there any dietary considerations I should know about?
Absolutely! If you’re accommodating dietary restrictions, you can easily make gluten-free Homemade Lemon Crumb Bars by using gluten-free flour in the crust. For dairy-free options, swap butter for margarine and consider using coconut milk in place of sweetened condensed milk. Just be sure to check labels carefully to avoid allergens if you’re serving anyone with specific dietary needs.
Can I substitute any ingredients in the recipe?
Yes, there are several great substitutions! You can swap lemon juice and zest for lime or orange for a different flavor profile. If you’re looking for a vegan option, use unsweetened applesauce or chia seeds instead of the egg yolk, and coconut milk in place of sweetened condensed milk. Feel free to get creative with your flavors while keeping the essence of these Homemade Lemon Crumb Bars!
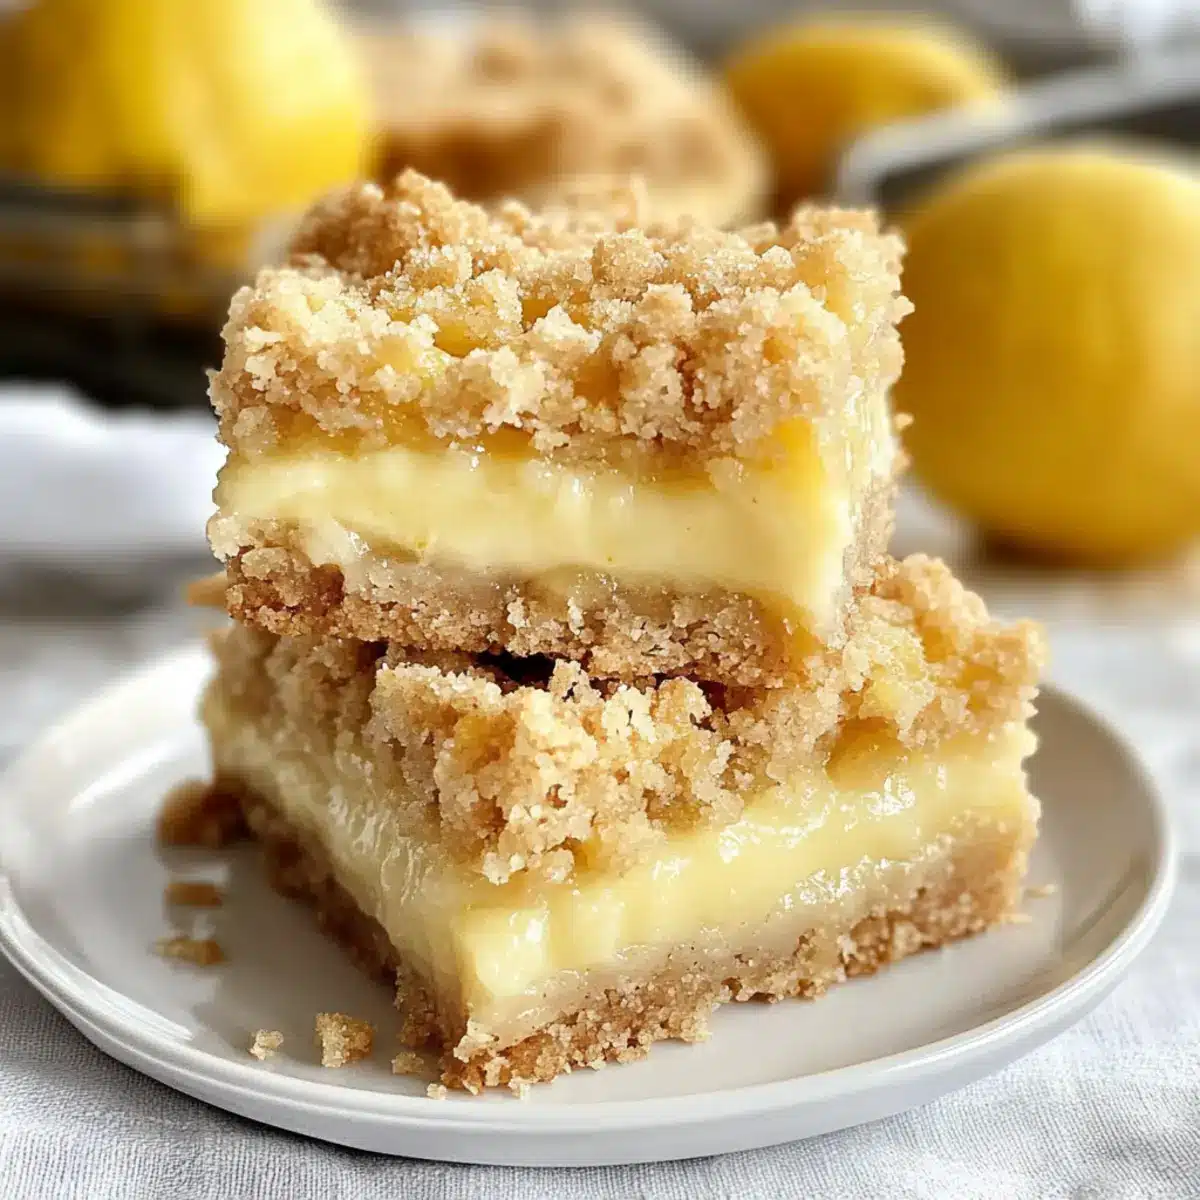
Homemade Lemon Crumb Bars: Tangy Bliss in Every Bite
Ingredients
Equipment
Method
- Preheat your oven to 350°F (175°C) and line a 9x9-inch baking pan with parchment paper or aluminum foil.
- In a medium mixing bowl, whisk together all-purpose flour, oats, salt, and baking soda.
- In a large bowl, melt the butter and then mix in the brown sugar and vanilla extract until smooth.
- Stir the dry mixture into the wet mixture until just combined; reserve ¾ cup for topping and press the rest into the pan.
- Bake the crust for 10 minutes or until lightly golden; let it cool slightly.
- Whisk together the sweetened condensed milk, sour cream, egg yolk, lemon juice, lemon zest, and vanilla extract.
- Pour the lemon filling over the crust and sprinkle the reserved crumb mixture on top.
- Bake for an additional 17-20 minutes, until the topping is golden and the filling is set with a slight jiggle.
- Cool completely on a wire rack before slicing into squares.
Leave a Reply