
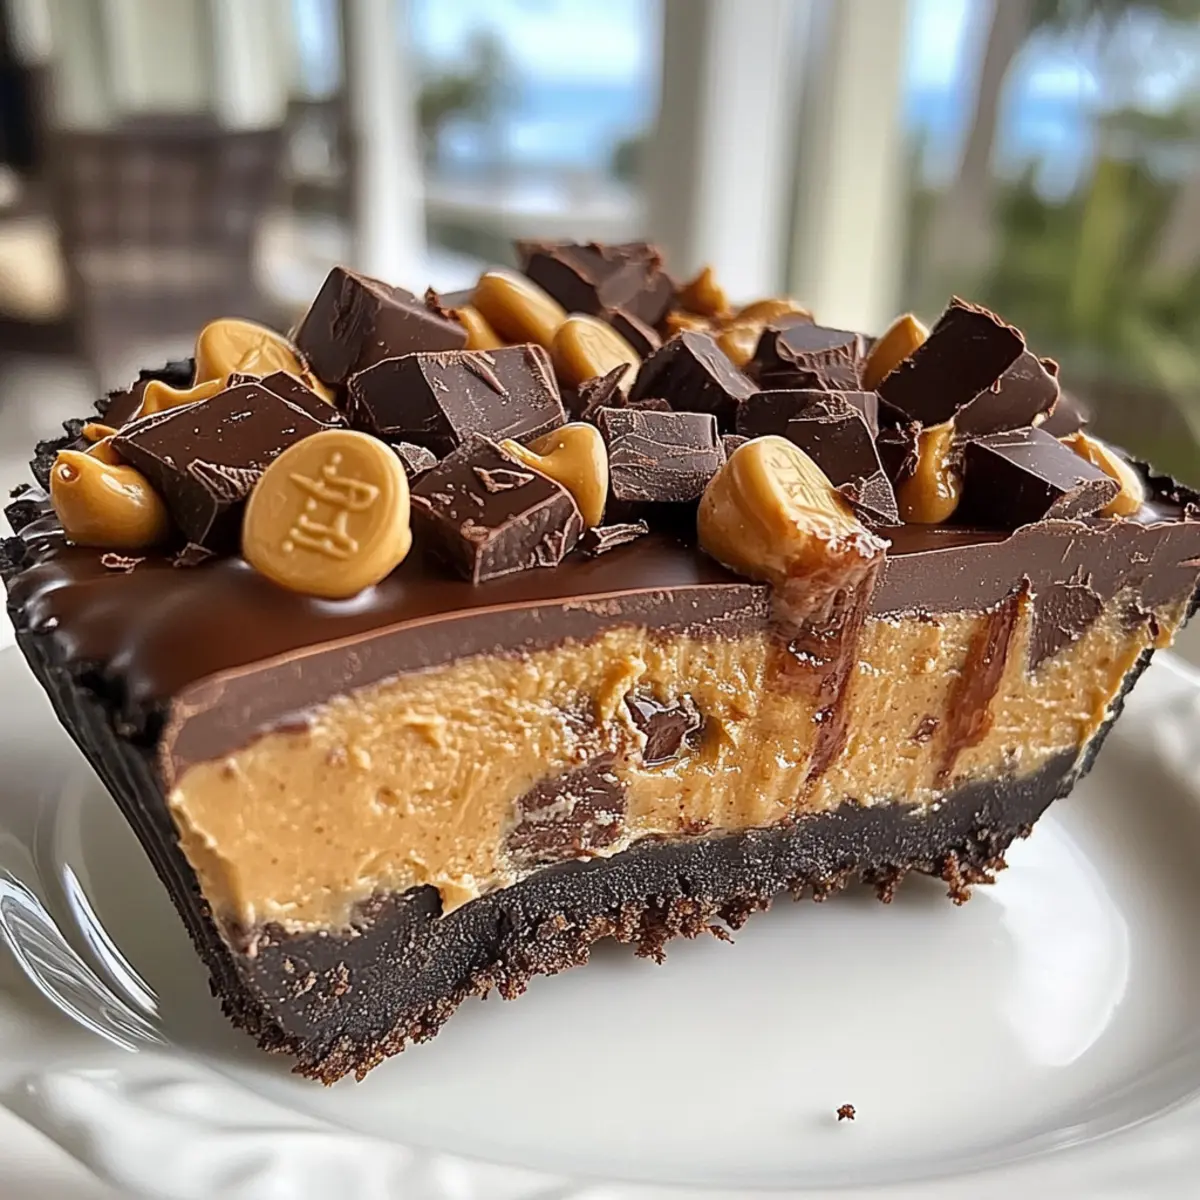
There’s something magical about bringing a little piece of nostalgia into our modern kitchens. This Giant Reese’s Peanut Butter Cup taps into that joy, combining a rich chocolate cookie crust with a velvety peanut butter cheesecake filling that even your childhood self would applaud. This no-bake dessert isn’t just easy to whip up; it’s a sure-fire crowd-pleaser that invites everyone to indulge in a chocolate-peanut butter dream. Ideal for parties or a cozy night in, it can be made ahead of time, turning dessert into a stress-free delight. Are you ready to impress your friends and family with this showstopper? Let’s dive in!
Why will you adore this dessert?
Indulgent Flavor: The Giant Reese’s Peanut Butter Cup combines rich chocolate and creamy peanut butter for an irresistible taste that satisfies every sweet tooth.
No-Bake Ease: No baking required means you can make this dessert even on a busy day without the fuss of turning on the oven!
Showstopper Presentation: This dessert is a true crowd-pleaser, perfect for parties or family gatherings, and looks stunning when sliced.
Better with Time: Make it ahead for better flavor blending—it truly gets even better after a night in the fridge!
To complement your dessert, consider serving it with a scoop of vanilla ice cream or a cup of coffee for a balanced experience. Enjoy it alongside other favorites like Peanut Butter Banana or an indulgent slice of Butter Toffee Chocolate!
Giant Reese’s Peanut Butter Cup Ingredients
• Indulge in this creamy, no-bake dessert!
For the Crust
- Oreo cookies – Perfectly forms the chocolate cookie crust; any chocolate wafer cookies work too.
- Unsalted butter – Binds the cookie crumbs; make sure it’s melted for easy mixing.
For the Filling
- Cream cheese – Delivers the creamy body and tang; use regular cream cheese for the best texture.
- Creamy peanut butter – Adds that signature nutty flavor essential to the Giant Reese’s Peanut Butter Cup; avoid natural varieties to keep the filling smooth.
- Powdered sugar – Sweetens the filling while ensuring a silky consistency.
- Vanilla extract – Enhances flavor and balances the cream cheese tang.
- Heavy whipping cream – Lightens the filling, making it fluffy and delightful.
- Semi-sweet chocolate chips – Used in the filling to create a harmonious flavor balance.
For the Topping
- Milk chocolate chips – Creates that classic peanut butter cup layer on top; melts beautifully.
- Reese’s Peanut Butter Cups – Chopped up, these add delightful texture and even more peanut butter taste.
- Mini chocolate chips – Sprinkled on top for an extra touch of chocolatey goodness.
Step‑by‑Step Instructions for Giant Reese’s Peanut Butter Cup
Step 1: Prepare the Cookie Crust
Begin by crushing Oreo cookies into fine crumbs, ideally using a food processor for even consistency. Mix the cookie crumbs with melted unsalted butter until the texture resembles wet sand, ensuring all crumbs are coated. Press this mixture firmly into the bottom and slightly up the sides of a 9-inch springform pan. Place the crust in the refrigerator to chill for 15 minutes and set.
Step 2: Make the Peanut Butter Filling
In a large mixing bowl, beat softened cream cheese with an electric mixer until smooth. Gradually mix in creamy peanut butter, powdered sugar, and vanilla extract until the mixture is creamy and fluffy, combining all ingredients well. This luscious filling will be the star of your Giant Reese’s Peanut Butter Cup, so ensure there are no lumps and it’s perfectly blended.
Step 3: Whip the Heavy Cream
In a separate bowl, begin whipping heavy cream using a mixer on medium-high speed until you achieve stiff peaks. This will take approximately 3-5 minutes. Once ready, gently fold the whipped cream into the peanut butter mixture, being careful not to deflate the airy texture. This step adds a lightness to the filling, essential for your dessert’s creamy consistency.
Step 4: Layer the First Half of the Filling
Once your crust has chilled, spread half of the peanut butter filling evenly over the cookie crust. Use a spatula to smooth the surface for an attractive finish. Drizzle semi-sweet chocolate over the filling, allowing it to create a marbled effect as it slightly sinks into the creamy layer. This adds a delicious complexity to the flavor of your Giant Reese’s Peanut Butter Cup.
Step 5: Add the Remaining Filling
With care, spoon the remaining peanut butter filling onto the first layer. Smooth it out evenly across the top to ensure a beautiful presentation once set. Now, cover the springform pan with plastic wrap and refrigerate for at least 4 hours, or until firm. This ensures your dessert will hold its shape when sliced, making it even more enjoyable to serve.
Step 6: Prepare the Chocolate Topping
After the filling has set, melt milk chocolate chips in a microwave-safe bowl, heating in 30-second intervals and stirring until smooth. Pour this melted chocolate over the chilled filling, letting it cascade down the sides for a decadent look. Using a spatula, spread it evenly, ensuring every edge is coated, mimicking a classic peanut butter cup finish.
Step 7: Decorate the Dessert
Immediately after adding the chocolate, sprinkle chopped Reese’s Peanut Butter Cups and mini chocolate chips on top of the melted chocolate. This adds extra texture and chocolatey goodness to the dessert. Let it chill in the refrigerator for an additional 30 minutes, allowing the topping to set perfectly before slicing into your Giant Reese’s Peanut Butter Cup.
Step 8: Serve and Enjoy
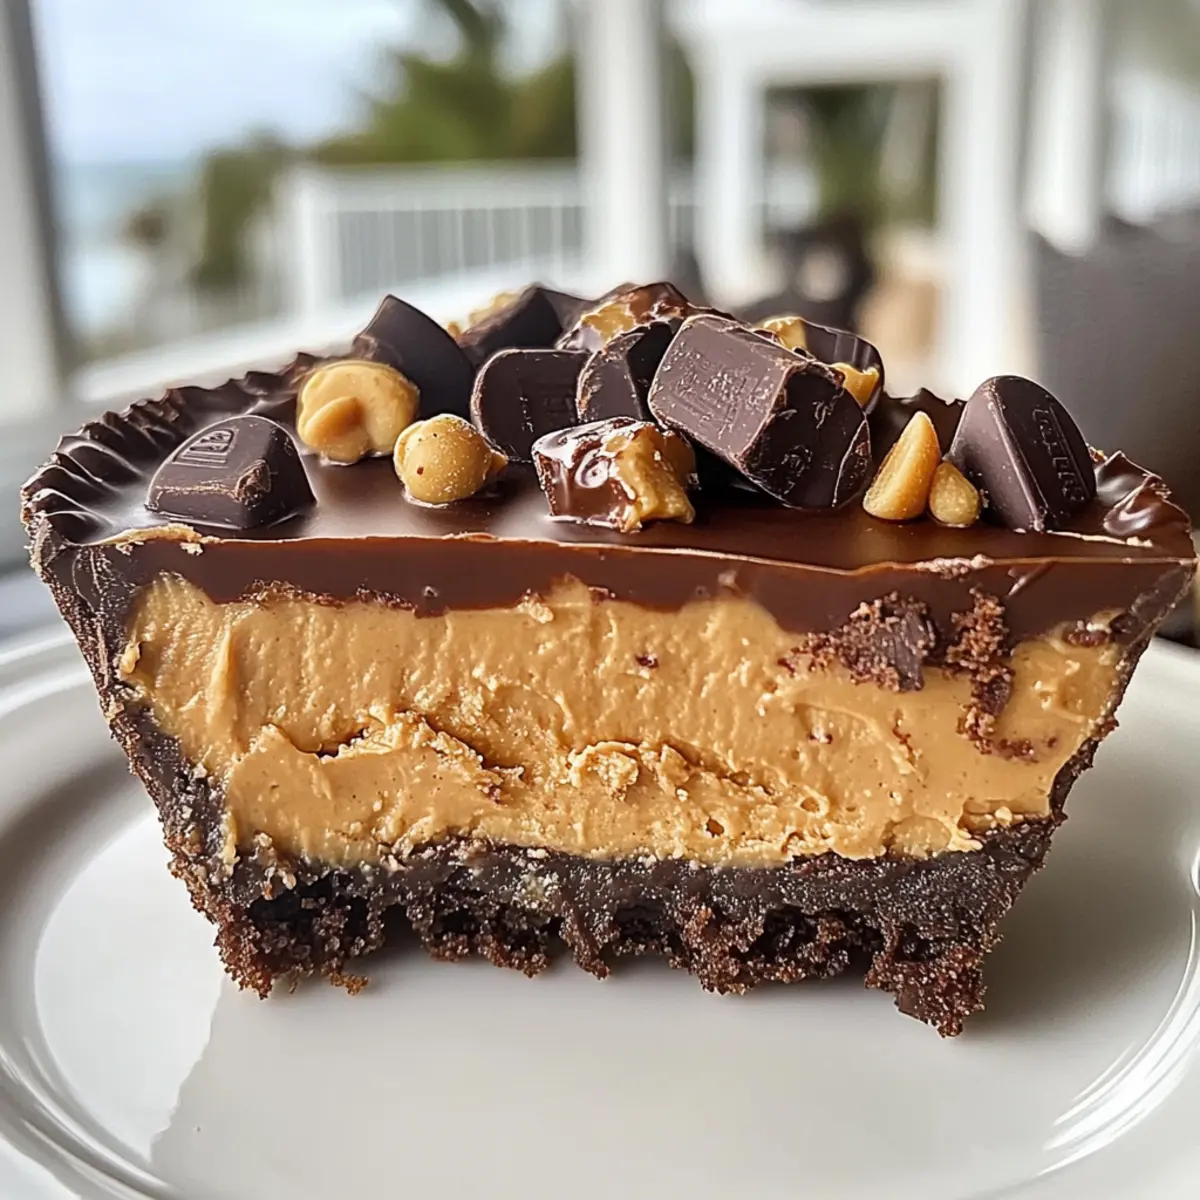
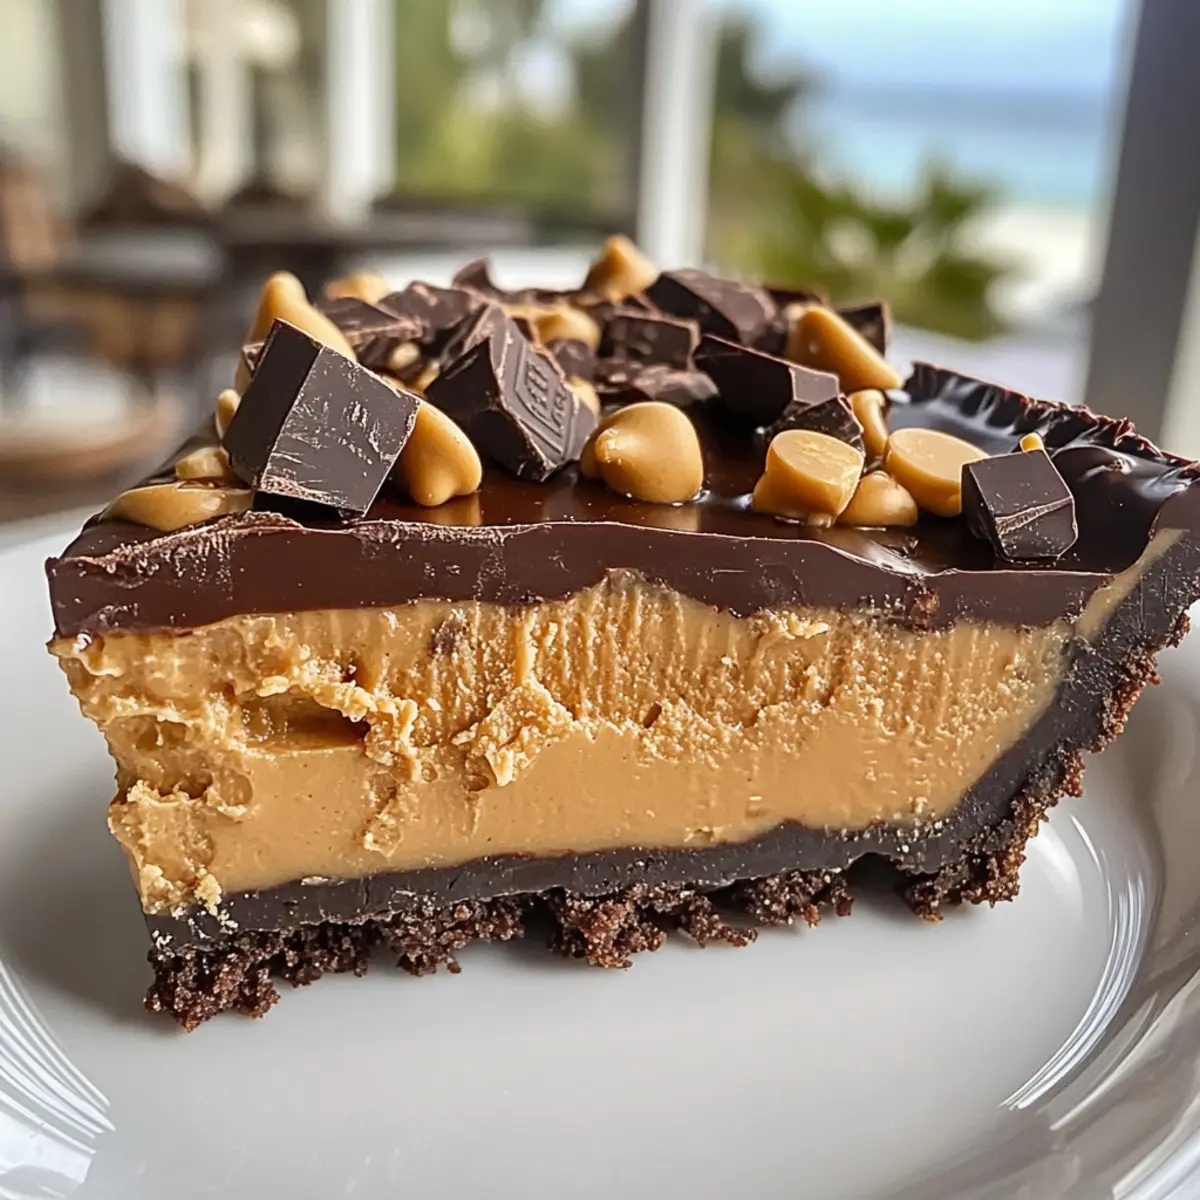
When ready to serve, carefully remove the sides of the springform pan. Slice the cake with a warm knife for clean cuts. Each slice reveals layers of cookie crust, creamy filling, and a rich chocolate topping, embodying the excellent flavors of a classic Giant Reese’s Peanut Butter Cup that everyone will love.

Make Ahead Options
These Giant Reese’s Peanut Butter Cups are perfect for meal prep enthusiasts! You can prepare the cookie crust and the peanut butter filling up to 24 hours in advance, allowing the flavors to meld beautifully. After prepping, simply store the crust covered in the fridge, and keep the filling airtight until you’re ready to layer it. This method helps maintain the dessert’s creamy texture and rich flavors. When you’re ready to finish your dessert, spread the filling over the chilled crust, let it set in the fridge for at least 4 hours, and then top with chocolate and Reese’s for a stunning presentation. Your effortlessly delicious dessert will wow your guests!
What to Serve with Giant Reese’s Peanut Butter Cup
Pair this indulgent dessert with complementary flavors that enhance the chocolate-peanut butter experience and create a memorable meal.
-
Whipped Cream: A dollop of freshly whipped cream adds a light, airy contrast to the richness of the dessert.
-
Vanilla Ice Cream: A scoop of creamy vanilla ice cream balances the sweetness and provides a refreshing contrast to the decadent flavors.
-
Fresh Berries: Juicy strawberries or raspberries offer a bright pop of freshness that cuts through the richness while adding a beautiful presentation.
-
Coffee: A strong cup of coffee enhances the chocolate flavors and offers a delightful warmth, making it the perfect pairing for this dessert.
-
Chocolate Sauce: Drizzling extra chocolate sauce over slices can intensify the chocolate flavor, creating an even more indulgent experience.
-
Peanut Butter Sauce: For peanut butter lovers, a drizzle of peanut butter sauce can heighten the nutty flavor profile and add to the overall lushness.
Each of these ideas elevates your dessert experience, inviting you to create a full meal that delights the senses.
Expert Tips for Giant Reese’s Peanut Butter Cup
• Use the Right Peanut Butter: Regular creamy peanut butter is key for a smooth filling. Avoid natural kinds; they can lead to an oily consistency.
• Chill for Clean Slices: Ensure your dessert is well-chilled before slicing. Use a warm knife dipped in hot water for the cleanest cuts.
• Make Ahead Magic: Prepare this dessert a day in advance. It improves in flavor and texture, making it even more irresistible when served.
• Mix Gradually: When blending the filling, add ingredients slowly. This prevents lumps and ensures a creamy consistency in your Giant Reese’s Peanut Butter Cup.
• Variations Galore: Don’t hesitate to experiment! Try different cookie crusts or mix in some crushed cookies for added crunch in the filling.
Giant Reese’s Peanut Butter Cup Variations
Feel free to let your creativity shine with these modifications to make this dessert your own!
-
Graham Cracker Crust: Swap Oreo cookies for graham crackers for a less intense chocolate flavor and a delightful crunch.
-
Crunchy Peanut Butter: Substitute creamy peanut butter for crunchy to introduce a lovely nutty texture in every bite. This adds an exciting twist to the classic.
-
Flavored Cream Cheese: Experiment with flavored cream cheese, like chocolate or caramel, to infuse new depth into the filling and excite your taste buds!
-
Nut Toppings: Top with chopped nuts like peanuts or pecans for an added crunch that complements the creamy filling beautifully. The mixed textures make for a satisfying dessert experience.
-
Chocolate Drizzle: Drizzle some melted dark chocolate over the top for a more gourmet feel; it takes the chocolate flavor to a new level!
-
Spicy Kick: Add a pinch of cayenne pepper to the filling for a surprising hint of heat that pairs wonderfully with the sweetness.
-
Layered Flavors: Create a layer of toffee or cookie crumble between the fillings—the surprise will delight your guests with every slice!
Adding variations like these keeps your dessert fun and engaging. For other peanut butter-themed treats, you might enjoy baking up some Homemade Nutter Butters or whipping together Peanut Butter Jelly Cookies. Whatever you choose, let your imagination guide the way!
How to Store and Freeze Giant Reese’s Peanut Butter Cup
Fridge: Keep your Giant Reese’s Peanut Butter Cup covered in the refrigerator for up to 5 days. This will ensure it stays fresh while the flavors continue to meld beautifully.
Freezer: To freeze individual slices, wrap them tightly in plastic wrap or aluminum foil. They can be stored for up to 3 months; just thaw in the fridge before serving for the best texture.
Reheating: There’s no need to heat this dessert. Serve it chilled for the perfect creamy experience. Enjoying it cool enhances that rich chocolate-peanut butter flavor!
Giant Reese’s Peanut Butter Cup Recipe FAQs
How do I choose the right ingredients for this dessert?
Absolutely! When selecting your ingredients, ensure you use regular creamy peanut butter, as natural types can lead to an oily filling. For the crust, Oreo cookies are perfect, but if you want to try something different, chocolate wafer cookies work too. Always make sure your cream cheese is softened to room temperature for a smooth mixture.
How should I store the Giant Reese’s Peanut Butter Cup?
Keep your dessert covered in the refrigerator for up to 5 days. I recommend placing it in an airtight container to prevent any absorption of odors from the fridge, which helps maintain its delightful flavor.
Can I freeze leftovers of this dessert?
Yes, you can! To freeze individual slices, wrap each slice tightly in plastic wrap or aluminum foil and place them in an airtight freezer bag. They can be stored for up to 3 months. When you’re ready to enjoy, just thaw them in the fridge overnight to bring them back to their creamy, delicious state.
What if my filling is too runny?
Very! If your peanut butter filling turns out runny, try to chill it longer for better set consistency. If you’re short on time, you could also add a bit more powdered sugar to help thicken it. Make sure your whipped cream is at stiff peaks before folding it into the peanut butter mixture, as this will add volume and stability.
Are there any dietary considerations for this dessert?
Absolutely! This recipe contains dairy and peanuts, which are common allergens. If you’re making it for guests, you might want to ask about allergies beforehand. For a dairy-free alternative, consider using vegan cream cheese and whipping cream, ensuring everyone can enjoy this delightful treat!
Giant Reese’s Peanut Butter Cup: A No-Bake Delight to Share
Ingredients
Equipment
Method
- Crush Oreo cookies into fine crumbs using a food processor. Mix with melted butter until resembling wet sand, then press into the bottom of a 9-inch springform pan. Chill in the refrigerator for 15 minutes.
- Beat softened cream cheese in a mixing bowl until smooth. Gradually mix in peanut butter, powdered sugar, and vanilla until creamy.
- Whip heavy cream in a separate bowl until stiff peaks form, then gently fold into the peanut butter mixture.
- Spread half of the peanut butter filling over the cookie crust. Drizzle semi-sweet chocolate on top.
- Spoon the remaining peanut butter filling over the first layer and smooth the top. Cover with plastic wrap and refrigerate for at least 4 hours.
- Melt milk chocolate chips and pour over the chilled filling, spreading evenly.
- Sprinkle chopped Reese's Peanut Butter Cups and mini chocolate chips on top of the melted chocolate.
- After chilling for another 30 minutes, remove the sides of the springform pan, slice, and serve.
Leave a Reply