
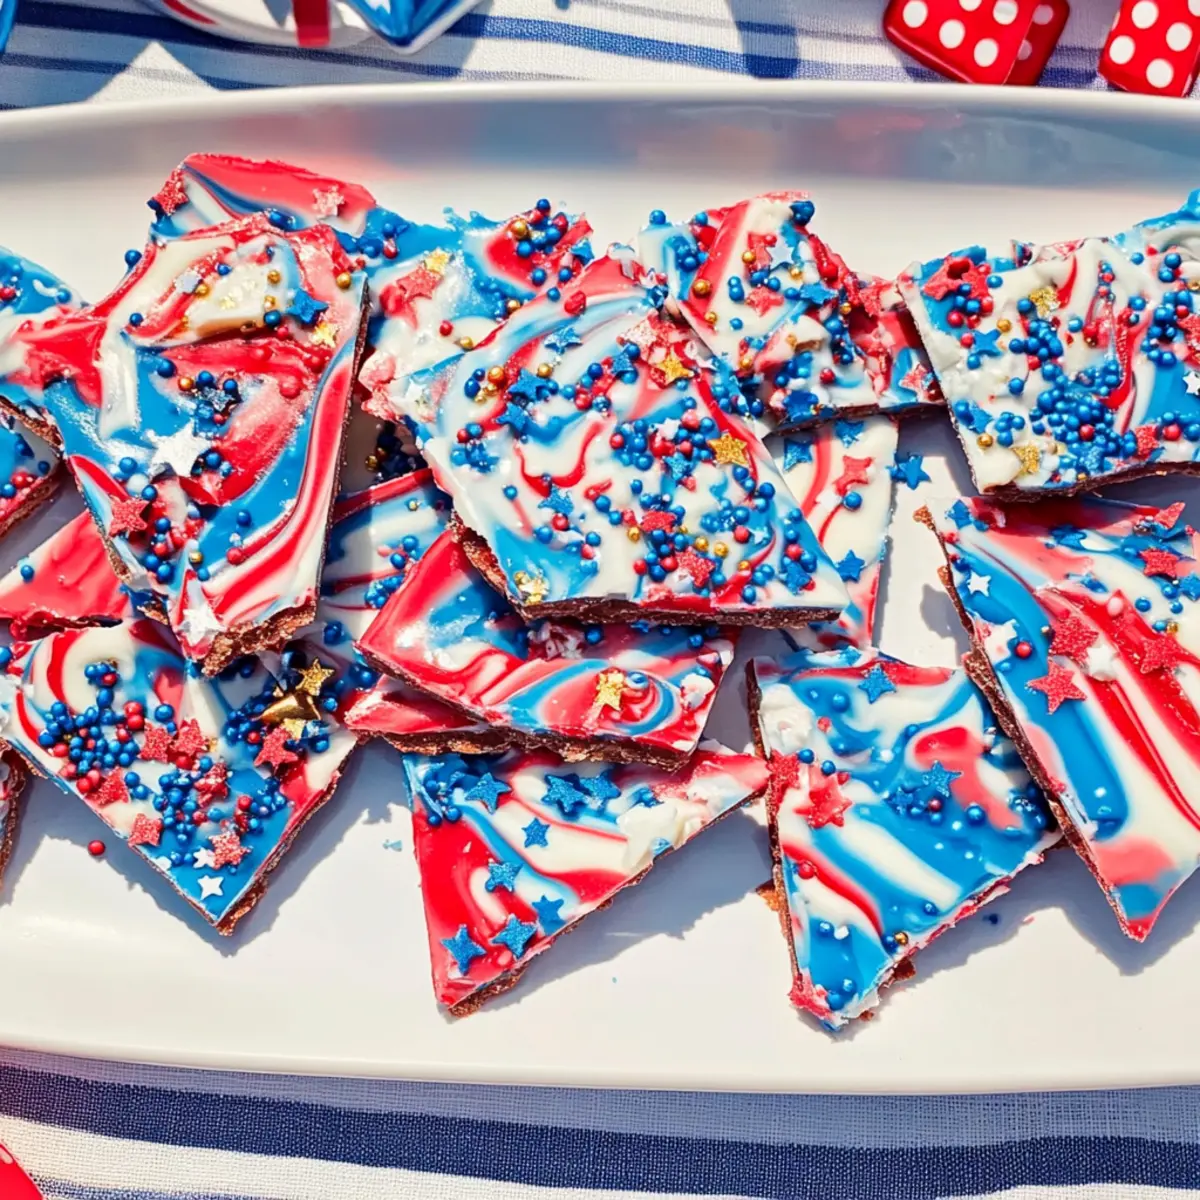
As the summer heat sets in and festive vibes fill the air, my mind drifts to one vibrant treat that perfectly captures the spirit of celebration: Freedom Bark. This no-bake delight dazzles with its stunning red, white, and blue colors, making it the ideal dessert for your 4th of July festivities. What I love most about this quick and easy recipe is that it takes just 15 minutes to whip up, giving you more time to enjoy the company of friends and family. Not to mention, it’s a show-stopping centerpiece that tastes as delightful as it looks! Are you ready to dive into this fun chocolate adventure and elevate your holiday dessert game?
Why Is Freedom Bark a Crowd-Pleaser?
Easy to Make: Just 15 minutes of prep means anyone can dive in, making it a perfect option for busy folks or novice bakers.
Festive Colors: The vibrant red, white, and blue hues make this dessert a visual showstopper, perfect for any summer celebration.
No-Bake Magic: Skip the oven and enjoy a quick setup! It’s an ideal treat for those hot summer days when you want something sweet without heating up the kitchen.
Versatile Base: Customize your Freedom Bark by swapping colors or adding your favorite mix-ins—think nuts, fruits, or even pretzels for extra crunch! If you’re looking for more fun ideas, check out my tips on variations to make it your own.
Family Fun: Get the kids involved in swirling the colors and adding toppings; it’s a delightful way to create memories together while satisfying your sweet tooth.
Freedom Bark Ingredients
For the Chocolate Base
• White Candy Melts – The essential creamy base for your Freedom Bark, offering sweetness and a smooth texture. Substitution: Use white chocolate if preferred.
• Blue Candy Melts – Adds a stunning blue hue to your creation, perfect for our festive theme. Substitution: Blue chocolate or leave out for less color.
• Red Candy Melts – Infuses vibrant red color while complementing the sweetness of the dessert. Substitution: Red chocolate or omit for a subtler look.
For the Decoration
• Red, White, and Blue Sprinkles – These colorful sprinkles make your bark visually festive. Substitution: Any fun festive sprinkles can be used.
• Edible Gold Stars – An optional decoration that adds elegance and a touch of glamour to your no-bake treat. Note: Available at craft stores for that extra sparkle.
• Blue Edible Glitter – Enhances the festive look, making your Freedom Bark even more eye-catching. Note: Optional, available at craft stores to simplify your design.
Embrace the spirit of celebration with this vibrant Freedom Bark, a delightful and easy-to-make dessert that’s perfect for any holiday gathering!
Step‑by‑Step Instructions for Freedom Bark
Step 1: Melt the White Candy Melts
Begin by preparing a microwave-safe bowl. Add the white candy melts and heat them in the microwave at 50% power for 30 seconds. Stir well after each interval until they are fully melted and smooth, which typically takes about 1 to 2 minutes. Ensure the mixture is glossy and free of lumps, as this will form the base for your Freedom Bark.
Step 2: Pour the White Chocolate Layer
Once melted, carefully pour the white candy into a parchment-lined baking sheet. Use a spatula to spread it evenly into a rectangle about ¼ inch thick. Make sure the layer reaches the corners of the sheet for a uniform appearance. This will be the robust foundation for your festive Freedom Bark, so aim for a smooth, consistent layer.
Step 3: Melt the Blue and Red Candy Melts
Next, repeat the melting process for the blue and red candy melts in separate microwave-safe bowls. Heat each color for 30 seconds at 50% power, stirring between intervals until they are completely smooth, approximately 1 to 2 minutes. This will allow you to create a vibrant, marbled effect when drizzled over the white layer of your Freedom Bark.
Step 4: Drizzle the Colors
Once melted, use a spoon to drizzle the blue candy melt over the cooled white layer in zigzag patterns, ensuring an appealing distribution. Follow with the red candy melt, creating an eye-catching contrast. Be creative with your designs, as each swirl will contribute to the festive look of your Freedom Bark.
Step 5: Swirl for a Marbled Effect
Take a skewer or a toothpick and gently swirl the colors together to create a marbled effect. Be careful not to over-mix; aim for a beautiful blend of colors that still showcases the red, white, and blue. This artistic touch makes your Freedom Bark not only tasty but visually stunning.
Step 6: Add the Sprinkles and Decorations
Before the candy melts set, generously sprinkle your red, white, and blue sprinkles over the top, followed by the edible gold stars and blue glitter for an extra festive touch. Ensure even coverage for a delightful look. This step enhances the celebratory vibe and adds a fun crunch to your Freedom Bark.
Step 7: Chill to Set
Carefully transfer the baking sheet to the freezer and allow it to chill for about 20 minutes or until the chocolate has completely hardened. Check that the bark is firm to the touch before removing it. This chilling step is crucial to achieve the right texture for breaking into pieces later.
Step 8: Break and Serve
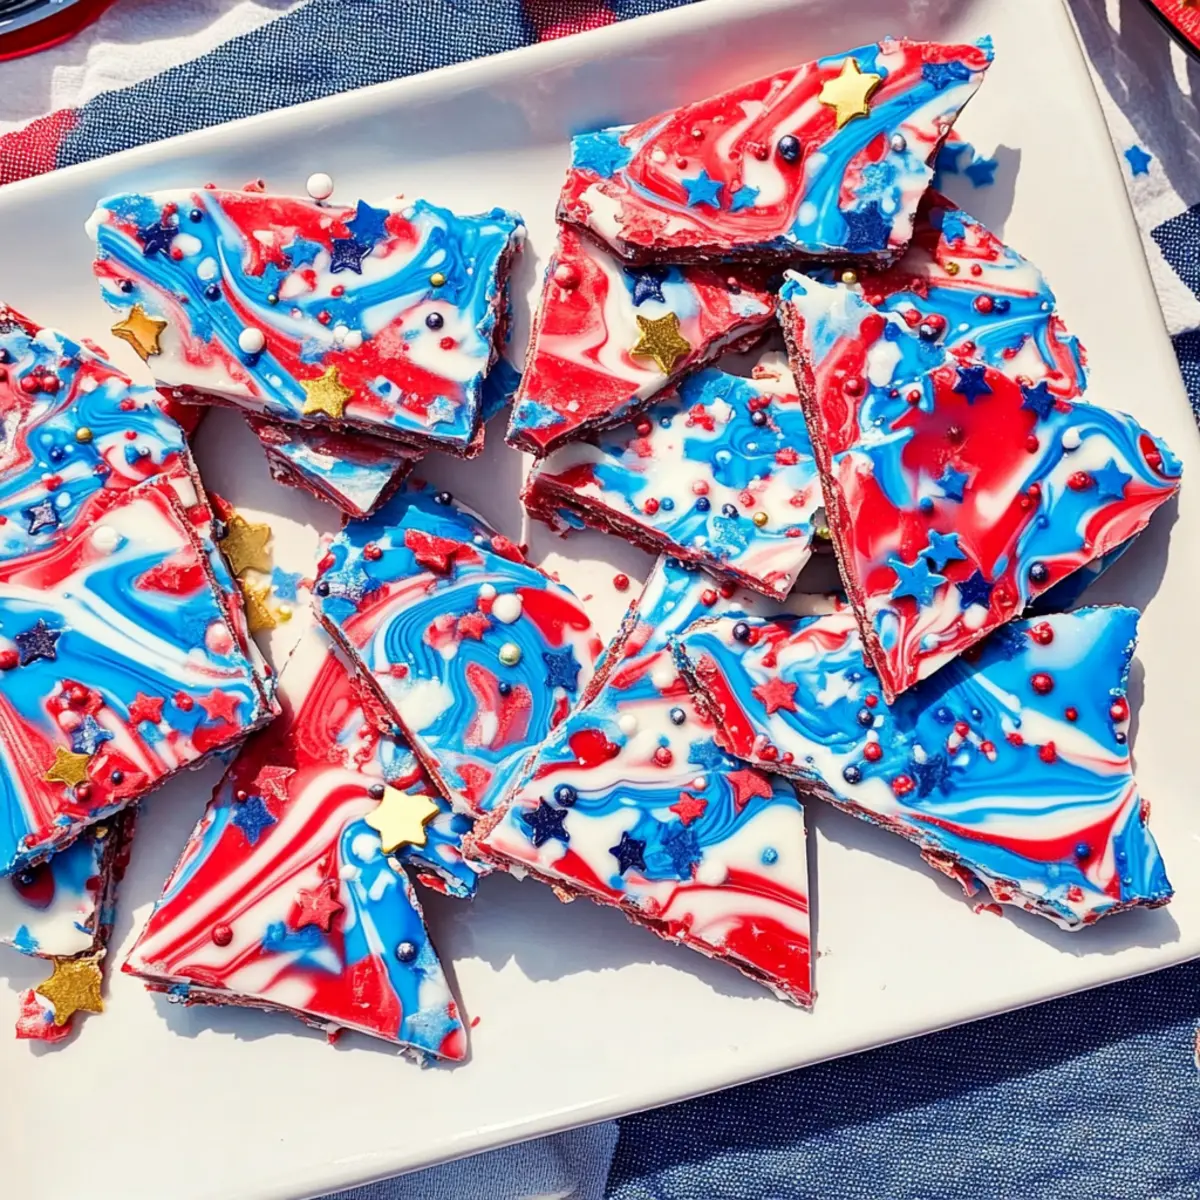
Once set, remove the Freedom Bark from the freezer. Lift it off the parchment paper and place it on a cutting board. Using your hands, break it into irregular pieces for a rustic look, making sure to capture those vibrant colors. Serve at room temperature or chilled for a delightful festive treat!
Make Ahead Options
These Freedom Bark treats are perfect for meal prep enthusiasts! You can prepare the chocolate layers up to 24 hours in advance, ensuring you have more time to enjoy your gathering. Simply melt the white, blue, and red candy melts as directed, pour, and swirl them, but hold off on adding the sprinkles and decorations until you’re ready to serve. After chilling, wrap the set bark tightly in plastic wrap and store it in the refrigerator to maintain freshness and prevent any unwanted texture changes. When you’re ready for that festive touch, simply unveil your beautiful creation, sprinkle on the red, white, and blue decorations, and break it into pieces for a stunning dessert that looks and tastes just as delightful!
How to Store and Freeze Freedom Bark
Room Temperature: Keep leftover Freedom Bark in an airtight container at room temperature for up to 1 week, allowing you to enjoy its festive flavors at your leisure.
Fridge: If storing in the fridge, wrap the container in plastic wrap to prevent moisture absorption and keep it fresh for up to 2 weeks.
Freezer: For longer storage, freeze individual pieces of Freedom Bark in a freezer-safe bag or container for up to 3 months. Thaw it in the fridge before serving.
Reheating: There’s no need to reheat this treat; enjoy it chilled or at room temperature to maintain its delightful crunch and vibrant colors.
Freedom Bark Variations & Substitutions
Feel free to get creative with your Freedom Bark and make it truly yours with these fun twists!
-
Colorful Melts: Swap out the standard red, white, and blue for any color candy melts to fit other holidays like Halloween or Christmas.
-
Nutty Crunch: Toss in some chopped nuts, like almonds or pecans, for an added crunch and rich flavor. This little adjustment takes your treat to a delightful next level!
-
Dried Fruit: Mix in dried cranberries or cherries for a chewiness that beautifully contrasts the crunchy sprinkles. The additional flavors make each bite an exciting surprise!
-
Alternative Chocolates: Try using dark or milk chocolate melts instead of candy melts for a different flavor profile—just ensure that they still set nicely.
-
Minty Fresh: Add a drop of mint extract to the melted white candy melts for a refreshing twist, perfect for a summer treat!
-
Spicy Kick: For those who like a little heat, try adding crushed spicy cinnamon candies for a unique flavor adventure. It’s a surprising kick in a sweet package!
-
Cookie Crumble: Crushed graham crackers or golden Oreos sprinkled on top can replace sprinkles for a delightful texture and added sweetness.
-
Allergy-Friendly: Use allergy-friendly chocolate alternatives or avoid candy melts altogether to create a bark that’s suitable for various dietary needs. Check out my tips on substituting for different diets for more ideas!
These variations inspire not only creativity but also ensure everyone can enjoy a festive treat, making gatherings even sweeter!
What to Serve with Freedom Bark?
Indulge in a full celebration spread that pairs perfectly with this delightful no-bake treat, igniting both flavor and festivity.
-
Raspberry Lemonade: This refreshing drink adds a zesty kick that pairs perfectly with the sweet chocolate, brightening up your dessert table.
-
Grilled Fruit Skewers: Juicy grilled peaches or pineapples bring a smoky sweetness to balance the sweetness of the Freedom Bark for a delightful contrast.
-
Patriotic Fruit Salad: A vibrant mix of blueberries, strawberries, and whipped cream enhances the festive theme while providing a fresh, tart complement to the rich chocolate.
-
Cheese Platter: A selection of creamy cheeses mixed with salty crackers creates a savory counterpart, perfect for balancing the sweetness of the bark.
-
Chocolate-Dipped Pretzels: These add a delightful crunch and a salty-sweet flavor that invites guests to indulge with an extra texture boost.
-
Vanilla Ice Cream: A scoop of velvety ice cream served alongside the Freedom Bark elevates the experience, creating a creamy contrast to the crunchy treat.
-
Sparkling Water with Lime: Stay hydrated with this crisp beverage, offering a bubbly freshness that cleanses the palate between bites of rich treats.
-
Red, White, and Blue Cupcakes: These festive mini desserts echo the spirit of the Freedom Bark, rounding out a colorful and celebratory dessert lineup.
Whether it’s a summer barbecue or a festive gathering, these pairings will create a delightful feast that celebrates flavors and fun!
Expert Tips for Freedom Bark
-
Use Smooth Melts: Ensure your candy melts are fully melted and smooth to prevent clumps. This is essential for creating a beautiful Freedom Bark.
-
Layer Thickness: Pour the white layer thick enough to support the toppings, but not so thick that it’s difficult to break apart. Aim for about ¼ inch.
-
Chill Properly: Place the bark in the freezer instead of the fridge for faster setting. This locks in the ideal texture and keeps the colors bold and vibrant.
-
Creative Swirling: Don’t over-mix when swirling colors; aim for a beautiful marbled effect. This showcases the festive red, white, and blue.
-
Be Generous with Toppings: Make your bark pop by adding plenty of sprinkles, gold stars, and glitter. They enhance not just the look, but also the flavor and crunch!
Freedom Bark Recipe FAQs
What type of candy melts should I use for Freedom Bark?
I recommend using high-quality candy melts for the best results. White candy melts serve as the base, while red and blue candy melts create a festive look. You can also substitute white chocolate if you prefer a creamier taste!
How do I store leftover Freedom Bark?
Store any leftover Freedom Bark in an airtight container at room temperature for up to 1 week. To keep it fresh longer, you can wrap the container in plastic wrap. If you opt for the fridge, it will stay good for up to 2 weeks!
Can I freeze Freedom Bark?
Absolutely! To freeze, place individual pieces in a freezer-safe bag or container, making sure to separate layers with parchment paper to prevent sticking. It will keep well for up to 3 months! To enjoy, simply thaw in the fridge before serving.
What if my candy melts become clumpy?
If your candy melts aren’t melting smoothly, try microwaving them in shorter intervals at lower power. Heat them at 50% power for 20-30 seconds at a time and stir thoroughly. If they are still clumpy, adding a teaspoon of coconut oil can help achieve a smoother consistency.
Are there any dietary considerations for Freedom Bark?
Yes! If you’re making Freedom Bark for someone with allergies, ensure the candy melts are gluten-free and check for any other potential allergens, like soy or dairy content. For a nut-free version, skip any nut add-ins and stick to the basic recipe. Enjoying this treat is about sharing the joy, so always consider your guests’ needs!
Can I customize the colors and toppings?
Yes, the magic of Freedom Bark lies in its versatility! Feel free to swap out candy melts for different colors based on the holiday or occasion. You can also add nuts, dried fruits, or even colorful sprinkles to match your theme. The more the merrier—get creative!
Delicious Freedom Bark: Festive No-Bake Dessert Delight
Ingredients
Equipment
Method
- Prepare a microwave-safe bowl. Add the white candy melts and heat at 50% power for 30 seconds. Stir well until fully melted and smooth, which takes 1 to 2 minutes.
- Pour the melted white candy into a parchment-lined baking sheet and spread it evenly into a rectangle about ¼ inch thick.
- Repeat the melting process for the blue and red candy melts in separate bowls, stirring until smooth.
- Drizzle the blue candy melt over the cooled white layer in zigzag patterns, followed by the red candy melt.
- Use a skewer or toothpick to gently swirl the colors together for a marbled effect.
- Before the candy melts set, sprinkle with red, white, and blue sprinkles, edible gold stars, and blue glitter.
- Transfer the baking sheet to the freezer and chill for about 20 minutes until the chocolate has hardened.
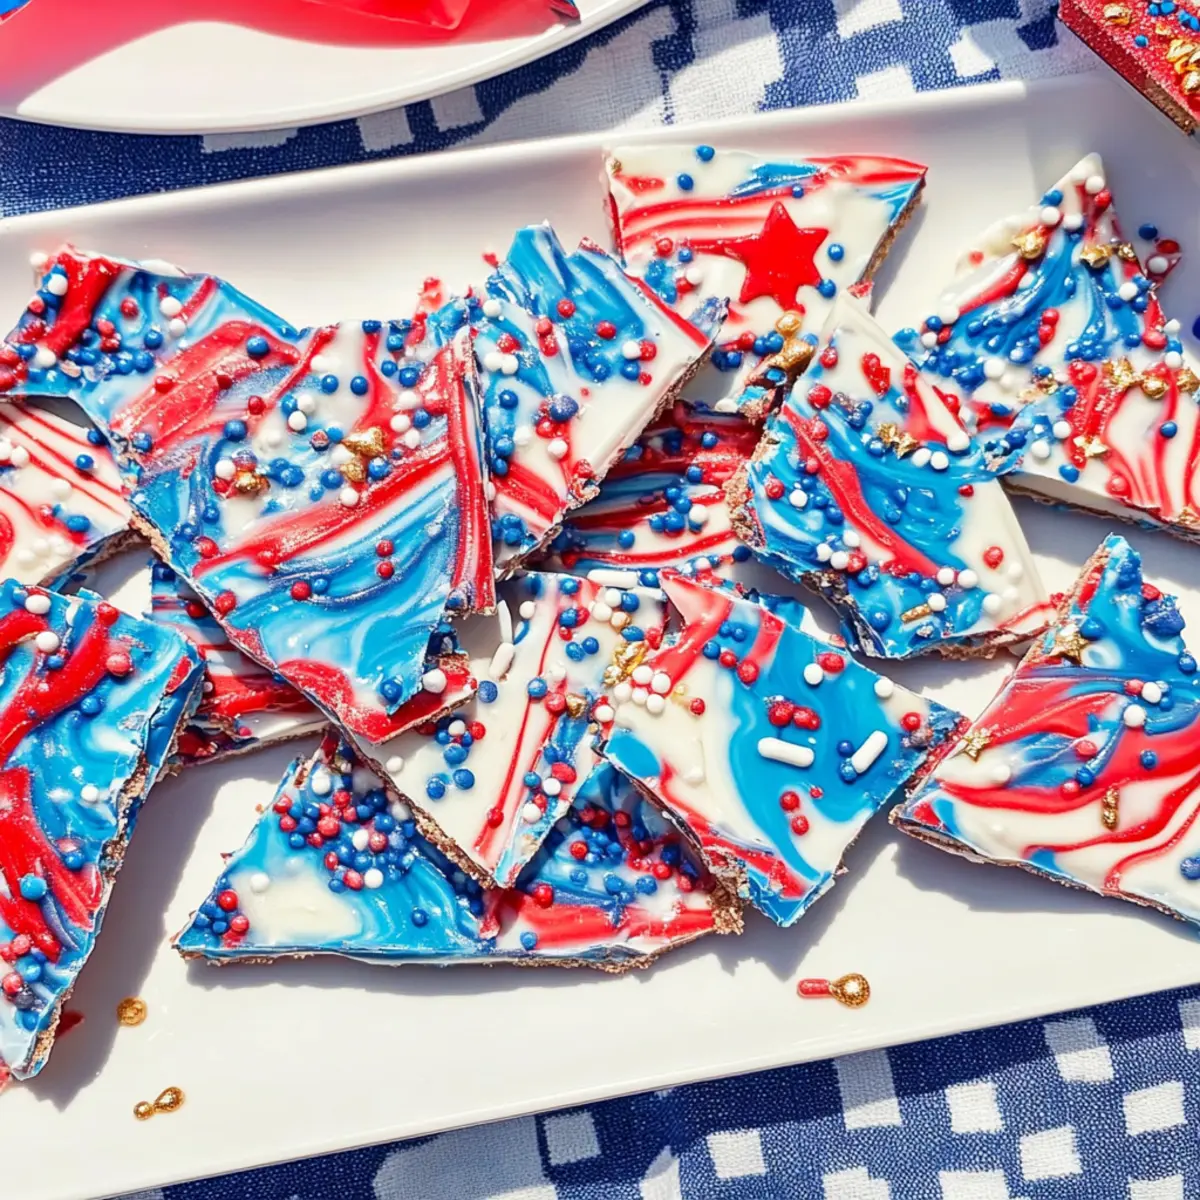
- Remove the Freedom Bark from the freezer and break it into irregular pieces for serving.
Leave a Reply