
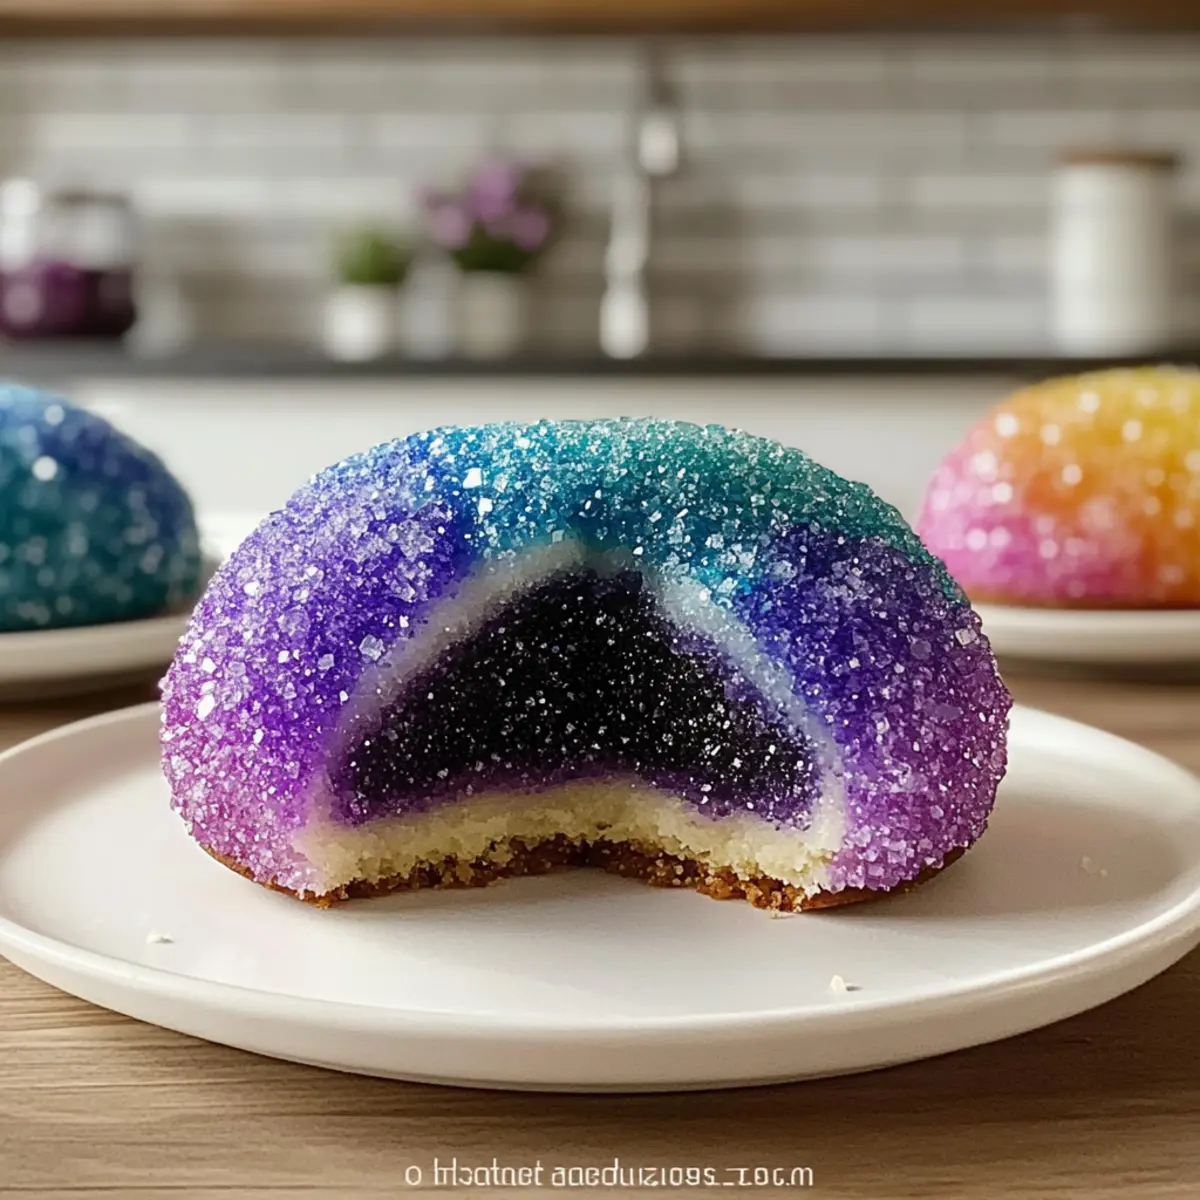
Have you ever wished to sprinkle a little magic into your baking? With these Easy Geode Cookies, you can turn a simple cookie-making session into a colorful edible masterpiece that will wow your friends and family! These enticing treats feature a soft, sweet vanilla base adorned with vibrant, crunchy rock candy crystals that resemble stunning geodes. Best of all, minimal baking experience is required, making them accessible for anyone ready to dive into the world of cookie art. Whether you’re hosting a party or simply want to indulge your creative side, these cookies are not only a feast for the eyes but also perfect for sharing. Curious about how to create this dazzling dessert? Let’s get started!
Why Are Geode Cookies So Appealing?
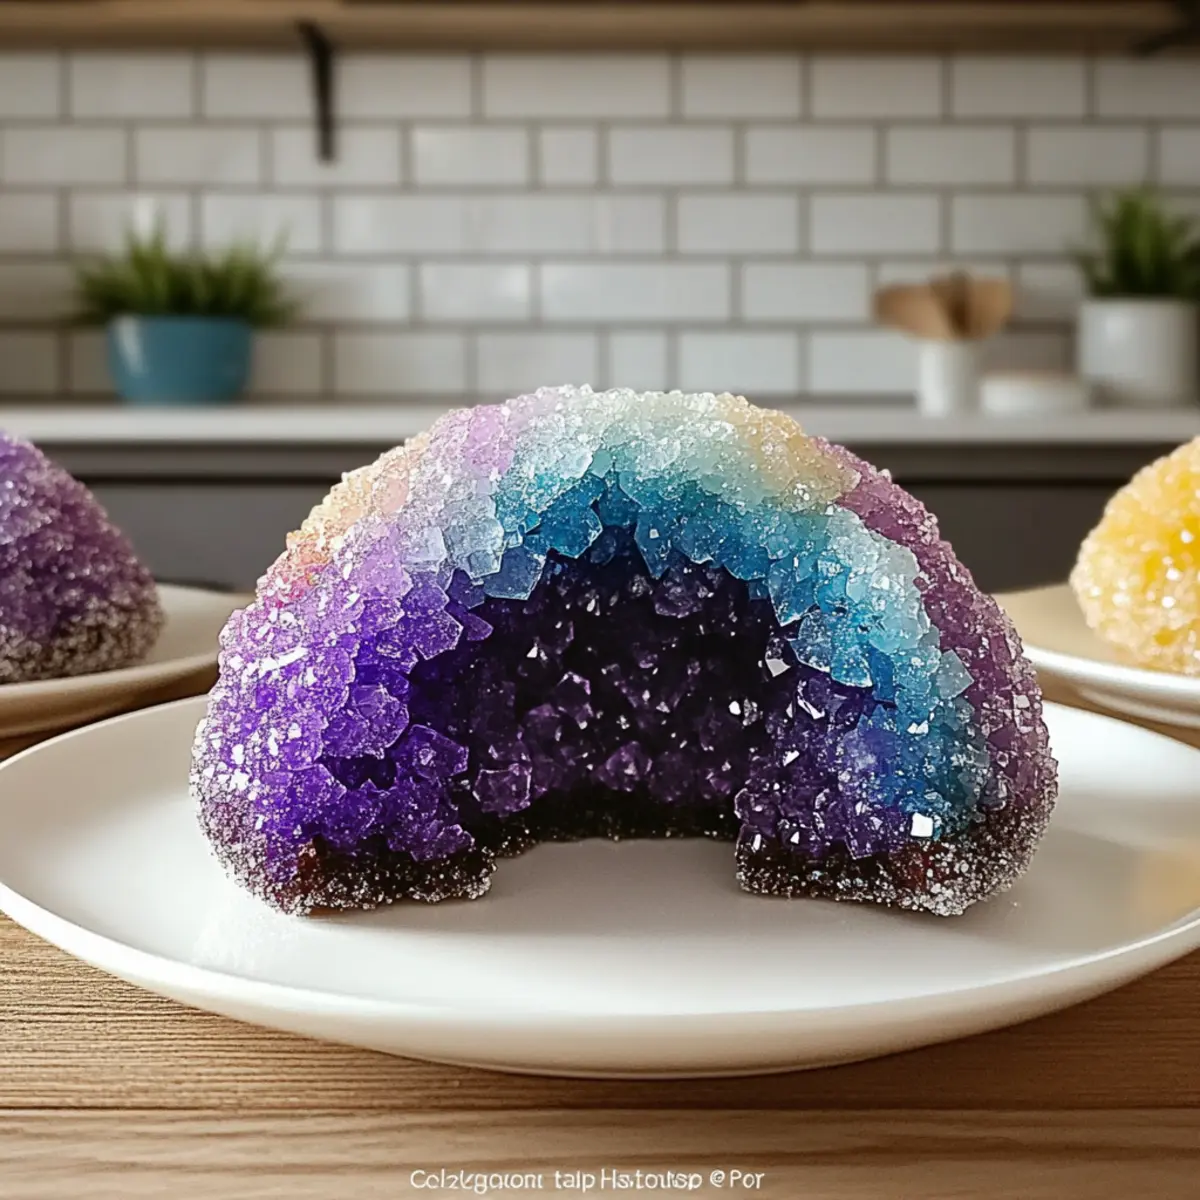
Visual Delight: These stunning treats look as amazing as they taste, featuring vibrant rock candy crystals that sparkle like gemstones.
Easy Baking: Perfect for both novice bakers and seasoned chefs, this recipe requires minimal skills yet delivers impressive results.
Customizable Fun: Feel free to experiment with colors and flavors, making them ideal for any occasion! You can even pair these cookies with a warm cup of coffee to balance the sweetness.
Crowd-Pleaser: Bring them to gatherings, and watch as everyone marvels at these edible sculptures! Whether you’re whipping them up for a birthday party or a cozy evening treat, they’re sure to impress.
Elevate your cookie game and explore other fun baking ideas like my Butter Toffee Cookies or classic Chocolate Chip Cookies for even more deliciousness!
Easy Geode Cookies Ingredients
Get ready to gather the essentials for your new favorite baking adventure!
For the Cookies
- All-Purpose Flour – Provides structure; gluten-free flour can replace it for a suitable alternative.
- Baking Soda – A vital leavening agent that helps the cookies rise.
- Baking Powder – Works alongside baking soda to ensure your cookies are fluffy and light.
- Butter – Adds rich flavor and moisture; margarine or non-dairy butter are great substitutes.
- White Sugar – Creates sweetness and textures that define classic cookies.
- Large Egg – Serves as a binder and adds essential moisture.
- Vanilla Extract – Infuses delightful flavor; almond extract offers a unique twist.
For the Royal Icing
- Powdered Sugar – Essential for royal icing; gives a smooth texture and sweetness.
- Milk – Thins icing to the perfect consistency; swap with non-dairy milk if preferred.
For the Decoration
- Rock Candy Crystals (various colors) – Creates the stunning geode effect; adds both crunch and visual appeal.
- Edible Glitter Dust – Gives an extra sparkle to your cookies, enhancing their dazzling aesthetics.
- Food Coloring – Use this optional ingredient to tint your royal icing for a personal touch.
With these Easy Geode Cookies Ingredients, you’ll be all set to bake colorful delights that will surely be the highlight of any gathering!
Step‑by‑Step Instructions for Easy Geode Cookies
Step 1: Prepare the Dough
Start by creaming ¾ cup of softened butter and 1 cup of white sugar in a large mixing bowl until the mixture is light and fluffy, approximately 3-4 minutes. Next, blend in 1 large egg and 1 teaspoon of vanilla extract until combined. Gradually mix in a combination of 2 ½ cups of all-purpose flour, 1 teaspoon of baking soda, and ½ teaspoon of baking powder until a soft dough forms. Cover the dough and chill in the refrigerator for at least 1 hour, which helps it firm up and prevents spreading.
Step 2: Shape Cookies
Preheat your oven to 375°F (190°C) during the last 10 minutes of chilling the dough. On a lightly floured surface, roll out the chilled dough to a thickness of ¼ inch. Use a round cookie cutter to cut out circles, and with a small sharp knife, carefully carve wedge-shaped cavities into each cookie to create the geode effect. This little detail will help your Easy Geode Cookies stand out beautifully.
Step 3: Bake Cookies
Transfer the cookies onto parchment-lined baking sheets, ensuring there is enough space between each for spreading. Bake in the preheated oven for 10-12 minutes, or until the edges are lightly golden. Keep an eye on them as they bake, as you want the centers to remain soft while the edges achieve that perfect golden hue. Once baked, allow the cookies to cool completely on a wire rack before decorating.
Step 4: Make Royal Icing
In a medium bowl, whisk together 2 cups of powdered sugar and 2 tablespoons of milk until smooth and creamy. If you’d like, add a few drops of food coloring to create the desired hue for the royal icing. The consistency should be thick yet flowable, making it easy to fill in those geode cavities.
Step 5: Decorate Cookies
Using a piping bag or a small spoon, carefully fill each cavity in your cooled cookies with the royal icing. While the icing is still wet, artfully place various colors of rock candy crystals from smallest to largest in the icing to mimic the look of geodes. Don’t forget to sprinkle on some edible glitter dust to elevate the visual appeal of your Easy Geode Cookies!
Step 6: Drying Time
Once decorated, let your cookies dry completely at room temperature for at least 2 hours. This ensures that the royal icing hardens properly, allowing you to stack or package the cookies without damaging the delicate decorations. Give them the time they need to set, and you’ll be rewarded with stunning treats ready for sharing or enjoying yourself!
What to Serve with Easy Geode Cookies?
Celebrate the beauty of your Easy Geode Cookies by pairing them with delightful accompaniments that enhance their sweetness and charm.
-
Creamy Hot Chocolate: This rich, velvety drink offers a comforting warmth that balances the sugar crystals perfectly, making each bite irresistible. The smooth cocoa will soothe your soul and keep the festivities alive!
-
Fresh Berry Medley: Juicy strawberries, raspberries, and blueberries add a tart contrast to the cookies’ sweetness, refreshing your palate with their vibrant flavors. This duo brings a burst of color and natural sweetness to your dessert spread.
-
Whipped Cream: Light and fluffy, a dollop of freshly whipped cream elevates your geode cookies, perfectly complementing their texture. You can even flavor the cream with vanilla or almond extract for an extra special touch.
-
Lavender Lemonade: This floral twist on a classic drink offers a delightful refreshment that pairs beautifully with the cookies’ flavors. The lemonade’s tartness enhances the sweetness of the cookies while providing a refreshing sip between bites.
-
Vanilla Ice Cream: A scoop of creamy vanilla ice cream makes for a delectable contrast to the crunchy crystals and soft cookie base. Enjoy the combination of flavors and textures as the ice cream slowly melts into your cookie.
-
Earl Grey Tea: The subtle bergamot notes of Earl Grey tea complement the delicate flavors of your Easy Geode Cookies. This warm drink offers a calming pause amidst the sweetness, perfect for an afternoon treat.
Indulge in these delightful pairings and watch how they bring your cookie experience to a whole new level of joy!
How to Store and Freeze Easy Geode Cookies
-
Room Temperature: Store decorated cookies in an airtight container at room temperature for up to 5 days. This will keep them fresh while preserving the stunning geode effect.
-
Fridge: If you live in a warm climate, consider refrigerating the cookies in a single layer in an airtight container for up to 1 week. Be mindful of moisture, as it can affect the icing.
-
Freezer: Freeze undecorated cookies for up to 3 months. Wrap them tightly in plastic wrap, then place in a freezer-safe bag. Thaw before decorating for the best results.
-
Reheating: While these Easy Geode Cookies are best enjoyed fresh, if you must reheat them, place the cookies in a preheated oven at 300°F (150°C) for about 5 minutes, just enough to warm them up.
Easy Geode Cookies Variations
Feel free to get creative with these Easy Geode Cookies and explore delightful twists and substitutions!
-
Brown Sugar: Swap out white sugar for brown sugar to introduce a deeper flavor and warmth to your cookies. This enhances their richness and adds a hint of caramel notes.
-
Chocolate Delight: Use chocolate sugar cookie dough instead of vanilla for a decadent variation that’s rich and fulfilling. These cookies scream indulgence and make for a fantastic treat to serve at gatherings!
-
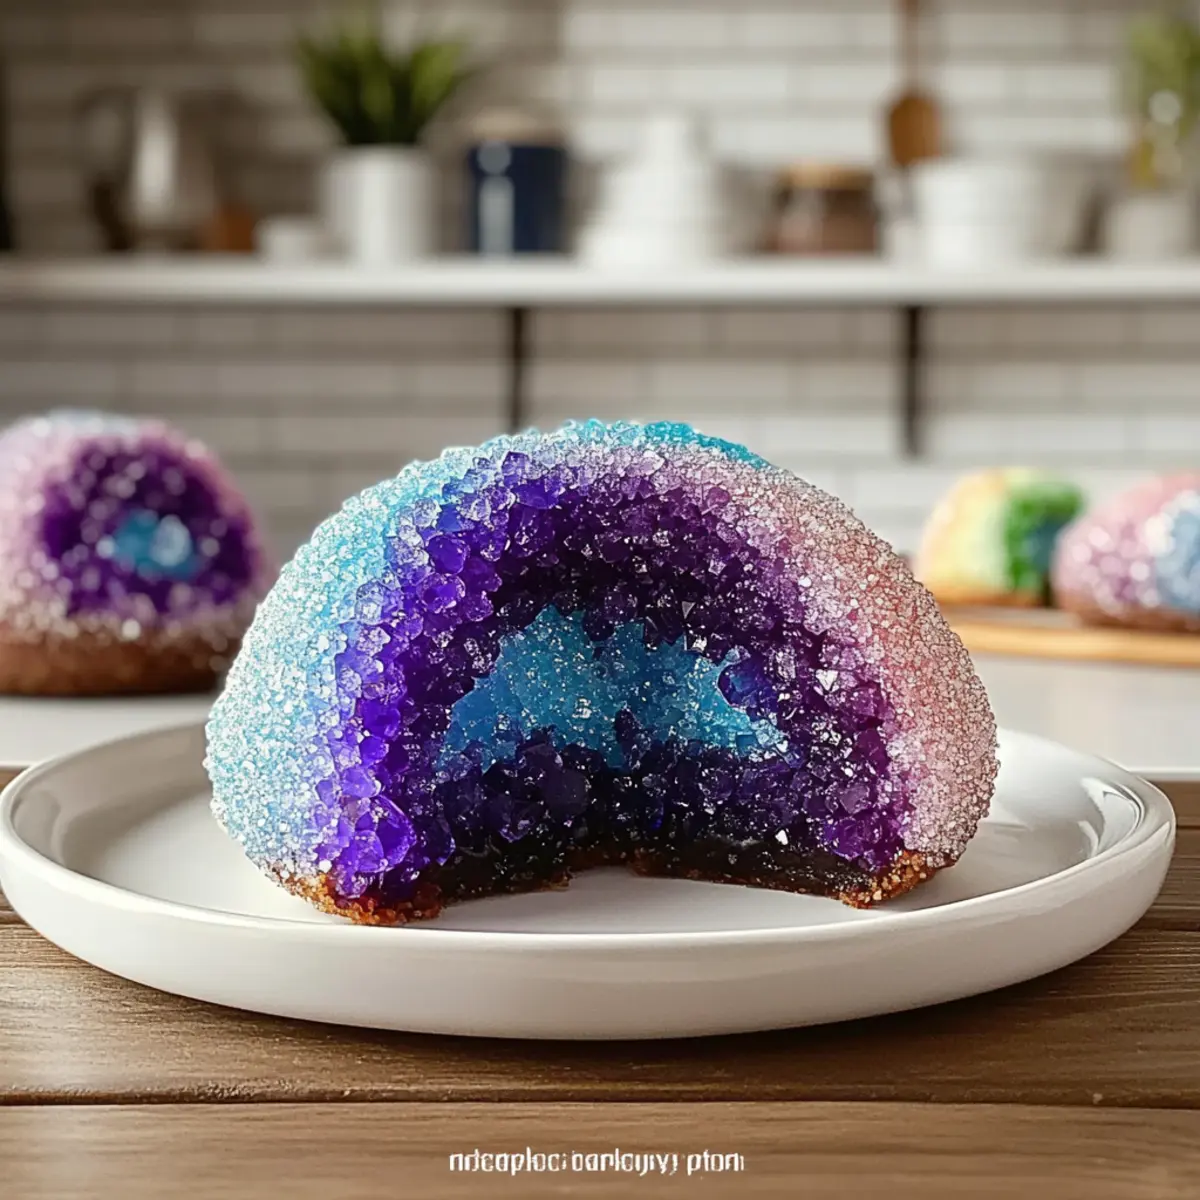
Colorful Crystals: Experiment with various colors of rock candy to fit any occasion, such as vibrant hues for a birthday party or soft pastels for a baby shower. These little gems will elevate your cookies to show-stopping status.
-
Nutty Twist: Add chopped nuts, like pecans or walnuts, into your dough for added crunch and flavor. This adds another layer of texture and a nutty aroma to your beautifully decorated cookies.
-
Dairy-Free: Use coconut oil instead of butter and a non-dairy milk to cater to dairy-free friends. Your Geode Cookies can still be decorated with sparkling crystals while being delightfully inclusive!
-
Spicy Hint: Toss in a pinch of cinnamon or nutmeg into your cookie dough for a warm spice that complements the sweetness beautifully. This tiny tweak will surprise your taste buds and keep them guessing.
-
Flavor Infusion: Try using lemon or orange zest in the dough for a refreshing twist. The citrus notes bring a lovely brightness that balances the sweetness perfectly.
-
Marbled Icing: Create a marbled effect by swirling different colors of royal icing together before applying the rock candy. This will give your cookies a unique and artistic look!
Don’t forget to check out my other baking favorites, like the delightful Butter Jelly Cookies and the aromatic Crockpot Potato Soup for a sweet finish after you’re done with your cookie adventure!
Make Ahead Options
These Easy Geode Cookies are perfect for meal prep, making your life easier on busy weeks! You can prepare the cookie dough up to 2 days in advance by wrapping it tightly in plastic wrap and storing it in the refrigerator. Additionally, after baking, the undecorated cookies can be frozen for up to 3 months; simply stack them in an airtight container with parchment paper between layers to keep their shape. When you’re ready to decorate, let the cookies thaw at room temperature, then follow the icing instructions and add your dazzling rock candy crystals. This way, your cookies will remain just as delicious, looking stunning with minimal effort on the day of serving!
Expert Tips for Easy Geode Cookies
-
Chill the Dough:
Make sure to chill your dough thoroughly for at least one hour. This prevents spreading and helps achieve clean edges. -
Carving Cavities:
Use a small sharp knife to carefully carve the wedge-shaped cavities. This detail is crucial for creating that gorgeous geode effect in your Easy Geode Cookies. -
Quick Icing Application:
Work quickly when applying rock candy crystals on the icing. The icing needs to be wet to help the crystals adhere properly, ensuring a stunning finish. -
Storing Cookies:
Store your decorated cookies in single layers to preserve their beautiful designs. Avoid stacking, as the decorations can become damaged. -
Don’t Rush Drying:
Allow at least 2 hours for the royal icing to dry completely. Rushing this step may lead to smudged designs and fragile cookies.
Easy Sparkling Geode Cookies Recipe FAQs
What kind of flour should I use for Easy Geode Cookies?
For the best results, use all-purpose flour to provide the perfect cookie structure. If you’re looking for a gluten-free option, simply substitute it with gluten-free flour, which works beautifully in this recipe, ensuring everyone can enjoy these delightful treats!
How should I store my Easy Geode Cookies?
Store your decorated cookies in an airtight container at room temperature for up to 5 days. This will help maintain their freshness and preserve the stunning geode effects. If you’re in a particularly warm climate, consider refrigerating them in a single layer for up to 1 week, but keep an eye on moisture, as it can affect the icing.
Can I freeze Easy Geode Cookies?
Absolutely! You can freeze undecorated cookies for up to 3 months. Wrap each cookie tightly in plastic wrap, then place them in a freezer-safe bag. When you’re ready to decorate, simply thaw them at room temperature. This keeps their flavor intact and ensures they stay fresh!
What should I do if my royal icing is too runny?
If your royal icing is too runny while preparing, don’t worry! Gradually add more powdered sugar until you reach a thicker consistency. Aim for a texture that flows easily but holds its shape. This ideal thickness will help create clean and beautiful designs as you fill in the geode cavities!
Can pets have these cookies?
Unfortunately, these Easy Geode Cookies are not suitable for pets, especially because they contain sugar and chocolate. Always keep them away from your furry friends to avoid any health issues. If you’re looking for pet-friendly treats, consider whipping up some homemade dog cookies instead!
How can I enhance the decoration of my Easy Geode Cookies?
Definitely! You can get creative by experimenting with various colors of rock candy crystals, the sparkle of edible glitter dust, or even adding a drizzle of colored icing on top for extra flair. Each addition can make your cookies unique, perfect for the occasion!

Stunning Easy Geode Cookies That Spark Joy in Every Bite
Ingredients
Equipment
Method
- Cream ¾ cup of softened butter and 1 cup of white sugar until light and fluffy, about 3-4 minutes. Mix in 1 large egg and 1 teaspoon of vanilla extract, then incorporate the dry ingredients.
- Cover the dough and chill in the refrigerator for at least 1 hour.
- Preheat your oven to 375°F (190°C). Roll out the dough on a floured surface and cut out circles.
- Carve wedge-shaped cavities into each cookie to create the geode effect.
- Transfer cookies to parchment-lined baking sheets and bake for 10-12 minutes until edges are golden but centers remain soft.
- Let cookies cool on a wire rack.
- Whisk together 2 cups of powdered sugar and 2 tablespoons of milk until smooth and add food coloring if desired.
- Fill each cavity with royal icing and place rock candy crystals on top. Sprinkle with edible glitter dust.
- Let cookies dry at room temperature for at least 2 hours.
Leave a Reply