
Can you believe a wholesome, mouthwatering dinner can be ready in just 35 minutes? These Crispy Garlic Parmesan Chicken Wraps have become my go-to for those hectic weeknights when cooking feels like a chore. With tender, juicy chicken enveloped in a crisp, garlic-infused tortilla, this dish is not just quick—it’s also incredibly versatile. You can easily swap in your favorite veggies or sauces, making it a hit even among picky eaters. Plus, they’re kid-friendly and perfect for family gatherings. So, why settle for fast food when you can whip up something so delicious and satisfying in no time? What unique twist will you add to your wraps?
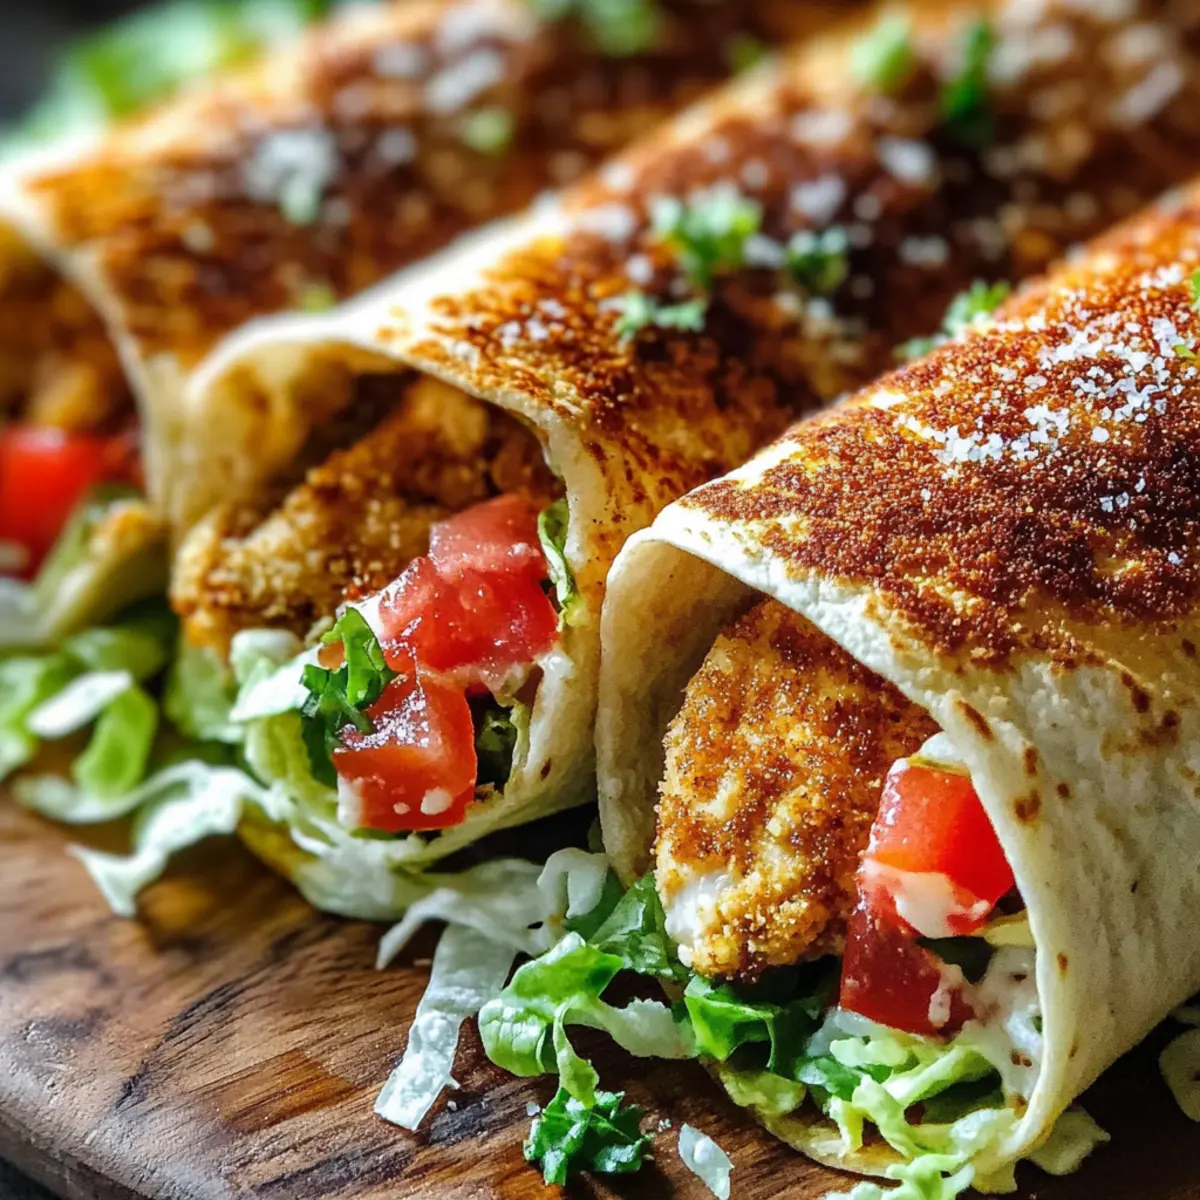
Why choose Crispy Garlic Parmesan Chicken Wraps?
Quick Preparation: In just 35 minutes, enjoy a hearty meal that’s perfect for busy nights.
Customizable Delight: Tailor these wraps with your favorite veggies or sauces to suit every palate.
Kid-Friendly Fun: Kids will love the familiar flavors, making dinners an enjoyable experience for the whole family.
Versatile Usage: Great for lunchboxes, picnics, or family gatherings—these wraps are a crowd-pleaser! For other quick and delicious meals, check out my Garlic Parmesan Chicken or Slow Cooker Chicken recipes.
Savory and Satisfying: Crispy garlic and cheesy parmesan create a mouthwatering filling that you won’t forget.
Crispy Garlic Parmesan Chicken Wraps Ingredients
For the Chicken Mixture
• Shredded Chicken – provides the main protein; use cooked chicken for best results or ensure raw chicken is fully cooked.
• Minced Garlic – adds a robust flavor; feel free to adjust the amount according to your personal taste.
• Grated Parmesan Cheese – delivers rich, savory flavors; nutritional yeast can act as a vegan substitute for those looking for alternatives.
• Olive Oil – helps achieve crispiness; melted butter can be swapped in for a different taste.
• Salt – enhances overall flavor; adjust to fit your taste or dietary restrictions.
• Pepper – adds seasoning and a slight kick; black or white varieties can be used based on preference.
For the Wrap Assembly
• Tortillas – the wrap base; choose between flour or corn tortillas depending on your preference.
• Shredded Lettuce – for crunch and freshness; you can also use spinach or cabbage as alternatives.
• Diced Tomatoes – adds juiciness and flavor; fresh salsa can be used for a zesty twist.
These Crispy Garlic Parmesan Chicken Wraps are not only delicious but also incredibly customizable, making them the perfect quick dinner solution for busy families!
Step‑by‑Step Instructions for Crispy Garlic Parmesan Chicken Wraps
Step 1: Preheat the Oven
Begin by preheating your oven to 400°F (200°C) to ensure your wraps come out crispy and golden. This step is crucial for achieving that delicious crunch you crave in your Crispy Garlic Parmesan Chicken Wraps. Prepare a baking sheet lined with parchment paper for easy cleanup once you’re done.
Step 2: Prepare the Chicken Mixture
In a large mixing bowl, combine shredded chicken, minced garlic, grated Parmesan cheese, olive oil, salt, and pepper. Mix well for about 2-3 minutes until the chicken is evenly coated with the flavorful ingredients. The aroma of garlic will fill your kitchen, indicating you’re on the right track!
Step 3: Assemble the Wraps
Lay your tortillas flat on a clean surface, then evenly distribute the chicken mixture onto each tortilla, leaving about an inch at the edges. This ensures they are easier to wrap without spilling. You can customize the filling here by adding extra veggies if desired.
Step 4: Add Fresh Ingredients
Top the chicken mixture with a handful of shredded lettuce and diced tomatoes to add freshness and crunch to your Crispy Garlic Parmesan Chicken Wraps. This is where you can get creative—feel free to sprinkle some additional spices or sauces for extra flavor!
Step 5: Wrap It Up
Carefully fold in the sides of each tortilla and roll them tightly from the bottom up, sealing all the delicious filling inside. Place each wrap seam-side down on your prepared baking sheet to keep them secure while cooking.
Step 6: Bake the Wraps
Slide the baking sheet into the preheated oven and bake for about 15-20 minutes. Keep an eye on them during the last few minutes, watching for a golden brown color on the outside. This is when those Crispy Garlic Parmesan Chicken Wraps really shine!
Step 7: Cool and Serve
Once cooked, remove the wraps from the oven and let them cool slightly for about 5 minutes. This cooling step helps the filling set a little, making them easier to slice. Cut each wrap in half and serve warm, preferably with your favorite dipping sauce on the side.
Make Ahead Options
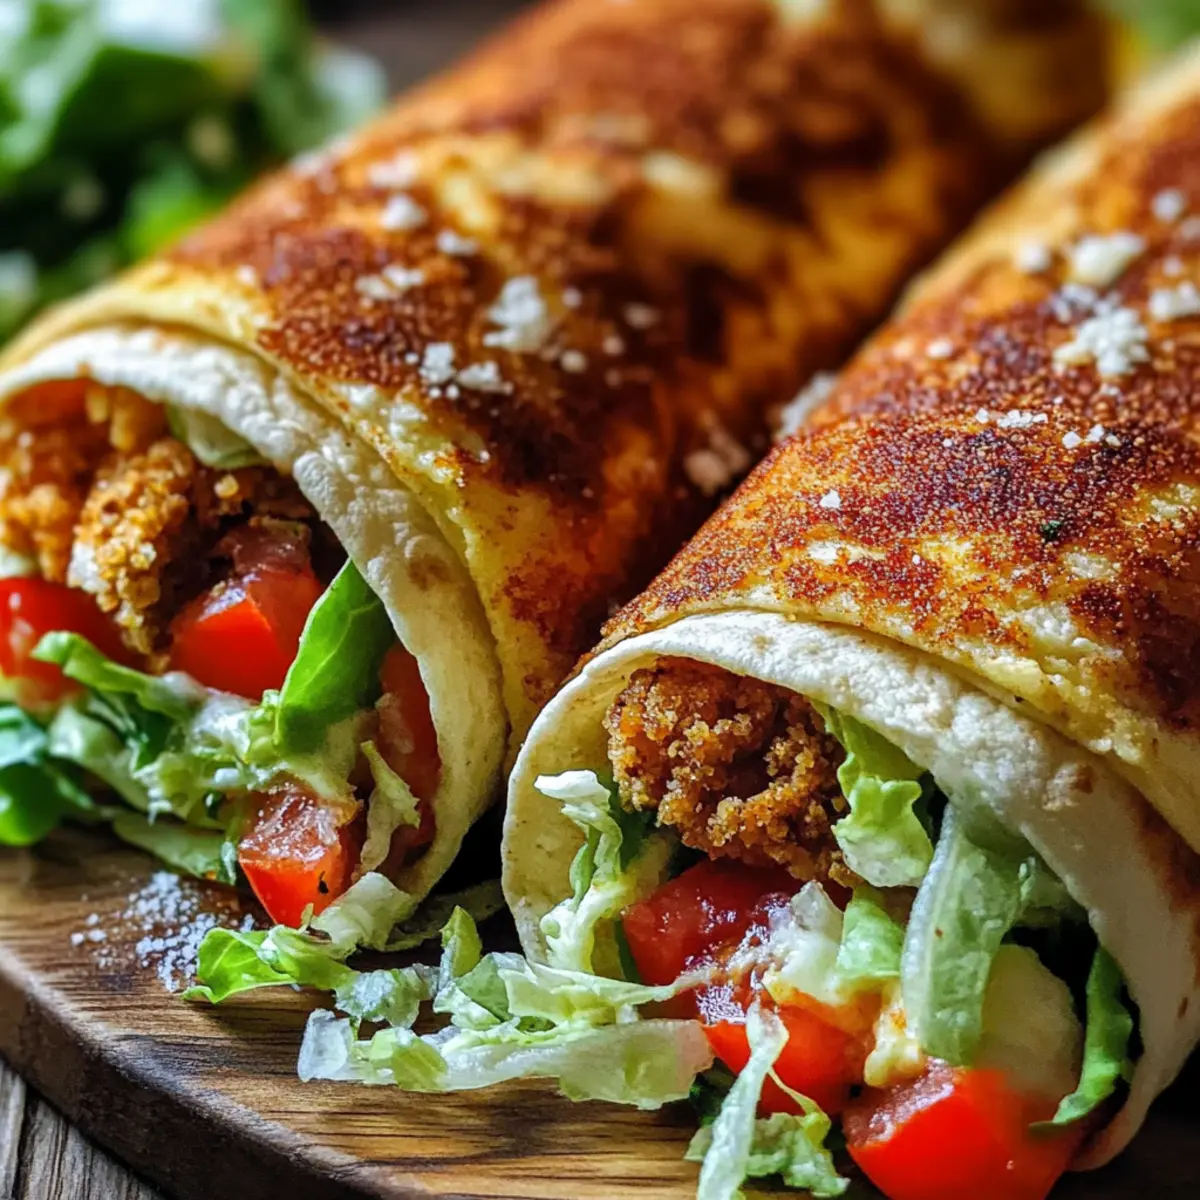
These Crispy Garlic Parmesan Chicken Wraps are a fantastic choice for meal prep, saving you valuable time during busy weeknights! You can assemble the wraps up to 24 hours in advance; just tightly wrap them in plastic wrap and refrigerate to keep them fresh and delicious. If you want to take your meal prep a step further, unbaked wraps can be frozen for up to 3 months. Simply wrap them in plastic wrap and store in an airtight container. When you’re ready to enjoy, bake them straight from the freezer, adding an extra 5-10 minutes to the cooking time to ensure they’re perfectly crispy and golden. With these make-ahead options, you’ll have weeknight dinners reduced to mere minutes of cooking!
Variations for Crispy Garlic Parmesan Chicken Wraps
Customize your Crispy Garlic Parmesan Chicken Wraps to ignite your taste buds with delightful twists and swaps!
- Veggie Boost: Add bell peppers or cucumbers for a refreshing crunch. It enhances the flavor and adds nutritional value too.
- Turkey Twist: Swap out chicken for turkey for a leaner option that still delivers on taste. You’ll love this healthy spin!
- Vegan Delight: Use chickpeas or lentils in place of chicken, and sprinkle with nutritional yeast for a cheesy flavor without dairy.
- Cheese Variety: Experiment with different cheeses like mozzarella or cheddar to create a unique flavor profile that excites your palate.
- Spicy Kick: Add jalapeños or a sprinkle of red pepper flakes for a little extra heat. Just be careful; a little can go a long way!
- Herb Infusion: Mix in fresh herbs such as basil or cilantro for enhanced flavor and freshness. This adds a delightful burst to each bite.
- Saucy Substitutes: Try creamy ranch or spicy aioli as a replacement for garlic aioli; it’ll give your wraps an exciting new layer of flavor.
- Crunchy Finish: Top with crispy onions or tortilla strips just before serving to add texture and a satisfying crunch to your wraps.
Remember, every variation can lead to a new family favorite, so don’t be afraid to get creative! If you love customization, check out my Buffalo Chicken Rangoons or Honey Garlic Roasted Brussels recipes for more inspiration!
Expert Tips for Crispy Garlic Parmesan Chicken Wraps
-
Cooked Chicken Only: Ensure your shredded chicken is fully cooked before mixing; raw chicken needs thorough cooking to avoid health risks.
-
Clear Wrapping Guidelines: When assembling, leave enough space at the edges of the tortillas to make wrapping easier and prevent spills.
-
Timing is Key: Keep an eye on your wraps while baking; aim for a golden color, which typically means they are perfectly crispy and ready to enjoy.
-
Prep Ahead: You can assemble the wraps a day in advance; just store them in the fridge until you’re ready to bake for a quick dinner solution.
-
Customize Wisely: Feel free to experiment with different veggies or sauces, but be cautious not to overstuff; it can make wrapping challenging. Enjoy your Crispy Garlic Parmesan Chicken Wraps!
How to Store and Freeze Crispy Garlic Parmesan Chicken Wraps
Fridge: Store assembled wraps in an airtight container for up to 1 day. This is perfect if you want to prepare them ahead of time and bake them fresh.
Freezer: Unbaked wraps can be tightly wrapped in plastic wrap and stored in the freezer for up to 3 months. Just remember to add a few extra minutes to the baking time when cooking from frozen.
Reheating: If you have leftovers, reheat baked wraps in the oven at 350°F (175°C) for about 10-15 minutes. This will help restore their crispy texture while warming the filling.
Wrapping Tips: Always ensure wraps are tightly sealed before storage to maintain freshness and prevent freezer burn when freezing your Crispy Garlic Parmesan Chicken Wraps.
What to Serve with Crispy Garlic Parmesan Chicken Wraps
These wraps are the ultimate meal star, but pairing them with the right sides will take your dinner to the next level.
- Crispy Sweet Potato Fries: The sweetness of these fries balances the savory chicken, offering a delightful contrast that everyone will love.
- Fresh Garden Salad: A light, refreshing salad with crisp veggies complements the warm, cheesy wraps, adding a healthful touch to your meal.
- Garlic Aioli: This creamy dipping sauce enhances the wraps’ garlic flavor and adds a rich, velvety texture that’s hard to resist.
- Roasted Veggies: Serve with seasonal roasted vegetables like zucchini and bell peppers for a colorful and nutritious addition.
- Corn on the Cob: Sweet and buttery corn offers a pop of flavor and a nostalgic touch that pairs perfectly with the wraps.
- Homemade Coleslaw: The crunch and creaminess of coleslaw provide a refreshing contrast, making for a well-rounded dish that’s sure to win hearts.
- Crisp Pickles: Tangy pickles provide a briny crunch that contrasts beautifully with the savory chicken and creamy sauce.
- Fruit Salad: A light fruit salad with berries and melons adds sweetness and a colorful touch, balancing out the heavier flavors of the meal.
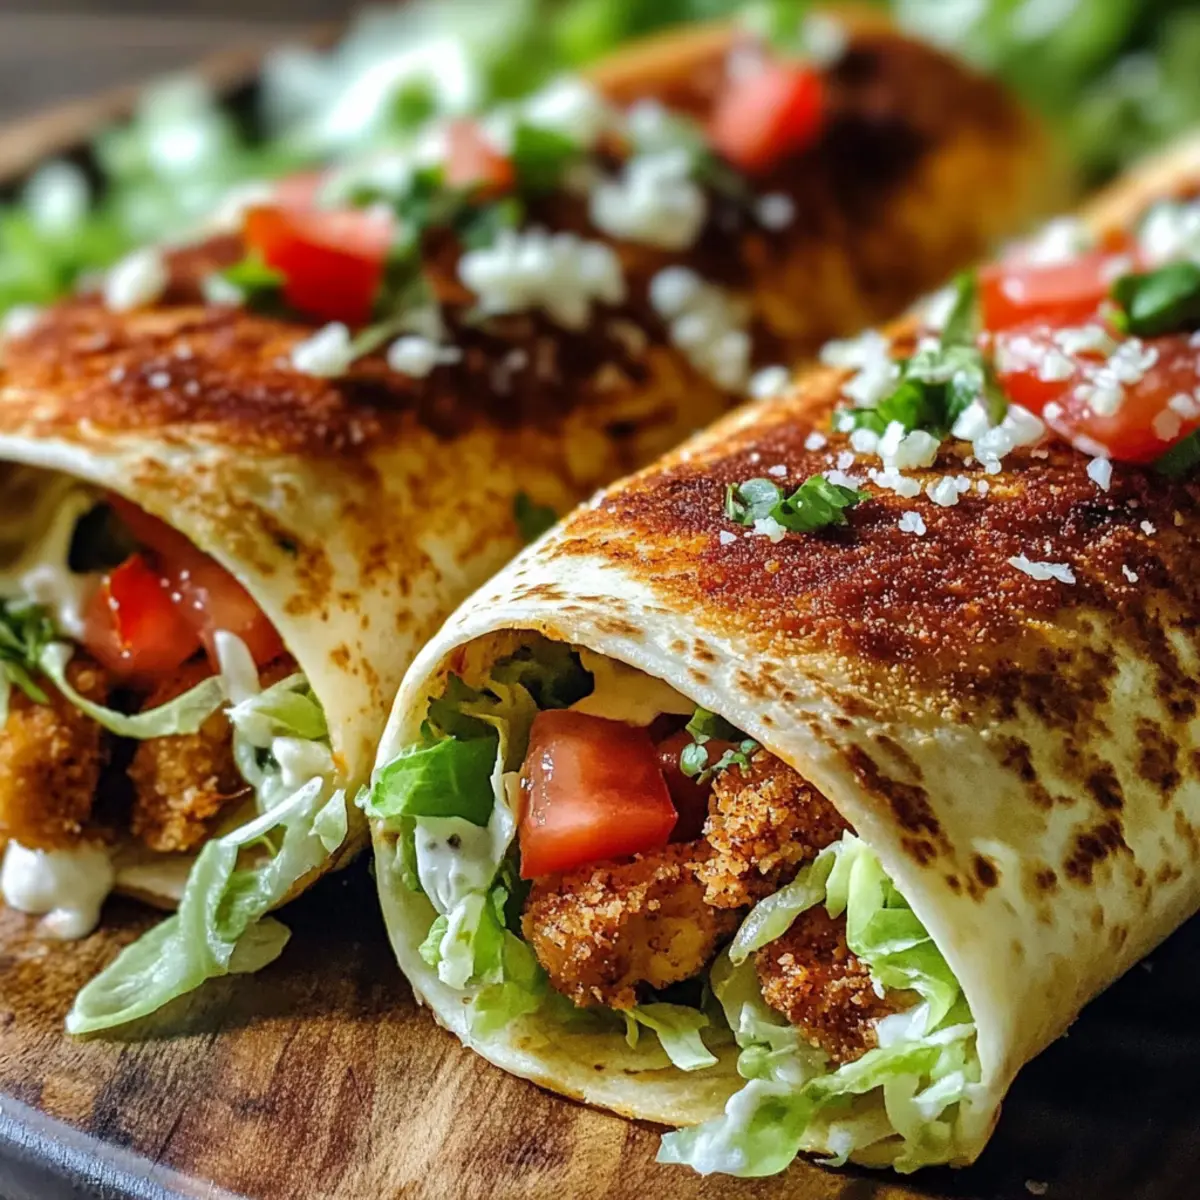
Crispy Garlic Parmesan Chicken Wraps Recipe FAQs
How do I choose the right chicken for the wraps?
Absolutely! For the best results, I recommend using fully cooked shredded chicken, which can be store-bought or leftovers from a previous meal. If you prefer to use raw chicken, make sure to cook it thoroughly until it reaches an internal temperature of 165°F (75°C) before mixing it with the other ingredients.
How should I store the wraps if I make them in advance?
Great question! Assembled wraps can be stored in an airtight container in the refrigerator for up to 1 day. This is a fantastic way to meal prep, letting you bake them fresh when you’re ready to enjoy a quick and tasty dinner.
Can I freeze the Crispy Garlic Parmesan Chicken Wraps?
Yes, indeed! To freeze unbaked wraps, tightly wrap each one in plastic wrap and store them in an airtight container or a freezer bag. They can be frozen for up to 3 months. When you’re ready to enjoy them, bake straight from the freezer but add an extra 5-10 minutes to the cooking time to ensure they are heated through and crispy.
What can I do if my wraps come out soggy?
If you’re experiencing soggy wraps, it might be due to overfilling them or not allowing them enough time to bake. Ensure that you leave some space at the edges to allow for proper folding and avoid overstuffing. When baking, keep an eye on them and aim for that beautiful golden-brown color. You can also try pre-baking the tortillas for a few minutes before assembling to create an extra barrier against moisture.
Are there any dietary considerations I should keep in mind?
Definitely! If you’re catering to dietary restrictions, feel free to customize the wraps. Use gluten-free tortillas if needed or substitute nutritional yeast for parmesan to make it vegan-friendly. Always double-check labels for allergens, especially if serving children or guests with allergies.
What veggies can I add to these wraps?
The more the merrier! You can add bell peppers, cucumbers, spinach, or even avocado for extra flavor and nutrition. Just make sure not to overfill the wraps to keep them manageable while rolling. Enjoy experimenting with your favorite veggies!
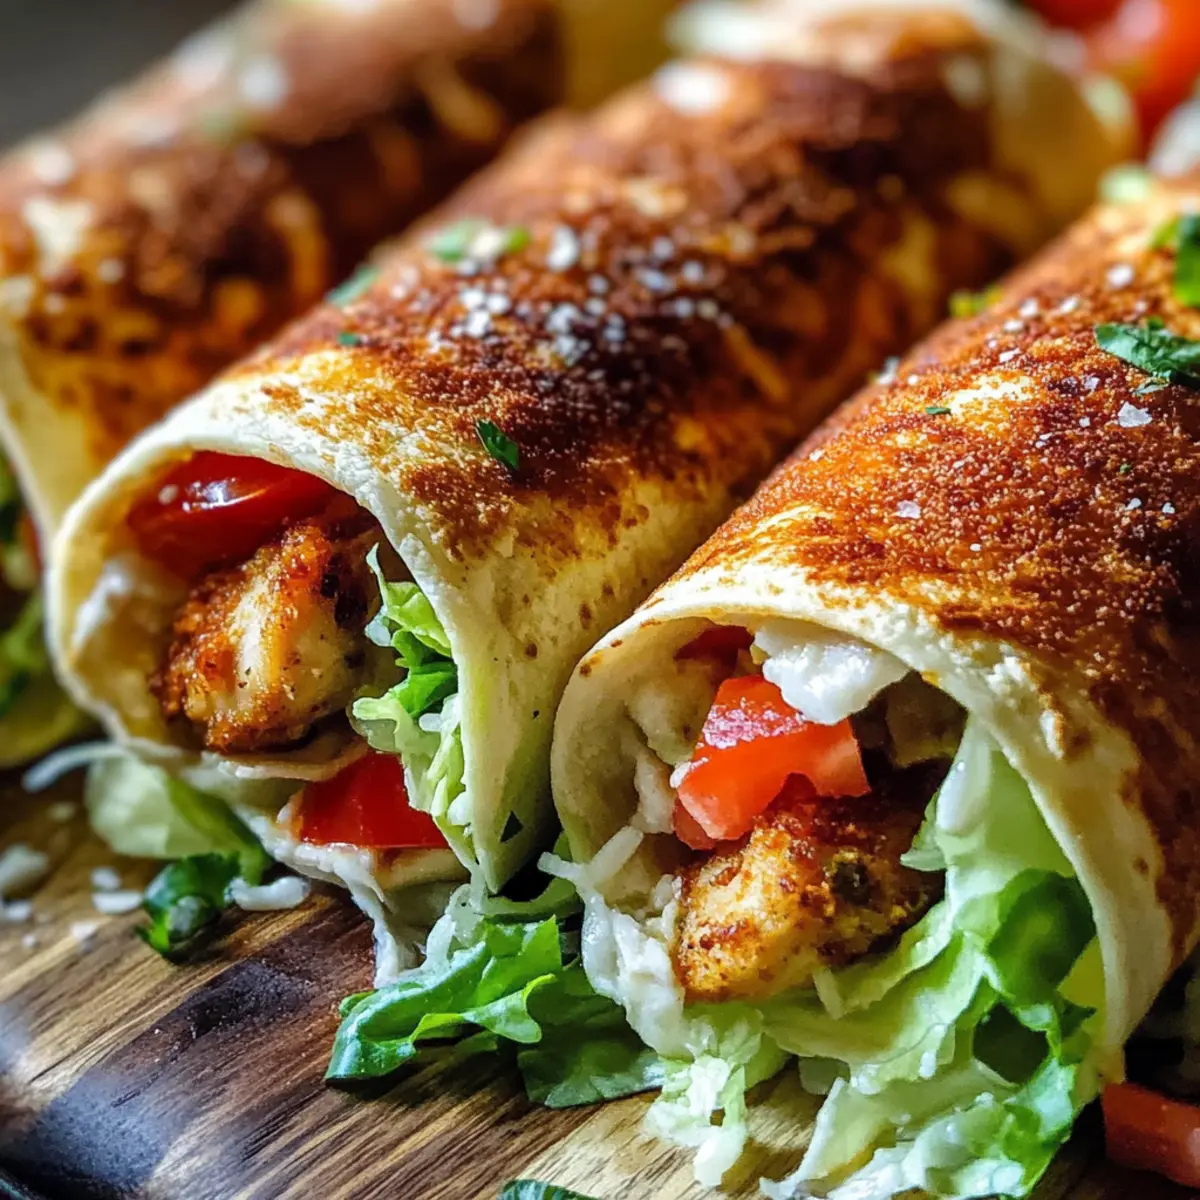
Crispy Garlic Parmesan Chicken Wraps that Make Dinner Fun
Ingredients
Equipment
Method
- Preheat your oven to 400°F (200°C) and prepare a baking sheet lined with parchment paper.
- In a large mixing bowl, combine shredded chicken, minced garlic, grated Parmesan cheese, olive oil, salt, and pepper. Mix well for about 2-3 minutes.
- Lay your tortillas flat on a clean surface and distribute the chicken mixture onto each tortilla, leaving about an inch at the edges.
- Top the chicken mixture with shredded lettuce and diced tomatoes.
- Carefully fold in the sides of each tortilla and roll them tightly from the bottom up.
- Place each wrap seam-side down on the prepared baking sheet.
- Bake for about 15-20 minutes until golden brown.
- Let the wraps cool slightly for about 5 minutes before slicing in half and serving warm.
Leave a Reply