
As I rummaged through my pantry searching for a quick dessert fix, a light bulb went off—a no-bake Chocolate Oreo Lush! This crowd-pleaser comes together in a snap and promises to satisfy any chocolate craving. With luscious layers of creamy chocolate pudding, crushed Oreos, and fluffy whipped topping, this treat not only looks stunning but also takes the hassle out of baking. It’s perfect for those warm days when turning on the oven feels like a mini crisis. Plus, it’s a make-ahead marvel, allowing you to whip it up in advance and focus on enjoying time with friends or family. Ready to dive into a dessert that’s as easy to make as it is to devour? Let’s get started!
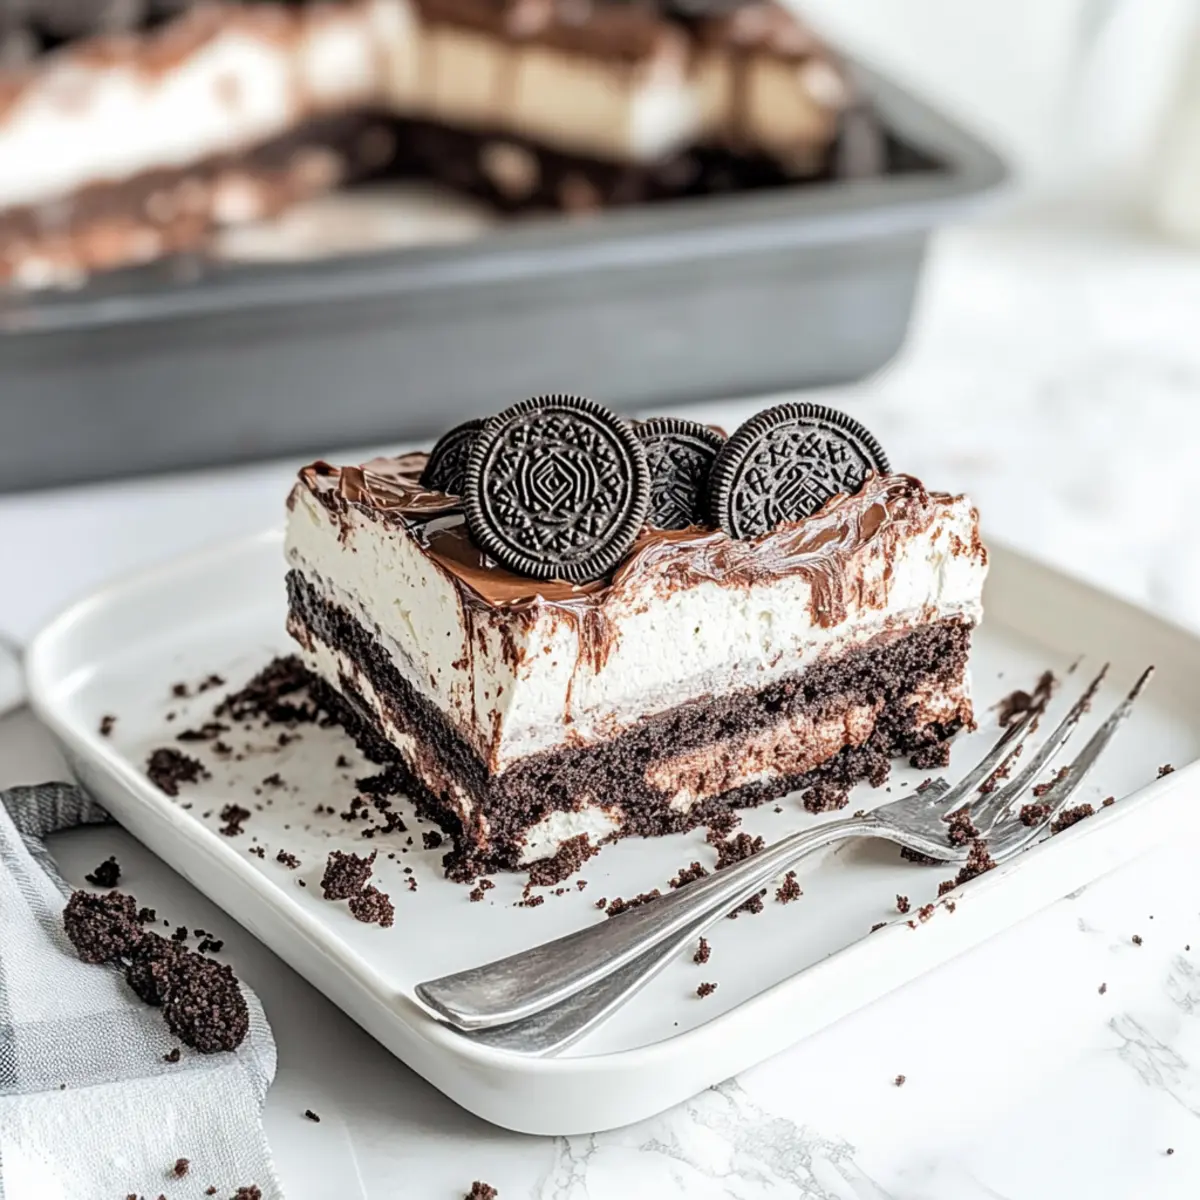
Why is Chocolate Oreo Lush a Must-Try?
Irresistible Layers: This dessert showcases luscious layers of creamy chocolate pudding and crushed Oreos, creating a flavor explosion.
No-Bake Convenience: You can whip up this recipe without ever turning on the oven, perfect for hot days.
Crowd-Pleaser: With its rich taste, it’s sure to be a hit at parties or family gatherings, delighting friends and family alike.
Make-Ahead Magic: Prepare it in advance and indulge whenever you please; it’s perfect for busy weeknights!
Consider pairing it with some delightful options like Chocolate Chip Cookies for a sweet treat combo.
Chocolate Oreo Lush Ingredients
For the Crust
- Oreo Cookies – The irresistible base that adds both flavor and crunch.
- Butter – Enhances richness; margarine can substitute in a pinch.
For the Cream Cheese Layer
- Cream Cheese – Ensure it’s at room temperature for smooth blending.
- Heavy Cream – Creates a velvety filling; half-and-half works for a lighter version.
- Powdered Sugar – Sweetens without grittiness; skip granulated sugar for this layer.
- Cool Whip – Provides airy texture for the layer; homemade whipped cream can be used but may not hold as well.
For the Pudding Layer
- Instant Chocolate Pudding – Essential for the rich, creamy chocolate flavor; no substitutes recommended.
- Milk – Required for pudding preparation; whole milk is preferred.
For the Topping
- Cool Whip – A fluffy finish over the pudding layer.
- Chocolate Curls – Optional, but they add an elegant touch to your Chocolate Oreo Lush presentation.
Now you have everything you need to create this delightful no-bake dessert! Happy cooking!
Step‑by‑Step Instructions for Chocolate Oreo Lush
Step 1: Prepare the Crust
Begin by crushing 24 Oreo cookies in a food processor until they reach a fine crumb consistency, about 30 seconds. Next, mix the crumbs with ½ cup of melted butter until fully combined. Press this mixture evenly into the bottom of a 9×13 inch dish. Chill the crust in the refrigerator for 5 minutes to set.
Step 2: Make the Cream Cheese Layer
In a large mixing bowl, beat 8 oz of softened cream cheese, 1 cup of heavy cream, and 1 cup of powdered sugar together until smooth and creamy, approximately 3 minutes. Gently fold in 1 cup of Cool Whip until fully integrated. Spread this luscious cream cheese mixture evenly over the chilled crust and refrigerate for an additional 10 minutes to firm it up.
Step 3: Prepare the Pudding Layer
In a separate bowl, whisk together 1 package of instant chocolate pudding with 2 cups of cold milk for about 2 minutes until it thickens, achieving a pudding-like consistency. Carefully spoon this chocolate pudding layer over the cream cheese layer, smoothing it out with a spatula. Chill the dish for another 10 minutes to allow the layers to set properly.
Step 4: Top with Cool Whip
Once the pudding layer is set, spread 1 cup of Cool Whip on top of the chocolate pudding layer, ensuring it covers the surface evenly. For added texture and flavor, sprinkle crushed Oreo cookies on top and optionally add chocolate curls for a decorative touch.
Step 5: Chill and Serve
Refrigerate the entire Chocolate Oreo Lush for at least 1 hour, allowing the flavors to meld and the layers to firm up. When ready to serve, slice into squares and enjoy this delightful no-bake dessert with family and friends!
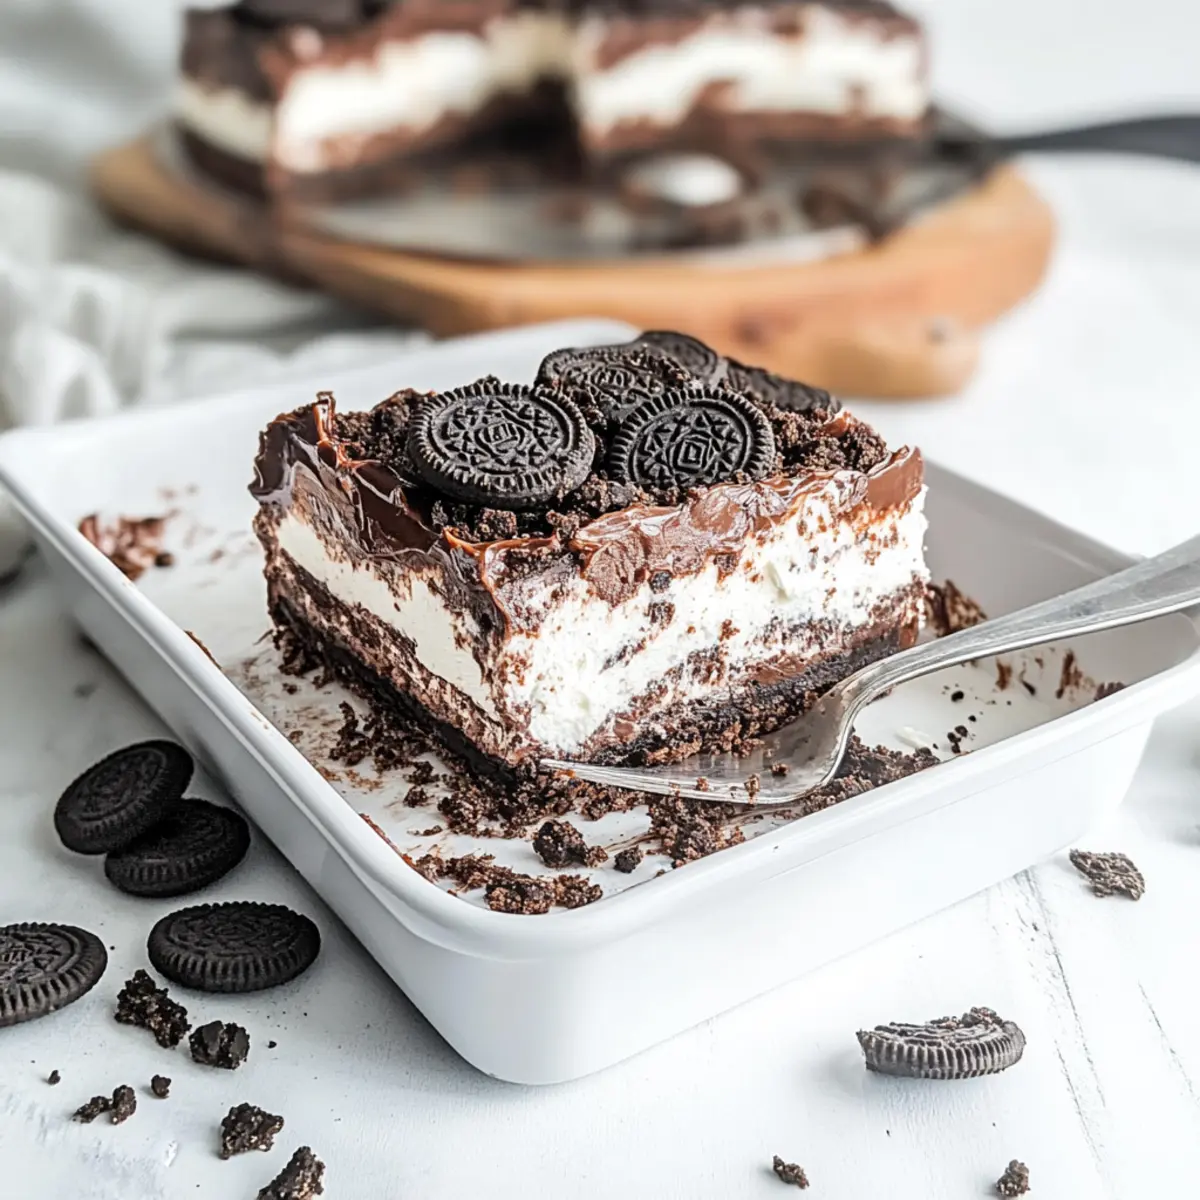
What to Serve with Chocolate Oreo Lush
Enhance your dessert experience with these delicious pairings that complement every scrumptious layer of the Chocolate Oreo Lush.
- Fresh Berries: The tartness of raspberries or strawberries cuts through the richness, adding a refreshing contrast to the creamy layers.
- Coffee or Espresso: A cozy cup of coffee or a shot of espresso will elevate this dessert, enhancing the chocolate flavors while providing a perfect finishing touch.
- Vanilla Ice Cream: This classic pairing offers a creamy balance and a gentle sweetness that mingles beautifully with the dessert’s rich chocolate notes.
- Chocolate-Dipped Fruit: Fresh fruit like strawberries or bananas dipped in chocolate adds another layer of sweetness and a fun twist, inviting guests to enjoy a thoughtful pairing.
- Homemade Cookies: A selection of oven-fresh cookies, like chocolate chip or peanut butter, offers crunchy textures and complements the luscious dessert perfectly.
- Mint Tea: A soothing mint tea provides a light, fragrant finish after indulging in the indulgent layers, cleansing your palate beautifully.
- Whipped Cream Topping: A dollop of freshly whipped cream adds an additional light, fluffy element to each square, making every bite feel indulgent.
- Lemon Sorbet: The zesty, icy texture of lemon sorbet brings a refreshing, tart element, adding excitement to the rich flavors of the Chocolate Oreo Lush.
- Nutty Trail Mix: A sprinkle of nutty trail mix on the side adds crunch and a variety of flavors, making for an unexpectedly delightful contrast.
Chocolate Oreo Lush Variations
Feel free to let your creativity shine as you customize this delightful dessert with unique twists and flavors!
-
Fruity Delight: Add sliced strawberries or bananas to the cream cheese layer for a refreshing fruity kick. The sweetness complements the rich chocolate beautifully!
-
Mocha Infusion: Mix in a teaspoon of espresso powder into your chocolate pudding for a coffee-flavored indulgence. It elevates the chocolate’s flavor and adds an exciting depth.
-
Nutty Twist: Swirl in peanut butter to the cream cheese layer for a delicious, nutty touch. The peanut and chocolate combination is simply irresistible!
-
Mint Chocolate: Incorporate mint extract into the cream cheese layer for a refreshing mint-chocolate experience. Think candy cane desserts, perfect for any festive gathering!
-
Caramel Swirl: Drizzle caramel sauce between the layers for an extra sweet touch. The combination of chocolate and caramel is a classic that everyone loves.
-
Chocolate Lover’s Dream: For an extra chocolate boost, sprinkle mini chocolate chips over the cream cheese layer prior to the pudding layer. It adds delightful texture and richness!
-
Coconut Bliss: Fold some sweetened shredded coconut into the Cool Whip topping. This tropical twist perfectly contrasts the rich chocolate, making it a fun variation.
-
Gooey Brownie Bottom: Instead of an Oreo crust, try a layer of brownies at the bottom for a fudgy base. This adds a decadent layer of chocolate goodness to your dessert.
Each variation offers its own unique flavor experience, bringing a personalized touch to your Chocolate Oreo Lush. And if you’re also in the mood for other sweet treats, consider pairing this dessert with some delightful Butter Toffee Chocolate Chip Cookies or Chocolate Pancakes for an ultimate dessert spread!
Storage Tips for Chocolate Oreo Lush
Fridge: Store any leftovers in an airtight container for up to 4 days to maintain freshness while preventing any absorption of other odors.
Freezer: You can freeze the Chocolate Oreo Lush for up to 2 months. Just cover tightly with plastic wrap and then aluminum foil.
Thawing: To enjoy frozen leftovers, transfer them to the fridge for several hours or overnight before serving. Note that the texture may change slightly after freezing.
Reheating: This dessert is best enjoyed cold and doesn’t require reheating; simply slice and serve directly from the fridge!
Make Ahead Options
These Chocolate Oreo Lush is perfect for meal prep enthusiasts! You can prepare the crust and cream cheese layer up to 24 hours in advance. Simply crush the Oreo cookies and mix them with melted butter to form the crust, then chill it. For the cream cheese layer, beat the ingredients together and spread it over the crust; cover and refrigerate. The pudding layer can also be made ahead and kept in the fridge for up to 3 days. When ready to serve, simply top with Cool Whip and any desired toppings. This way, your dessert will be just as delicious, and you’ll save precious time on busy evenings!
Expert Tips for Chocolate Oreo Lush
- Crush Smartly: Use a food processor for uniform Oreo crumbs. Avoid crushing by hand to prevent larger chunks that disrupt the layers.
- Chill Between Layers: Ensure each layer is chilled properly before adding the next; this keeps the Chocolate Oreo Lush layers defined and prevents mixing.
- Soften Cream Cheese: Always soften cream cheese at room temperature to avoid lumps in the cream cheese layer; no one wants lumpy filling!
- Make Ahead: Prepare this dessert up to two days in advance to enhance flavor and save time on the day of serving. Just cover it tightly in the refrigerator!
- Flavor Variations: Experiment with flavors by adding ingredients like sliced bananas or a teaspoon of espresso powder to the pudding for a mocha twist.
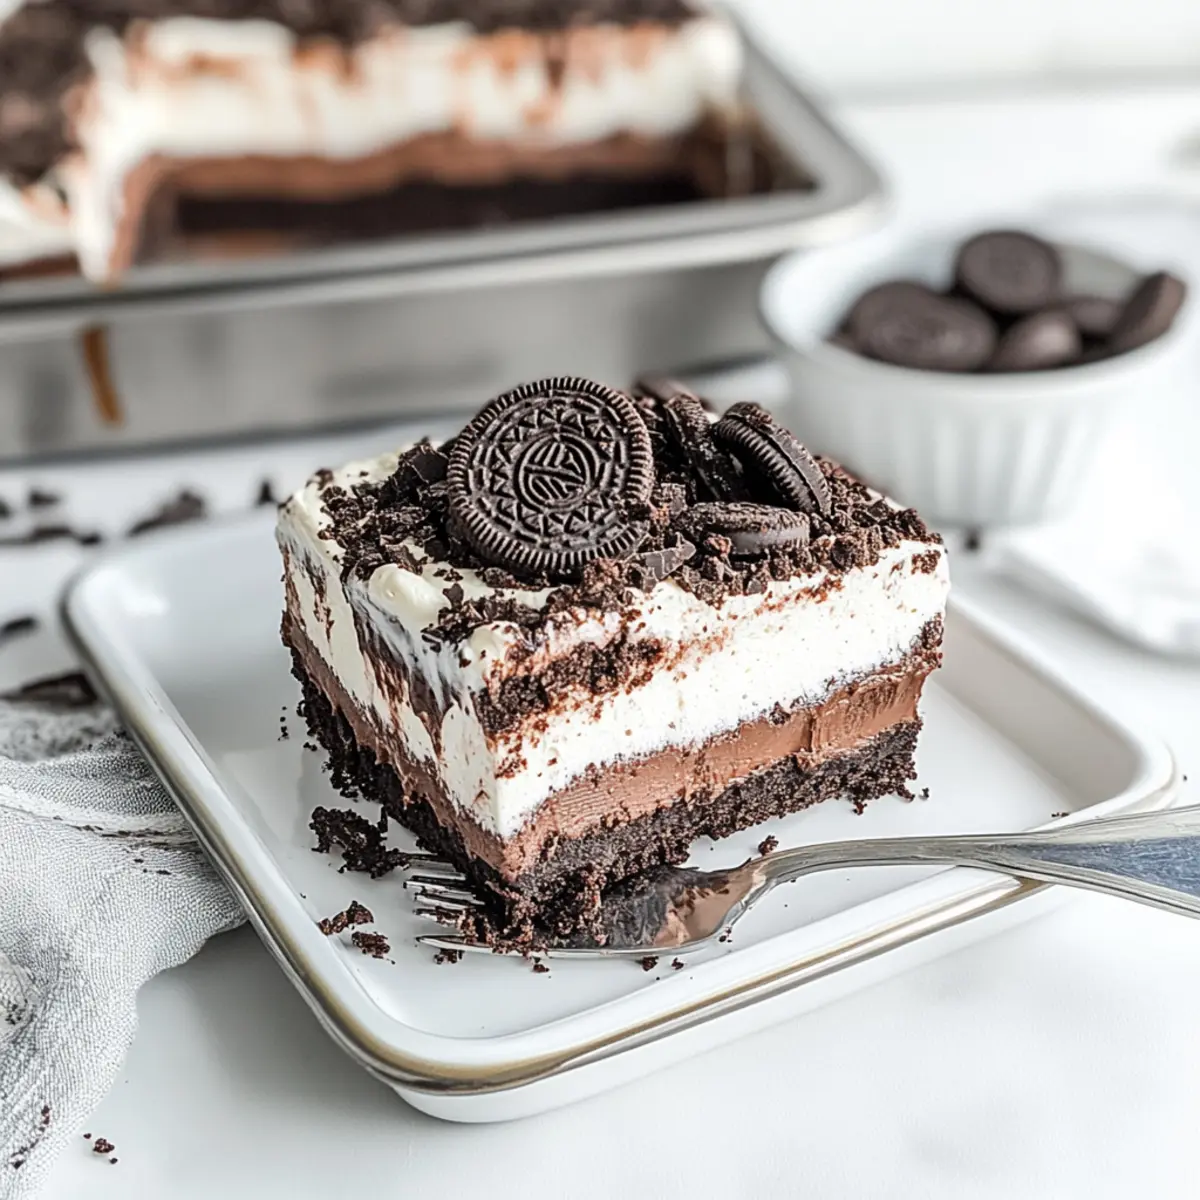
Chocolate Oreo Lush Recipe FAQs
What type of Oreos should I use for the crust?
Absolutely! Regular Oreo cookies work best, but feel free to experiment with different flavors like double-stuff or even mint Oreos for a unique twist. Just remember that flavored Oreos may slightly alter the overall taste of your Chocolate Oreo Lush.
How long can I store leftover Chocolate Oreo Lush?
You can keep any leftovers in an airtight container in the fridge for up to 4 days. I often find that it gets better as the flavors meld! Just be sure it’s sealed well to avoid any pesky refrigerator odors.
Can I freeze Chocolate Oreo Lush? How do I do that?
Yes, you can freeze your Chocolate Oreo Lush for up to 2 months! To do this, first cover it tightly with plastic wrap to prevent freezer burn, then wrap it again in aluminum foil. When you’re ready to enjoy it, transfer the dish to the fridge for several hours or overnight to thaw — this helps maintain the layers. Do note that the texture may become slightly softer after freezing.
What if my cream cheese layer is lumpy?
No worries! If your cream cheese layer turns out lumpy, it might be that the cream cheese wasn’t softened enough before mixing. To fix this, I recommend allowing the cream cheese to sit at room temperature for 30 minutes before beating. If lumps still remain, you can use a hand mixer to cream it additional time for a smoother consistency.
Are there any dietary considerations for this recipe?
Yes! If you have dietary restrictions, you can make light swaps. Use light cream cheese and sugar-free pudding for a lower-calorie version; I often recommend it for those mindful of their diet. However, always be cautious if you have allergies — this recipe contains dairy and gluten.
Can I make this dessert in advance?
Absolutely! The Chocolate Oreo Lush can be made up to two days ahead of time. Just cover it tightly in the refrigerator, allowing flavors to blend beautifully. This makes it a fantastic make-ahead dessert for busy days or gatherings!
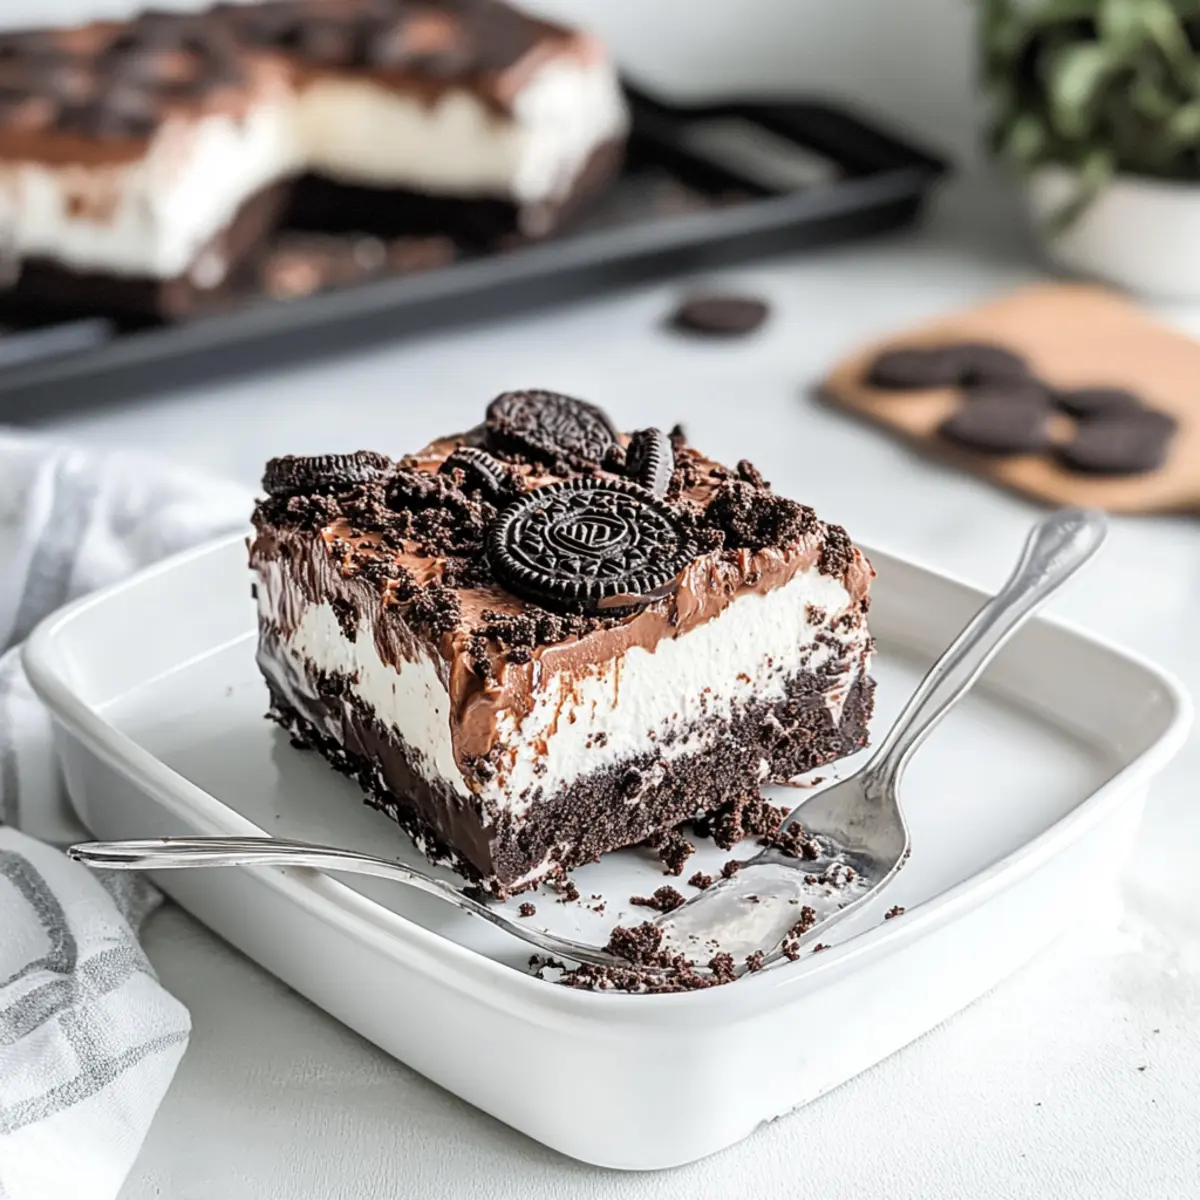
Delicious Chocolate Oreo Lush: A No-Bake Dessert Dream
Ingredients
Equipment
Method
- Crush 24 Oreo cookies in a food processor until fine crumbs, then mix with 0.5 cups of melted butter. Press into a 9x13 dish and chill for 5 minutes.
- Beat 8 oz cream cheese, 1 cup heavy cream, and 1 cup powdered sugar until smooth. Fold in 1 cup Cool Whip, spread over crust, and refrigerate for 10 minutes.
- Whisk together 1 package instant chocolate pudding with 2 cups cold milk until thickened. Spoon over cream cheese layer and chill for 10 minutes.
- Spread 1 cup Cool Whip on top of pudding mixture, sprinkle crushed Oreos and optional chocolate curls.
- Refrigerate for at least 1 hour, then slice into squares and serve.
Leave a Reply