
There’s something magical about the aroma of freshly baked bread infused with garlic wafting through the kitchen, isn’t there? My go-to recipe for Cheesy Garlic Bread has been a hit at family gatherings and cozy dinners alike. Made with the delightful sweetness of King’s Hawaiian rolls, this dish offers not only a comforting side to pasta or soup but also a mouthwatering appetizer that elevates any meal. What makes it even better? The simplicity of preparing it—just a few ingredients combine to create layers of gooey, melted cheese and rich garlic goodness. It’s hard not to make this a regular feature on your dinner table! So, are you ready to discover how to turn an ordinary loaf into something truly unforgettable?
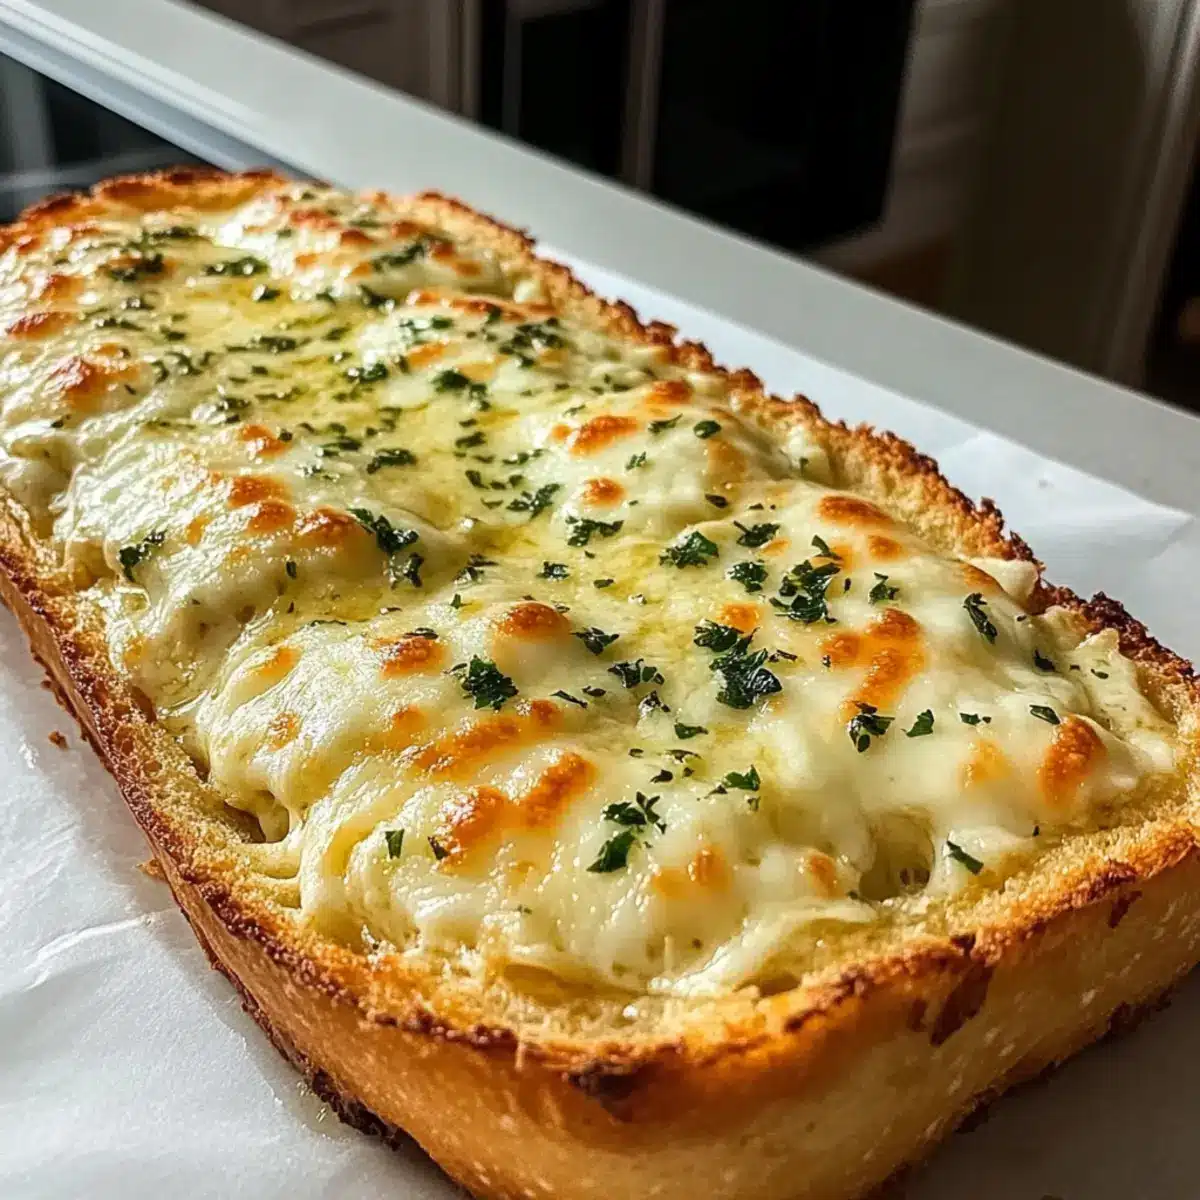
Why is this Cheesy Garlic Bread special?
Irresistible Flavor: The rich blend of roasted garlic and melted cheese creates an unforgettable taste that will have everyone asking for seconds.
Comforting Texture: Enjoy a perfect crunch on the outside while the inside remains soft and fluffy, making every bite a delightful experience.
Quick and Easy: With just a few simple ingredients and a quick prep time, you’ll have this delicious appetizer ready in no time—perfect for those busy nights!
Versatile Serving: Whether alongside a pasta dish or as a standalone snack, this cheesy garlic bread impresses at any gathering, truly catering to all tastes.
Crowd-Pleasing Delight: Whether it’s a casual dinner or a festive occasion, you won’t find a more universally loved dish. And if you’re looking for more delicious sides, consider pairing it with Honey Garlic Roasted Brussels Sprouts or Cheesy Zucchini Breadsticks to complete your meal!
Cheesy Garlic Bread Ingredients
• Prepare for a cheesy delight with these essential ingredients!
For the Garlic Butter
- Garlic Cloves – Fresh garlic provides the essential garlicky flavor; use garlic powder in a pinch, but fresh is preferred.
- Olive Oil – Adds flavor and aids in roasting garlic; substitute with melted butter for added richness.
- Salt – Enhances overall flavor; adjust to taste for a perfectly seasoned spread.
- Butter (½ cup, melted) – Forms the base for the garlic butter; margarine or vegan butter can be used instead.
- Egg – Binds the mixture together; for a vegan version, try a flax egg or aquafaba.
- Milk (¼ cup) – Adds moisture, making the spread creamy; non-dairy milk can be a suitable substitute.
- Paprika (½ tsp) – Infuses a mild earthy flavor and lovely color; Italian seasoning can work as a great alternative.
- Fresh Parsley (2 tbsp, chopped) – Offers brightness and freshness; dried herbs can be used but in smaller amounts.
For the Bread
- King’s Hawaiian Rolls (12) – This sweet, fluffy base is the star of the dish; switch to a French baguette for a crunchier finish.
For the Topping
- Mozzarella Cheese (2 cups, shredded) – Provides that melty goodness essential for cheesy garlic bread; blend with cheddar for added flavor or choose non-dairy cheese for a vegan option.
Get ready to impress your family and friends with this delectable cheesy garlic bread that’s sure to steal the show!
Step‑by‑Step Instructions for Cheesy Garlic Bread
Step 1: Preheat the Oven
Start by preheating your oven to 375°F (190°C). This temperature will ensure your cheesy garlic bread gets that delightful golden brown crust while keeping the inside soft and fluffy. As the oven heats, gather your ingredients and prepare your workspace for an enjoyable cooking experience.
Step 2: Prepare the Garlic
Peel and mash the garlic cloves in a small bowl, mixing them with olive oil and a pinch of salt. Wrap this mixture in aluminum foil and roast it in the oven for about 15-20 minutes. You’ll know it’s ready when the garlic becomes soft and fragrant, which will enhance the comforting flavor of your cheesy garlic bread.
Step 3: Make the Garlic Butter
In a large mixing bowl, combine the melted butter, egg, milk, paprika, and salt. Whisk these ingredients together until the mixture is smooth and creamy. This garlic butter will serve as the rich base for your perfectly gooey cheesy garlic bread, so make sure everything is well incorporated before moving on.
Step 4: Mix in Roasted Garlic
Once the garlic is roasted and cooled slightly, stir it into your garlic butter mixture. Make sure to scrape out every bit of that delicious, caramelized garlic. The warm garlic will further enhance the flavor of your cheesy garlic bread, creating layers of savory goodness that everyone will love.
Step 5: Prep the Rolls
Take the King’s Hawaiian rolls and slice them in half horizontally. This creates a lovely surface for the garlic butter spread. Place the rolls cut-side up on a baking sheet, ensuring they are arranged close together for an easy serving. This step will help the rolls soak up all the delicious garlic butter.
Step 6: Spread Garlic Butter
Generously spread the garlic butter mixture over the cut surfaces of the rolls. Make sure to coat them well to ensure every bite of your cheesy garlic bread is brimming with that buttery, garlicky flavor. The sweetness of the King’s Hawaiian rolls will perfectly complement the richness of the garlic butter.
Step 7: Add Cheese
Evenly sprinkle the shredded mozzarella cheese over the buttered rolls, making sure to cover them fully for maximum gooeyness. If you’re feeling adventurous, try mixing in some cheddar for added flavor. The cheese will melt beautifully as it bakes, transforming your cheesy garlic bread into a delightful treat.
Step 8: Bake
Place your baking sheet in the preheated oven and bake for 10-15 minutes, or until the cheese is melted and the rolls are golden brown. Keep an eye on them in the last few minutes to prevent burning. The heavenly aroma wafting through your kitchen will have everyone eagerly waiting for your cheesy garlic bread!
Step 9: Garnish and Serve
Once baked to perfection, remove the cheesy garlic bread from the oven and let it cool for a couple of minutes. Sprinkle with freshly chopped parsley and a dash of chili flakes for a pop of color and flavor. Slice into individual portions and serve warm—your family and friends will be clamoring for seconds!
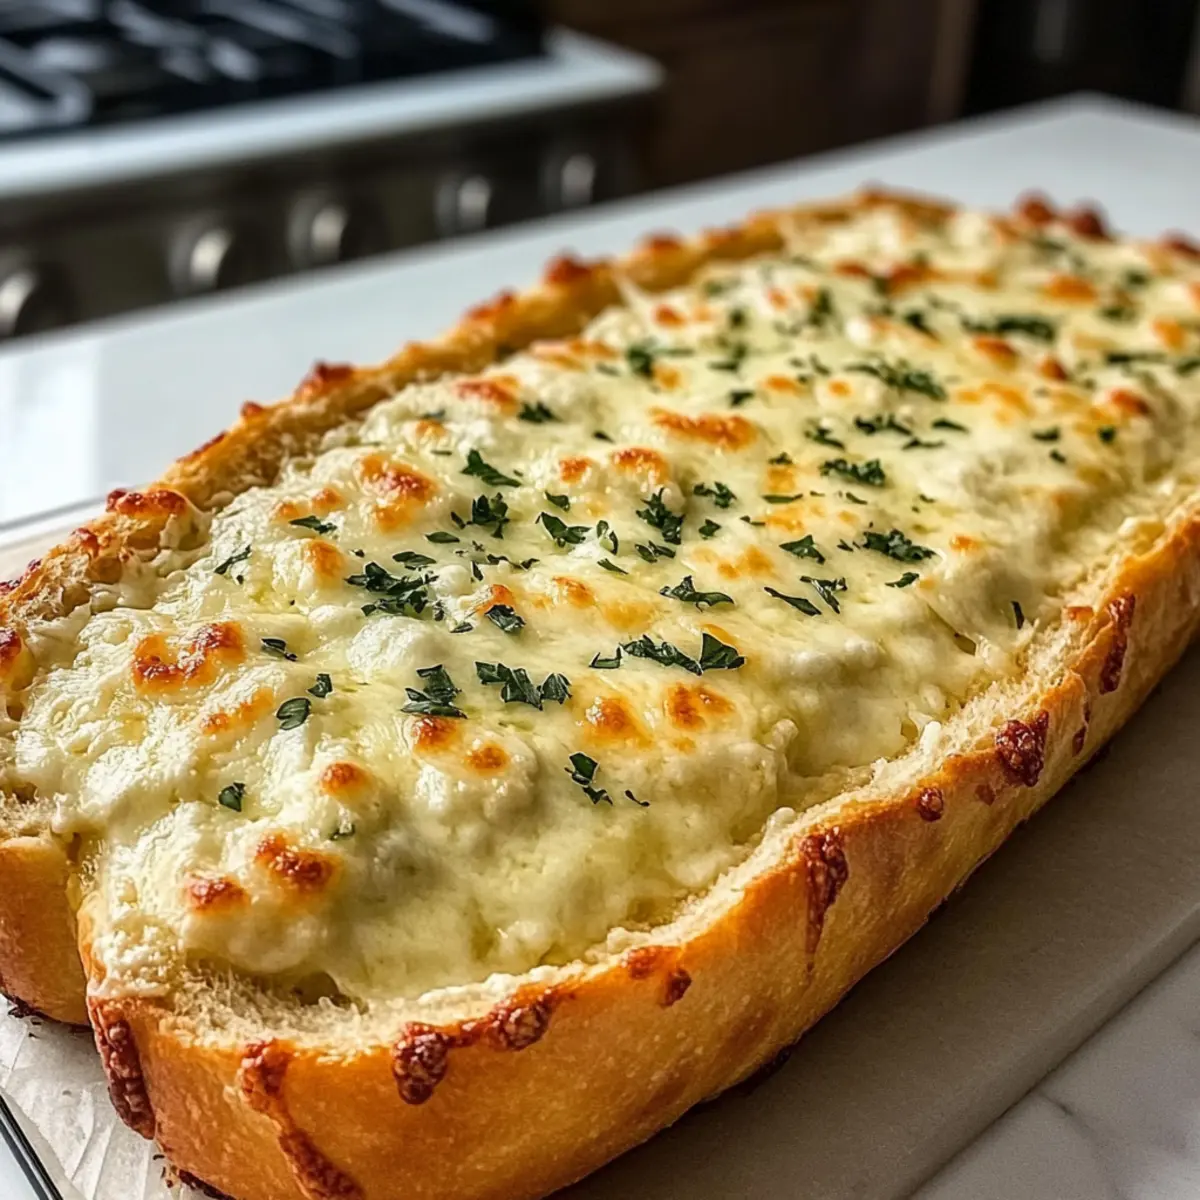
What to Serve with Cheesy Garlic Bread
Set the stage for a cozy meal with tantalizing sides that elevate your cheesy garlic bread experience.
-
Creamy Tomato Soup: The warm, rich flavors of tomato soup create a comforting dip, perfectly complementing the gooey cheesy goodness. Sip and savor every moment!
-
Caesar Salad: Crisp romaine topped with tangy dressing and crunchy croutons provides a refreshing contrast to the warm, cheesy bread. It’s a classic pairing that adds a vital crunch.
-
Baked Ziti: This hearty pasta dish brings together robust tomato sauce and melted cheese, working in harmony with the savory garlic bread to make your meal unforgettable.
-
Roasted Vegetables: A vibrant medley of seasonal veggies roasted until caramelized contrasts beautifully with the cheese, adding both color and nutrition to your plate.
-
Garlic Butter Shrimp: Infused with the same garlic essence as your bread, this dish enhances the overall experience and gives a delightful seafood twist to your meal.
-
Bruschetta: Fresh tomatoes, basil, and balsamic drizzles on crispy bread create a delightful appetizer that brings brightness and freshness alongside each bite of cheesy garlic bread.
-
Red Wine: A glass of bold red wine like Merlot or Cabernet Sauvignon enhances the rich flavors of garlic and cheese, creating a perfect synergy that delights the palate.
-
Chocolate Lava Cake: For dessert, indulge in a molten chocolate cake to end your meal on a sweet note. The richness is a nostalgic finish that complements the savory starter beautifully.
How to Store and Freeze Cheesy Garlic Bread
Fridge: Store leftover cheesy garlic bread in an airtight container for up to 2 days to maintain freshness and flavor.
Freezer: For longer storage, freeze the unbaked cheesy garlic bread; wrap tightly in plastic wrap and foil. It can stay frozen for up to 3 months.
Reheating: To reheat, bake directly from the freezer at 375°F (190°C) for an additional 5-10 minutes, ensuring the cheese is melted and bubbly.
Make-Ahead Tip: Prepare the garlic butter and spread it on the rolls up to 24 hours in advance, covering tightly and refrigerating until ready to bake.
Cheesy Garlic Bread Variations & Substitutions
Feel free to let your creativity shine and make this cheesy garlic bread your own with these delightful twists!
- Dairy-Free: Use non-dairy butter and cheese alternatives to create a vegan version that’s just as delicious.
- Spicy: Add crushed red pepper flakes or finely chopped jalapeños into the garlic butter mixture for a fiery kick.
- Herb-Infused: Mix in fresh basil or thyme to the butter for an extra layer of flavor that brightens every bite.
- Cheese Blend: Combine mozzarella with sharp cheddar or pepper jack for a cheese explosion that elevates the flavor.
- Gluten-Free: Use gluten-free rolls or baguette to accommodate dietary needs without sacrificing taste.
- Savory Add-Ins: Incorporate sautéed mushrooms or caramelized onions into the cheese topping for a gourmet touch.
- Crunchy Texture: Sprinkle panko breadcrumbs on top before baking for a delightful crispy finish that adds texture.
- Garlic Powder Boost: If you’re in a hurry, you can replace roasted garlic with 1-2 teaspoons of garlic powder mixed into the butter for a quick alternative.
For inspiring side dishes to accompany this cheesy delight, consider pairing it with Honey Garlic Roasted Brussels Sprouts or Cheesy Zucchini Breadsticks for a memorable meal that everyone will love!
Make Ahead Options
Preparing Cheesy Garlic Bread ahead of time is a fantastic way to save time on busy weeknights! You can make the garlic butter and spread it on the rolls up to 24 hours in advance; just cover them tightly and refrigerate. This allows the flavors to meld beautifully, enhancing the taste. If you’re really pressed for time, you can also roast the garlic up to 3 days ahead—just store it in an airtight container in the fridge. When you’re ready to enjoy your cheesy garlic bread, simply sprinkle the shredded mozzarella on top and bake directly from the fridge for about 10-15 minutes until golden and bubbling. Your family will savor this delightful treat just as much as if it were made fresh!
Expert Tips for Cheesy Garlic Bread
Roast Garlic Well: Ensure garlic is well-roasted for a rich, sweet flavor; this step is crucial for maximizing the depth of your cheesy garlic bread.
Monitor Baking Time: Keep an eye on the baking time to avoid burning, especially around the edges; aim for golden brown, not dark brown.
Mix Cheese Varieties: For a more dynamic flavor, experiment with cheese blends; combining mozzarella with cheddar results in a richer, creamier taste.
Don’t Skimp on Butter: Generously spreading the garlic butter is key; it ensures that every bite of your cheesy garlic bread is oozing with flavor.
Fresh Herbs Matter: Using fresh parsley not only adds a burst of color but also enhances flavor; dried herbs can work, but use less for optimal taste.
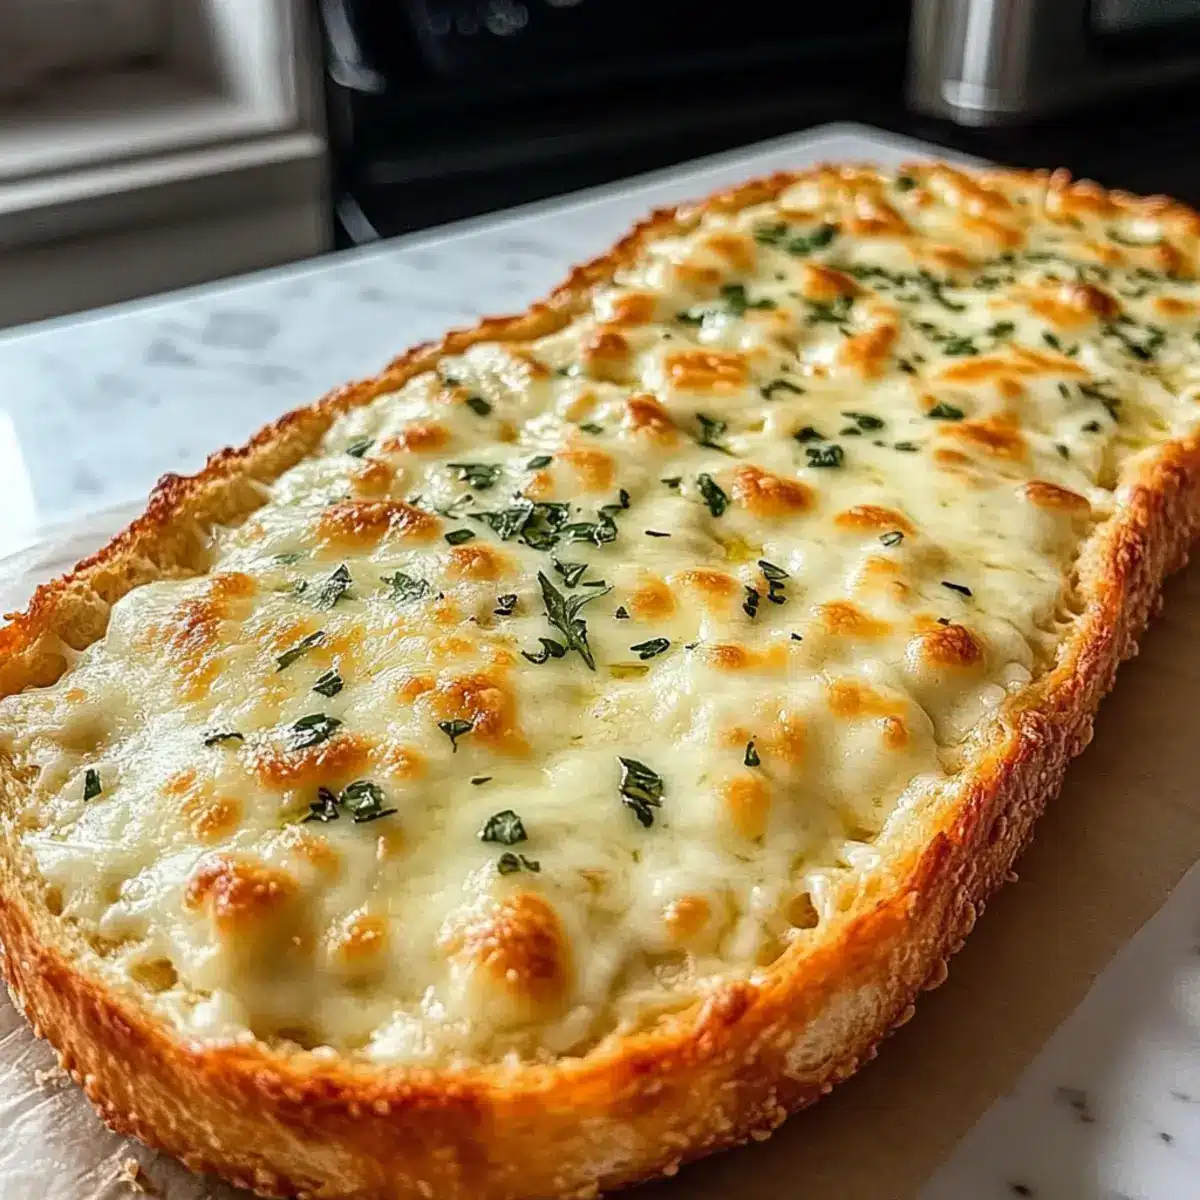
Cheesy Garlic Bread Recipe FAQs
What type of garlic should I use for the best flavor?
I highly recommend using fresh garlic cloves for the most robust flavor in your cheesy garlic bread. Fresh garlic provides essential aromatic qualities and sweetness that powdered garlic just can’t match. If you’re in a pinch, however, garlic powder can work as a substitute, but I’d use it sparingly—about 1/8 teaspoon for every clove needed.
How should I store leftover cheesy garlic bread?
Store any leftover cheesy garlic bread in an airtight container in the refrigerator for up to 2 days. Make sure it cools completely before sealing it away to preserve its deliciousness. If you want to keep it longer, I recommend freezing it before baking. Just wrap the prepared, unbaked cheesy garlic bread tightly in plastic wrap and foil, and it can last up to 3 months in the freezer.
Can I freeze cheesy garlic bread for later use?
Absolutely! Freezing is a great option. To do this, prepare the cheesy garlic bread up to the point of baking. Wrap it tightly in both plastic wrap and foil to avoid freezer burn. When you’re ready to enjoy, bake it straight from frozen at 375°F (190°C) for an extra 5-10 minutes until the cheese is melted and bubbly. Simple and satisfying!
What are some common issues I might encounter when making cheesy garlic bread?
A common issue is burning the edges while baking. To avoid this, keep a close eye on the bread during the last few minutes. Another tip is to ensure the garlic is well roasted; if undercooked, it may have a sharp flavor instead of the sweet undertones you want. If your cheese doesn’t melt properly, it might be that your oven temperature needs adjustment or that the cheese was shredded too coarsely.
Are there any dietary considerations I should be aware of?
Yes, this cheesy garlic bread is not gluten-free, so if you or your guests have gluten concerns, consider using gluten-free rolls. Also, check the cheese label for any allergens, especially if you are making this bread for someone with lactose intolerance. There are great non-dairy cheese alternatives available that work wonderfully in this recipe. Always consider potential allergies and dietary restrictions among your guests!
Can I make cheesy garlic bread ahead of time?
Yes! You can prepare the garlic butter and spread it on the rolls up to 24 hours in advance. Just cover the rolls tightly and store them in the refrigerator until you’re ready to bake. This method not only saves time but allows the flavors to meld beautifully, leading to an even more delicious cheesy garlic bread when it comes time to bake!
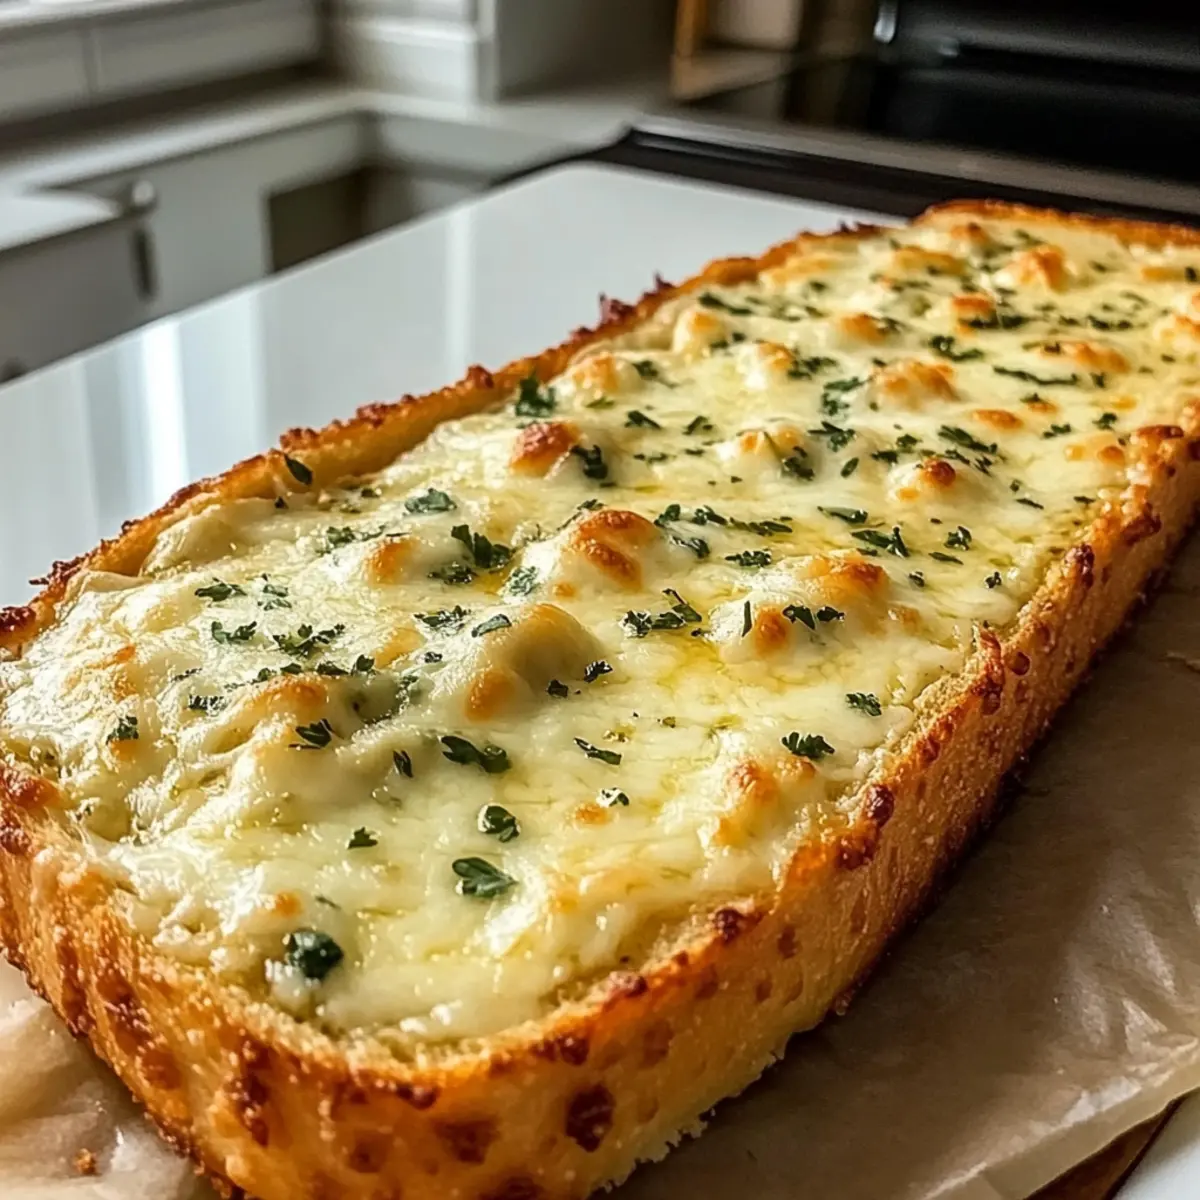
Cheesy Garlic Bread That's Melt-in-Your-Mouth Delicious
Ingredients
Equipment
Method
- Preheat your oven to 375°F (190°C).
- Peel and mash the garlic cloves, mix with olive oil and salt, wrap in foil, and roast for 15-20 minutes.
- Combine melted butter, egg, milk, paprika, and salt in a bowl and whisk until smooth.
- Mix roasted garlic into the garlic butter mixture.
- Slice the King's Hawaiian rolls in half horizontally and place cut-side up on a baking sheet.
- Spread garlic butter generously over the cut surfaces of the rolls.
- Evenly sprinkle shredded mozzarella cheese over the buttered rolls.
- Bake for 10-15 minutes until cheese is melted and rolls are golden brown.
- Let cool briefly, then garnish with parsley and serve warm.
Leave a Reply