
As the leaves turn and the air gets crisp, there’s an unmistakable charm that envelops the kitchen during fall. That warm, inviting scent of pumpkin and spices brings back sweet memories of family gatherings and cozy evenings. My Pumpkin Cheesecake Bars encapsulate that essence perfectly—they are not only easy to make but also a delightful twist on a classic autumn dessert. With a velvety pumpkin filling resting on a buttery graham cracker crust, each bite serves up the comforting flavors of the season. These bars are a crowd-pleaser, making them the perfect treat for your next potluck or holiday gathering. Ready to indulge in a dessert that’s as effortless to whip up as it is delicious? Let’s dive into the recipe!
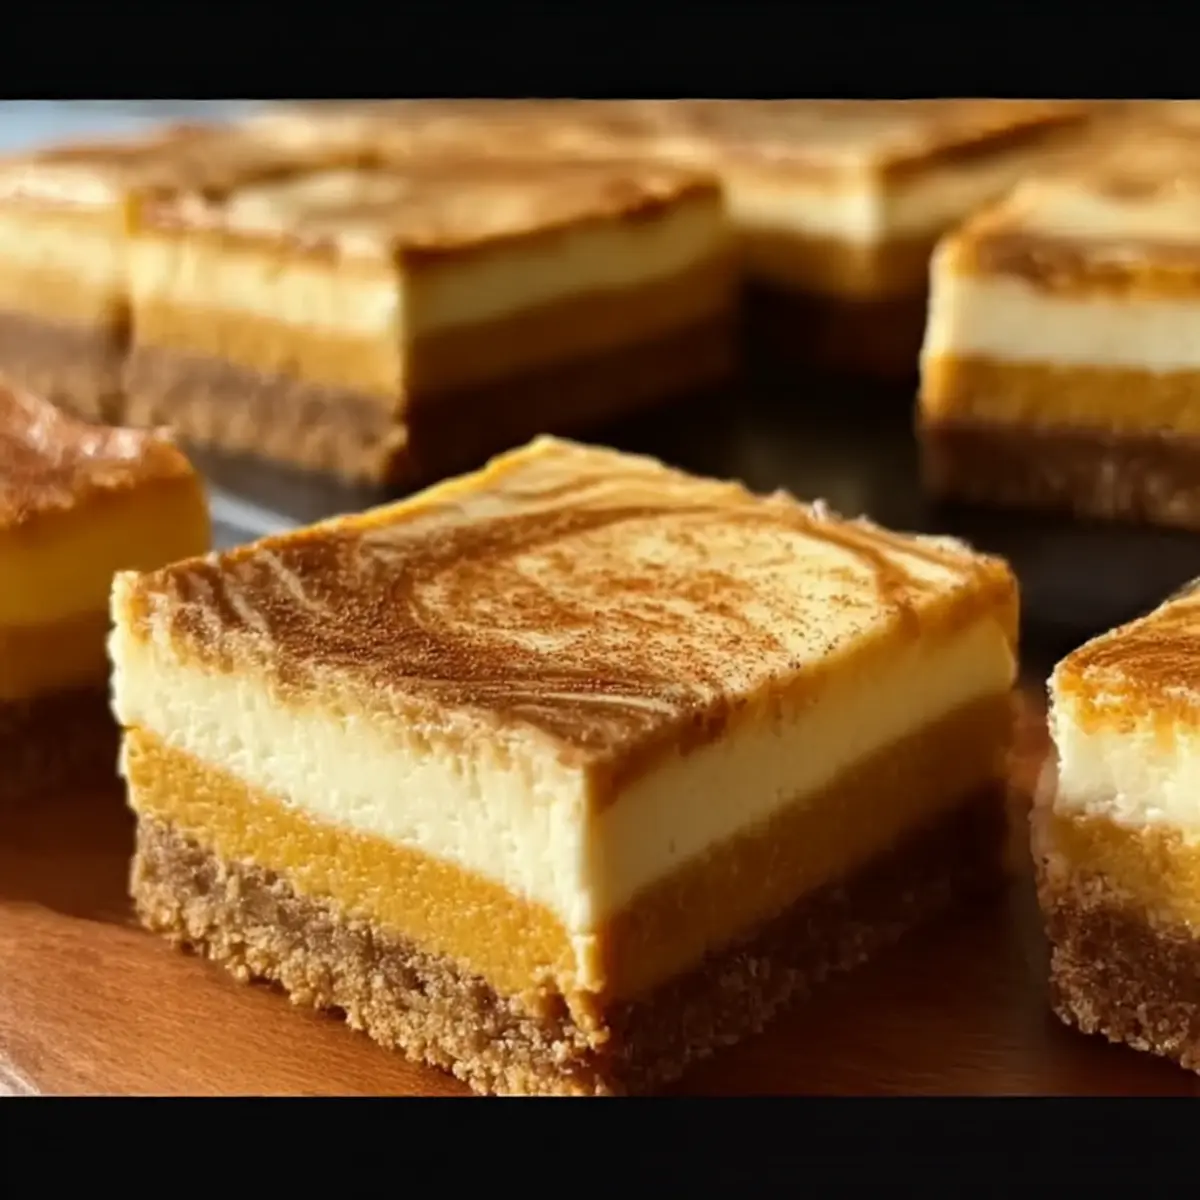
What Makes These Pumpkin Cheesecake Bars Irresistible?
Velvety Texture: The luscious pumpkin filling pairs beautifully with a buttery graham cracker crust, creating a melt-in-your-mouth experience that’s simply unforgettable.
Easy to Make: This recipe is designed for all skill levels; even novice bakers will find success!
Seasonal Delight: Perfectly captures the cozy essence of fall, making it a fantastic addition to your holiday dessert table.
Versatile Variations: Feel free to put your own spin on these bars—consider adding a layer of cranberry sauce or drizzling caramel on top for an extra touch of decadence.
Crowd-Pleasing Appeal: These bars are sure to impress family and friends, and they’re great for potlucks or gatherings. With flavors reminiscent of traditional pumpkin pie, they are bound to be a hit!
Storage Success: Made-ahead convenience means you can enjoy their deliciousness for days or even freeze for later indulgence. Check out my Cereal Bars Homemade for more easy and crowd-pleasing recipes!
Pumpkin Cheesecake Bars Ingredients
For the Crust
• Graham Cracker Crumbs – Base of the crust; substitute with gluten-free crumbs for a gluten-free option.
• Unsalted Butter – Adds richness to the crust; can be replaced with coconut oil for a dairy-free alternative.
• Granulated Sugar – Sweetens the crust and filling; brown sugar can be used for a deeper flavor.
• Ground Cinnamon – Enhances flavor in both the crust and filling; nutmeg or pumpkin pie spice could be substituted for variety.
For the Filling
• Cream Cheese (softened) – Provides the cheesecake texture; for a lighter option, use Neufchâtel cheese.
• Canned Pumpkin Puree – Main flavor component of the filling; homemade pumpkin puree can be used as a substitute.
• Eggs – Bind the filling together, ensuring a rich consistency; flax eggs can be used for a vegan version.
• Vanilla Extract – Adds aromatic flavor; use pure vanilla for the best taste.
• Ground Nutmeg – Complements the pumpkin flavor; ground ginger can be used for an extra kick.
• Salt – Balances sweetness in the filling; kosher salt is preferable.
With these mouthwatering Pumpkin Cheesecake Bars ingredients in hand, you’re now ready to create a dessert that perfectly captures the coziness of fall!
Step‑by‑Step Instructions for Pumpkin Cheesecake Bars
Step 1: Preheat the Oven
Begin by preheating your oven to 350°F (175°C). While the oven heats, take a 9×13-inch baking dish and grease it lightly with non-stick spray or butter. This will prevent your delicious Pumpkin Cheesecake Bars from sticking, ensuring a smooth release once they are cooled and ready to slice.
Step 2: Make the Crust
In a mixing bowl, combine graham cracker crumbs, melted butter, granulated sugar, and ground cinnamon. Stir well until the mixture resembles wet sand and holds together when pressed. This buttery mixture will form the base of your Pumpkin Cheesecake Bars, harmonizing beautifully with the creamy filling that’s to come.
Step 3: Press the Crust
Evenly distribute the crust mixture into the greased baking dish. Use the back of a measuring cup or your fingers to firmly press the mixture down, creating a solid and compact layer. Aim for uniform thickness throughout the crust, which will provide the perfect foundation for your cheesecake filling.
Step 4: Bake the Crust
Place the baking dish in the preheated oven and bake the crust for 10 minutes. As it bakes, the crust will turn a light golden color and develop a slightly firm texture. Once done, remove it from the oven and allow it to cool slightly while you prepare the filling.
Step 5: Prepare the Filling
In a clean mixing bowl, beat the softened cream cheese and granulated sugar together until smooth and creamy, about 2-3 minutes. This step ensures there are no lumps in your filling, creating that rich and velvety texture that makes Pumpkin Cheesecake Bars so irresistible.
Step 6: Combine Ingredients
Slowly add in the canned pumpkin puree, eggs, vanilla extract, ground nutmeg, and a pinch of salt to the cream cheese mixture. Mix until all the ingredients are well incorporated and creamy, taking care not to overmix. You want to maintain the light texture that makes these bars so delightful.
Step 7: Pour Filling
Gently pour the pumpkin filling over the pre-baked crust, using a spatula to spread it evenly across the surface. This smooth layer of pumpkin goodness will bake into a wonderfully creamy dessert that captures the true essence of autumn in every bite.
Step 8: Bake
Return the baking dish to the oven and bake for 30–35 minutes. You’ll know your Pumpkin Cheesecake Bars are finished when the center is set but still has a slight jiggle—this ensures they remain creamy after cooling.
Step 9: Cool
Once baked, carefully remove the dish from the oven and let it cool at room temperature for 15–20 minutes. During this time, the bars will finish setting up, making them easier to slice into perfect squares later.
Step 10: Chill
After cooling, place the baking dish in the refrigerator and allow it to chill for at least 2 hours. This helps deepen the flavors and firm up the filling, making your Pumpkin Cheesecake Bars even more delicious when ready to serve.
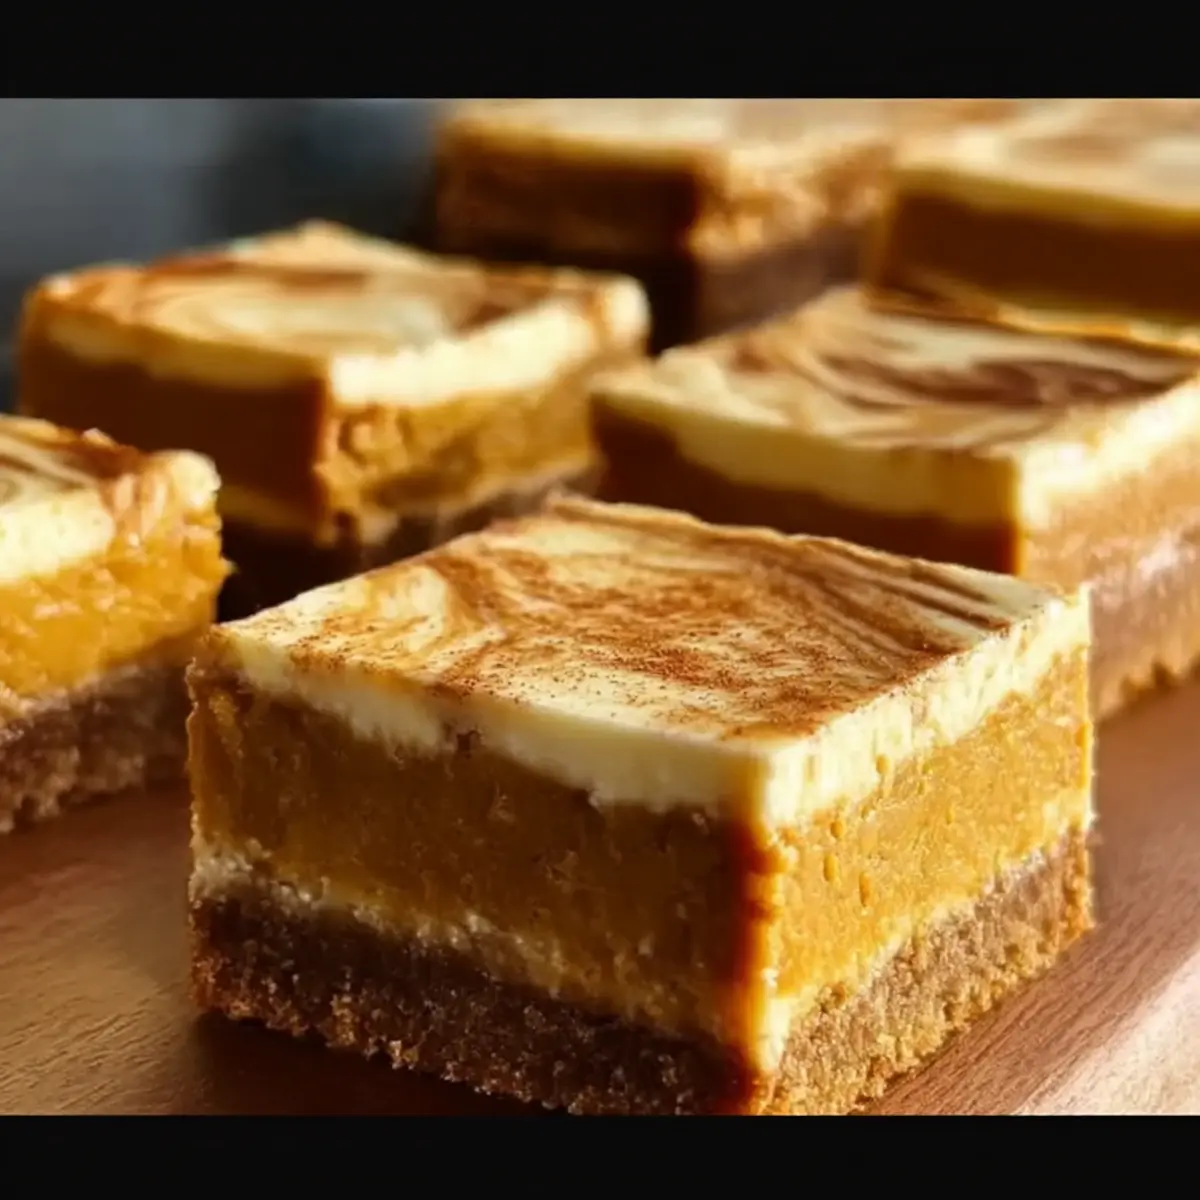
Pumpkin Cheesecake Bars Variations & Substitutions
Feel free to make these delightful bars your own with simple swaps and creative additions that resonate with your taste buds!
- Gluten-Free Crust: Use gluten-free graham cracker crumbs or almond flour combined with coconut oil for a delectable, gluten-free option.
- Dairy-Free Delight: Replace cream cheese with a plant-based alternative, like cashew cream, for a creamy, dairy-free filling that everyone will love.
- Sugar Alternatives: Opt for coconut sugar or a sugar substitute like stevia to reduce the sweetness, while still maintaining delicious flavor.
- Nutty Flavor Boost: Stir in some finely chopped pecans or walnuts into the crust for a crunchy twist that elevates the texture.
- Sweet Potato Substitute: For a different flavor, use mashed sweet potatoes in place of pumpkin puree while keeping the spices intact for warmth.
- Spiced Revolution: Get adventurous by adding a touch of cardamom or allspice alongside the cinnamon for a more complex flavor profile.
- Chocolate Fantasy: Swirl melted chocolate into the filling or intersperse mini chocolate chips for a luscious chocolate-pumpkin fusion.
- Caramel Drizzle: Top your bars with homemade or store-bought caramel sauce after chilling for an indulgent finishing touch.
Experimenting with these variations will ensure your Pumpkin Cheesecake Bars become an even more exciting and personalized treat! If you’re looking for another sweet twist, check out my Cheesecake Decadent Indulgence for inspiration!
Expert Tips for Pumpkin Cheesecake Bars
• Room Temperature Cream Cheese: Ensure your cream cheese is at room temperature before mixing. This helps avoid lumps, creating a smooth filling.
• Careful Mixing: Don’t overmix your filling once the eggs are added. Overbeating can lead to a dense texture instead of the lightness you want in your Pumpkin Cheesecake Bars.
• Chill Time Matters: Allow ample chill time after baking. This step is essential for the bars to set properly, enhancing flavor and texture.
• Baking Dish Choice: Use a dark or non-stick baking dish for better results since it helps achieve a more evenly cooked crust.
• Flavor Enhancements: Feel free to experiment with different spices! Trying out ginger or allspice alongside your usual cinnamon and nutmeg can elevate your Pumpkin Cheesecake Bars.
What to Serve with Pumpkin Cheesecake Bars
The perfect dessert deserves an equally delightful spread to elevate your dining experience.
-
Whipped Cream: A dollop of freshly whipped cream adds a light and airy finish that complements the rich pumpkin filling beautifully.
-
Cinnamon Spiced Coffee: Warm up the evening with a cup of cinnamon spiced coffee, enhancing the cozy flavors of fall.
-
Apple Crisp: The crunchiness of an apple crisp provides a lovely contrast to the creamy texture of the cheesecake bars; both flavors harmonize perfectly.
-
Pecan Pie Bites: These mini treats bring a nutty sweetness that pairs well with the spices in your pumpkin bars.
-
Cranberry Sauce: Drizzling a tangy cranberry sauce adds a tart burst, cutting through the richness while adding a festive touch.
-
Hot Chocolate: Nothing warms the heart like a cup of hot chocolate. Serve it alongside for a sweet and comforting treat during colder evenings.
A well-curated selection can turn dessert into a celebration, embracing the flavors and spirit of the season.
Storage Tips for Pumpkin Cheesecake Bars
Fridge: Store your Pumpkin Cheesecake Bars in an airtight container in the refrigerator for up to one week. This helps keep them fresh and delicious.
Freezer: If you want to keep these bars for longer, they can be frozen for up to 3 months. Wrap them tightly in plastic wrap and then in aluminum foil to prevent freezer burn.
Thawing: To enjoy them after freezing, simply transfer the bars to the refrigerator to thaw overnight before serving.
Serving Suggestion: For the best taste, serve chilled directly from the fridge, optionally with a dollop of whipped cream on top.
Make Ahead Options
Preparing these Pumpkin Cheesecake Bars in advance is a game-changer for busy home cooks! You can make the crust up to 24 hours ahead; simply mix the graham cracker crumbs, butter, sugar, and cinnamon, then press it into your baking dish and refrigerate. The filling can also be prepared up to 3 days in advance; just combine the cream cheese, pumpkin puree, eggs, and spices, and store it in an airtight container in the fridge. To maintain quality, cover the crust well to prevent it from drying out. When you’re ready to serve, simply pour the prepared filling over the crust, bake as instructed, and enjoy creamy Pumpkin Cheesecake Bars that taste fresh and delightful!
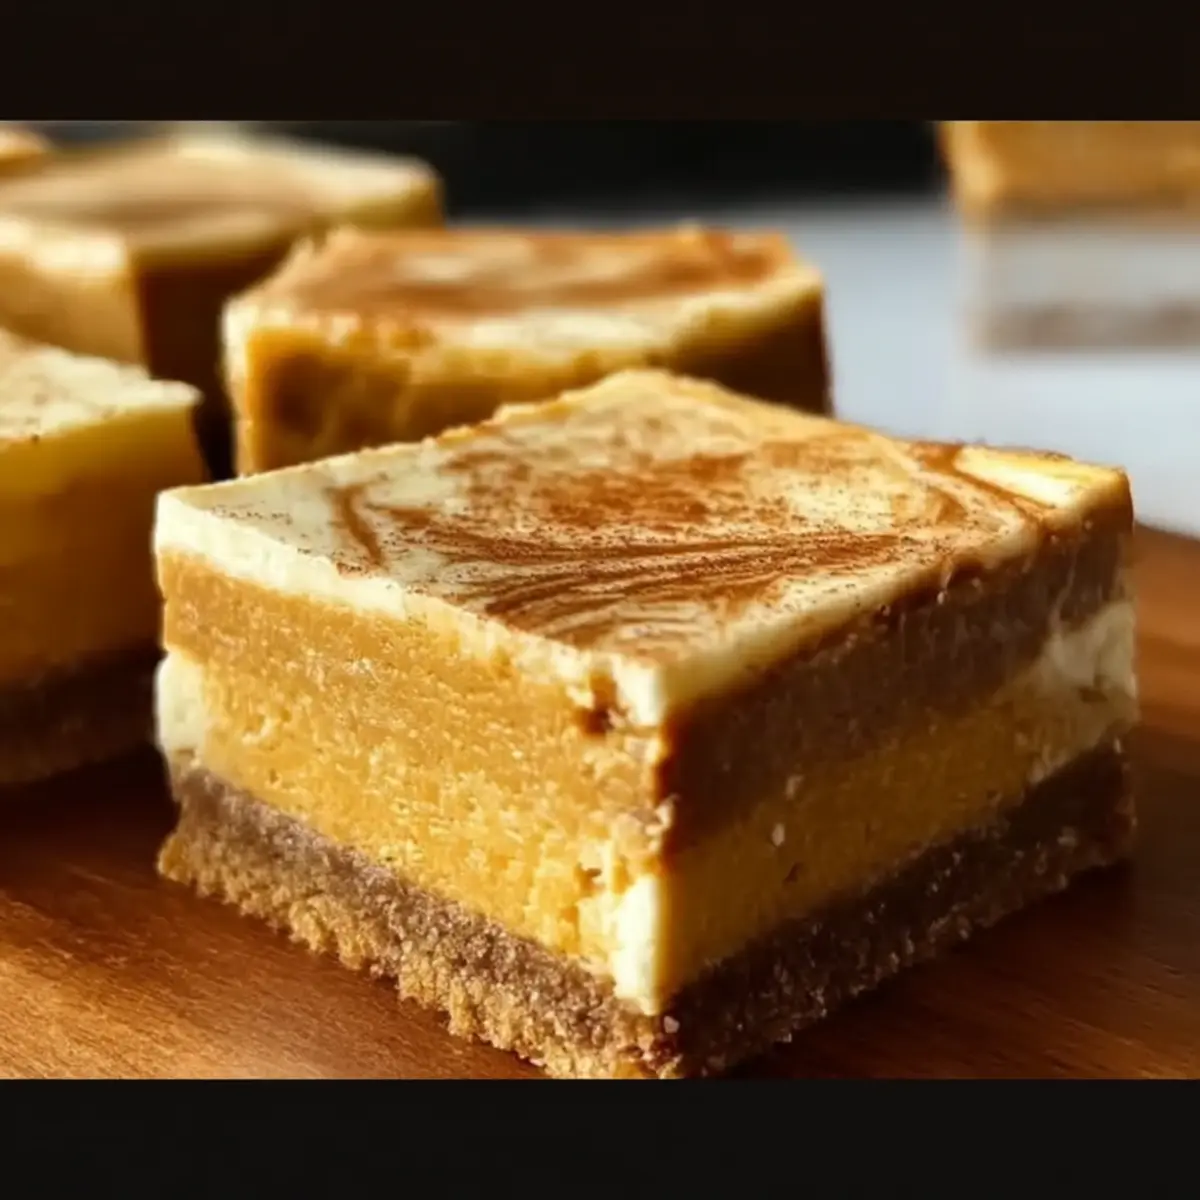
Pumpkin Cheesecake Bars Recipe FAQs
How do I know if my canned pumpkin puree is fresh enough?
Absolutely! When selecting canned pumpkin puree, look for brands that list 100% pumpkin. The can should be free of any dents or rust. Check the expiration date, and opt for one with a date that is far in the future. As for visual cues, if the puree has an unusual odor or appearance, such as discoloration, it’s best to discard it.
What’s the best way to store leftovers?
Very! To store your Pumpkin Cheesecake Bars, place them in an airtight container in the refrigerator. They’ll stay fresh for up to one week. If you want to enjoy them longer, you can freeze the bars as follows: Wrap each bar tightly in plastic wrap and then place them in a freezer-safe container or bag. They will keep well for up to 3 months.
Can I freeze Pumpkin Cheesecake Bars?
Definitely! To freeze your Pumpkin Cheesecake Bars, first cool them completely following the baking process. Then, wrap each individual bar tightly in plastic wrap and place them in a freezer-safe bag or container. When you’re ready to enjoy, thaw them in the refrigerator overnight. This method retains their creamy texture and flavor perfectly!
What if my filling is too runny?
If your filling seems too runny before baking, it could be due to not mixing the cream cheese fully or have added too many eggs. To fix it, ensure your cream cheese is room temperature to avoid lumps, and don’t overmix after adding eggs. Bake for the full 30-35 minutes until slightly jiggly in the center but set. If they still seem runny after baking, give them ample cooling time to firm up!
Is there a dairy-free option for these Pumpkin Cheesecake Bars?
Absolutely! To make these bars dairy-free, use coconut cream instead of cream cheese and a dairy-free butter option for the crust. You can create a vegan filling using silken tofu blended until smooth, combined with pumpkin puree and your favorite spices. Just make sure to follow the same baking steps!
Can I use fresh pumpkin instead of canned?
Yes, you can! If you prefer fresh pumpkin, simply roast a small pumpkin until tender, scoop out the flesh, and blend or mash it until smooth. You’ll need about 1 ¾ cups of fresh pumpkin puree for this recipe. Make sure to taste it before adding sugar as fresh pumpkin can vary in sweetness compared to canned.
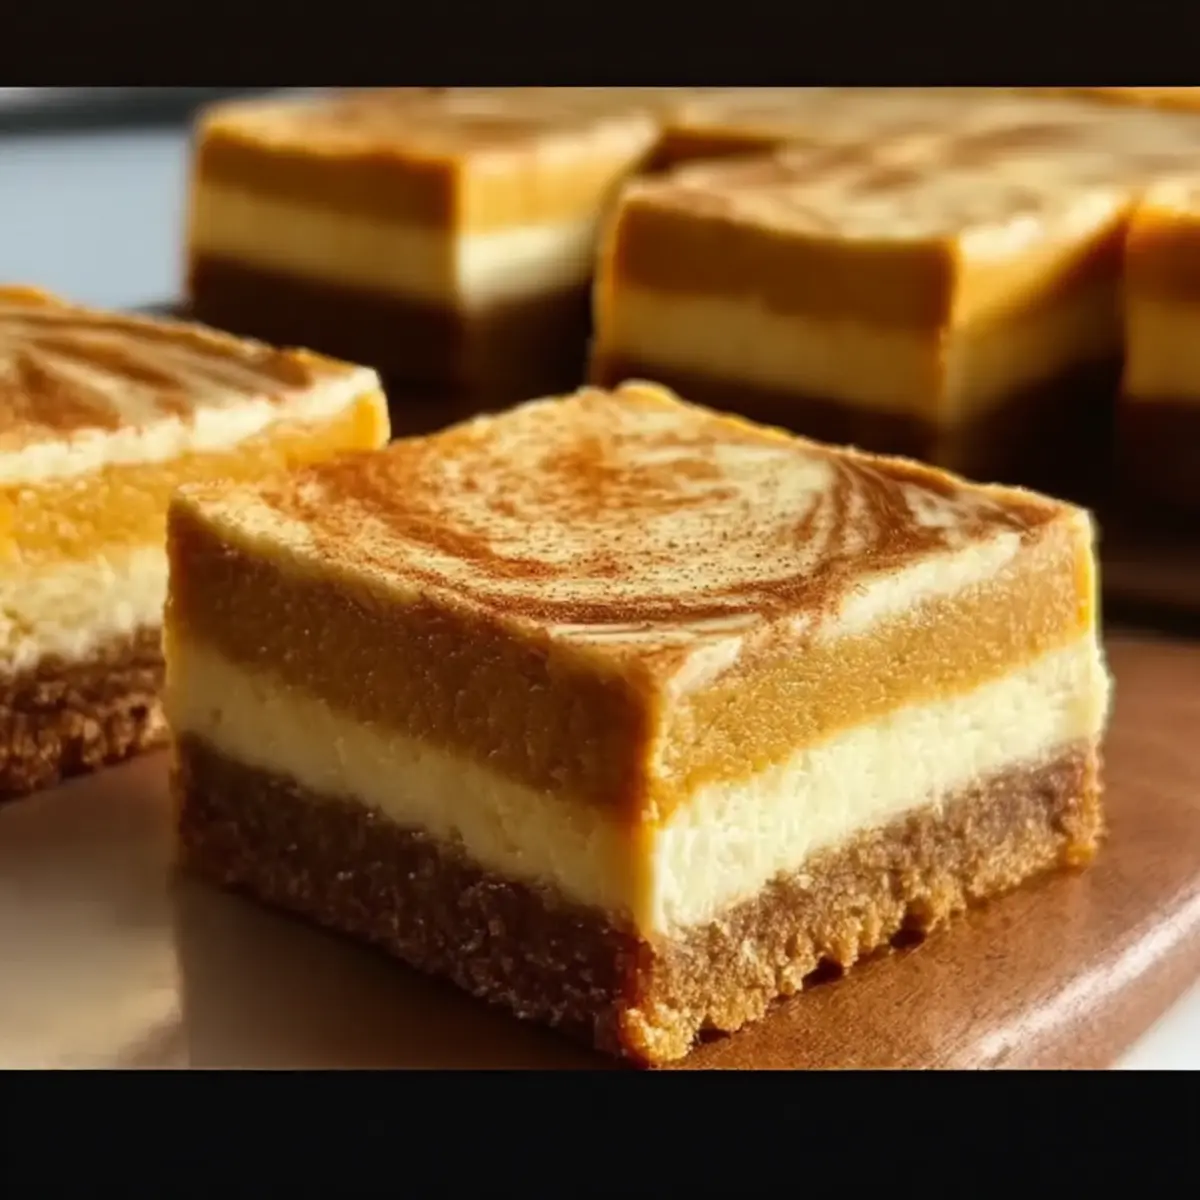
Pumpkin Cheesecake Bars That Melt in Your Mouth
Ingredients
Equipment
Method
- Preheat your oven to 350°F (175°C) and grease a 9×13-inch baking dish.
- In a mixing bowl, combine graham cracker crumbs, melted butter, granulated sugar, and ground cinnamon. Stir until the mixture resembles wet sand.
- Evenly distribute the crust mixture into the greased baking dish and press it down firmly.
- Bake the crust in the preheated oven for 10 minutes and then let it cool slightly.
- In a clean mixing bowl, beat softened cream cheese and granulated sugar until smooth and creamy.
- Add canned pumpkin puree, eggs, vanilla extract, ground nutmeg, and salt to the cream cheese mixture and mix until well incorporated.
- Gently pour the pumpkin filling over the pre-baked crust and spread it evenly.
- Bake for 30–35 minutes until the center is set but still slightly jiggles.
- Remove from the oven and let it cool at room temperature for 15–20 minutes.
- Place in the refrigerator to chill for at least 2 hours before serving.
Leave a Reply