
The aroma of fresh-baked treats wafting through the kitchen brings a rush of nostalgia, doesn’t it? Today, I’m excited to share my recipe for Olympic Village Chocolate Muffins, a delightful twist on your standard chocolate muffin with a secret gooey fudge center. Perfect for breakfast, brunch, or a sweet afternoon snack, these muffins are not only incredibly easy to make but are also a heartwarming alternative to fast food cravings. With just a few simple ingredients, you’ll create bakery-style muffins that are sure to impress family and friends. Ready to dive into a world of chocolaty bliss? Let’s get baking!
Why Are These Muffins So Irresistible?
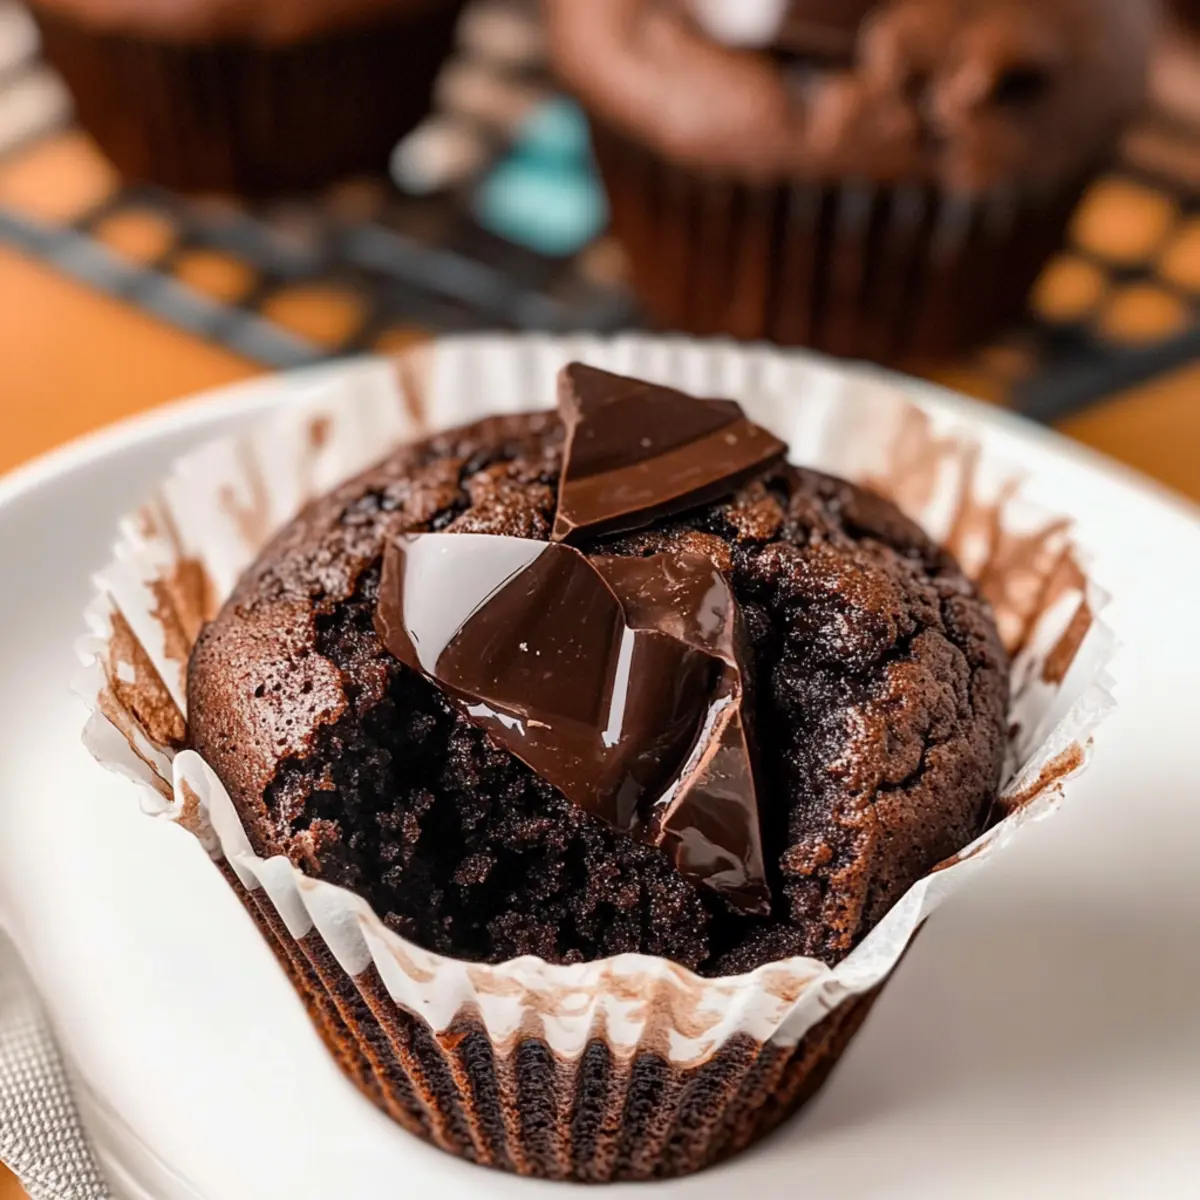
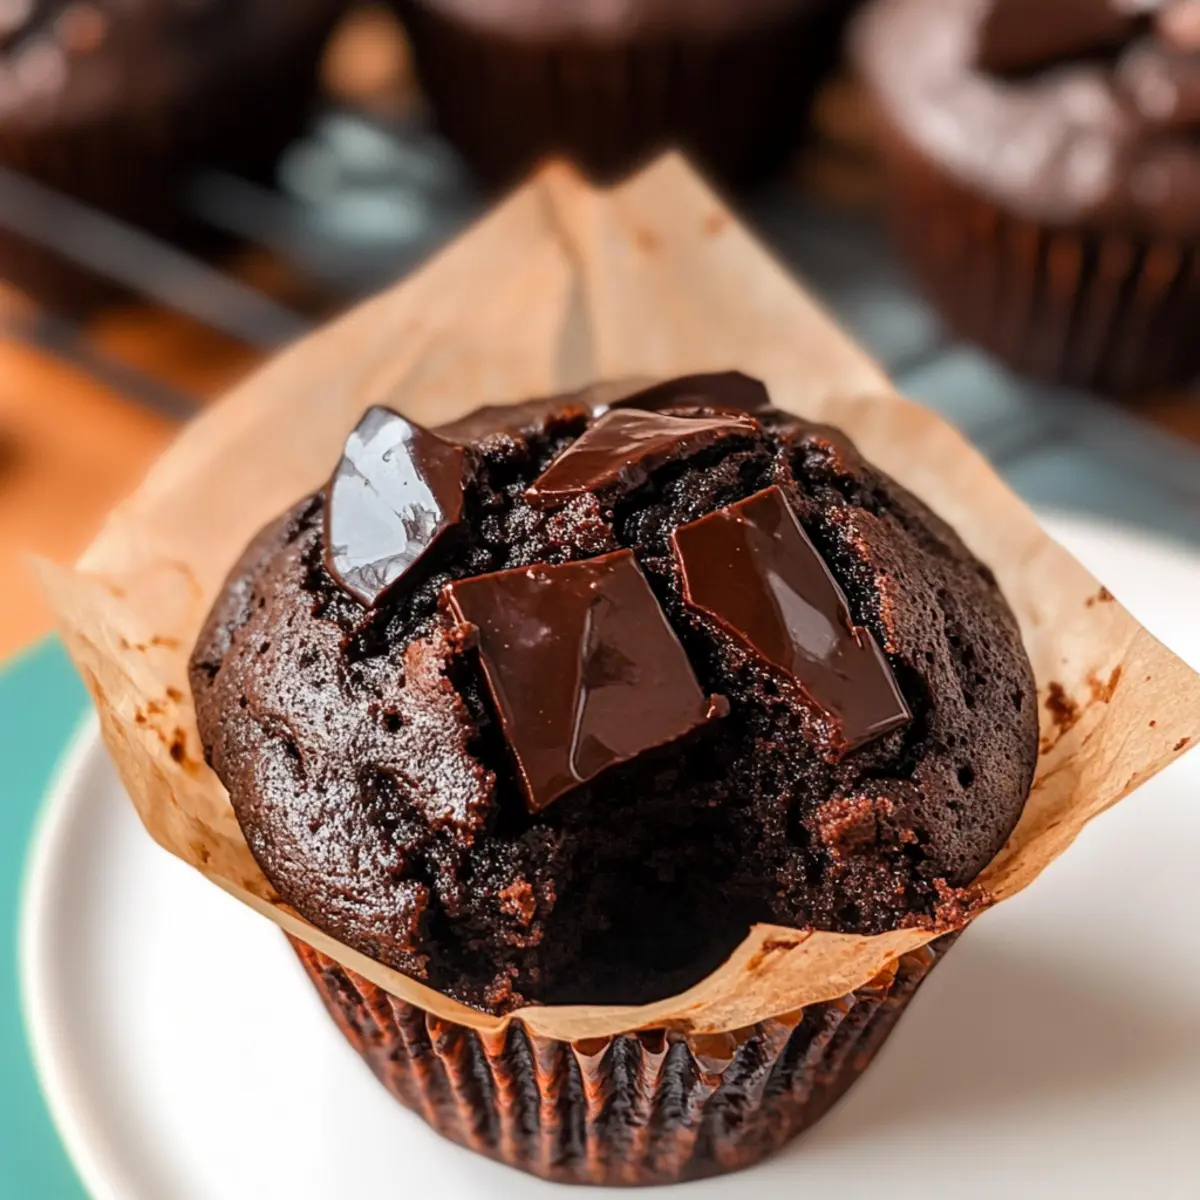
Decadent Gooey Center: The rich hot fudge filling creates a delightful surprise that elevates every bite of your Olympic Village Chocolate Muffins.
Quick & Easy: With straightforward steps, these muffins can be whipped up even on your busiest days, making them a perfect go-to for brunch or a quick dessert.
Endless Customization: Feel free to tweak ingredients, like adding nuts or different chocolate types, allowing you to make them uniquely yours. For an alternative sweet treat, you might enjoy my Butter Toffee Chocolate Chip Cookies or Chocolate Pancakes Sweet.
Crowd Pleaser: Whether for a gathering or a cozy family night, these muffins will wow your guests and leave everyone asking for the recipe!
Bakery-Style Texture: Experience that lovely tender crumb and rich fudginess that you typically find in artisanal bakeries, right in your kitchen!
Olympic Village Chocolate Muffin Ingredients
- For the Batter
- All-Purpose Flour – Provides structure for muffins; no substitutions needed unless gluten-free options are desired.
- Dutch Process Cocoa Powder – Adds rich chocolate flavor and color; substitute with high-quality cocoa if unavailable.
- Black Cocoa Powder – Contributes a dark cocoa flavor and deepens color; can be omitted; use additional Dutch powder if needed.
- Milk Powder – Increases richness and moisture; can be replaced with powdered buttermilk or omitted.
- Salt – Enhances all flavors; essential, do not omit.
- Baking Soda & Baking Powder – Provide lift and leavening; ensure both are fresh for optimal rise.
- Espresso Powder – Intensifies chocolate flavor without coffee taste; omit if unavailable, but it enhances the depth of chocolate.
- Salted Butter – Adds richness and flavor; unsalted butter can be used, adjust salt elsewhere if using unsalted.
- Buttermilk – Contributes moisture and acidity, resulting in tender muffins; replace with yogurt or milk with a splash of vinegar if needed.
- Canola Oil – Keeps muffins moist; substitute with vegetable oil.
- Vanilla Extract – Adds depth and sweetness; use good quality vanilla for the best flavor.
- Large Eggs – Provide structure and moisture; eggs should be at room temperature for better emulsification.
- Vanilla Skyr Yogurt – Increases moisture and adds protein; can be substituted with Greek yogurt or sour cream.
- Light Brown Sugar – Provides sweetness and moisture; granulated sugar can be used, but muffins will be less moist.
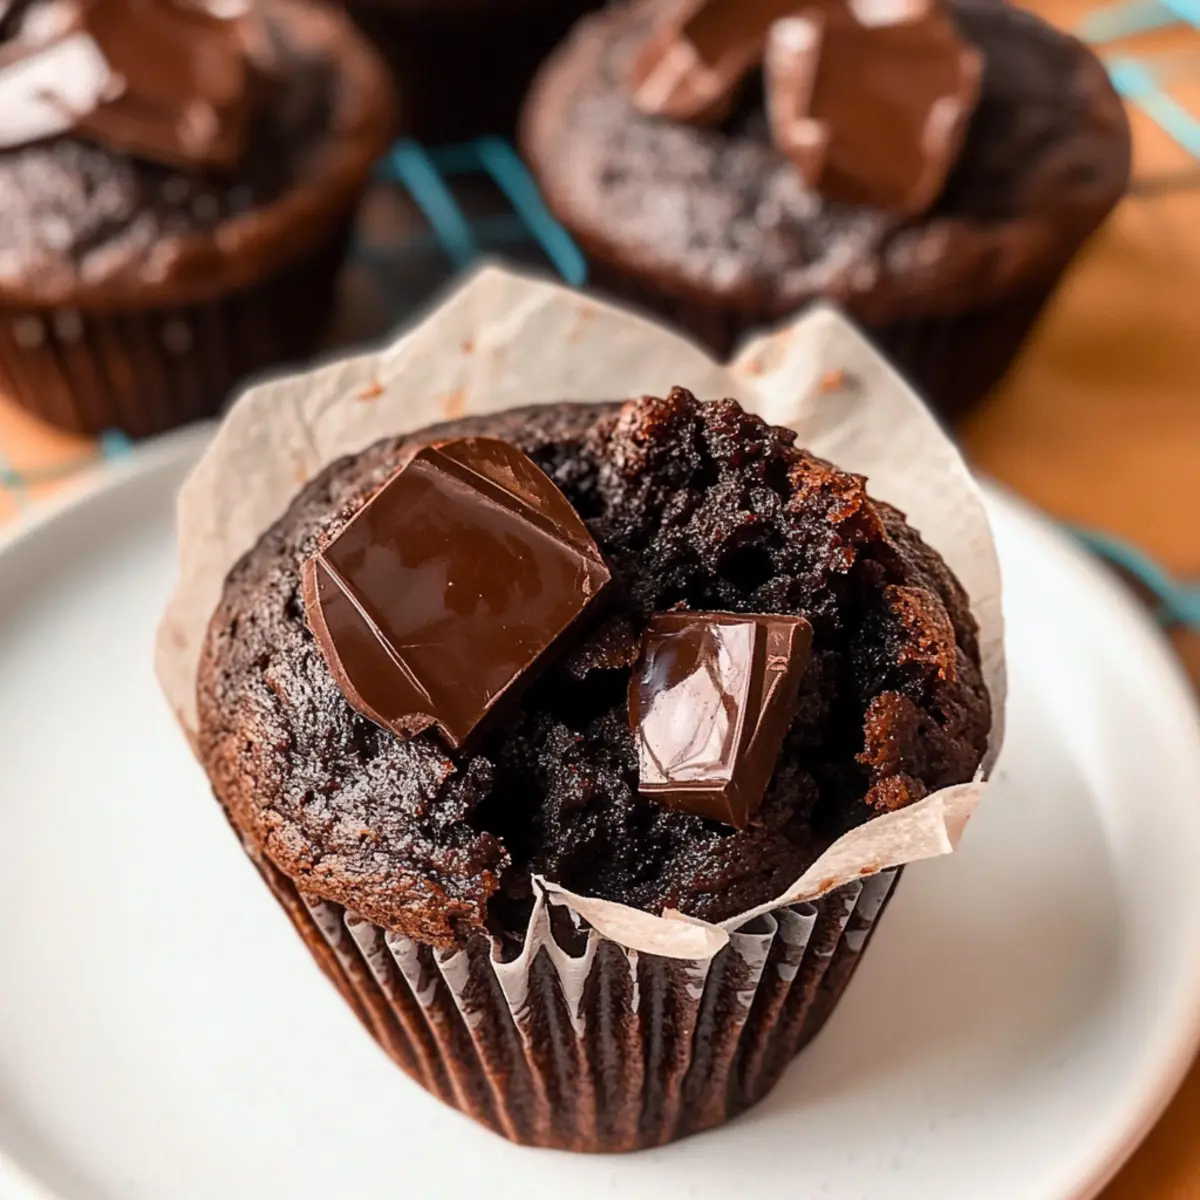
- Dark & Milk Chocolate – Adds chunks throughout and topping for texture; use any high-quality chocolate; adjust for sweetness preference.
- Hot Fudge Sauce – Filling for a gooey center; use homemade or good-quality store-bought.
These Olympic Village Chocolate Muffins will shower you with their rich, fudge-filled goodness, perfect for satisfying those sweet cravings!
Step‑by‑Step Instructions for Olympic Village Chocolate Muffins
Step 1: Preheat the Oven
Begin by preheating your oven to 425°F (220°C). While the oven warms up, prepare your muffin tin by placing tulip liners in each cup to ensure easy removal after baking. This step is crucial as it ensures your Olympic Village Chocolate Muffins bake evenly and have that delightful, bakery-style appearance.
Step 2: Make Dry Mix
In a mixing bowl, whisk together the all-purpose flour, Dutch process cocoa powder, black cocoa powder, milk powder, salt, baking soda, baking powder, and espresso powder. Ensure there are no lumps in the dry mix, as this will contribute to the light and fluffy texture of your muffins. Set this bowl aside once combined, as we will be mixing it with the wet ingredients shortly.
Step 3: Mix Wet Ingredients
In a separate large bowl, melt the salted butter gently, then let it cool slightly. Whisk in the buttermilk, canola oil, vanilla extract, eggs, yogurt, and light brown sugar until the mixture is smooth and creamy. This mixture serves as the rich foundation for your Olympic Village Chocolate Muffins, providing moisture and flavor.
Step 4: Combine Mixtures
Pour the wet ingredients into the bowl with the dry mix, and gently stir until just combined. Be careful not to overmix; it’s okay if a few flour streaks remain, as this helps to keep the muffins light and fluffy. The batter should have a slightly thick consistency, signaling that you’re on the right track!
Step 5: Fold in Chocolate
Chop your dark and milk chocolate into small chunks and fold them gently into the batter. This step is crucial for achieving gooey pockets of chocolate throughout your Olympic Village Chocolate Muffins. Use a spatula to incorporate the chocolate without overworking the batter, ensuring a delightful surprise in every bite.
Step 6: Rest Batter
Cover the bowl with the muffin batter and let it rest at room temperature for 30 minutes. This resting period allows the flour to hydrate fully, resulting in an incredibly tender muffin texture. Take this time to clean up your workspace or prepare your hot fudge sauce for the gooey center.
Step 7: Fill Muffin Tin
After the batter has rested, use a #16 scoop to portion the batter into each tulip-lined muffin cup, filling them about three-quarters full. This ensures the muffins will rise perfectly and provide the delightful dome shape we crave. The aroma of chocolate will already start to fill your kitchen, enhancing the anticipation of deliciousness.
Step 8: Bake
Place the muffin tin in the preheated oven and bake at 425°F for 7 minutes. After 7 minutes, reduce the temperature to 350°F (175°C) and continue baking for an additional 13-15 minutes. The muffins are ready when a toothpick inserted into the center comes out clean, signaling fluffy perfection.
Step 9: Cool and Fill
Once baked, remove the muffin tin from the oven and let them cool for about 5 minutes. While they cool, use a piping bag to poke a small hole in the top of each muffin and fill it generously with hot fudge sauce. This gooey center is what makes the Olympic Village Chocolate Muffins irresistibly special, ready to surprise your taste buds!
Expert Tips for Olympic Village Chocolate Muffins
-
Use Fresh Ingredients: Always check the freshness of your baking soda and baking powder. Old leavening agents can lead to dense muffins instead of the delightful rise you desire.
-
Don’t Overmix: Mix the wet and dry ingredients just until combined. Overmixing can lead to tough muffins, so stop mixing as soon as there are no dry flour streaks visible.
-
Chill Your Ingredients: Use room-temperature eggs and melted butter for better emulsification, which contributes to a tender texture in your Olympic Village Chocolate Muffins.
-
Fudge Filling Tip: Fill the muffins with hot fudge sauce while they are still warm. This allows the sauce to meld perfectly with the muffin, creating a gooey center that’s simply irresistible.
-
Resting Time is Key: Allow the batter to rest for 30 minutes before baking. This step helps achieve a soft, moist crumb, elevating your muffins from good to extraordinary.
Make Ahead Options
These Olympic Village Chocolate Muffins are perfect for meal prep, allowing you to indulge in their gooey goodness even on the busiest of days! You can prepare the muffin batter up to 24 hours in advance and store it covered in the refrigerator; this helps the flavors blend beautifully. To maintain the quality, let the batter come to room temperature before baking. Additionally, you can fill the muffins with hot fudge sauce and store them for up to 3 days in an airtight container at room temperature; they’ll stay just as delicious! When ready to serve, simply reheat them in the microwave for a few seconds, and voilà – bakery-style muffins ready to delight!
What to Serve with Olympic Village Chocolate Muffins
The warmth of fresh-baked muffins promises the perfect start or finish to your meals—let’s enhance those moments!
- Rich Coffee: A strong cup of coffee balances the sweetness of these muffins, awakening your taste buds and providing that cozy café feel.
- Vanilla Ice Cream: Serve a scoop of creamy vanilla ice cream alongside the muffins for a delightful dessert pairing that melts in your mouth.
- Fresh Berries: Add a side of mixed berries for a burst of freshness that beautifully contrasts the rich, chocolatey flavor of the muffins while providing a pop of color.
- Creamy Greek Yogurt: A dollop of tangy Greek yogurt drizzled with honey can enhance the dessert experience, offering an excellent balance of flavors and textures.
- Chocolate Milkshake: An indulgent chocolate milkshake makes for a fun twist, especially for kids or those young at heart, capturing the essence of the muffins’ fudgy goodness.
- Optional: Citrus Mimosas: Add a refreshing touch to brunch with mimosas made from fresh-squeezed orange juice and sparkling wine, complementing the rich chocolate nicely.
- Maple Syrup Drizzle: A light drizzle of maple syrup over your muffins adds a lovely sweetness and elevates the overall flavor profile.
- Whipped Cream Topping: For a touch of elegance, serve muffins with a side of freshly whipped cream; it’s a simple yet delightful indulgence.
- Nutty Granola: For a heartier meal, pair your muffins with a sprinkle of granola on top, mixing crunchy textures with soft muffin goodness.
- Chai Tea: The warm spices in chai tea pair perfectly with chocolate muffins, creating an inviting and cozy atmosphere at any gathering.
Olympic Village Chocolate Muffins Variations
Feel free to let your creativity shine by customizing these muffins to make them truly your own!
- White Chocolate: Swap out dark chocolate for white chocolate for a sweeter, creamier muffin with delightful bites of chocolate throughout.
- Flavored Yogurt: Use flavored yogurt like vanilla or strawberry to introduce a fun twist in flavor, enhancing the muffin’s overall sweetness.
- Nutty Addition: Incorporate chopped nuts such as walnuts or pecans for an extra layer of crunch and richness; they pair wonderfully with the fudgy chocolate.
- Spicy Kick: Add a dash of cayenne pepper or cinnamon to the batter for a surprising warm spice that complements chocolate beautifully.
- Dairy-Free: Substitute all dairy ingredients with plant-based alternatives, such as almond milk and coconut yogurt, while using dairy-free chocolate chunks.
- Gluten-Free: Use a gluten-free all-purpose flour blend to cater to gluten sensitivities; be sure to adjust the baking time as needed.
- Fruit-Filled: Fold in fresh raspberries or blueberries for delightful bursts of fruity flavor that contrast beautifully with the rich chocolate.
- Chocolate Chips: Toss in mini chocolate chips instead of chunks for a gooey, melty texture that adds another chocolatey element.
For more delightful chocolate inspiration, consider treating yourself to my Chocolate Chip Cookies or savoring some Fluffy Banana Bread Muffins that are equally scrumptious!
Storage Tips for Olympic Village Chocolate Muffins
Room Temperature: Store muffins in an airtight container at room temperature for up to 3 days to maintain their moist texture.
Fridge: If you prefer a longer storage time, place them in the fridge; they will last up to a week, but may become drier.
Freezer: For extended storage, wrap the muffins tightly in plastic wrap and then foil, freezing them for up to 3 months.
Reheating: To enjoy these delicious Olympic Village Chocolate Muffins, reheat in the microwave for 10-15 seconds or in a preheated oven at 350°F until warmed through.
Olympic Village Chocolate Muffins Recipe FAQs
What type of chocolate is best for these muffins?
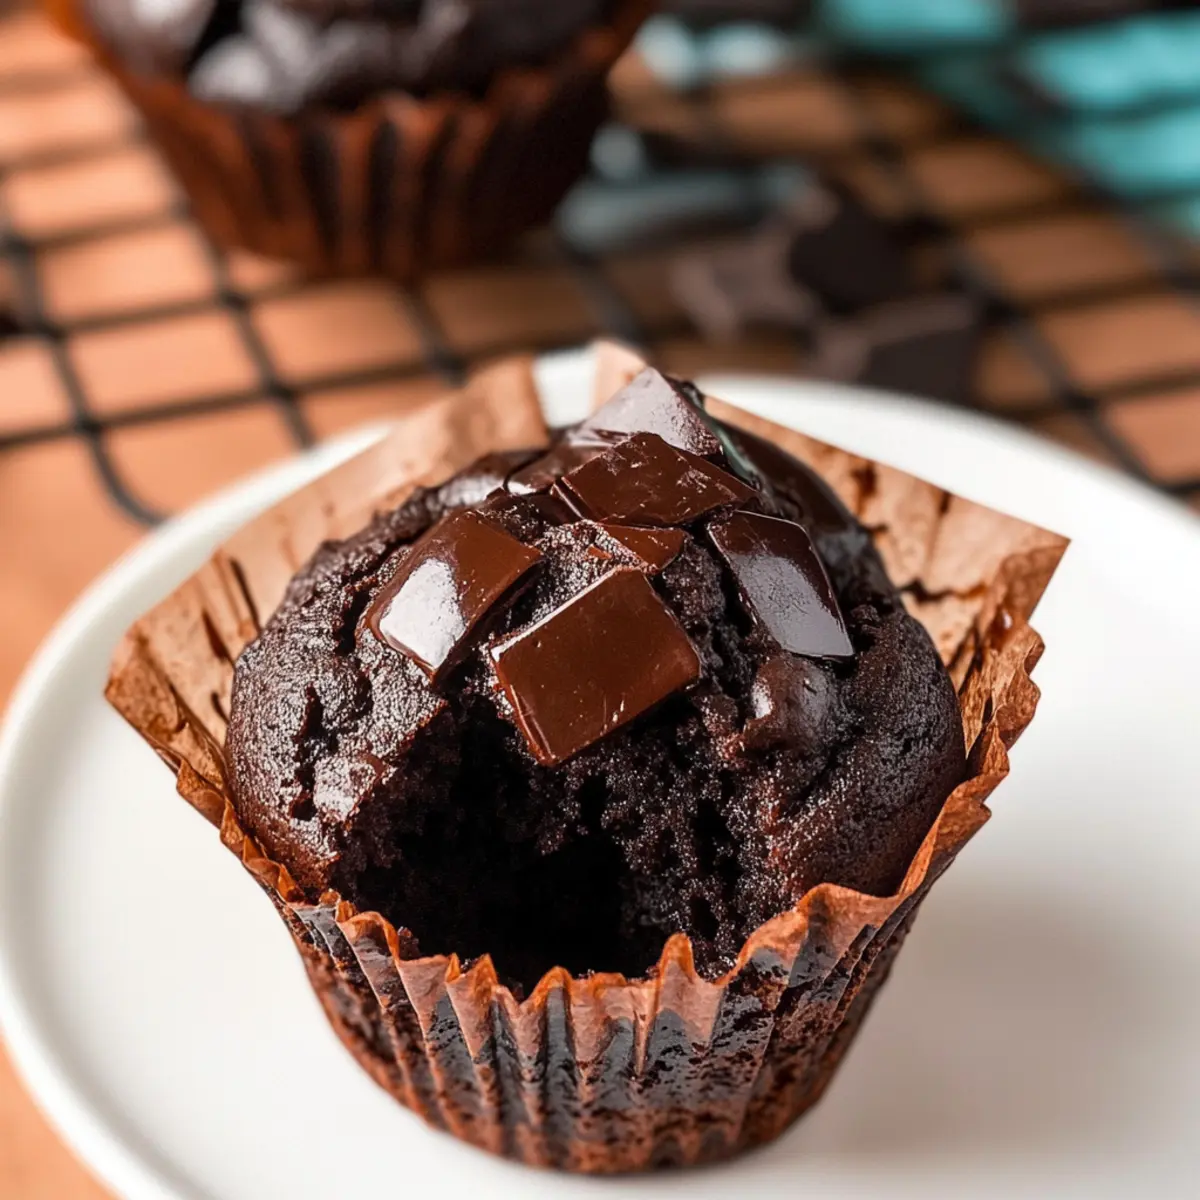
I recommend using high-quality dark and milk chocolate for a perfect balance of sweetness and richness. If you prefer an even sweeter taste, consider using semi-sweet chocolate. Keep in mind that using chocolate chips can make it convenient, but freshly chopped chocolate will melt beautifully and create that gooey center.
How should I store leftover muffins?
Store your Olympic Village Chocolate Muffins in an airtight container at room temperature for up to 3 days. If you want them to last longer, you can refrigerate them for up to a week, although they may dry out a bit. For optimal freshness, I suggest wrapping them tightly in plastic wrap and foil before freezing, where they can last up to 3 months.
Can I freeze the muffins?
Absolutely! To freeze your Olympic Village Chocolate Muffins, first let them cool completely. Then, wrap each muffin tightly with plastic wrap followed by a layer of aluminum foil. This will prevent freezer burn and keep them fresh for up to 3 months. When you’re ready to enjoy them, simply thaw at room temperature or reheat in the microwave for a few seconds.
What can I substitute for buttermilk if I don’t have any?
If you’re out of buttermilk, don’t worry! Simply mix 1 cup of regular milk with 1 tablespoon of vinegar or lemon juice and let it sit for about 5 minutes to curdle. This homemade version works wonders in creating that tender texture in your Olympic Village Chocolate Muffins.
What if my muffins don’t rise properly?
A common culprit for muffins not rising can be stale baking soda or baking powder. Always double-check that your leavening agents are fresh! Additionally, be careful not to overmix the batter, as this can lead to dense muffins. Combine the wet and dry ingredients until just mixed; it’s okay if a few flour streaks remain.
Can I add nuts or other mix-ins to this recipe?
The more the merrier! Feel free to get creative with your Olympic Village Chocolate Muffins by adding nuts like walnuts or pecans for added crunch. Dried fruits or flavored yogurt can also bring unique twists to this recipe, making them even more delightful!
Indulge in Gooey Olympic Village Chocolate Muffins Today
Ingredients
Equipment
Method
- Preheat your oven to 425°F (220°C). Prepare your muffin tin by placing tulip liners in each cup.
- In a mixing bowl, whisk together all-purpose flour, Dutch process cocoa powder, black cocoa powder, milk powder, salt, baking soda, baking powder, and espresso powder until no lumps remain.
- In a separate large bowl, melt the salted butter and let it cool slightly. Whisk in buttermilk, canola oil, vanilla extract, eggs, yogurt, and light brown sugar until smooth.
- Pour the wet ingredients into the dry mix, and gently stir until just combined. Avoid overmixing; a few flour streaks are okay.
- Chop dark and milk chocolate into small chunks and gently fold them into the batter.
- Cover the bowl with muffin batter and let it rest at room temperature for 30 minutes.
- After resting, use a #16 scoop to portion the batter into each tulip-lined muffin cup, filling them about three-quarters full.
- Bake at 425°F for 7 minutes, then reduce the temperature to 350°F and continue baking for an additional 13-15 minutes until a toothpick comes out clean.
- Let the muffins cool for about 5 minutes. Use a piping bag to poke a small hole in the top of each muffin and fill it with hot fudge sauce.
Leave a Reply