
As the sun dipped below the horizon, the sweet, nutty aroma of freshly baked granola bars filled my kitchen, bringing back cozy memories of family gatherings and laughter. In a world that often feels rushed and chaotic, these Nut-Free Chewy Granola Bars stand out as the perfect solution for those craving a healthy snack without sacrificing flavor. Quick to prepare and incredibly versatile, they make an ideal addition to lunchboxes or a post-workout boost. Plus, you can easily customize them with your favorite nuts, seeds, or dried fruits to fit your taste. Ready to dive into a recipe that satisfies both your cravings and your health goals? Let’s get started on making these delightful homemade snacks!
Why are homemade granola bars the best?
Homemade granola bars are a game-changer! Customizable for all dietary needs, you can easily switch ingredients to make nut-free or vegan versions. No-bake options save time while still delivering delightful taste and texture. Healthy snacking has never been so easy, and they’re a perfect fit for lunchboxes or as post-workout fuel. Plus, by making your own, you can avoid added preservatives found in store-bought varieties! Want more healthy snack ideas? Check out my Air Fryer Zucchini Fries for another quick option.
Nut-Free Chewy Granola Bar Ingredients
For the Base
- Oats – A hearty foundation providing fiber; opt for gluten-free oats for a gluten-free version.
- Honey or Maple Syrup – Sweetens naturally and binds ingredients together; choose maple syrup for a vegan alternative.
For the Creaminess
- Nut Butter – Delivers healthy fats and a creamy texture; try almond butter for a nut-free option.
For the Crunch
- Nuts/Seeds – Adds a delightful crunch and protein; skip them altogether or use sunflower seeds for nut-free bars.
For the Sweetness
- Dried Fruits (e.g., cranberries, raisins) – Infuses natural sweetness and chewiness; swap in dark chocolate chips for a fun twist.
Step‑by‑Step Instructions for Nut-Free Chewy Granola Bars
Step 1: Preheat the Oven
Begin by preheating your oven to 350°F (175°C). Meanwhile, prepare an 8×8 inch baking dish by lining it with parchment paper, ensuring the edges hang over for easy removal later. This will help your Nut-Free Chewy Granola Bars come out beautifully without sticking to the pan.
Step 2: Combine Dry Ingredients
In a large mixing bowl, combine 2 cups of oats, 1 cup of your choice of nuts or seeds, and 1 cup of dried fruits. Stir the mixture gently until evenly distributed. The combination should look wholesome and inviting, filling the bowl with vibrant colors and textures.
Step 3: Prepare the Wet Mixture
In a medium saucepan over low heat, add ½ cup of honey (or maple syrup) and ½ cup of nut butter. Stir continuously until the mixture becomes smooth and fragrant, about 3 to 5 minutes. Once the ingredients well blend together, you’re ready to bring this mixture to your dry ingredients.
Step 4: Mix Together
Pour the warm honey-nut butter mixture over the combined dry ingredients in the large bowl. Using a spatula, mix thoroughly until all the oats and fruits are evenly coated, and the mixture feels sticky. This step is essential for your Nut-Free Chewy Granola Bars to hold together beautifully.
Step 5: Pack the Mixture
Transfer the mixture into the prepared baking dish. Using the back of a spatula or your hands, press the mixture down firmly into an even layer to pack it tightly. It’s important to compact it well, as this ensures your granola bars remain intact after baking.
Step 6: Bake to Perfection
Place the baking dish in your preheated oven and bake for 20 to 25 minutes. Keep an eye on them; you want the edges to turn a lovely golden brown while the center remains chewy. The aroma wafting through your kitchen will be irresistible!
Step 7: Cool and Slice
Once baked, remove the dish from the oven and allow the granola mixture to cool in the pan for at least 10 minutes. Afterward, lift the bars out using the parchment paper and let them cool completely on a wire rack. Once cool, slice into even bars to ensure each piece is perfectly portioned for snacking.
Step 8: Store for Enjoyment
Once sliced, store your Nut-Free Chewy Granola Bars in an airtight container at room temperature for up to a week, or in the refrigerator for an even longer shelf life. Enjoy these delicious, nutritious snacks anytime you need a boost!
Storage Tips for Nut-Free Chewy Granola Bars
-
Room Temperature: Store your Nut-Free Chewy Granola Bars in an airtight container at room temperature for up to one week for optimal freshness. Keep them in a cool, dry place away from direct sunlight.
-
Fridge: For extended freshness, place them in the refrigerator, where they can last for up to two weeks. Just ensure they are well-wrapped or in a sealed container to prevent moisture.
-
Freezer: Freeze any extras for up to three months. Wrap each bar individually in plastic wrap or aluminum foil before placing them in an airtight freezer bag.
-
Reheating: Enjoy them straight from the fridge or let them sit at room temperature for a few minutes before biting in. For a warm treat, briefly microwave a bar for about 10-15 seconds.
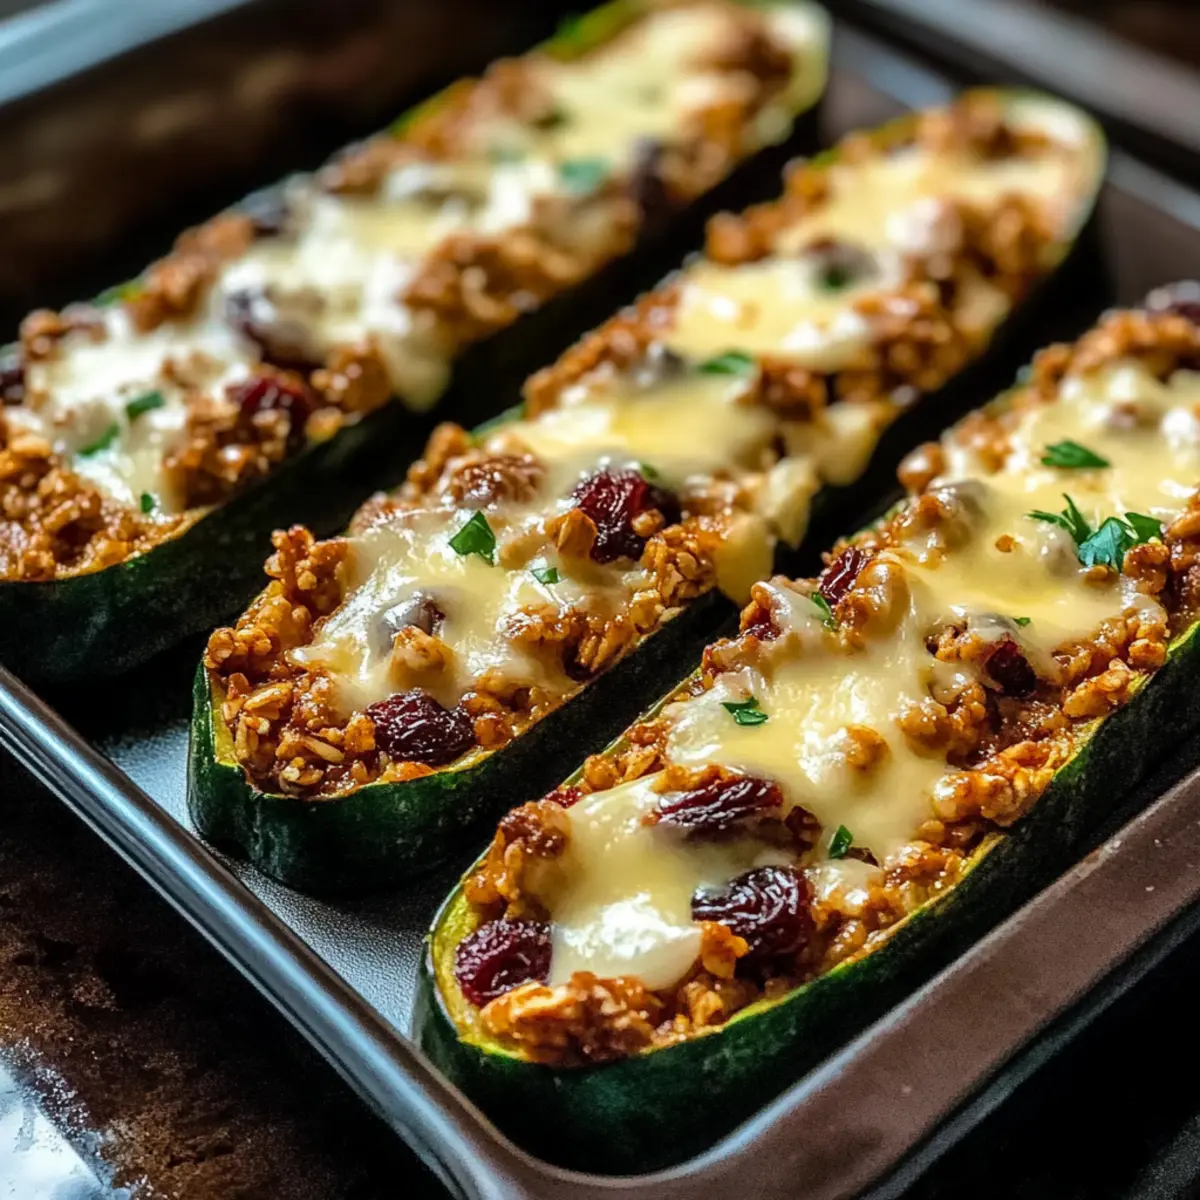
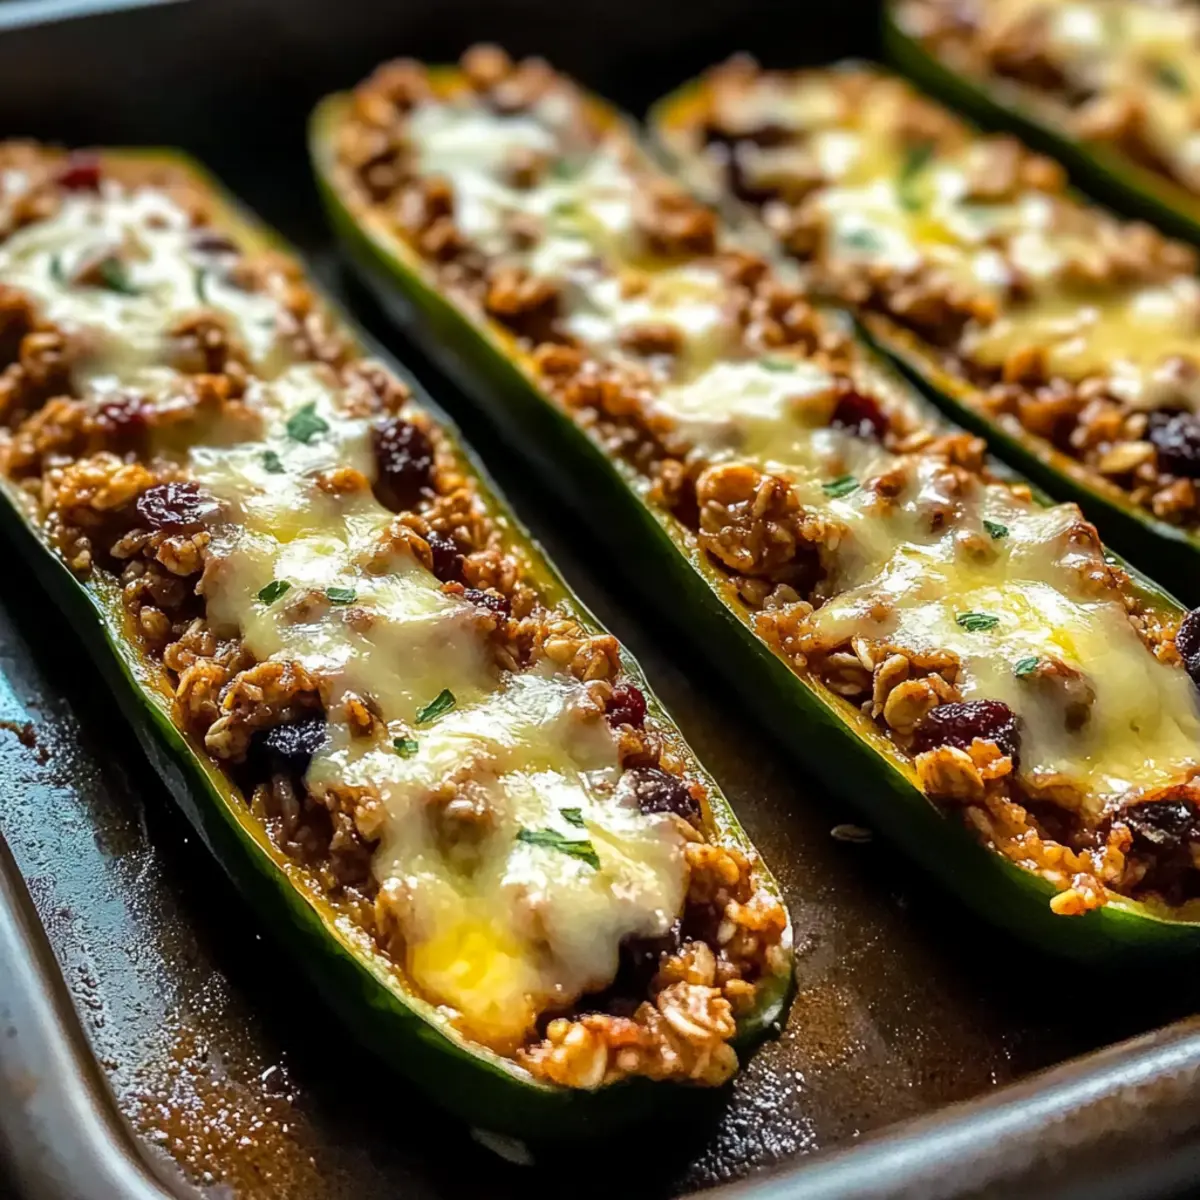
Ground Beef Zucchini Boats Variations
Feel free to get creative with these Ground Beef Zucchini Boats, letting your imagination run wild with different flavors and ingredients.
-
Spicy Kick: Add diced jalapeños or a splash of hot sauce to the beef mixture for a delightful heat boost. The blend of flavors will bring your taste buds to life!
-
Vegetarian Option: Swap ground beef for lentils or plant-based crumbles for a hearty veggie-friendly version. They’re still packed with flavor, making everyone ask for seconds.
-
Cheesy Delight: Top your boats with a layer of mozzarella or cheddar cheese before baking for a bubbly, cheesy finish. The melty goodness is absolutely irresistible!
-
Herb Infusion: Mix in fresh herbs like basil, oregano, or thyme to the beef mixture for an aromatic twist. The freshness will elevate this dish and delight your senses.
-
Healthy Twist: Use lean ground turkey or chicken instead of beef for a lighter option. Maintain the deliciousness while reducing fat and calories.
-
Stuffed with Quinoa: Incorporate cooked quinoa into the beef mixture for an added protein punch. Quinoa will lend a lovely texture and nutty flavor to your zucchini boats.
-
Italian Flare: Add Italian seasoning and swap the beef for Italian sausage for a richer, more robust flavor. This variation will transport you straight to the heart of Italy!
-
Savory Sweetness: Mix in chopped apples or sweet bell peppers for a hint of sweetness that complements the savory beef. This balance will keep you coming back for more!
These ideas are all meant to inspire creativity in your kitchen, allowing you to tailor the zucchini boats to whatever you have on hand. For more delightful options, why not try my Beef Bourguignon Savor for a truly comforting meal?
Expert Tips for Nut-Free Chewy Granola Bars
- Press Firmly: Ensure the mixture is packed tightly in the baking dish; this prevents your granola bars from crumbling when cut.
- Watch the Bake: Avoid over-baking! You want your bars chewy in the center, so keep a close eye on them as they approach the 20-minute mark.
- Flavor Boost: For added depth, consider mixing in a dash of cinnamon or a pinch of salt to enhance the flavor of your Nut-Free Chewy Granola Bars.
- Customize Creatively: Feel free to experiment with different dried fruits or seeds. Just be mindful to maintain the balance of sticky (honey) and dry (oats) ingredients.
- Cool Completely: Always allow the bars to cool completely before slicing; this helps maintain their shape and texture.
What to Serve with Nut-Free Chewy Granola Bars?
As you savor the delightful flavors of these homemade snacks, consider adding complementary dishes to create a wholesome meal experience.
-
Fresh Fruit Salad: A colorful medley of seasonal fruits brightens up your snack table, adding natural sweetness and refreshing flavors.
-
Greek Yogurt Parfait: Layer with yogurt and berries for a creamy, protein-packed pairing that complements the chewiness of the bars.
-
Nutty Trail Mix: Mix your favorite nuts and dried fruits for an additional crunch. The contrasting textures elevate the snacking experience.
-
Smoothie: A green or berry smoothie provides a refreshing drink option that balances out the sweetness of the granola bars while adding nourishment.
-
Vegetable Sticks with Hummus: Crisp veggie sticks dipped in creamy hummus add a savory crunch that perfectly balances the granola’s sweetness.
-
Herbal Tea: A warm cup of chamomile or peppermint tea serves as a delightful finish, soothing while enhancing the wholesome snack experience.
-
Cheese Plate: A selection of mild cheeses alongside the granola bars makes for an elegant snack, offering a savory contrast to the sweet flavors.
-
Dark Chocolate: Dipping the corners of your bars in melted dark chocolate adds a decadent twist; it’s the ultimate treat for chocolate lovers!
-
Almond Milk: A chilled glass is a perfect low-calorie drink that pairs beautifully with the flavors of the granola bars, refreshing and nutritious.
Make Ahead Options
These Nut-Free Chewy Granola Bars are perfect for meal prep enthusiasts! You can prepare the dry mixture of oats, nuts/seeds, and dried fruits up to 24 hours in advance. Simply combine these ingredients in a bowl and store them in an airtight container at room temperature to maintain freshness. Additionally, the honey and nut butter mixture can be made ahead and stored in a separate container; just be sure to gently reheat it before combining it with the dry ingredients later. When you’re ready to bake, mix the components together and follow the usual baking instructions. By prepping ahead, you’ll save time and have a delicious, wholesome snack ready to enjoy whenever the cravings hit!

Nut-Free Chewy Granola Bars Recipe FAQs
How can I choose the right oats for my granola bars?
Absolutely! For the best results, opt for rolled oats as they provide a nice chewy texture. If you’re aiming for a gluten-free version, make sure to select oats labeled “gluten-free.” Always check the packaging to ensure they haven’t come into contact with gluten-containing grains.
What is the best way to store my granola bars?
I recommend storing your Nut-Free Chewy Granola Bars in an airtight container at room temperature for up to one week. If you want to keep them longer, pop them in the fridge, where they can last up to two weeks. Just remember to ensure they’re well-sealed to prevent moisture from softening them!
Can I freeze granola bars for later?
Yes, indeed! To freeze your Nut-Free Chewy Granola Bars, wrap each one individually in plastic wrap or aluminum foil. Then, place them in a labeled airtight freezer bag. They will stay fresh for up to three months. When you’re ready to enjoy them, simply let them thaw at room temperature or microwave for 10-15 seconds for a warm treat.
What should I do if my bars crumble when cutting?
Very often, bars crumble because the mixture wasn’t pressed tightly enough into the baking dish. Next time, pack the mixture down firmly in the pan before baking. If they still crumble, try adding a bit more nut butter or honey to enhance binding and moisture for a stickier final product.
Can I make a nut-free version of these granola bars if someone in my household has allergies?
Certainly! Simply replace any nuts with seeds like sunflower or pumpkin seeds. Also, ensure that the nut butter is substituted with seed butter—sunflower seed butter is a great option. Always read labels carefully to avoid any potential allergens.
How can I spice up my granola bar recipe?
For a flavor boost, consider adding a dash of cinnamon, vanilla extract, or even a pinch of sea salt to your mixture. You could also mix in a scoop of protein powder or swap out nuts/seeds for chocolate chips or coconut flakes for a fun twist!
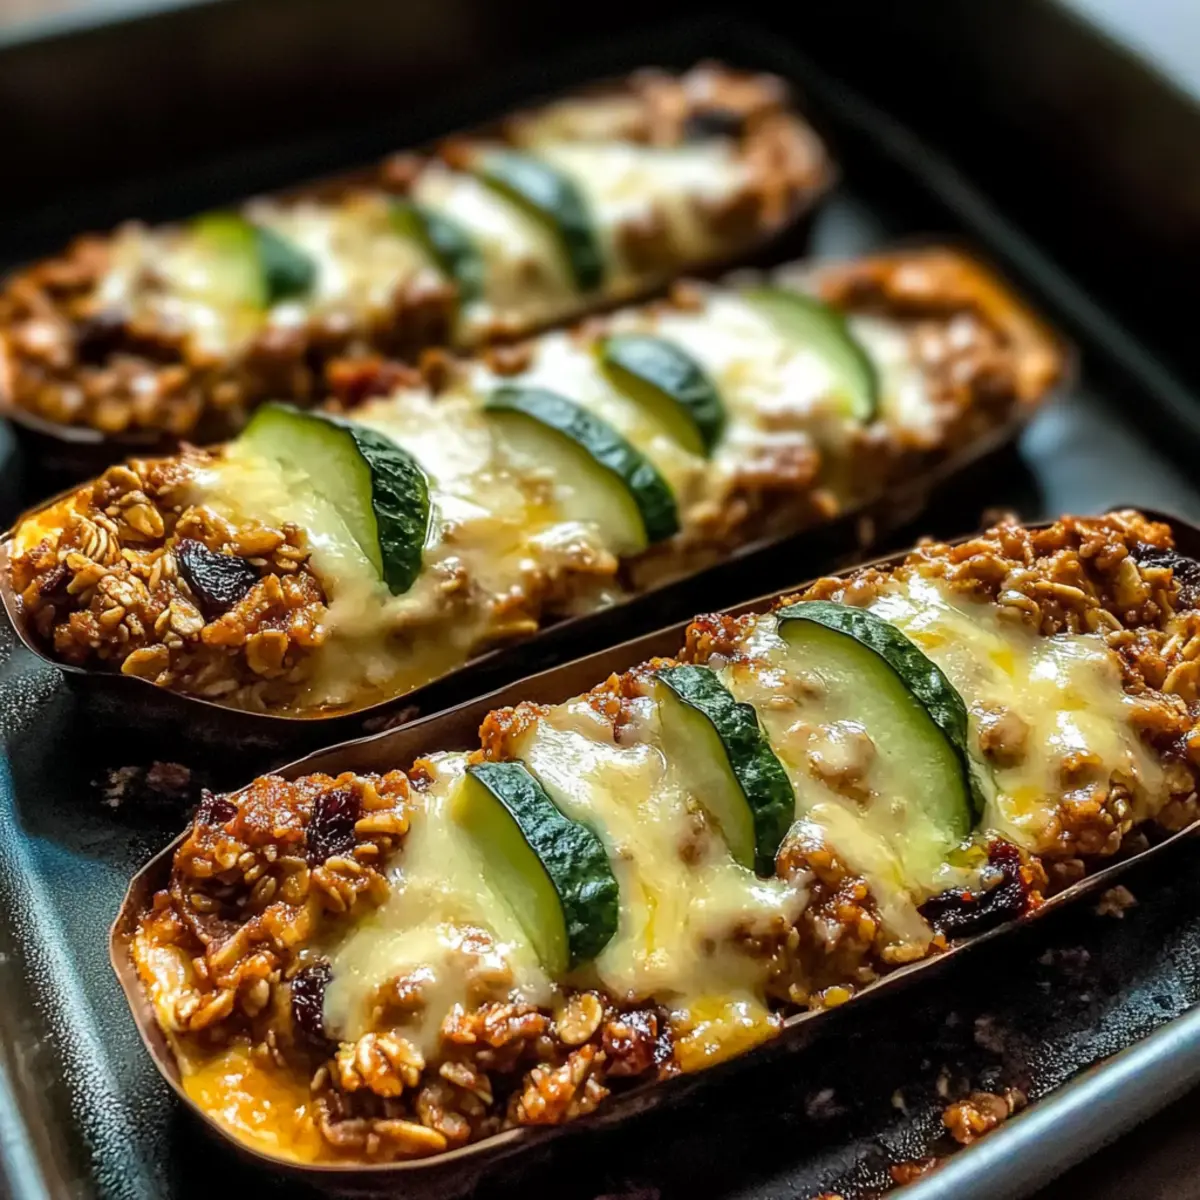
Savory Ground Beef Zucchini Boats for a Guilt-Free Feast
Ingredients
Equipment
Method
- Preheat your oven to 375°F (190°C).
- Cut the zucchinis in half lengthwise and scoop out the center.
- In a skillet, heat olive oil over medium heat and cook the ground beef until browned.
- Add tomato sauce and spices to the beef, stir well, and let simmer for 5 minutes.
- Fill the hollowed zucchinis with the beef mixture and top with cheese.
- Place in the baking dish and bake for 25 minutes until the cheese is golden.
- Let cool for 10 minutes before serving.
Leave a Reply