
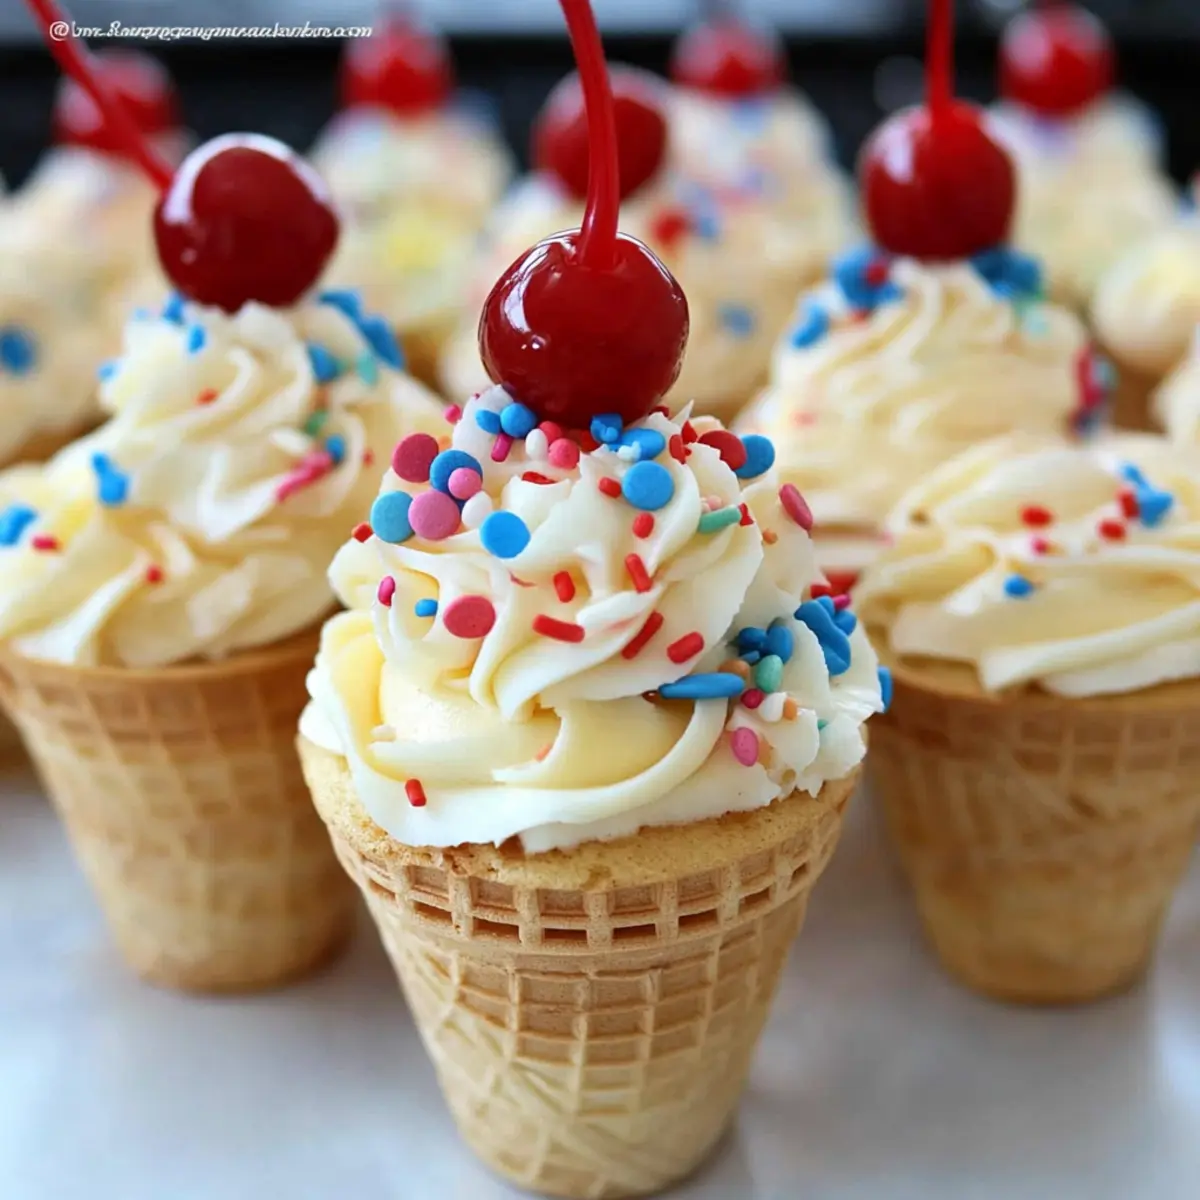
The first time I saw Ice Cream Cone Cupcakes, I thought, “Why didn’t I think of that?” These delightful treats combine the best of both worlds: the fluffy cake we all love, nestled in a crispy cone that begs to be devoured. Perfect for summer gatherings or birthday celebrations, these easy-to-make cupcakes are as fun to create as they are to eat, bringing smiles to kids and adults alike. Whip up a batch in no time, and relish the joy of serving not just a dessert but a whimsical experience. Curiosity piqued? Let’s dive into this delightful recipe!
Why Are Ice Cream Cone Cupcakes a Must-Try?
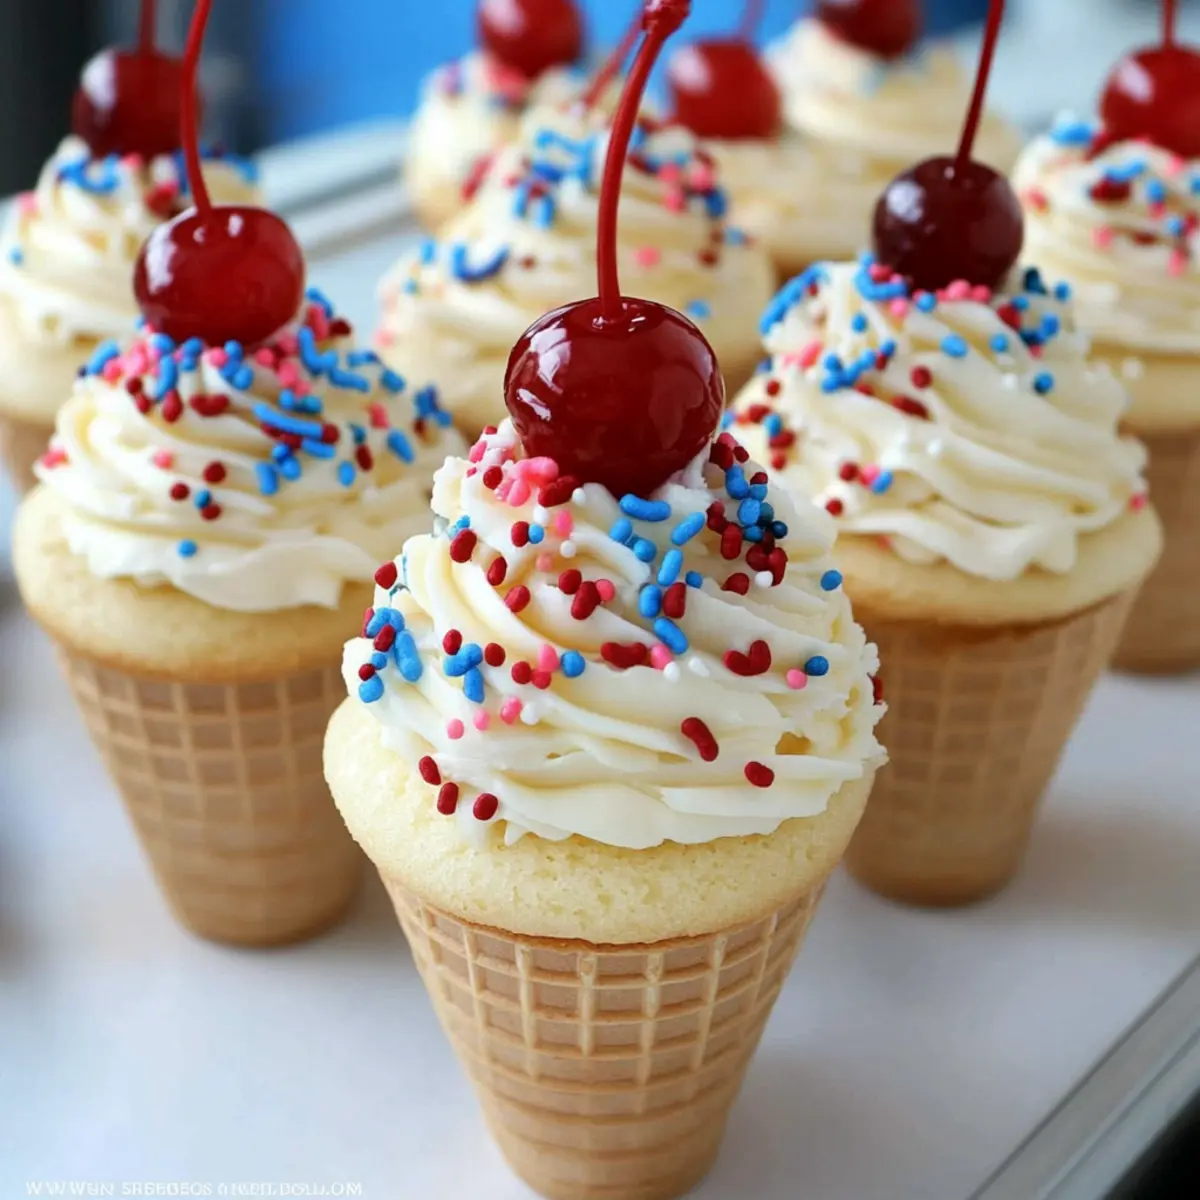
Whimsical treats: Your guests will be enchanted by these unique cupcakes that mimic the look of ice cream, making them perfect for summer parties.
Easy to make: With a simple box cake mix, you can whip these up in no time, leaving you plenty of moments to savor the fun.
Flavorful variety: Choose your favorite cake flavor and frosting style to create something special every time—perhaps a chocolate base paired with cream cheese frosting for a twist!
Perfect for sharing: These eye-catching cupcakes are sure to impress, making them a hit at any gathering, just like my Crock Pot Pasta invites compliments!
Experience the joy of home-baked delights today and give ice cream cones a delicious upgrade!
Ice Cream Cone Cupcake Ingredients
-
For the Cupcakes
• Box Cake Mix – The base for the cupcakes; choose any flavor you love. Substitution: Can use homemade cake batter for a personalized touch.
• Cake Ice Cream Cones (24) – These are the adorable vessels for your cupcakes; use standard-size for best results.
• Maraschino Cherries (24) – A sweet and colorful topping that adds charm; can be omitted if preferred. -
For the Frosting
• Softened Butter (1 cup) – Ensures your frosting is creamy and rich; make sure it’s at room temperature for easy whipping.
• Powdered Sugar (3 cups) – Adds sweetness and structure to your frosting; sift if clumpy for extra smoothness.
• Milk (1-2 tbsp) – Adjust the frosting’s consistency; use more or less based on how thick or creamy you like it.
• Vanilla Extract (1 tsp) – Imparts delightful flavor to the frosting; consider almond extract for a tasty twist. -
For Decoration
• Sprinkles – Brighten up your cupcakes with colorful sprinkles; feel free to mix and match types!
Step‑by‑Step Instructions for Ice Cream Cone Cupcakes
Step 1: Preheat the Oven
Begin by preheating your oven to 350°F (175°C). This crucial step ensures your Ice Cream Cone Cupcakes bake evenly and rise beautifully. While the oven warms up, gather your baking materials, including a muffin pan to hold your cones, and prepare your workspace for a seamless baking experience.
Step 2: Prepare the Cake Batter
Next, prepare your box cake mix according to the package instructions. Mix the ingredients in a large bowl until the batter is smooth, which usually takes about two to three minutes of mixing. You’ll want to achieve a velvety texture, so visually check for any lumps before moving on.
Step 3: Fill the Ice Cream Cones
Carefully fill each cake ice cream cone about halfway with the prepared cake batter. A small measuring cup or a spoon can help you avoid overfilling. Place them upright in the muffin pan as this stabilizes the cones during baking, ensuring they hold their shape while the batter rises.
Step 4: Bake the Cupcakes
Transfer the filled muffin pan into the preheated oven and bake for 21-24 minutes. Keep an eye on them during the last few minutes, and check for doneness by inserting a toothpick into the center of a cupcake; it should come out clean. Once baked, remove the cones from the oven and let them cool significantly in the pan.
Step 5: Allow to Cool Completely
After about 10 minutes, carefully remove the cupcake-filled cones from the muffin pan and place them on a wire rack. Allow these fun Ice Cream Cone Cupcakes to cool completely before frosting; this will prevent the buttercream from melting and sliding off.
Step 6: Make the Buttercream Frosting
While the cupcakes are cooling, prepare your buttercream frosting. In a mixing bowl, whip the softened butter and vanilla extract together until light and fluffy, about three minutes. The mixture should appear pale and airy, setting the foundation for a rich, creamy frosting that complements your cupcakes.
Step 7: Add Powdered Sugar
Gradually add in the powdered sugar, mixing at a low speed until combined. This process ensures that your frosting is smooth and free of lumps. Adjust the consistency by mixing in 1 to 2 tablespoons of milk, aiming for a thick yet spreadable consistency ideal for piping onto your Ice Cream Cone Cupcakes.
Step 8: Pipe the Frosting
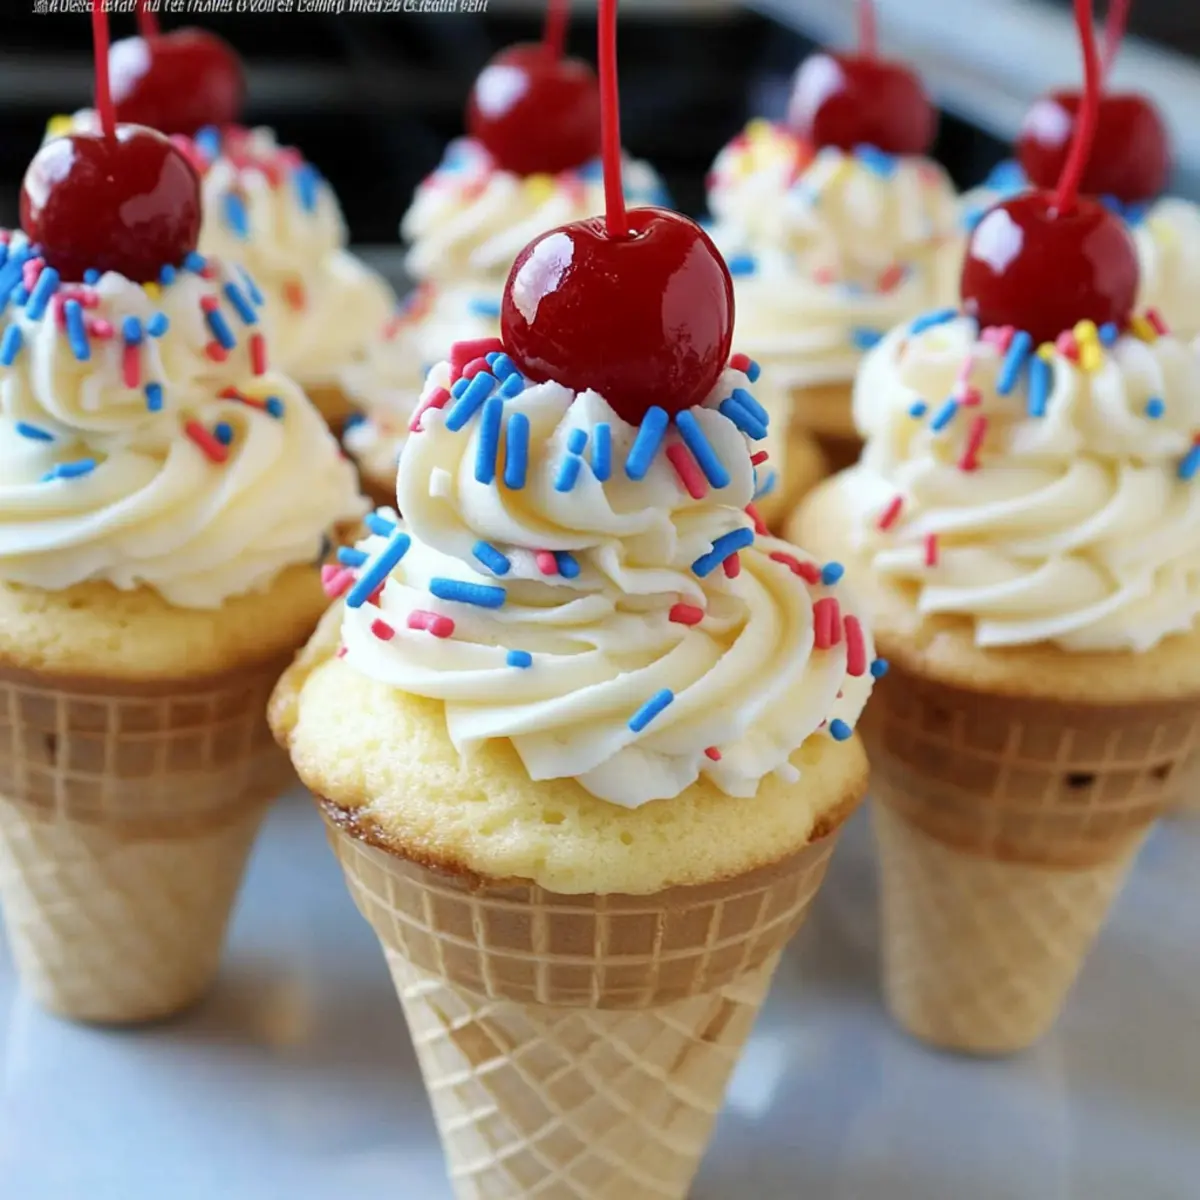
Now comes the fun part! Transfer the prepared frosting into a piping bag fitted with a star tip. Carefully pipe the frosting on top of each cooled cupcake cone, mimicking a soft-serve ice cream swirl. Be generous and creative—this is where your Ice Cream Cone Cupcakes truly shine!
Step 9: Decorate with Sprinkles
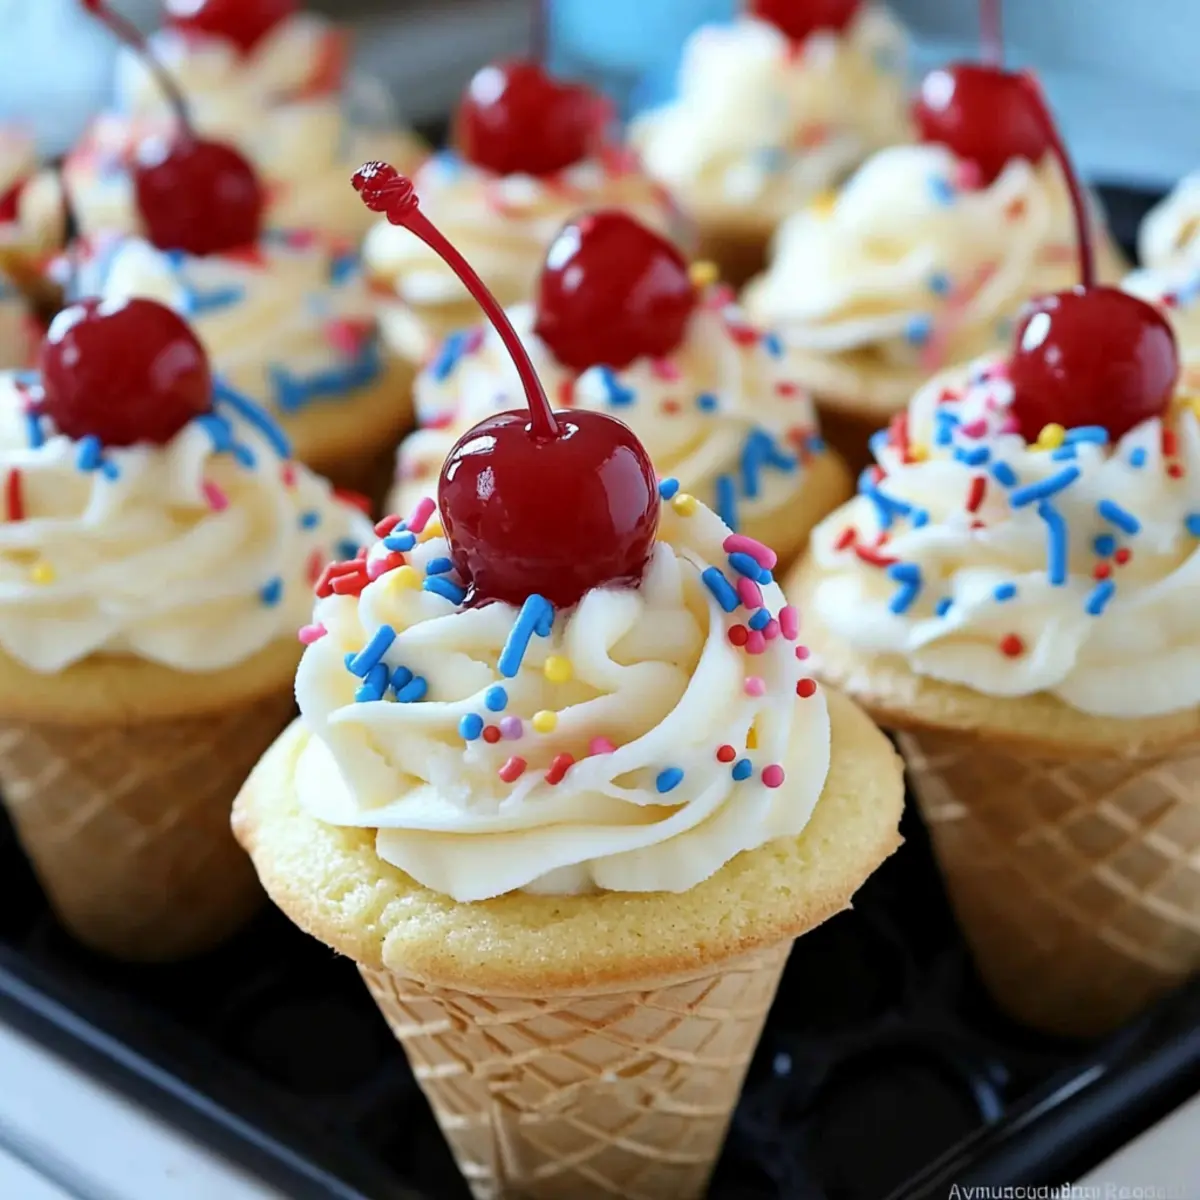
To finish off your delightful treats, scatter colorful sprinkles on top of the piped frosting while it’s still fresh. For an extra touch, crown each cone with a maraschino cherry. These festive decorations create an eye-catching presentation that will make your Ice Cream Cone Cupcakes irresistible at any gathering.
Step 10: Serve and Enjoy!
Once all decorated, your Ice Cream Cone Cupcakes are ready to serve! They can be enjoyed immediately or stored in an airtight container for up to three days. Whether at a birthday party or a summer picnic, these charming cupcakes are sure to bring smiles all around.
Ice Cream Cone Cupcake Variations
Get ready to add your personal touch to these delightful treats! You’ll be amazed at how easy it is to modify the recipe for exciting flavors and textures.
-
Flavor Twist: Experiment with flavored cake mixes like chocolate or funfetti for a fun surprise inside. Each bite becomes a journey of taste and joy!
-
Frosting Variations: Swap out the vanilla frosting for chocolate or cream cheese frosting to create new flavor profiles that suit your party theme or personal taste.
-
Nutty Addition: Add crushed nuts to the frosting for a delightful crunch. Almonds or walnuts can provide wonderful texture and flavor contrast.
-
Fruity Fun: Top with fresh fruit like strawberries or raspberries, or use fruit-flavored frosting for a refreshing summer twist.
-
Textural Play: Replace sprinkles with crushed graham crackers or toasted coconut for a cozy, crunchy topping that adds depth and flavor.
-
Holiday Themes: Customize your decorations with seasonal colors—think red and green for Christmas or pastel shades for spring! Create a festive display.
-
Mini Versions: Consider using mini cones for smaller cupcakes, perfect for party platters and kids’ celebrations. They’re just as fun but more snackable!
-
Chocolate Drizzle: Drizzle melted chocolate over the frosting for a richer taste that’s sure to impress guests, enhancing the sugary goodness.
Feel free to get creative! These variations not only embody your unique flair but also make these Crock Pot Pasta or easy creamy lasagna soup feel like an exciting side dish to your cupcake showcase. Enjoy mixing it up!
What to Serve with Ice Cream Cone Cupcakes
Delicious desserts like Ice Cream Cone Cupcakes deserve the perfect companions to create a delightful summer feast.
-
Fresh Fruit Salad: A refreshing mix of seasonal fruits balances the sweetness of the cupcakes while adding a burst of color to your table. The natural juices and vibrant flavors create a bright, welcoming atmosphere.
-
Chilled Lemonade: This zesty beverage quenches thirst and complements the sugary frosting beautifully, making it a crowd-favorite during summer gatherings. Serve it over ice for a truly refreshing experience.
-
Chocolate Dipped Strawberries: These decadent treats combine the richness of chocolate with the juicy sweetness of strawberries, creating a lovely contrast to the light cupcakes. They are delightful, easy to make, and always a hit!
-
Mini Vanilla Milkshakes: Creamy and nostalgic, these milkshakes bring a fun element to your dessert table, echoing the ice cream theme. Serve them in small glasses for a perfect pairing that will please guests of all ages.
-
Rainbow Veggie Platter: Invite a colorful array of fresh veggies to your spread. The crunch and freshness provide a light contrast to the cupcakes, ensuring a balanced and visually appealing meal.
-
Coffee or Iced Coffee: A rich cup of coffee or a delightful iced version makes for a lovely contrast against the sweet cupcakes, perfect for adults seeking a caffeine boost.
-
S’mores Dip: This gooey treat offers a playful, indulgent twist that will charm anyone who loves a campfire classic. Pair each cupcake with a scoop of chocolate and toasted marshmallow goodness to elevate dessert to another level.
-
Cotton Candy: For those looking to keep the whimsical vibe going, a light and fluffy cotton candy adds a vintage fairground feel, truly complementing the playful spirit of Ice Cream Cone Cupcakes.
Make Ahead Options
These Ice Cream Cone Cupcakes are fantastic for busy home cooks looking to save time while bringing joy to gatherings! You can prepare the cupcake batter up to 24 hours in advance; simply mix and refrigerate it in an airtight container. Fill the cones and bake them fresh just before serving for that delightful warmth. You can also make the buttercream frosting ahead—store it in the fridge for up to 3 days; just remember to give it a quick whip to restore its fluffy texture before piping. Frost your cones right before serving for optimal appearance and quality, ensuring your Ice Cream Cone Cupcakes taste just as delicious as they look!
Expert Tips for Ice Cream Cone Cupcakes
-
Cool Completely: Allow cones to cool completely before frosting to prevent melting; a warm cone can turn your frosting into a gooey mess.
-
Whip It Good: Whip the softened butter until fluffy for a light and airy frosting; avoid shortcuts as under-whipped butter leads to a denser texture.
-
Fill Halfway: Fill each cone only halfway with cake batter; overfilling can cause them to overflow during baking, leading to a messy outcome.
-
Stabilize Your Cones: Use a muffin pan to keep the cones upright while baking; this provides support and ensures they maintain their shape.
-
Adjust Frosting Consistency: Don’t hesitate to add more or less milk as needed to achieve your desired frosting texture, ensuring it pipes beautifully onto your Ice Cream Cone Cupcakes.
-
Get Creative: Don’t be afraid to experiment with different cake flavors or frosting styles to keep things exciting at each gathering!
How to Store and Freeze Ice Cream Cone Cupcakes
Fridge: Store any leftover Ice Cream Cone Cupcakes in an airtight container for up to 2-3 days to maintain freshness and prevent drying out.
Freezer: For longer storage, freeze un-frosted cupcakes in a single layer on a baking sheet, then transfer to a freezer-safe bag for up to 3 months. Frost after thawing for best results.
Reheating: If enjoyed chilled, serve directly from the fridge. To warm slightly, place in the microwave for a few seconds—this enhances the cake’s flavor without compromising the frosting.
Make-Ahead Tip: These charming cupcakes can be made a day ahead; frost just before serving to keep the presentation delightful and fresh!
Ice Cream Cone Cupcakes Recipe FAQs
What type of cake mix works best for Ice Cream Cone Cupcakes?
Absolutely, you can use any box cake mix flavor you desire! My favorites include classic vanilla or chocolate, but feel free to get creative with red velvet or funfetti for a colorful twist. Just remember, if using a homemade cake batter, ensure it has a similar consistency to a box mix for the best results!
How should I store leftover Ice Cream Cone Cupcakes?
It’s best to store any leftover Ice Cream Cone Cupcakes in an airtight container for up to 2-3 days. This keeps them nice and fresh while preventing them from drying out. If you prefer them chilled, keep them in the refrigerator, just be aware that the texture might change slightly due to the cooler temperature.
Can I freeze Ice Cream Cone Cupcakes?
Certainly! To freeze your Ice Cream Cone Cupcakes, first, refrain from frosting them. Place the un-frosted cupcakes on a baking sheet in a single layer until they’re frozen solid. Once frozen, transfer them to a freezer-safe bag and store for up to 3 months. When you’re ready to enjoy, simply thaw them in the fridge overnight and frost just before serving for the best presentation.
What should I do if my frosting isn’t coming out fluffy?
Don’t worry; this can happen! If your frosting doesn’t appear fluffy, it may be because the butter wasn’t whipped long enough. To fix this, return the butter to your mixer and whip it again until it’s light and airy—around 3-5 minutes should do the trick. Additionally, if it’s too thick, gradually add more milk, one tablespoon at a time, until you achieve a desirable consistency.
Are there any dietary concerns I should keep in mind?
Definitely! If you’re making these cupcakes for a gathering, be mindful of any allergies. Common allergens in this recipe include eggs (in the cake mix), dairy (in the butter and milk), and gluten (in the cake mix). For a gluten-free version, opt for a gluten-free cake mix and ensure that your butter and other ingredients are also gluten-free. And if you’re concerned about the maraschino cherries, they can be omitted or replaced with another topping, like fresh fruit!
Can I prepare Ice Cream Cone Cupcakes ahead of time for a party?
Absolutely! You can make the cupcakes a day in advance and store them, un-frosted, in an airtight container. Frosting them just before serving ensures they look their best. Additionally, if you want to save time on the day of the event, consider prepping the frosting a day ahead as well, just store it in the fridge and give it a good whip before piping!
Delightful Ice Cream Cone Cupcakes for Fun Summer Treats
Ingredients
Equipment
Method
- Preheat your oven to 350°F (175°C). Gather baking materials and prepare your workspace.
- Prepare the box cake mix according to the package instructions. Mix until smooth.
- Fill each cake ice cream cone about halfway with the prepared cake batter.
- Transfer the filled muffin pan into the preheated oven and bake for 21-24 minutes. Check for doneness.
- Let the cupcake-filled cones cool significantly in the pan.
- Once cooled, whip the softened butter and vanilla extract together until light and fluffy.
- Gradually mix in powdered sugar until smooth, adjusting consistency with milk as needed.
- Transfer frosting to a piping bag and pipe onto each cooled cupcake cone.
- Decorate with sprinkles and a maraschino cherry on top.
- Serve immediately or store in an airtight container for up to three days.
Leave a Reply