
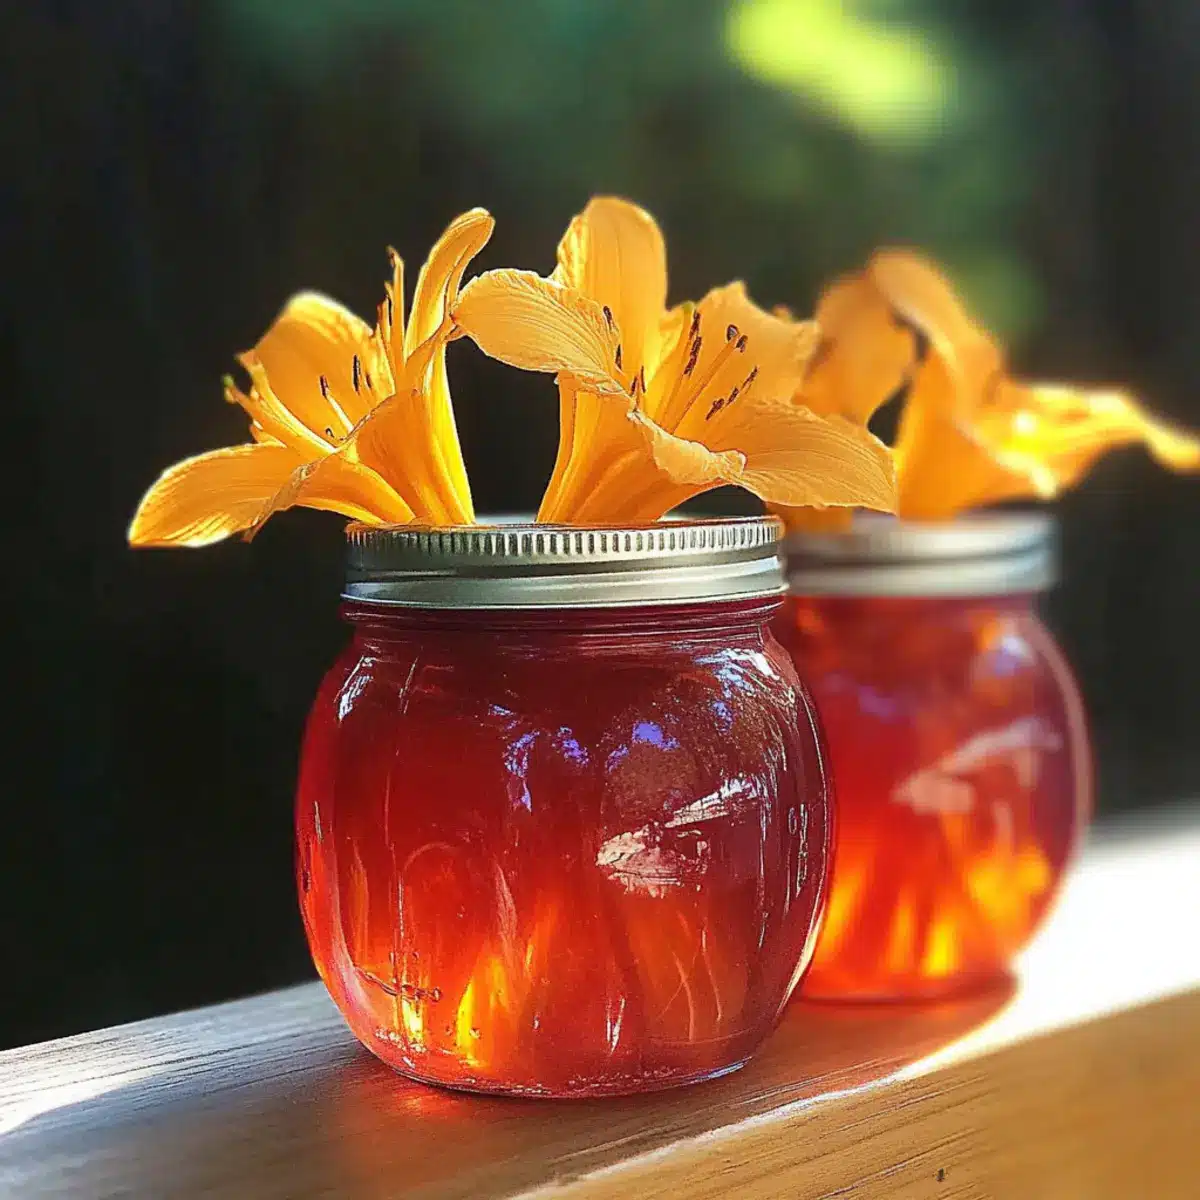
As I wandered through the garden one sunny afternoon, a sea of vibrant daylily blooms caught my eye, practically begging to be transformed into something special. This inspired me to create a batch of Easy Daylily Jelly, a sweet homemade delight that captures the essence of summer right in a jar. Not only is this jelly a delightful way to use those gorgeous edible flowers, but it also offers a quick and easy recipe perfect for home cooks looking to impress with a unique twist. Whether you’re spreading it on toast for breakfast or gifting it to friends, this fragrant treat will surely surprise and enchant your palate. Curious about how to turn those blooms into a luscious jelly? Let’s dive into this floral adventure together!
Why Crave Daylily Jelly?
Unique Flavor: Experience a sweet floral note that will tantalize your taste buds, making each spoonful a little piece of summer.
Easy to Make: With just a few simple ingredients and minimal effort, you can craft this delightful jelly in your own kitchen.
Perfect for Gifting: Imagine the smiles when you present jars of this gorgeous jelly to family and friends—an ideal homemade gift for any occasion!
Versatility in Use: Enjoy it on toast, pair it with cheese, or use it as a glaze for your favorite pastries. The options are endless!
Sustainable Cooking: Utilize those beautiful edible blooms from your garden that might otherwise go to waste. For more ideas, check out these delightful recipes like Peanut Butter Jelly that celebrate homemade preserves!
Daylily Jelly Ingredients
For the Jelly
• Fresh Daylily Blooms – The star ingredient that provides the floral flavor; best harvested in the morning while they’re fresh and open.
• Boiling Water – Essential for steeping the blooms; ensure it’s at a rolling boil for maximum flavor extraction.
• Granulated Sugar – Acts as the main sweetener to balance the floral notes and stabilize the jelly’s texture.
• Lemon Juice – Adds a delightful acidity that enhances the flavor; using freshly squeezed is the way to go for the best taste.
• Pectin – A must-have thickening agent that allows the jelly to set; ensure it’s specifically labeled for jelly-making.
For Jar Preparation
• Sterilized Mason Jars – Required for safe storage; must be prepared before pouring in the hot jelly mixture to ensure freshness.
• Water for Boiling Bath – Needed for the final processing step to seal the jars; always keep it at a boil to ensure proper preservation.
Enjoy making your Daylily Jelly, a floral treat that will impress anyone fortunate enough to taste it!
Step‑by‑Step Instructions for Daylily Jelly
Step 1: Prepare the Blooms
Begin by harvesting fresh daylily blooms early in the morning when they are fully open. Carefully remove the inedible parts such as the stamens and any bruised petals, ensuring you are left with only the vibrant flower petals. A clean workspace will help you prepare the blooms efficiently for the jelly-making process.
Step 2: Make the Tea
Place the cleaned daylily blooms in a heatproof container and pour 4 cups of boiling water over them. Cover and steep the mixture for 12 to 24 hours to extract the floral flavors fully. You’ll know it’s ready when the liquid turns a lovely golden hue and fills your kitchen with a sweet, fragrant aroma.
Step 3: Combine Ingredients
After steeping, strain the liquid to remove the petals, leaving you with a beautiful daylily tea. In a large pot, mix together 3 cups of this floral infusion, 4 cups of granulated sugar, the juice of one lemon, and the appropriate amount of pectin as per the package instructions. Ensure everything is well combined for a smooth jelly texture.
Step 4: Cook the Mixture
Place the pot over medium heat and bring the mixture to a rapid boil, stirring constantly to dissolve the sugar completely. Keep a close eye as it thickens, bubbling vigorously for about 1-2 minutes while the pectin activates. You’ll know it’s ready when the jelly surface is glossy and you see bubbling rolling in the center, indicating it’s at the right consistency.
Step 5: Jar the Jelly
Once cooked, remove the pot from heat and immediately ladle the hot daylily jelly into sterilized mason jars. Leave about a quarter inch of headspace at the top of each jar to allow for expansion during cooling. Wipe any spills on the jar rims with a clean cloth to ensure a perfect seal.
Step 6: Seal and Process
Secure the lids onto the filled jars, making sure they are tight but not overly so. Place the jars in a large pot filled with boiling water, ensuring they are submerged by at least an inch. Process the jars for 10 minutes to create a safe seal, then carefully remove them and let them cool on a clean towel in a draft-free area. Your homemade daylily jelly is now ready for storage!
What to Serve with Easy Daylily Jelly
Brighten your breakfast table with delightful pairings that perfectly complement the sweet floral notes of this homemade treat.
-
Cream Cheese Toast: Spread cream cheese on crusty bread, then top with daylily jelly for a balanced sweet and tangy bite. Each flavor enhances the other, making it an irresistible choice!
-
Savory Cheese Platter: Pair with soft cheeses like goat or brie. The floral sweetness of the jelly cuts through the richness, creating a memorable flavor experience.
-
Scones or Biscuits: Slather this jelly on freshly baked scones or flaky biscuits for a decadent brunch. The warm, buttery textures harmonize beautifully with the jelly’s floral essence.
-
Grilled Chicken Glaze: Brush daylily jelly over grilled chicken for a surprising twist. The jelly caramelizes, adding a sweet glaze that enchants with its unique taste.
-
Breakfast Parfait: Layer yogurt, granola, and a spoonful of daylily jelly for a refreshing breakfast parfait. The floral notes elevate the dish and offer a stunning presentation.
-
Iced Tea or Lemonade: Enjoy with a glass of cold brewed herbal tea or freshly squeezed lemonade. The refreshing drinks accentuate the floral notes, making each sip delightful.
-
Fruit Salad: Incorporate daylily jelly into a fruit salad by drizzling over assorted berries and melons. It adds a sweet twist that brightens the dish.
-
Pancakes or Waffles: Swap out traditional syrup for daylily jelly on pancakes or waffles. The delicate floral sweetness transforms the ordinary breakfast into a gourmet experience.
Make Ahead Options
These delightful jars of Daylily Jelly are perfect for busy home cooks looking to save time while preserving the essence of summer! You can steep the daylily blooms in boiling water up to 24 hours in advance, allowing you to fully extract their wonderful flavors. After straining, store the floral infusion in the refrigerator for up to 3 days. When you’re ready to complete your jelly, simply combine the chilled infusion with the remaining ingredients (sugar, lemon juice, and pectin), cook, jar, and process as per the original instructions. This prep-ahead strategy ensures that your finished daylily jelly will be just as delicious and fragrant when it’s time to impress your family or friends!
Daylily Jelly Variations & Substitutions
Feel free to let your creativity blossom and make this daylily jelly your own with these delightful twists!
-
Lavender Bloom Swap: Replace daylily blooms with fresh lavender for a fragrant, aromatic jelly that adds a touch of elegance to your breakfast.
-
Elderflower Twist: Substitute elderflower blooms to create a jelly with a delicate, subtle sweetness—perfect for a summery afternoon tea!
-
Spicy Kick: Add a pinch of ginger or ground cinnamon for a warm, spicy background note that brightens the floral flavors beautifully.
-
Citrus Infusion: Swap out lemon juice for orange or grapefruit juice. This adds a zesty brightness and complements the floral notes perfectly.
-
Berry Addition: Stir in some crushed berries, such as raspberries or strawberries, during the cooking phase for a fruity twist on your jelly.
-
Honey Sweetener: Instead of granulated sugar, use honey for a unique taste and added depth, enhancing the floral character of the jelly beautifully.
-
Vegan Option: Use agar-agar instead of pectin to create a plant-based version of this jelly. It sets wonderfully and maintains that lovely floral essence.
-
Herb Infusion: Incorporate fresh herbs like mint or basil during steeping for a refreshing herbal twist that beautifully contrasts the sweetness of the jelly.
For more unique flavors, don’t miss out on trying recipes like the delightful Peanut Butter Jelly that celebrate delightful preserves! Let your imagination flourish as you explore these scrumptious variations!
How to Store and Freeze Daylily Jelly
Room Temperature: Store sealed jars of daylily jelly in a cool, dark place like a pantry for up to 1 year to maintain quality.
Fridge: Once opened, keep the jelly refrigerated and consume within 3-4 weeks for the best flavor and freshness.
Freezer: For long-term storage, freeze daylily jelly in airtight containers for up to 6 months. Thaw in the fridge before use for optimal texture.
Reheating: To enjoy daylily jelly again, simply spread it directly from the fridge onto warm toast or biscuits. No additional heating needed; it will melt beautifully!
Expert Tips for Daylily Jelly
Harvest Quality: Use only fresh daylily blooms that are clearly marked as edible; avoid any wilted or bruised flowers for the best flavor.
Proper Steeping: Remember to steep your blooms in boiling water for at least 12 hours to extract robust floral notes—shorter steeping times yield weaker flavors.
Sugar Measurement: Achieve the perfect sweetness by measuring your granulated sugar accurately; too little can leave your jelly runny, while too much may make it overly sweet.
Sterilization Care: Ensure your mason jars are properly sterilized before canning to prevent spoilage; discard any jars that show signs of cracks or damage.
Cooling Process: Allow your jars to cool on a clean towel for proper sealing; listen for that satisfying “pop” sound that indicates they’ve sealed successfully.
Experiment Wisely: Feel free to try different edible flowers with this daylily jelly recipe, but be cautious to ensure they are safe for consumption.
Daylily Jelly Recipe FAQs
How do I choose the right daylily blooms?
Absolutely! When selecting daylily blooms for your jelly, pick them early in the morning when they’re fully open to capture their peak fragrance and flavor. Look for vibrant colors and avoid any that show signs of wilting or bruising, which can affect the taste.
How should I store my daylily jelly?
Once sealed, store your daylily jelly in a cool, dark place, such as a pantry. It can last for up to a year! After opening, move it to the refrigerator and consume within 3-4 weeks for optimal freshness and flavor.
Can I freeze daylily jelly?
Very much! To freeze your daylily jelly, ladle it into airtight containers, leaving some space at the top for expansion. It can be frozen for up to 6 months. When you’re ready to use it, simply thaw it in the fridge overnight—no need to reheat!
What if my jelly doesn’t set properly?
If your daylily jelly doesn’t set, don’t worry! First, check to ensure that you used the correct amount of pectin and that it was activated during cooking. If it’s still runny after cooling, you can reheat the jelly, add a bit more pectin according to package instructions, and boil it again until set.
Is daylily jelly safe for my pets?
Absolutely! Daylily jelly is made from edible flowers, but be aware that while daylilies are safe for human consumption, they can be toxic to cats and potentially harmful to dogs. Always check with your veterinarian if you have concerns about ingredients that might affect your furry friends.
Homemade Daylily Jelly: Sweet Floral Bliss Awaits
Ingredients
Equipment
Method
- Harvest fresh daylily blooms early in the morning, removing inedible parts.
- Place blooms in a heatproof container and pour boiling water over them. Steep for 12-24 hours.
- Strain the liquid to remove petals. Mix 3 cups of floral infusion, sugar, lemon juice, and pectin in a pot.
- Bring mixture to a rapid boil, stirring constantly, for about 1-2 minutes until thickened.
- Ladle hot jelly into sterilized mason jars, leaving headspace. Wipe rims for sealing.
- Seal jars and process in boiling water for 10 minutes. Let cool before storing.
Leave a Reply