
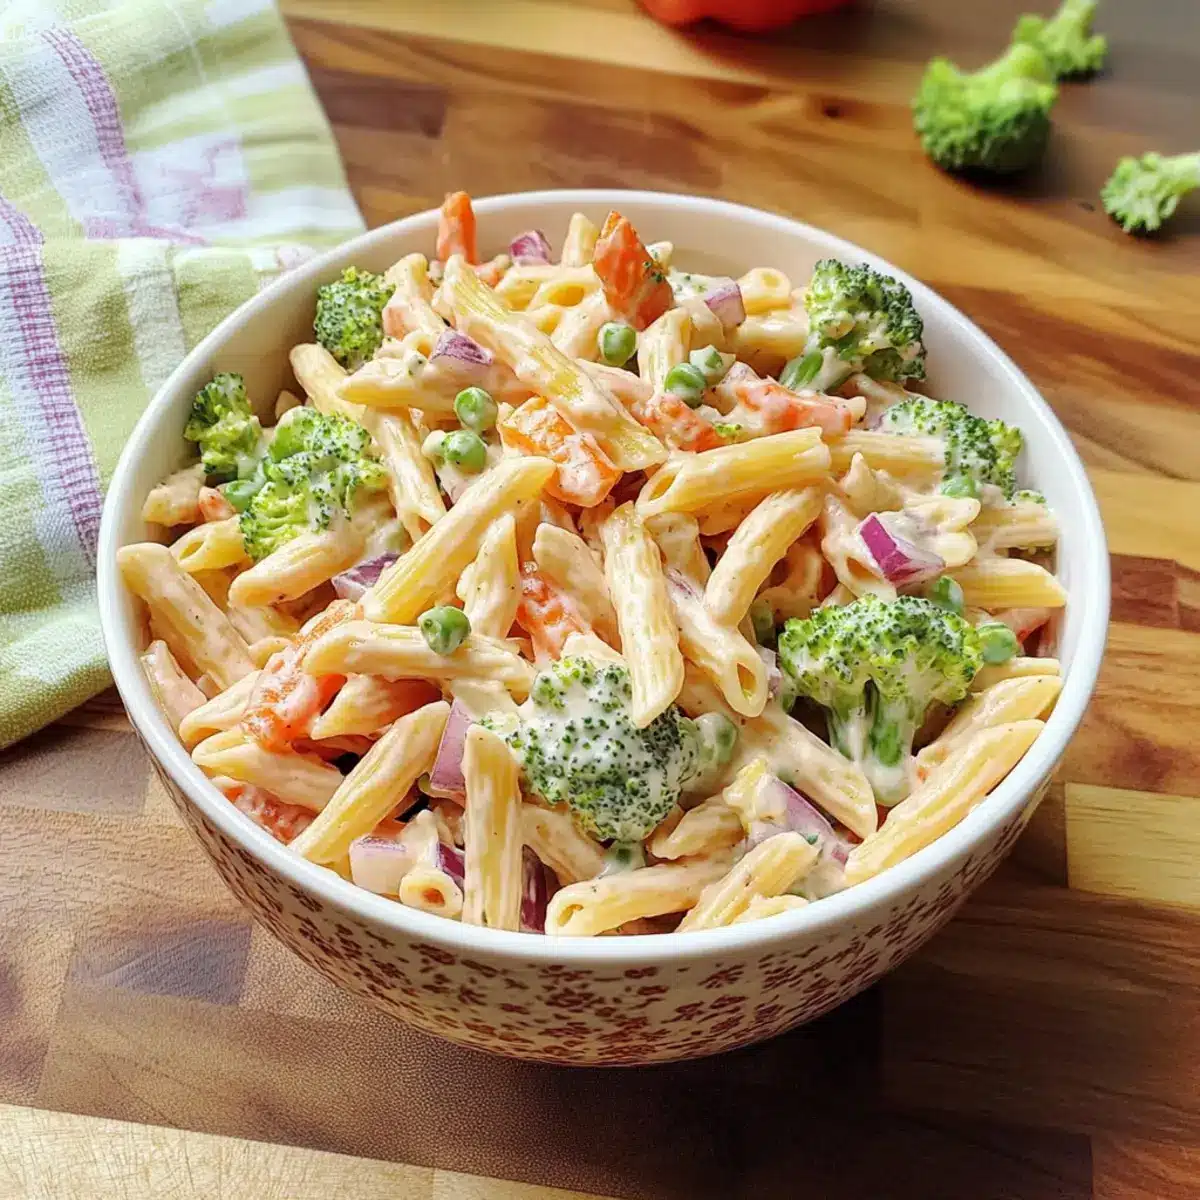
The sun was shining, and the air was filled with the sweet scent of summer barbecues when I found myself in a mini crisis—a side dish dilemma! I craved something vibrant and satisfying to complement our outdoor feast, and that’s when my Creamy Primavera Pasta Salad came to the rescue. This easy side dish celebrates the season with crisp vegetables and tender pasta, all drizzled in a rich blend of ranch and Italian flavors. Not only is it a breeze to whip up, but it also promises to impress your guests and leave them asking for seconds. The beauty of this salad lies in its flexibility; you can easily make it ahead of time, freeing you up to enjoy the sunny festivities. Ready to elevate your gatherings with this delicious dish? Let’s dive in!
Why is This Salad a Must-Try?
Vibrant colors: The combination of fresh vegetables like broccoli and red bell pepper makes this salad visually stunning.
Creamy goodness: The luscious ranch and Italian dressing takes every bite to the next level, delivering a satisfying richness.
Quick preparation: This salad can be whipped up in no time, making it a fantastic option for spontaneous gatherings or busy weeknights.
Versatile options: Add protein such as chicken or chickpeas for a complete meal, or swap in your favorite seasonal veggies. Pair it beautifully with grilled meats or serve it alongside a refreshing Egg Avocado Salad for ultimate delight.
Crowd-pleaser: Perfect for BBQs and potlucks, it’s a recipe that’s sure to impress everyone at the table!
Creamy Primavera Pasta Salad Ingredients
For the Pasta
• Rotini Pasta – A twisty shape that holds the creamy dressing beautifully.
For the Vegetables
• Broccoli – Adds a delightful crunch and freshness; substitute with cauliflower for a similar bite.
• Carrots – Introduces sweetness and vibrant color; sugar snap peas can be used for a fresh crunch instead.
• Red Bell Pepper – Contributes sweetness and bright color; feel free to substitute with yellow or orange peppers.
• Red Onion – Offers a sharp flavor that balances the creaminess; green onions can be used for a milder taste.
For the Dressings
• Ranch Dressing Mix – Delivers a creamy, tangy flavor; opt for a low-fat version for a lighter touch.
• Italian Dressing Mix – Infuses herby, savory notes into the dish; combining with homemade dressing enhances freshness.
This Creamy Primavera Pasta Salad is not just easy to prepare—it’s a delightful blend of texture and flavor that makes every bite memorable!
Step‑by‑Step Instructions for Creamy Primavera Pasta Salad
Step 1: Cook the Pasta
Begin by bringing a large pot of salted water to a rolling boil. Add your rotini pasta and cook according to the package instructions until al dente, which typically takes about 8-10 minutes. Once cooked, drain the pasta in a colander and rinse it under cold water to stop the cooking process and cool it down, allowing it to firm up for the Creamy Primavera Pasta Salad.
Step 2: Season the Pasta
While the pasta is still warm, sprinkle the dry Italian dressing mix evenly over it. Toss thoroughly to ensure even coating, allowing the flavors to absorb into the pasta. This step is crucial as the warm pasta absorbs the seasoning better, enhancing the overall taste of the salad. Set the seasoned pasta aside to cool completely.
Step 3: Prepare the Dressing
In a medium bowl, combine the ranch dressing mix with the recommended amount of water or milk, as stated on the packet. Stir until smooth and creamy, ensuring no lumps remain. This dressing will bring a delightful richness to your Creamy Primavera Pasta Salad, balancing the flavors beautifully.
Step 4: Chop the Vegetables
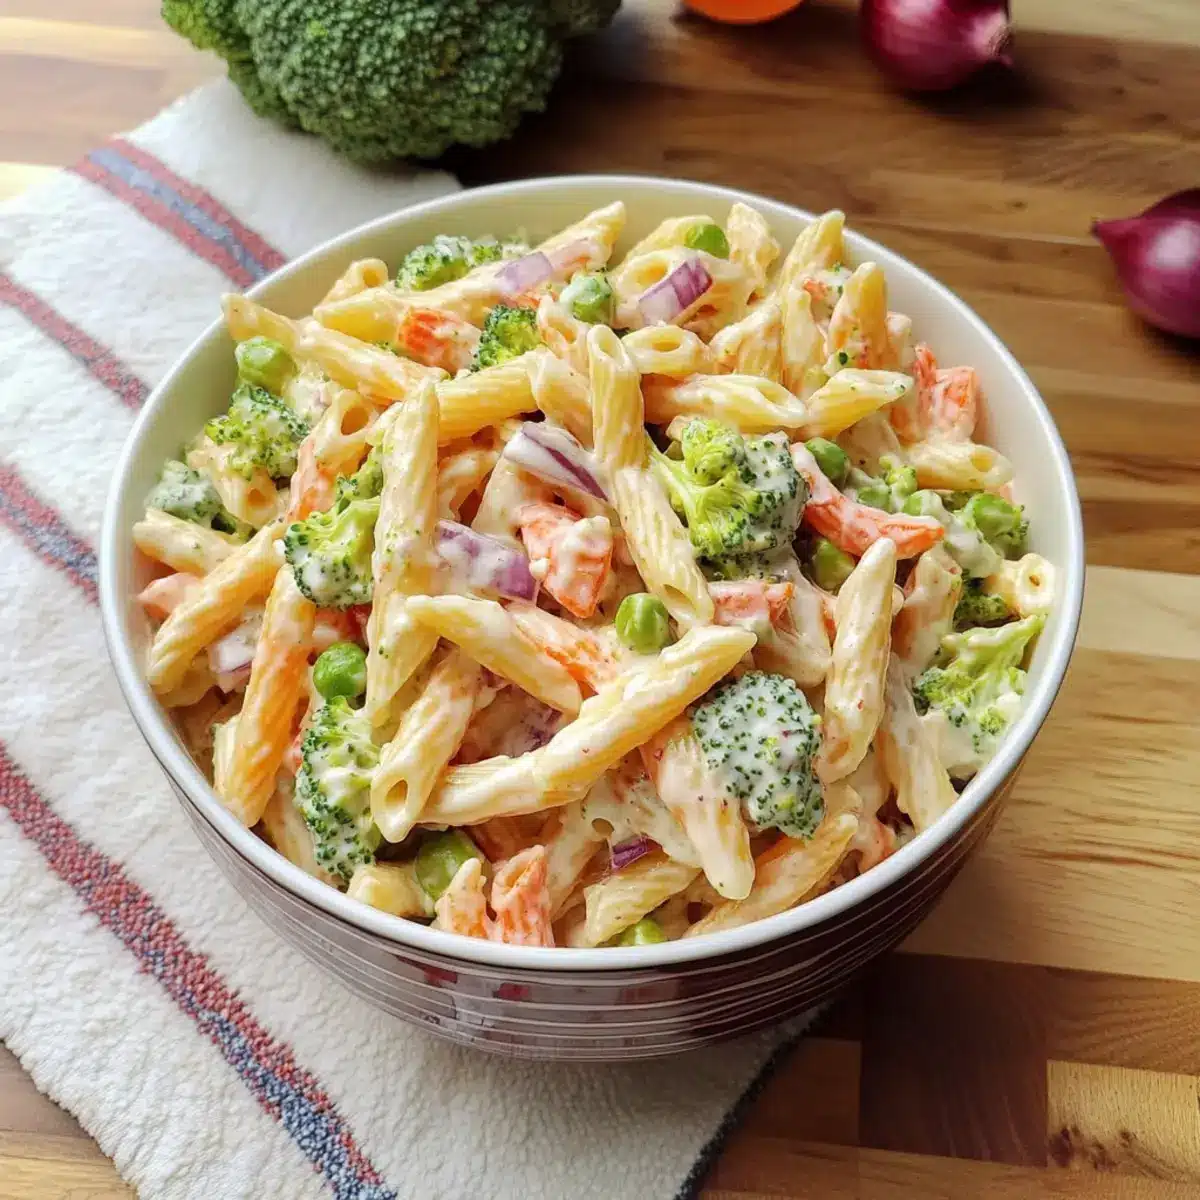
While the dressing sits, finely chop the broccoli, carrots, red bell pepper, and red onion. Aim for bite-sized pieces to ensure they mix well throughout the salad, providing delightful crunch and color. These fresh veggies are the stars of your Creamy Primavera Pasta Salad, adding not only flavor but also a vibrant visual appeal.
Step 5: Combine Ingredients
In a large mixing bowl, add the cooled, seasoned pasta and the chopped vegetables. Gently fold them together, being careful not to mash the veggies. This harmonious blend of textures and colors is what makes the Creamy Primavera Pasta Salad so inviting and appealing.
Step 6: Add the Dressing
Pour the prepared ranch dressing over the pasta and vegetable mixture. Using a spatula, gently stir until everything is thoroughly combined and the dressing coats all the ingredients evenly. The dressing is key to achieving that creamy goodness that everyone will love.
Step 7: Chill the Salad
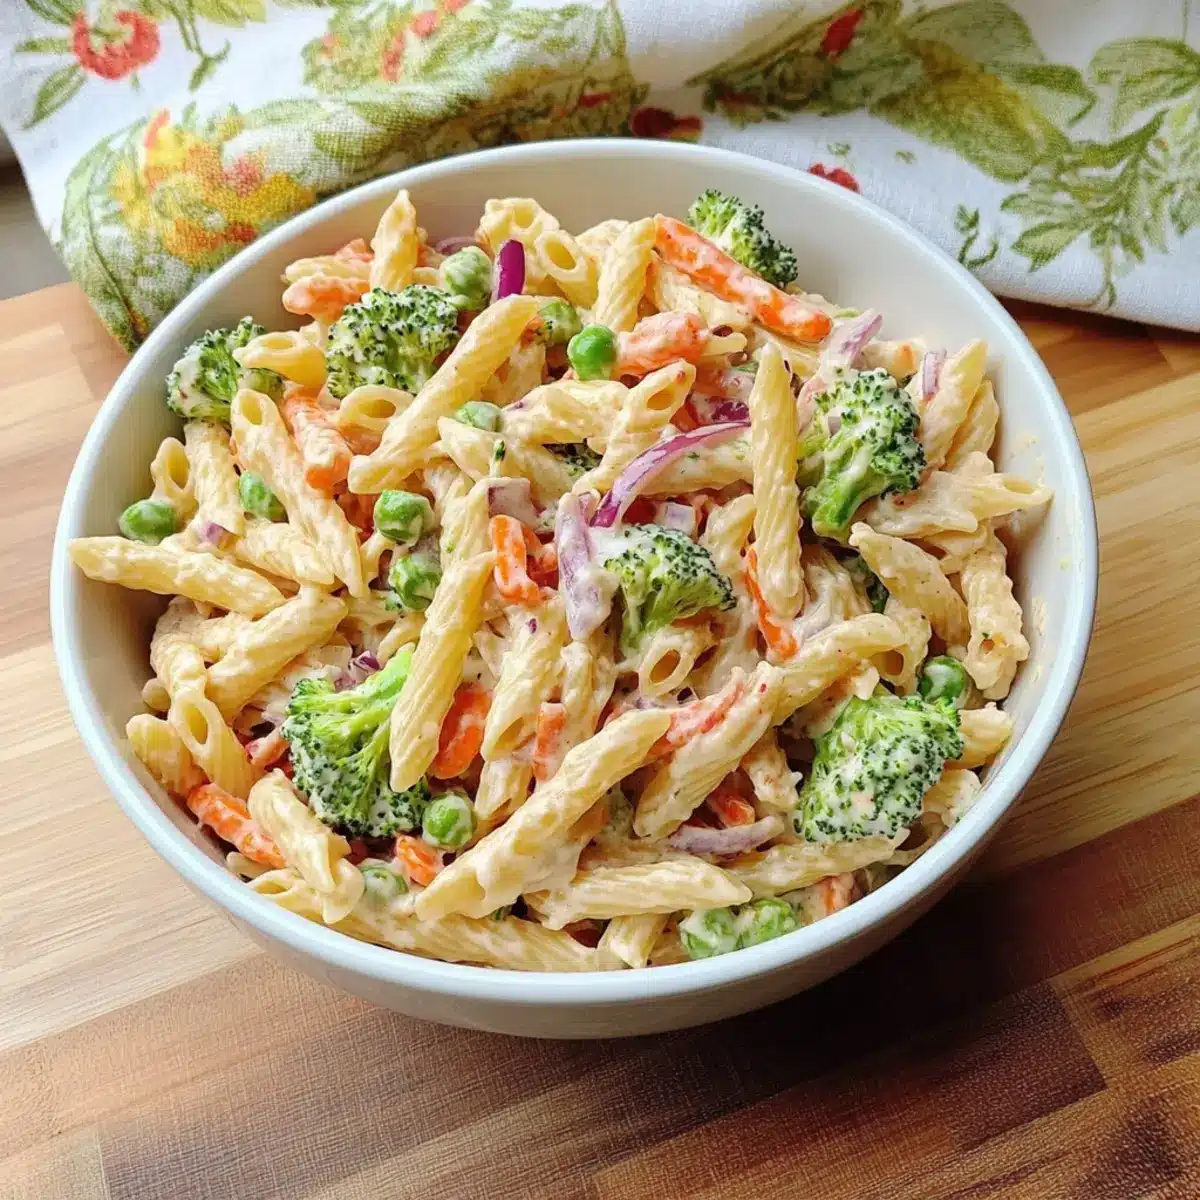
Cover the salad with plastic wrap or transfer it to an airtight container, then refrigerate for at least 30 minutes. This chilling time allows the flavors to meld together beautifully, enhancing the taste of the Creamy Primavera Pasta Salad. Serving it chilled provides a refreshing experience for your guests.
Step 8: Serve and Enjoy
Once chilled, give the salad a gentle stir to reincorporate any settled dressing, then transfer it to a serving bowl. Garnish with additional fresh herbs or a sprinkle of cheese if desired. This vibrant, creamy pasta salad is now ready to be enjoyed at your next gathering or as a delightful meal on a busy evening!
Expert Tips for Creamy Primavera Pasta Salad
-
Season While Warm: Always season the pasta while it’s still warm to help it absorb the Italian dressing mix for maximum flavor.
-
Chill Before Serving: Be sure to chill the salad for at least 30 minutes before serving—this enhances both texture and taste, making your Creamy Primavera Pasta Salad extra delicious.
-
Watch the Pasta Cooking Time: Avoid overcooking the pasta; it should be al dente. This keeps it firm, ensuring it holds up against the creamy dressing and crunchy veggies.
-
Fresh Veggies Matter: Use the freshest vegetables you can find. This not only elevates flavors but also adds vibrant colors that make your dish visually enticing.
-
Customize to Taste: Feel free to add in proteins or swap vegetables according to your seasonal preferences. This flexibility makes the Creamy Primavera Pasta Salad perfect for any occasion!
What to Serve with Creamy Primavera Pasta Salad
Imagine a bright summer day where vibrant flavors dance on your plate, creating the perfect accompaniment to your gathering.
-
Grilled Chicken: Juicy, smoky chicken complements the creamy salad beautifully, making for a satisfying meal.
-
Garlic Bread: Crunchy, buttery garlic bread adds a delightful contrast, perfect for scooping up the creamy goodness.
-
Caprese Skewers: Fresh mozzarella, ripe tomatoes, and basil skewers make a refreshing, colorful pairing that enhances the primavera theme.
-
Crispy Green Beans: Lightly sautéed or roasted green beans offer a crunchy texture that harmonizes well with the pasta salad’s creaminess.
-
Watermelon Feta Salad: This sweet and salty dish introduces a refreshing fruit element, balancing the richness of the creamy sauce.
-
Lemonade or Iced Tea: A chilled drink like lemonade or iced tea provides a thirst-quenching, citrusy zest that brightens the meal.
-
Chocolate Chip Cookies: Sweet, chewy cookies bring a nostalgic touch to the table, leaving everyone with a smile after the main meal.
-
Berry Tart: A light, fruity dessert that’s pleasing to the eyes, perfect for rounding off the meal with a touch of sweetness.
Embrace the vibrant and versatile nature of your Creamy Primavera Pasta Salad by pairing it with these delicious options, creating a delightful feast for any occasion!
Make Ahead Options
These Creamy Primavera Pasta Salad is a fantastic option for meal prep, saving you time during busy weeknights! You can prepare the salad up to 24 hours in advance by cooking the pasta and chopping the vegetables ahead of time; simply store them separately in airtight containers in the refrigerator to maintain their freshness. When you’re ready to serve, combine the ingredients and dress them with the ranch dressing just before eating. This way, the veggies stay crisp and the pasta remains perfectly tender, ensuring that your salad is just as delicious as when it was freshly made. Enjoy the convenience without sacrificing quality!
Creamy Primavera Pasta Salad Variations
Feel free to get creative with this dish and transform the flavors to suit your taste buds!
-
Add Protein: Toss in diced chicken, tuna, or chickpeas for a heartier meal. This not only boosts the protein content but also makes the salad more satisfying. A chicken addition can create a delightful combination of creamy and savory flavors.
-
Seasonal Swaps: Substitute vegetables based on what’s in season! For instance, zucchini or fresh peas can add a bright touch to the mix. Seasonal veggies can elevate the freshness of your Creamy Primavera Pasta Salad, allowing for ingredient flexibility.
-
Low-Carb Delight: Consider using spiralized zucchini instead of pasta to enjoy a lower-carb version. This twist creates a lighter salad while still providing that satisfying crunch you crave.
-
Spice It Up: Increase the heat by adding a pinch of red pepper flakes or some diced jalapeños. A bit of heat adds an exciting kick and can elevate the overall flavor profile of the dish.
-
Herbaceous Boost: Enhance the flavors by adding fresh herbs such as basil or parsley. These herbs not only brighten the salad but also add layers of fresh flavor that complement the creamy dressing beautifully.
-
Vegan Friendly: Swap the ranch and Italian dressing mixes for vegan alternatives, or create your own homemade versions. This makes the salad entirely plant-based without compromising on taste.
-
Creamy Vegan Substitute: Use avocado or a cashew-based dressing for a rich and creamy dairy-free option. This twist will keep the salad luscious while accommodating vegan diets beautifully.
Pair your Creamy Primavera Pasta Salad with a refreshing side like Red Potato Salad for a delicious medley, or enjoy it alongside some zesty Bacon Cheeseburger Pasta for a complete spread!
Storage Tips for Creamy Primavera Pasta Salad
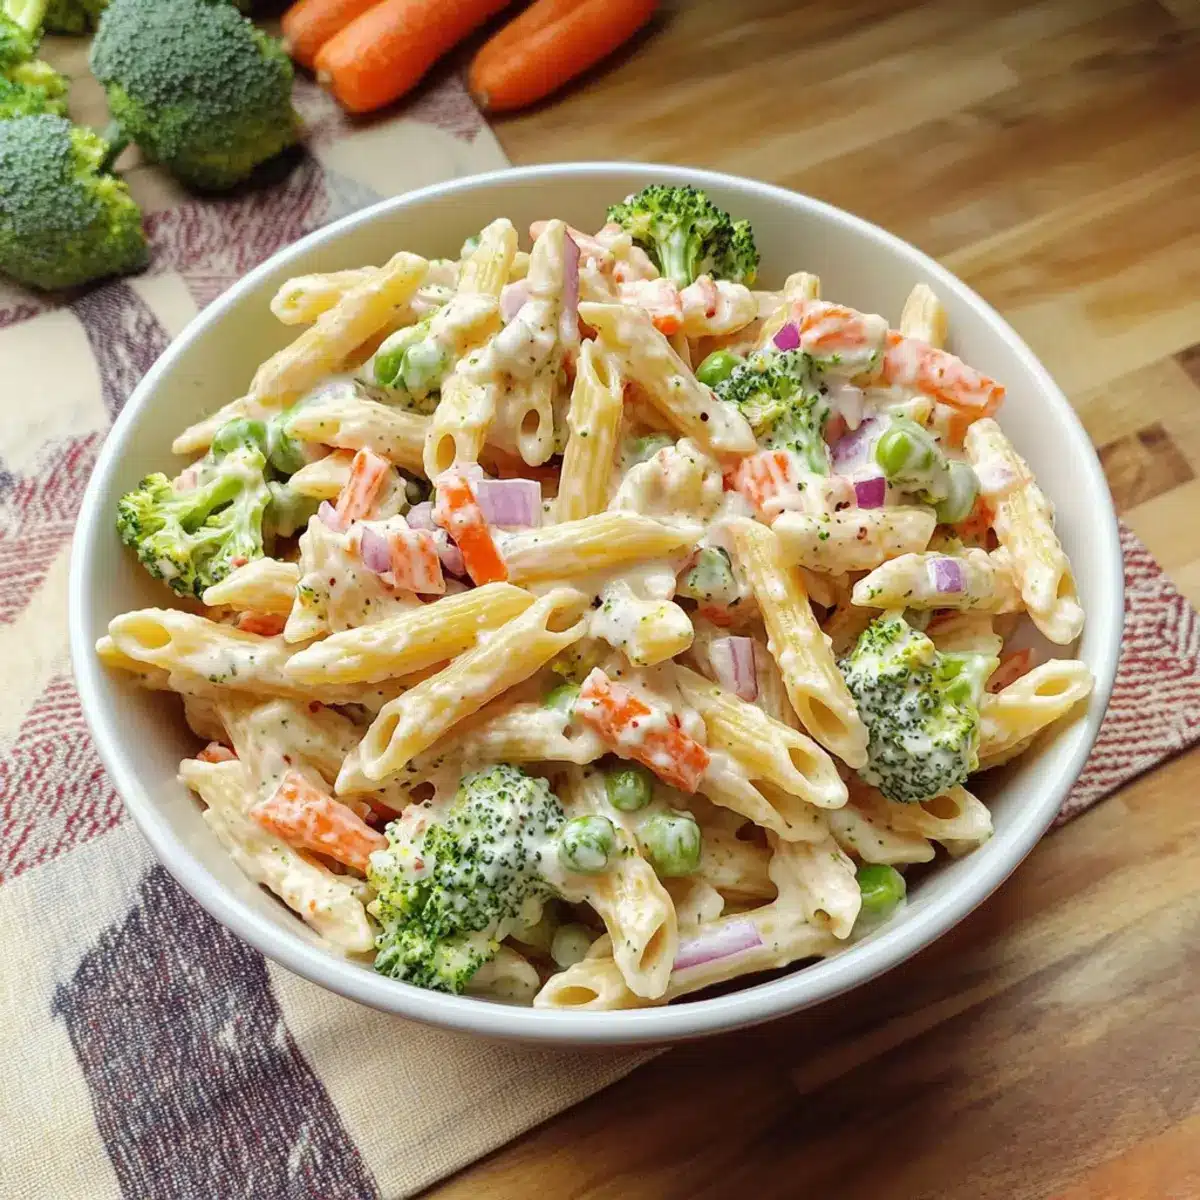
Fridge: Store Creamy Primavera Pasta Salad in an airtight container for up to 3 days. This keeps it fresh, but be sure to give it a good stir before serving as the dressing may settle.
Freezer: While not ideal for freezing due to the creamy dressing, you can freeze the salad for up to 1 month before dressing. Thaw in the fridge overnight and add the dressing fresh.
Make-Ahead: Prepare the salad a day in advance to allow flavors to meld beautifully. Just remember to chill it in the refrigerator before serving for a refreshing taste!
Reheating: If you’ve added protein, make sure to reheat gently in the microwave or on the stovetop, but enjoy the salad cold for best texture and flavor.
Creamy Primavera Pasta Salad Recipe FAQs
What pasta is best for this salad?
Absolutely! I recommend using rotini pasta for this Creamy Primavera Pasta Salad because its twisted shape holds the dressing superbly, ensuring each bite is rich and flavorful. However, you can also use other types like fusilli or penne if that’s what you have on hand; just remember to cook them until al dente for the best texture.
How should I store leftover pasta salad?
You can store Creamy Primavera Pasta Salad in an airtight container in the refrigerator for up to 3 days. When you’re ready to serve, give it a good stir since the dressing may settle at the bottom. If you notice it looking a little dry, simply add a splash of milk or a drizzle of olive oil to revive its creamy goodness!
Can I freeze Creamy Primavera Pasta Salad?
While freezing isn’t the best option for this creamy salad, you can freeze the pasta and vegetables separately without the dressing for up to 1 month. To freeze, first, cool the pasta and veggies completely. Then, place them in a freezer-safe container. Thaw overnight in the fridge. Once thawed, prepare the dressing fresh and combine it for the best flavor and texture.
What if I want to add protein to the salad?
Very! Adding protein like diced cooked chicken, canned tuna, or chickpeas is a fantastic way to make the Creamy Primavera Pasta Salad more filling. If you choose to include meat, consider adding it just before serving to maintain the salad’s refreshing qualities. For a vegetarian option, adding chickpeas or even crumbled feta can offer a lovely twist!
How can I make this recipe allergy-friendly?
To accommodate various dietary needs, you can easily customize the Creamy Primavera Pasta Salad! For a gluten-free option, use gluten-free pasta and check the dressing mixes for gluten-free versions. If dairy is a concern, consider using a dairy-free ranch dressing and substituting low-fat yogurt for sour cream. Always read labels to ensure safety for those with allergies.
How do I ensure my veggies are fresh and vibrant?
Choosing fresh, vibrant vegetables is key to the success of this salad! Look for broccoli with tightly closed florets and a bright green color. Carrots should be crisp and firm, and bell peppers should have smooth skin without dark spots. I often recommend shopping at local farmers’ markets for the freshest produce, which will significantly enhance the flavor and appeal of your Creamy Primavera Pasta Salad.
Creamy Primavera Pasta Salad That Dances with Flavor
Ingredients
Equipment
Method
- Begin by bringing a large pot of salted water to a rolling boil. Add your rotini pasta and cook according to the package instructions until al dente, which typically takes about 8-10 minutes. Once cooked, drain the pasta in a colander and rinse it under cold water.
- While the pasta is still warm, sprinkle the dry Italian dressing mix evenly over it. Toss thoroughly to ensure even coating.
- In a medium bowl, combine the ranch dressing mix with the recommended amount of water or milk as stated on the packet. Stir until smooth and creamy.
- Finely chop the broccoli, carrots, red bell pepper, and red onion into bite-sized pieces.
- In a large mixing bowl, add the cooled, seasoned pasta and the chopped vegetables. Gently fold them together.
- Pour the prepared ranch dressing over the pasta and vegetable mixture. Stir until everything is thoroughly combined.
- Cover the salad with plastic wrap or transfer it to an airtight container, then refrigerate for at least 30 minutes.
- Once chilled, give the salad a gentle stir to reincorporate any settled dressing, then transfer it to a serving bowl.
Leave a Reply