
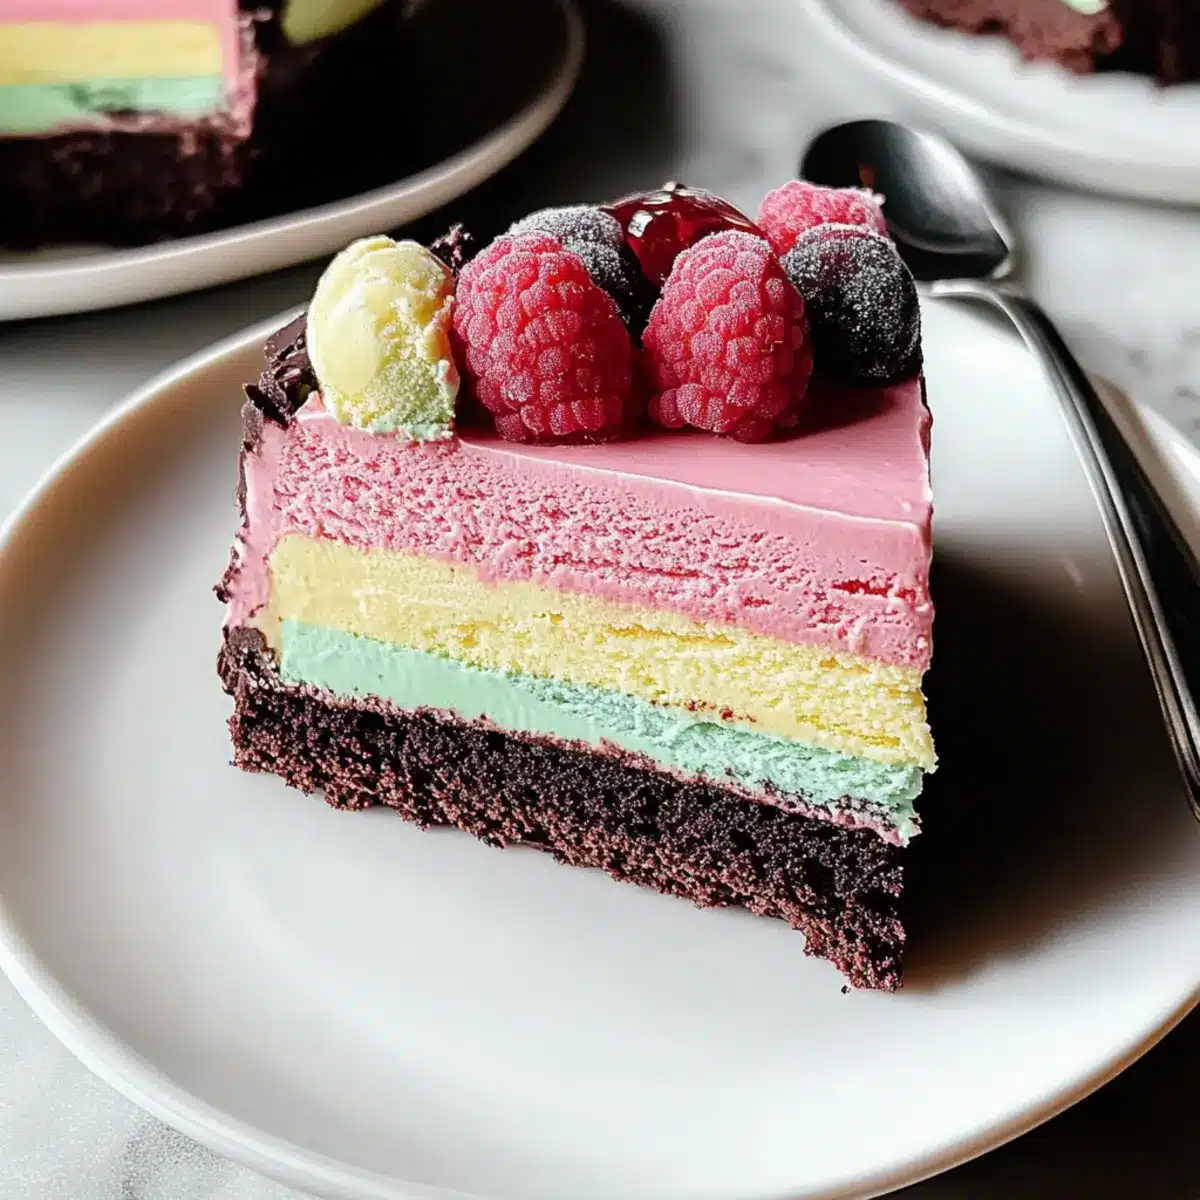
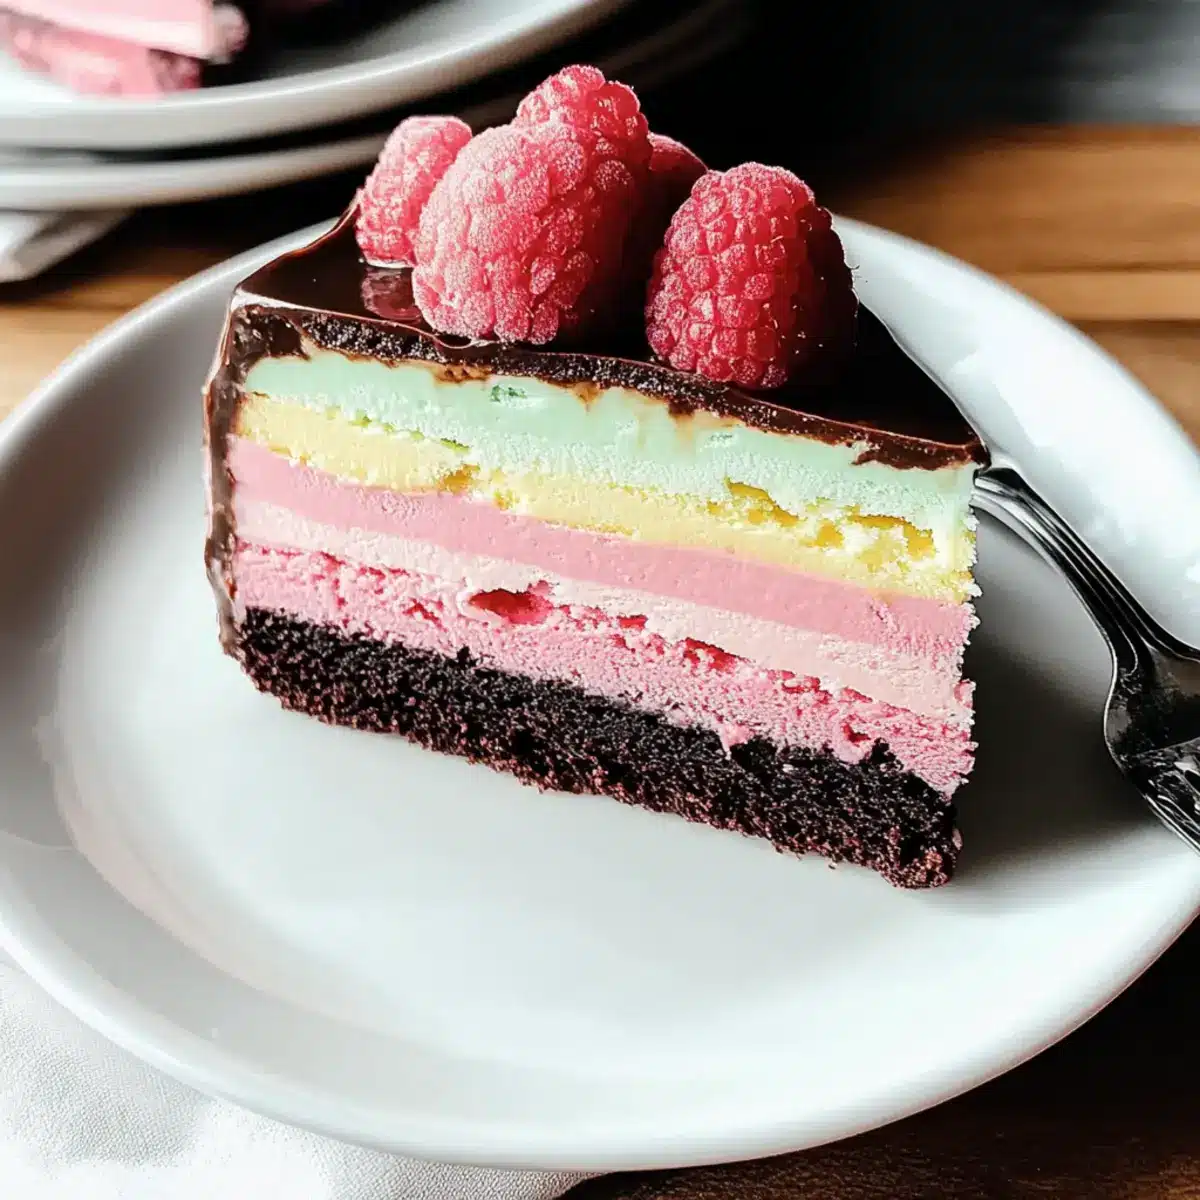
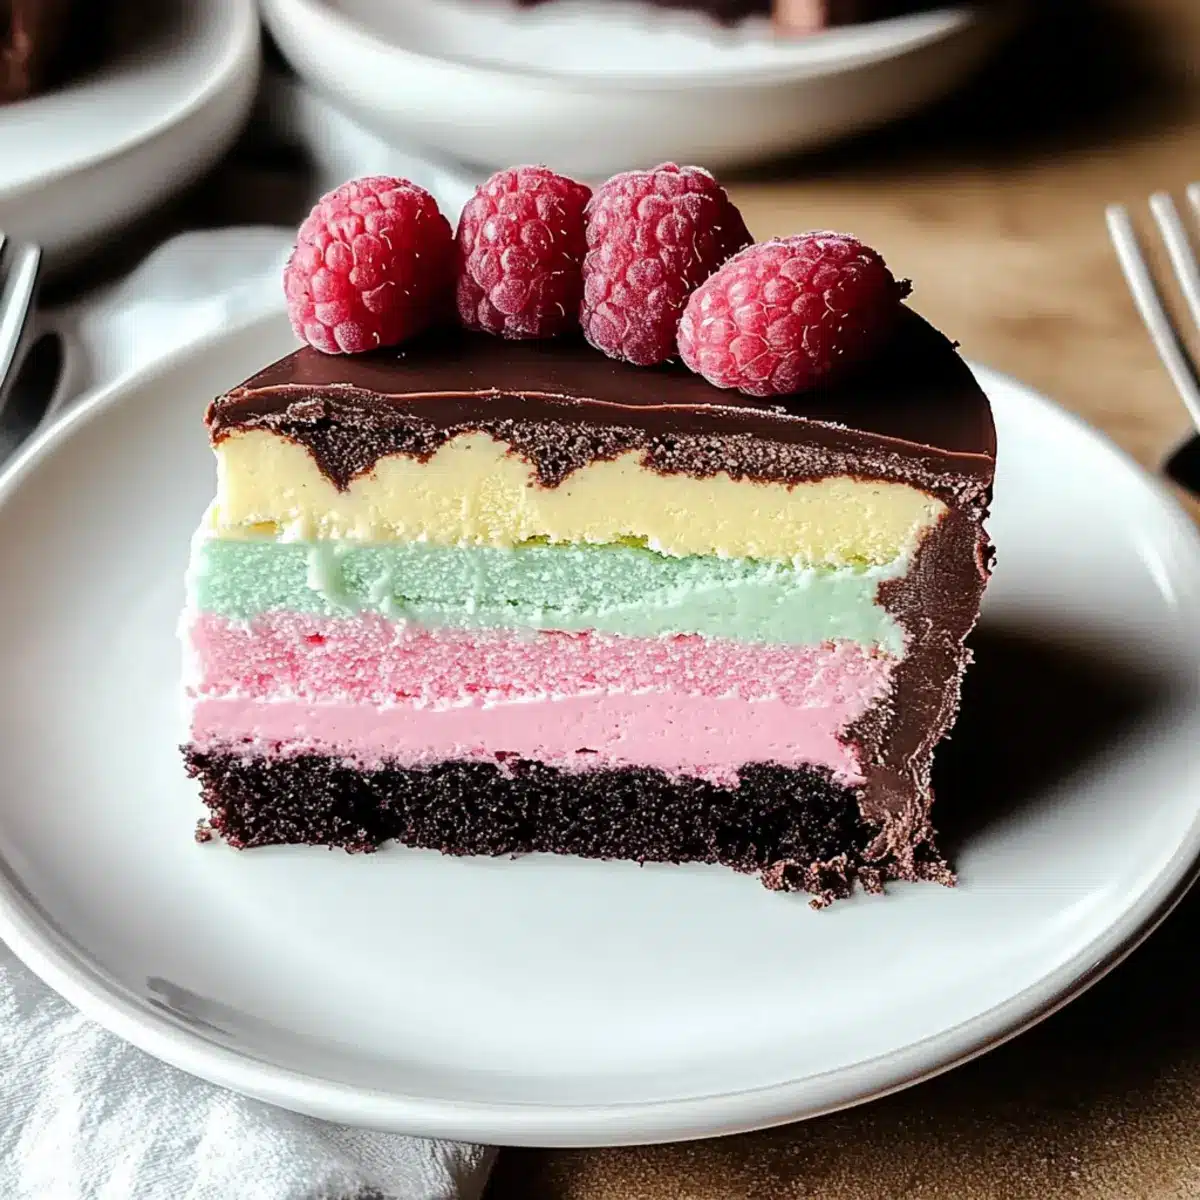
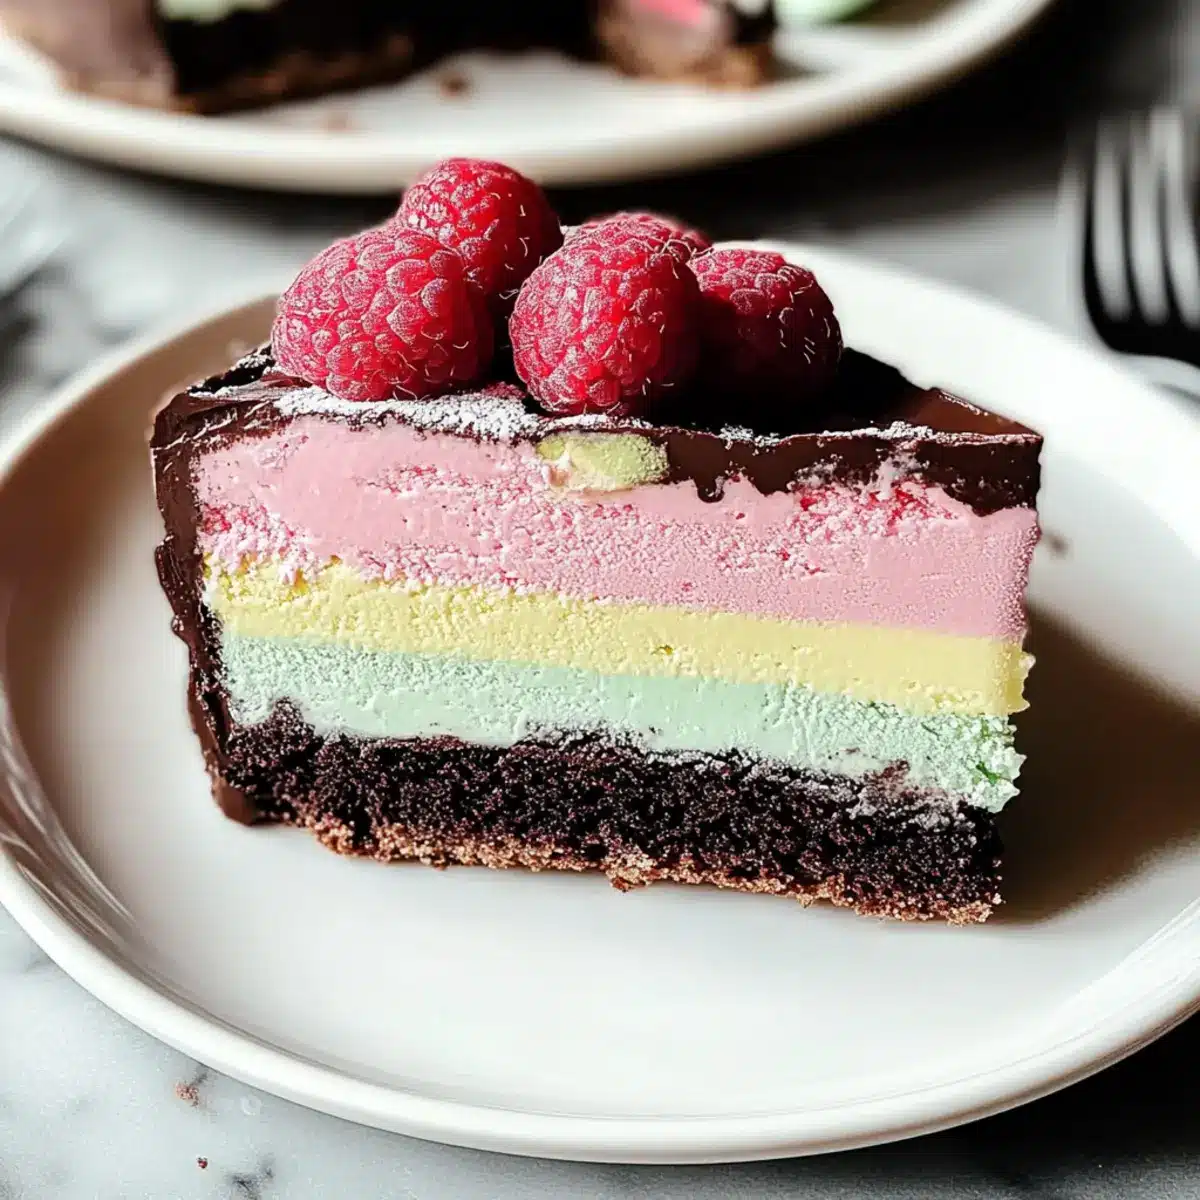
As the sun blazes and the heat rises, nothing says summer quite like a colorful cool treat! I’ve crafted a vibrant and delicious Colorful Layered Homemade Ice Cream Cake that not only boasts an irresistible blend of flavors but is also a no-bake wonder. Perfect for those lazy, sun-soaked afternoons, this cake requires minimal prep time and is completely customizable to suit your taste buds. With layers of creamy pitfalls like pistachio gelato and tangy raspberry sorbet, it’s sure to be the crowd-pleaser at your next summer gathering. Whether you’re celebrating a birthday or just enjoying a warm evening with friends, this dessert promises to add a splash of joy to every occasion. Curious about how to create this stunning masterpiece? Let’s dive in!
Why Make This Colorful Ice Cream Cake?
Impress your guests with this stunning layered dessert that’s as pleasing to the eye as it is to the palate. No-bake convenience means you can whip this up in no time, freeing you to enjoy summer fun without the heat of the oven. Customizable layers allow you to mix and match flavors, so your creativity shines! Plus, it’s vegan-friendly, making it a fantastic choice for everyone at your gathering. Looking for more delicious ideas? Check out my Cream Cheese Filled banana bread or a Lasagna Soup for the perfect meal! This cake is the ultimate crowd-pleaser that will have everyone reaching for seconds!
Colorful Ice Cream Cake Ingredients
• Discover how simple it is to create your own delicious layers!
For the Base
- Vegan Chocolate Cake – This provides a rich, chocolaty foundation; use any store-bought vegan variety for convenience.
For the Ice Cream Layers
- Pistachio Gelato – The first vibrant layer that lends a nutty sweetness; try almond or another nut-based gelato as a fun alternative!
- Salted Caramel Ice Cream – Adds a swirly, sweet contrast; if you prefer, regular caramel ice cream will work beautifully as well.
- Raspberry Sorbet – A refreshing, tangy finish; swap for your favorite fruity sorbet or sherbet to personalize your dessert experience.
For Decoration
- Fresh Raspberries – These berries give a stunning visual touch and burst of flavor; feel free to use any seasonal berries or edible flowers for a lovely garnish.
Remember, this colorful ice cream cake for summer is customizable to suit any taste!
Step‑by‑Step Instructions for Colorful Ice Cream Cake for Summer
Step 1: Prepare the Base
Preheat your oven to 350°F (175°C) and grease a 9×5-inch loaf pan. Pour in your vegan chocolate cake batter and bake for 18-22 minutes, or until a toothpick inserted comes out clean. Once baked, allow the cake to cool completely before placing it in the freezer for at least 3 hours to set well.
Step 2: Layer the Ice Cream
Before beginning the ice cream layers, let each flavor soften at room temperature for about 10 minutes. This will make spreading easier. Start with the pistachio gelato, smoothing it evenly over the frozen chocolate base with a spatula, creating a lovely green layer that pops against the chocolate.
Step 3: Pistachio Layer
Spread the softened pistachio gelato over the chocolate cake, ensuring it reaches the edges for a clean look. Once evenly distributed, place the cake back in the freezer and let it firm up for a minimum of 4 hours, allowing the flavors to meld beautifully into the colorful ice cream cake.
Step 4: Caramel Layer
After the pistachio layer is well-frozen, repeat the softening process for the salted caramel ice cream. Gently spread the ice cream over the pistachio gelato, smoothing it down to create a seamless second layer. Return the cake to the freezer for another 4 hours to ensure it is fully set.
Step 5: Final Layer
Once the salted caramel is solid, prepare the raspberry sorbet by softening it for about 10 minutes. Carefully layer the raspberry sorbet on top of the caramel ice cream, smoothing it out evenly. Now, wrap the entire cake and freeze overnight, ensuring all the layers are frozen beautifully.
Step 6: Serve
To serve your stunning Colorful Ice Cream Cake for Summer, remove it from the freezer and let it sit at room temperature for about 5 minutes. This slight thaw will make it easier to slice. Use a hot knife for clean cuts, then adorn each slice with fresh raspberries for an extra touch of summer charm.
What to Serve with Colorful Layered Homemade Ice Cream Cake?
Create the perfect summer spread and elevate your dessert experience!
-
Mint Whipped Cream: A light, refreshing accompaniment that complements the richness of the ice cream layers beautifully.
-
Fresh Berries: Juicy strawberries or blueberries add a pop of color and a burst of tangy flavor, balancing the sweetness of the cake.
-
Iced Lemonade: A tall glass of zesty lemonade provides a refreshing contrast, cleansing the palate between sweet bites.
-
Chocolate Drizzle: A rich chocolate sauce drizzled on top adds indulgent flair, enhancing the layers of flavor in each slice.
-
Nuts and Crunchy Toppings: Sprinkle some crushed pistachios or almonds on top for an added crunch that echoes the gelato layers.
-
Coffee or Espresso: A warm cup of coffee pairs wonderfully, its boldness contrasting the cool, creamy dessert.
-
Coconut Ice Cream: For a tropical twist, serve alongside a scoop of coconut ice cream to tie in the nutty flavors of the cake.
-
Caramel Sauce: Offer a small dish of caramel sauce for drizzling, perfect for those who want extra sweetness with their vibrant dessert.
Variations & Substitutions for Colorful Ice Cream Cake
Invite your creativity to shine as you customize this delightful dessert to suit your palate and dietary needs!
-
Fluffy Base: Substitute chocolate cake for a light sponge cake for a fluffier texture that’s just as delightful.
-
Fruity Gelato: Swap pistachio gelato for coconut-based options or flavors like mango for a tropical twist that’s refreshing and fun.
-
Nutty Crunch: Add crushed nuts, like almonds or walnuts, between layers for an irresistible crunch that contrasts beautifully with the creamy ice cream.
-
Decadent Drizzle: Enhance flavor by drizzling melted chocolate or caramel over each layer before freezing for a rich, indulgent touch.
-
Berry Medley: Exchange fresh raspberries for strawberries, blueberries, or a mix of seasonal berries to showcase bright summer colors and flavors.
-
Vegan Options: Ensure all ingredients are vegan-friendly by using plant-based creams and sorbets to keep everyone included at your gatherings.
-
Flavor Infusion: Feel free to add extracts, like almond or vanilla, to the gelato for extra depth—just a tiny splash can elevate your cake!
For even more delicious options, consider pairing this cake with a refreshing glass of homemade iced lemonade or enjoy it alongside some classic Chocolate Pancakes for a brunch-style treat! This colorful ice cream cake is bursting with possibilities, perfect for any occasion!
Expert Tips for Colorful Ice Cream Cake
• Layering Precision: Ensure each layer is fully frozen before adding the next to maintain distinct layers and avoid melting.
• Soften Wisely: Let the ice cream soften at room temperature for about 10 minutes before spreading. This makes layering much smoother and hassle-free.
• Slicing Technique: Use a hot knife to slice through the cake for clean edges. It allows for beautiful presentation when you serve your colorful ice cream cake for summer.
• Wrap Properly: To avoid freezer burn, wrap any leftovers tightly in plastic wrap or foil. Proper storage maintains the cake’s flavor and texture.
• Colorful Creativity: Don’t hesitate to swap out flavors! Replace gelato or sorbet with your favorites to create a personalized treat that appeals to everyone’s taste.
How to Store and Freeze Colorful Ice Cream Cake
-
Fridge: Store any leftover slices in an airtight container for up to 3 days; this keeps the cake fresh and ready to enjoy at any moment.
-
Freezer: Wrap the entire colorful ice cream cake tightly in plastic wrap or aluminum foil and freeze for up to 3 months. This prevents freezer burn and preserves the vibrant layers.
-
Thawing: When ready to serve, let the cake sit at room temperature for about 5 minutes before slicing. This slight thaw ensures easier cutting and better texture.
-
Reheating: No reheating is necessary for this dessert; it’s best served cold straight from the fridge or freezer! Enjoy every colorful bite!
Make Ahead Options
Prepare your Colorful Layered Homemade Ice Cream Cake ahead of time to make your summer gatherings effortless! You can make the vegan chocolate cake base up to 24 hours in advance, allowing it to cool completely before freezing it for at least 3 hours. Each ice cream layer, from the pistachio gelato to the raspberry sorbet, can also be softened and layered well in advance—just ensure you freeze each layer for 4 hours before moving on to the next. When you’re ready to serve, simply remove the cake from the freezer and let it sit for 5 minutes to ease slicing. By prepping ahead, you’ll have a stunning dessert ready to impress, requiring minimal last-minute effort!
Colorful Layered Homemade Ice Cream Cake Recipe FAQs
How do I choose the right ice cream for my layers?
Absolutely! When selecting ice cream, consider the flavor combinations you enjoy. For a balanced taste profile, I recommend using contrasting flavors, such as nutty pistachio gelato with creamy salted caramel. If you’re watching out for allergens, opt for dairy-free alternatives or sorbets made from fruit—this way, everyone can indulge!
What’s the best way to store the leftover ice cream cake?
Very good question! Store leftover slices in an airtight container in the fridge for up to 3 days. If you need to keep it longer, wrap the entire cake tightly in plastic wrap or aluminum foil and freeze it for up to 3 months. This prevents those pesky ice crystals from ruining your colorful ice cream cake and helps maintain its delicious flavors!
Can I freeze the entire ice cream cake ahead of time?
Absolutely! You can prepare your colorful ice cream cake a day in advance. After assembling it with all the layers, simply wrap it well and place it in the freezer overnight. For best results, let it freeze for at least 8 hours to ensure a solid structure. When you’re ready to serve, allow it to sit at room temperature for about 5 minutes for easier slicing.
What should I do if my layers are melting while assembling?
Don’t worry! If you notice the ice cream layers starting to melt, simply pop the entire cake back into the freezer for 20-30 minutes before continuing. Also, always let the ice cream soften for only about 10 minutes before spreading. This keeps each layer structure firm and distinct, creating that stunning layered look.
Is this colorful ice cream cake vegan-friendly?
Yes, indeed! This recipe is vegan-friendly as long as you use a vegan chocolate cake and plant-based ice creams or sorbets. You can easily customize the flavors with nut-based or coconut-based options, ensuring everyone can enjoy this delightful summer treat—even your vegan friends!
Colorful Ice Cream Cake for Summer Delight Everyone!
Ingredients
Equipment
Method
- Preheat your oven to 350°F (175°C) and grease a 9x5-inch loaf pan. Pour in your vegan chocolate cake batter and bake for 18-22 minutes, or until a toothpick inserted comes out clean. Allow the cake to cool completely before placing it in the freezer for at least 3 hours.
- Let each ice cream flavor soften at room temperature for about 10 minutes. Start with the pistachio gelato, smoothing it evenly over the frozen chocolate base.
- Spread the softened pistachio gelato over the chocolate cake. Place the cake back in the freezer for a minimum of 4 hours.
- Repeat the softening process for the salted caramel ice cream. Gently spread it over the pistachio gelato and return the cake to the freezer for another 4 hours.
- Soften the raspberry sorbet for about 10 minutes. Layer it on top of the caramel ice cream, then wrap the cake and freeze overnight.
- To serve, remove the cake from the freezer, let it sit at room temperature for about 5 minutes, then slice with a hot knife.
- Adorn each slice with fresh raspberries for an extra touch of summer charm.
Leave a Reply