
As I stood in my kitchen, the cozy aroma of freshly brewed coffee mingling with rich chocolate filled the air, instantly transporting me to my favorite café. It’s in these moments that I become almost giddy with the prospect of baking Chocolate Coffee Whoopie Pies—those delightful mocha sandwich cookies that combine the best of both worlds. Not only are these treats a heavenly homage to both chocolate and coffee, but they’re also incredibly easy to whip up, making them a go-to for any occasion. Perfectly suited for holiday baking or as a sweet addition to dessert boards, these whoopie pies bring a comforting touch to any gathering. Curious to see how you can customize these delicious delights for your next party? Let’s dive into the recipe and make some magic happen!
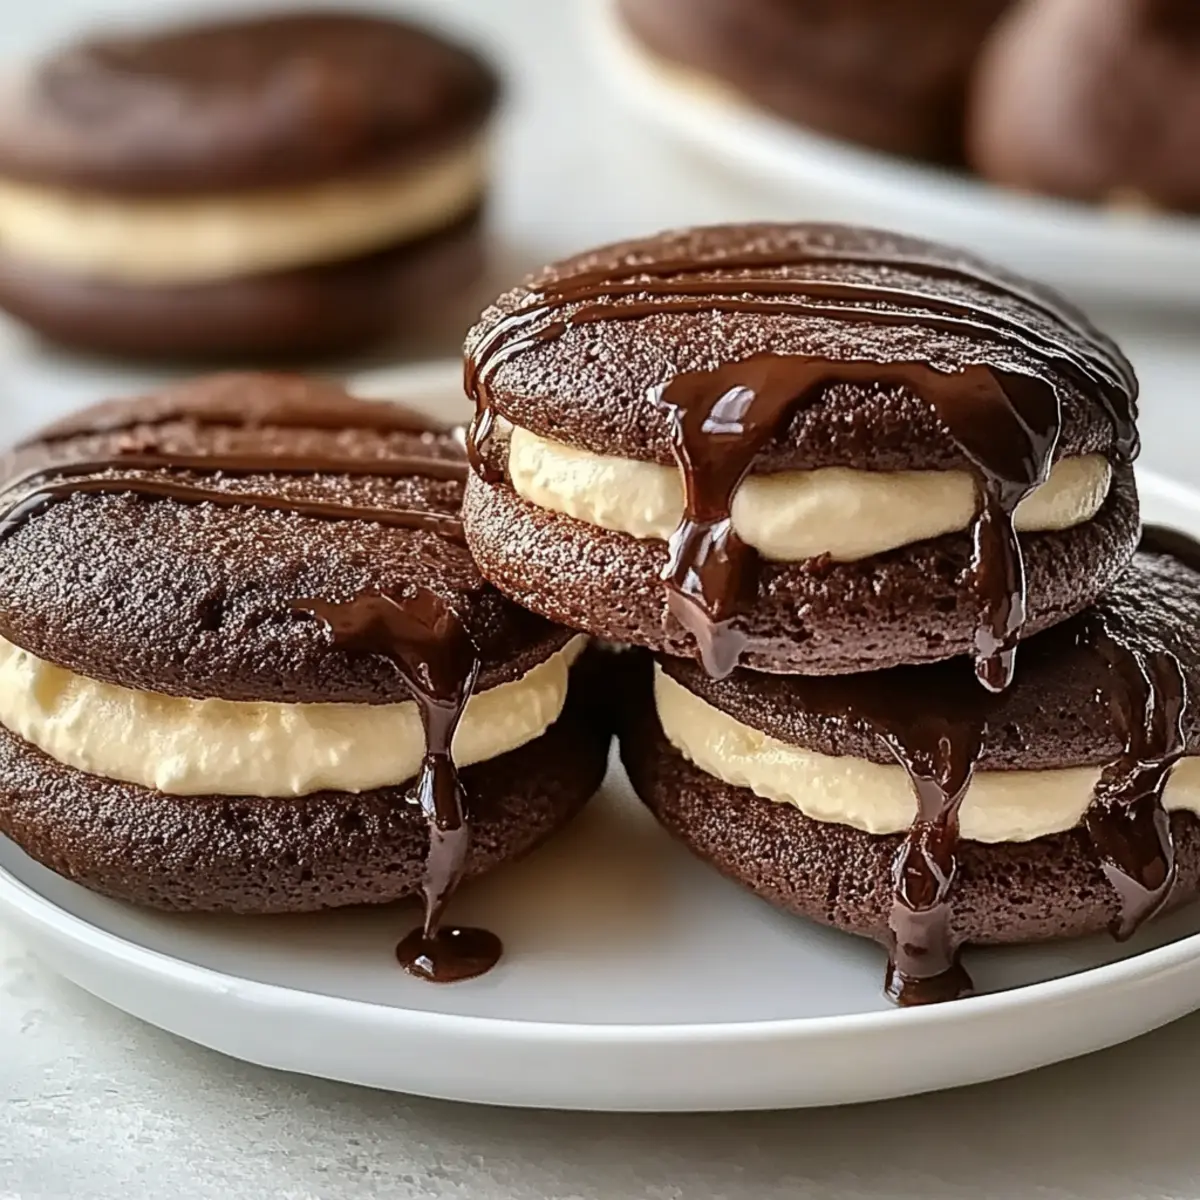
Why Chocolate Coffee Whoopie Pies Rock
Irresistible Combination: The mouthwatering blend of rich chocolate and aromatic coffee creates a dessert that’s hard to resist.
Easy to Make: With simple ingredients and straightforward steps, even novice bakers can impress their friends and family.
Customize Your Flavors: Feel free to swap the cream cheese filling for a delightful mocha buttercream or try a fun caramel drizzle to keep things interesting!
Perfect for Any Occasion: Whether it’s a holiday gathering or an afternoon treat, these whoopie pies are sure to delight your guests, just like my Chocolate Chip Cookies.
Make-Ahead Treats: Their flavor actually deepens after a day in the fridge, making them ideal for prepping ahead of time!
Crowd-Pleasing Delight: These whoopie pies are not only visually appealing but also a hit at parties, making them the perfect addition to your dessert platter alongside other favorites like Butter Toffee Chocolate.
Chocolate Coffee Whoopie Pies Ingredients
• Here’s everything you need to create these delightful mocha treats!
For the Cake
- All-purpose flour – Gives structure to the whoopie pies; can substitute with a gluten-free blend for a different option.
- Unsweetened cocoa powder – Provides the rich chocolate flavor; using high-quality cocoa ensures a more intense taste.
- Baking soda – Leavens the cake, keeping the whoopie pies light and fluffy.
- Salt – Enhances the chocolate flavor and balances the sweetness perfectly.
- Unsalted butter – Adds richness and creates a tender texture in each cake.
- Brown sugar – Increases moisture and adds a subtle caramel note; feel free to substitute with coconut sugar for a unique flavor twist.
- Granulated sugar – Sweetens and contributes to the overall texture of the batter.
- Egg – Binds the ingredients together for stability and provides moisture.
- Vanilla extract – Complements the chocolate and adds a warm, inviting flavor.
- Brewed coffee (or espresso) – Deepens the chocolate flavor with a mocha flair; can substitute with milk for a coffee-free version.
- Buttermilk – Keeps the cakes soft and tender, balancing sweetness with a tangy touch; regular milk can work as a substitute, but results may vary.
For the Filling
- Cream cheese – Creates a smooth, tangy filling; mascarpone can be used as an alternative for a lighter option.
- Powdered sugar – Sweetens and stabilizes the filling, ensuring it stays fluffy and delightful.
- Heavy cream – Adds a silky texture that elevates the filling experience.
Optional Topping
- Chocolate sauce – Drizzle over the finished whoopie pies to enhance the chocolate flavor and add a touch of decadence.
Get ready to indulge in these incredible Chocolate Coffee Whoopie Pies!
Step‑by‑Step Instructions for Chocolate Coffee Whoopie Pies
Step 1: Preheat and Prepare
Start by preheating your oven to 350°F (175°C). Line two baking sheets with parchment paper to prevent the whoopie pies from sticking. This setup ensures a smooth baking process and keeps your treats in perfect shape. While the oven warms, gather your ingredients so everything is at your fingertips, making the upcoming steps effortless.
Step 2: Mix Dry Ingredients
In a medium bowl, whisk together 1 cup of all-purpose flour, ½ cup of unsweetened cocoa powder, ½ teaspoon of baking soda, and a pinch of salt. This blend creates a rich foundation for your Chocolate Coffee Whoopie Pies. Ensure there are no lumps in the dry mixture, as this will contribute to the even texture of the final treats.
Step 3: Cream the Butters and Sugars
In a large bowl, beat ½ cup of unsalted butter along with ½ cup each of brown sugar and granulated sugar. Use an electric mixer on medium speed until the mixture is light and fluffy, about 3-4 minutes. The air you incorporate will help the whoopie pies rise nicely, giving them a tender texture once baked.
Step 4: Add Egg and Coffee
Mix in 1 large egg and 1 teaspoon of vanilla extract into the butter-sugar mixture. Then, gradually pour in ⅓ cup of cooled brewed coffee while continuing to blend. This will deepen the chocolate flavor in your whoopie pies. Make sure to scrape down the sides of the bowl to combine everything fully, ensuring a rich mocha taste throughout.
Step 5: Combine Dry and Wet Ingredients
Gradually add the dry ingredient mixture to the wet mixture, alternating with ½ cup of buttermilk. Mix on low speed until just combined; be careful not to overmix. The batter should be smooth and glossy, ready to transform into delightful Chocolate Coffee Whoopie Pies when baked.
Step 6: Scoop and Space
Using a medium cookie scoop or two spoons, drop rounded tablespoons of batter onto the prepared baking sheets, spacing them about 2 inches apart. This spacing allows the whoopie pies to expand while baking. Aim for uniformity in size to ensure even cooking for all your delicious treats.
Step 7: Bake to Perfection
Place the baking sheets in the preheated oven and bake for 10-12 minutes, or until the tops spring back when gently pressed. The cookies should look set and slightly puffed. A beautifully baked whoopie pie will have a soft and moist texture, promising delightful bites.
Step 8: Cool Down
Once baked, remove the whoopie pies from the oven and let them cool on the baking sheets for about 5 minutes. Then, carefully transfer them to wire racks to cool completely. Proper cooling is essential to prepare for filling, preventing any melting or mess in the creamy layers to come.
Step 9: Prepare the Creamy Filling
In a clean bowl, beat together 4 ounces of cream cheese and 2 tablespoons of unsalted butter until smooth. Gradually add 1 cup of powdered sugar, ½ teaspoon of vanilla extract, and ¼ cup of heavy cream, mixing until the filling is light and fluffy, about 2-3 minutes. This luscious filling will complement the rich chocolate cake perfectly.
Step 10: Assemble the Whoopie Pies
Match up your cooled whoopie pies by size, and pipe or spoon a generous dollop of the cream cheese filling onto the flat side of one half. Gently press another whoopie pie half on top to create a delightful sandwich. The creamy filling should ooze slightly when pressed together—just the way we like it!
Step 11: Drizzle and Chill
For an extra touch, drizzle with chocolate sauce if desired. Place the assembled whoopie pies in the refrigerator for 15-20 minutes to allow the flavors to meld and the filling to set. This chilling period enhances the overall experience, ensuring your Chocolate Coffee Whoopie Pies are perfectly decadent and ready to be enjoyed!
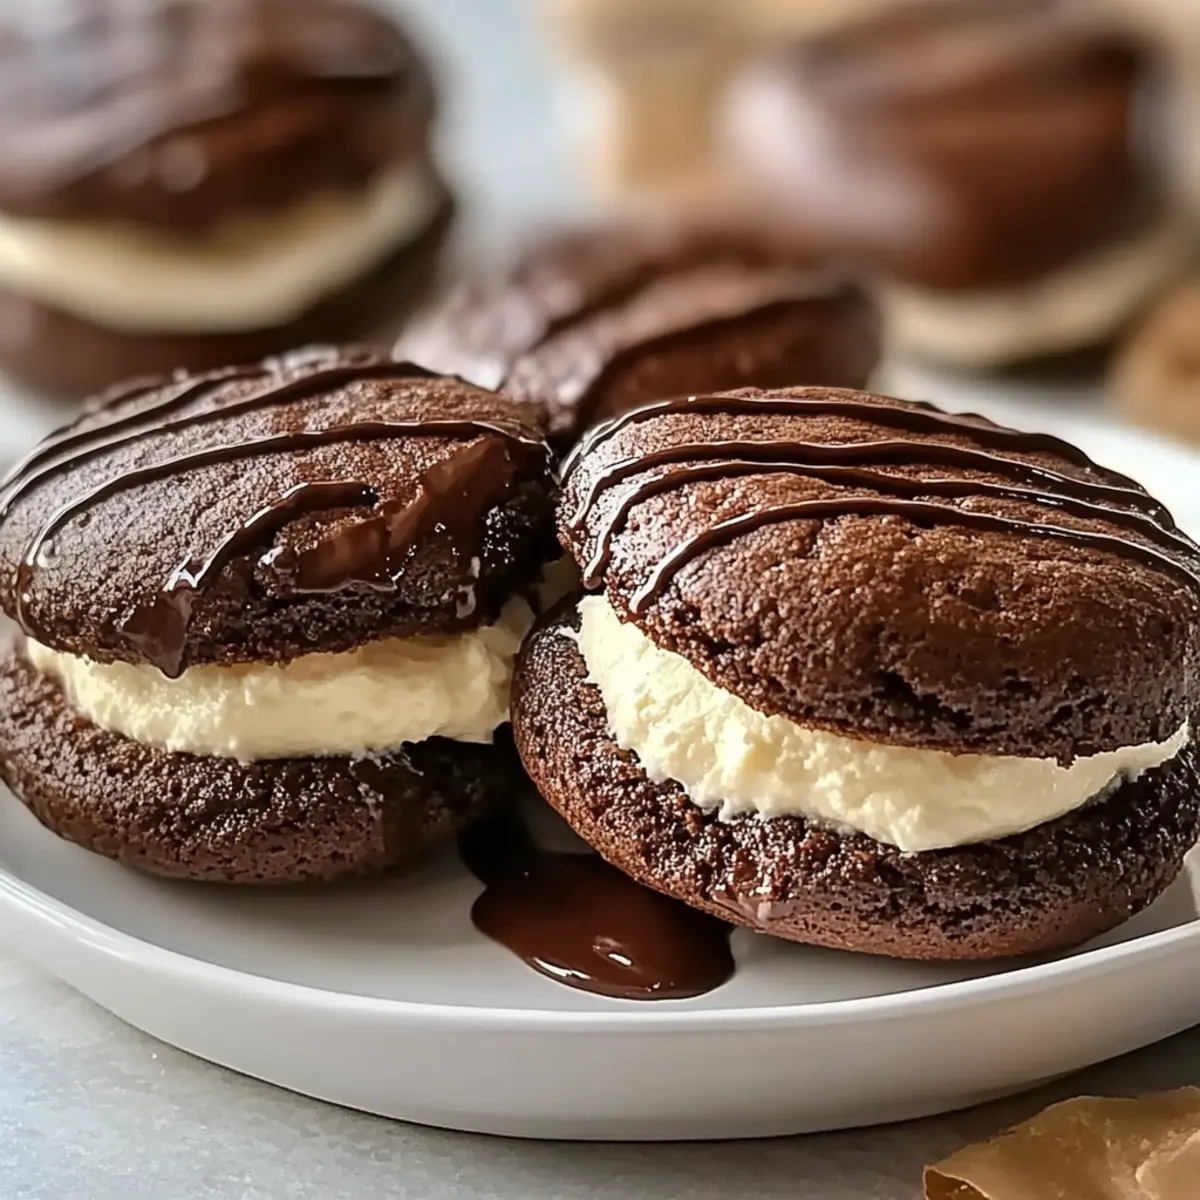
What to Serve with Chocolate Coffee Whoopie Pies
Indulging in a plate of whoopie pies is just the beginning—let’s create a delightful spread that brings out the best in these mocha treats.
- Hot Coffee: The rich, roasted notes complement the mocha flavor perfectly, enhancing each sweet bite.
- Espresso Martini: For a fun twist, this cocktail adds a caffeine kick and a sophisticated touch to your dessert experience.
- Vanilla Ice Cream: A scoop of creamy vanilla balances the chocolate and coffee flavors, adding a frosty texture contrast.
- Whipped Cream: Light and airy, a dollop of freshly whipped cream can elevate your whoopie pies, creating a luxurious treat.
- Chocolate-Dipped Strawberries: These fruity bites provide a fresh, juicy element that pairs beautifully with the rich whoopie pies, adding a touch of elegance.
- Hazelnut Biscotti: Crunchy biscotti can be served on the side for an added crunch and nutty flavor that enhances the coffee essence.
- Milk: A classic accompaniment, a glass of cold milk works wonders to balance the sweetness and cleanse the palate after each bite.
- Chocolate Sauce: Drizzle some extra chocolate sauce on top for a decadent touch that makes these whoopie pies all the more indulgent.
- Peppermint Tea: For a cozy, calming drink, peppermint tea offers a refreshing finish that complements the chocolate and coffee flavors.
Make Ahead Options
These Chocolate Coffee Whoopie Pies are a fantastic treat for busy home cooks looking to save time without sacrificing flavor! You can prepare the whoopie pie cakes up to 24 hours in advance and store them in an airtight container at room temperature. Additionally, you can make the creamy filling ahead of time and refrigerate it for up to 3 days. To maintain their delightful texture, avoid assembling the sandwiches until just before serving; this ensures each bite remains as fresh as possible. When ready to enjoy, simply fill the cooled cakes with the prepared filling, drizzle with chocolate sauce if desired, and refrigerate briefly to set the filling for that perfect indulgent treat!
How to Store and Freeze Chocolate Coffee Whoopie Pies
Fridge: Store in an airtight container for up to 4 days. The flavors actually deepen after a day, making them even more delicious!
Freezer: Freeze individually wrapped whoopie pies for up to 2 months. Thaw in the refrigerator before enjoying for the best texture and taste.
Room Temperature: If serving on the same day, they can be kept at room temperature for up to 2 hours, but be sure to enjoy them before they go soft.
Reheating: If they lose their fluffiness, pop them in the microwave for about 10-15 seconds to revive that soft, dreamy texture before serving.
Expert Tips for Chocolate Coffee Whoopie Pies
-
Don’t Overmix: Ensure you mix the batter just until combined. Overmixing can lead to tough cakes instead of the tender Chocolate Coffee Whoopie Pies you desire.
-
Cool Baking Sheets: Always bake on cool, parchment-lined sheets. This helps the whoopie pies maintain their shape and prevents them from spreading too much during baking.
-
Chill the Batter: If your batter feels too warm after mixing, consider chilling it for a few minutes. This helps achieve a better texture and prevents excessive spreading of the cookies.
-
Room Temperature Filling: Allow the assembled whoopie pies to sit at room temperature before serving. This softens the filling beautifully and enhances the overall taste experience.
-
Uniform Sizes: Use a cookie scoop for consistent sizes. This will help your whoopie pies bake evenly, ensuring everyone gets the perfect bite every time!
Chocolate Coffee Whoopie Pies Variations
Feel free to explore new flavor profiles and textures as you customize your Chocolate Coffee Whoopie Pies for your loved ones!
-
Dairy-Free: Substitute cream cheese with a coconut-based alternative and use dairy-free butter for a delightful vegan twist.
The creaminess remains, but with a light coconut flavor that adds a delicious dimension. -
Gluten-Free: Use a gluten-free flour blend instead of all-purpose flour.
This option allows everyone to enjoy your whoopie pies regardless of dietary restrictions! -
Mocha Buttercream Filling: Swap traditional filling for a mocha buttercream made with cocoa powder and coffee.
This indulgent filling intensifies the coffee flavor, creating a wonderfully rich bite. -
Peanut Butter Drizzle: Drizzle melted peanut butter on top for a sweet and nutty surprise.
The contrast between chocolate and peanut butter never fails to impress, elevating your whoopie pies to new heights! -
Chocolate Ganache: Replace the filling with chocolate ganache for a decadent texture and flavor.
A luscious ganache brings a silky richness that chocolate lovers will adore. -
Spicy Kick: Add a pinch of cayenne pepper to the filling for a surprising heat element.
This subtle spice will warm each bite and keep your friends guessing while savoring the treat. -
Boozy Twist: Incorporate a splash of coffee liqueur into the filling for adults-only whoopie pies.
The rich flavor pairs beautifully with chocolate, offering a fun twist perfect for adult gatherings. -
Caramel Drizzle: Enhance your whoopie pies by adding a sweet caramel drizzle on top.
It not only adds flavor but also presents a gorgeous finish, making them irresistible to serve at parties.
With all these variations, you’ll never run out of ways to delight your family and friends. For even more dessert inspiration, don’t forget to check out these heavenly Chocolate Chip Cookies or my delightful Chocolate Pancakes Sweet!

Chocolate Coffee Whoopie Pies Recipe FAQs
What should I look for when selecting cocoa powder for my whoopie pies?
Absolutely! When choosing cocoa powder, opt for high-quality unsweetened cocoa, as it significantly enhances the chocolate flavor in your Chocolate Coffee Whoopie Pies. Look for cocoa that has a rich, dark color and a strong aroma. If you’re feeling adventurous, consider trying Dutch-processed cocoa for a smoother, more mellow taste.
How long can I store Chocolate Coffee Whoopie Pies in the fridge?
You can store your whoopie pies in an airtight container in the fridge for up to 4 days. The flavors actually deepen after a day, making them even more delightful! Just let them come to room temperature for a few minutes before serving so that the filling softens beautifully.
Can I freeze my whoopie pies?
Yes, definitely! To freeze your Chocolate Coffee Whoopie Pies, wrap each one individually in plastic wrap, then place them in a zip-top freezer bag to keep them fresh. They can be frozen for up to 2 months. When you’re ready to enjoy them, simply thaw them overnight in the refrigerator for the best texture and taste.
What do I do if my whoopie pies are too flat after baking?
Very! If your whoopie pies turn out flat, it may be due to overmixing the batter or not having enough leavening agent. Ensure you’re not overmixing and check that your baking soda hasn’t expired. Also, making sure your butter and sugar are properly creamed can help retain the right texture. If they end up flat, try adding a little more flour to the batter on your next attempt to help maintain the structure while baking!
Are these whoopie pies suitable for people with nut allergies?
Absolutely! The ingredients in Chocolate Coffee Whoopie Pies are generally nut-free. However, since kitchen cross-contamination can occur, always check labels to ensure that the ingredients used (like cocoa powder or baking soda) are certified nut-free. If you’re serving anyone with dietary restrictions, it’s good to double-check just to be safe!
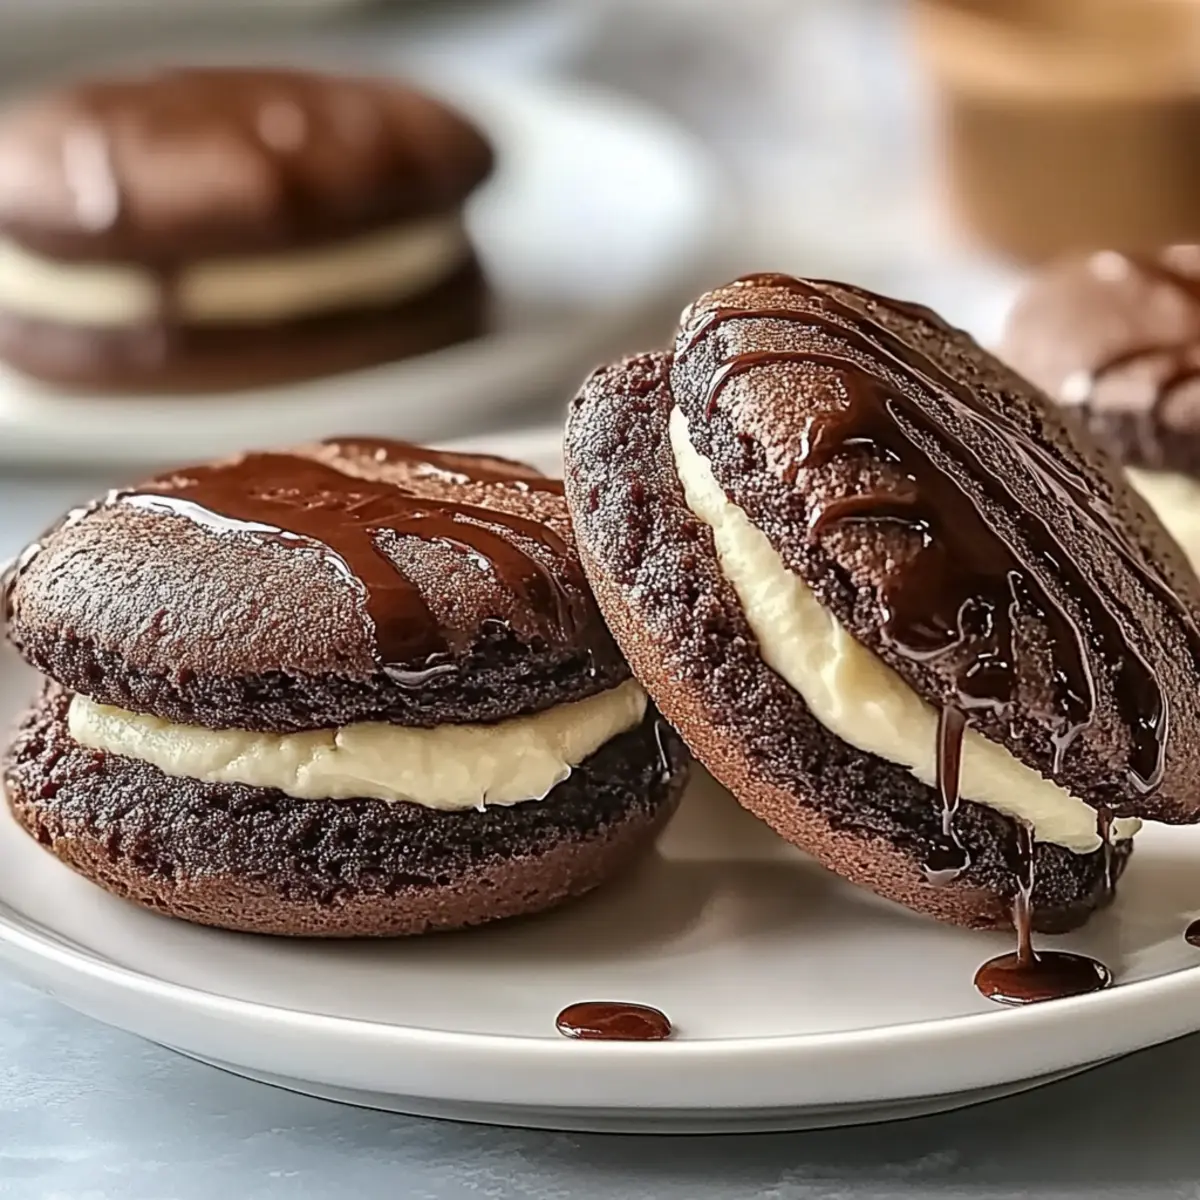
Chocolate Coffee Whoopie Pies: A Cozy Mocha Delight
Ingredients
Equipment
Method
- Preheat your oven to 350°F (175°C) and line two baking sheets with parchment paper.
- In a medium bowl, whisk together the flour, cocoa powder, baking soda, and salt.
- In a large bowl, beat the butter, brown sugar, and granulated sugar until light and fluffy.
- Mix in the egg and vanilla extract, then gradually add the brewed coffee.
- Combine dry ingredients with the wet mixture, alternating with buttermilk.
- Drop rounded tablespoons of batter onto prepared baking sheets, spacing them about 2 inches apart.
- Bake for 10-12 minutes, until the tops spring back when pressed.
- Cool the whoopie pies on baking sheets for 5 minutes, then transfer to wire racks.
- Beat together cream cheese and butter, then gradually add powdered sugar, vanilla extract, and heavy cream.
- Pipe or spoon the filling onto one whoopie pie half, and sandwich with another half.
- Drizzle with chocolate sauce if desired, and chill in the refrigerator for 15-20 minutes.
Leave a Reply