
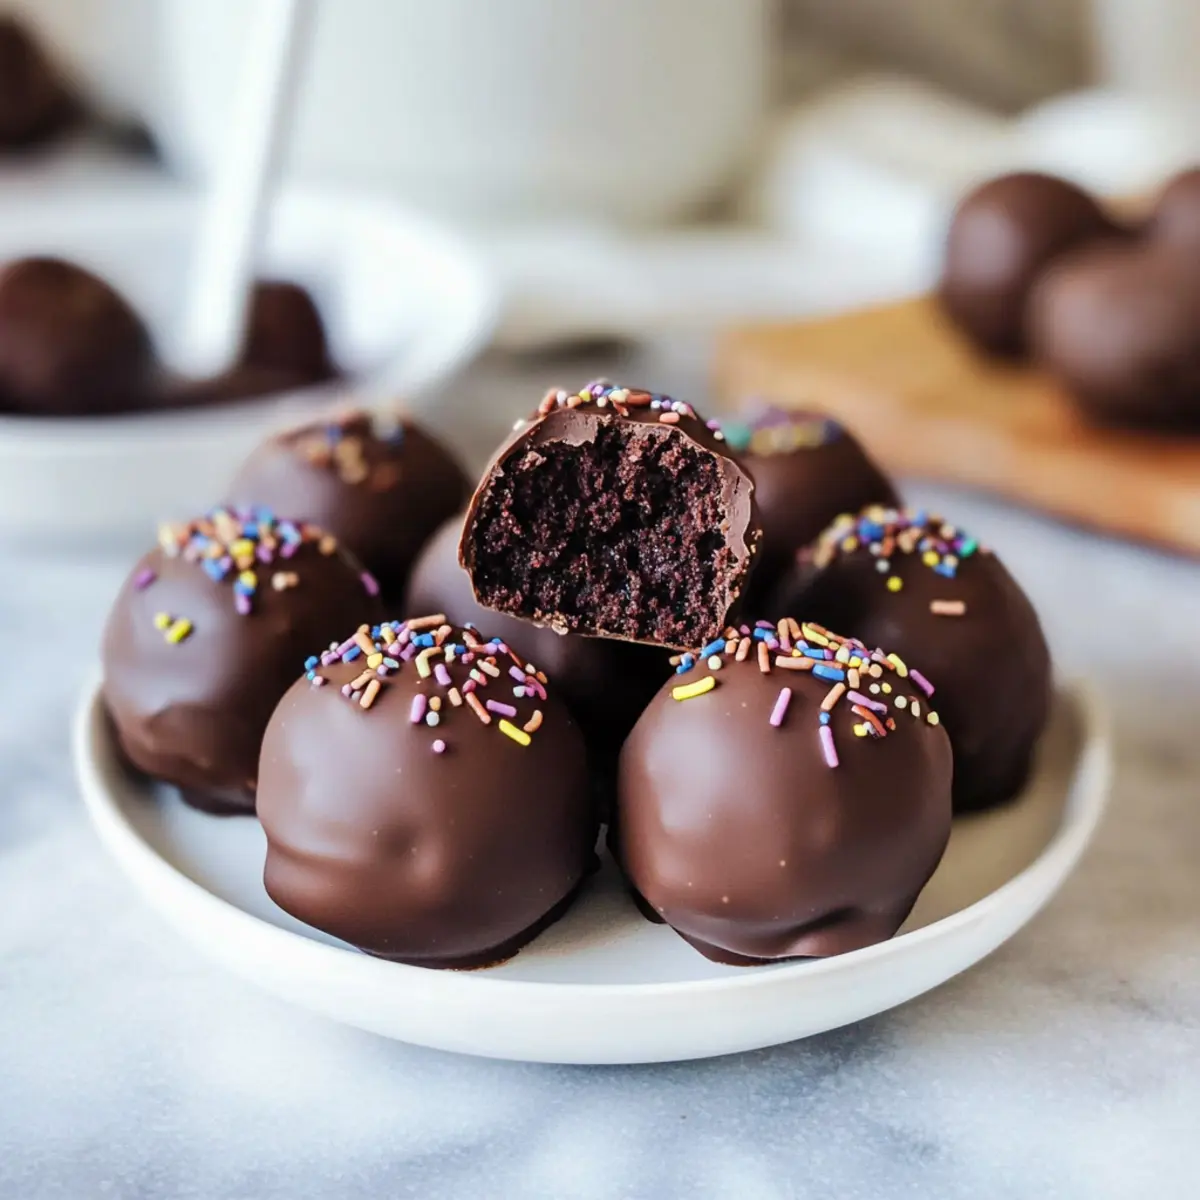
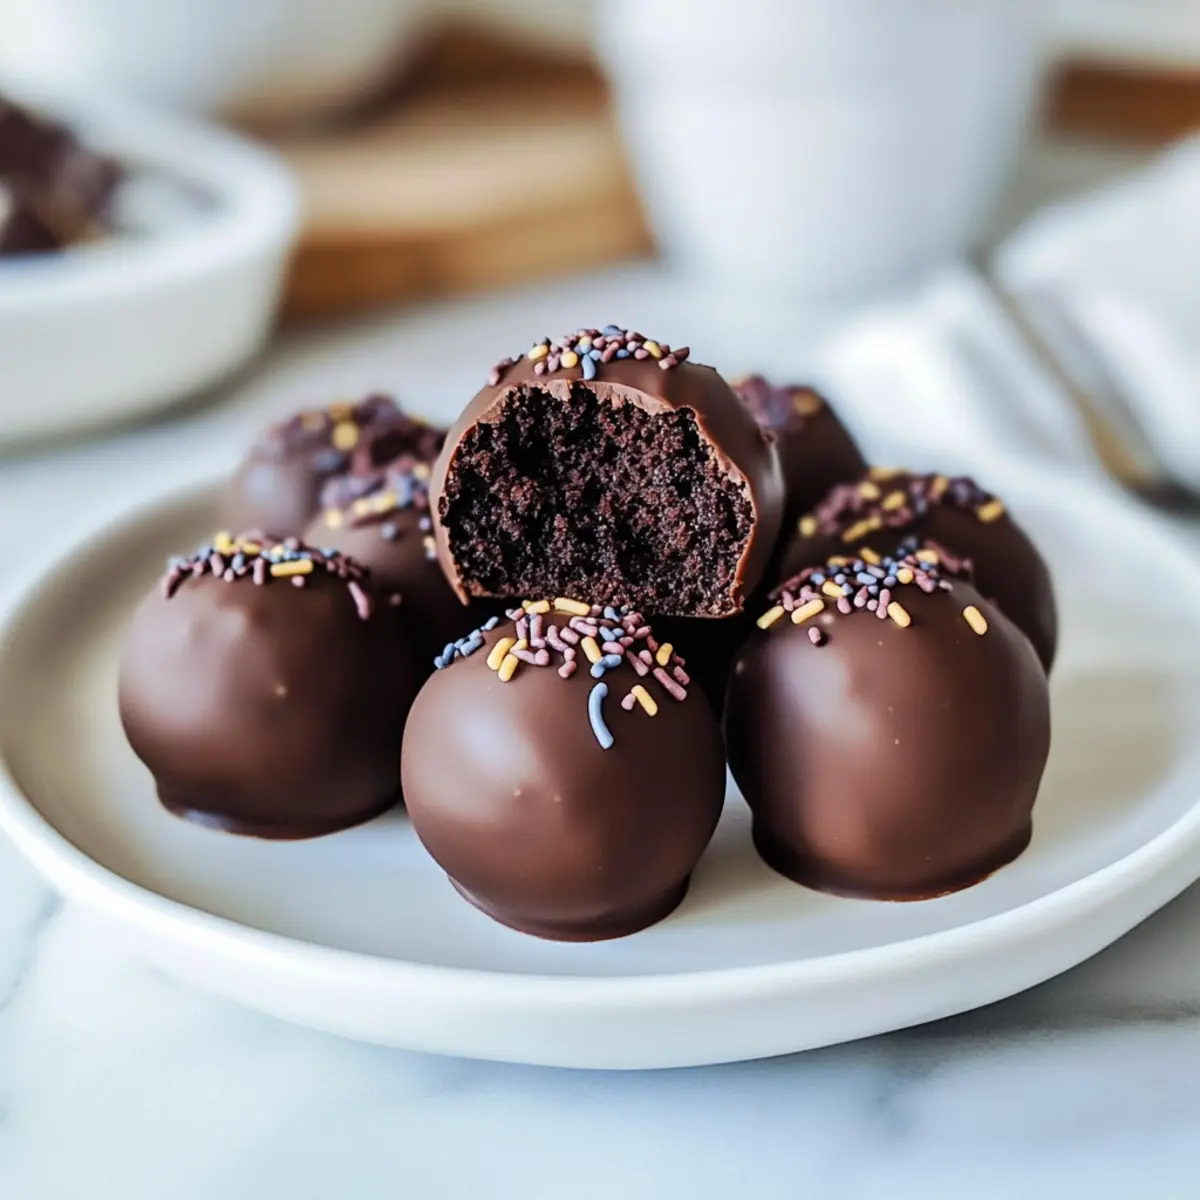
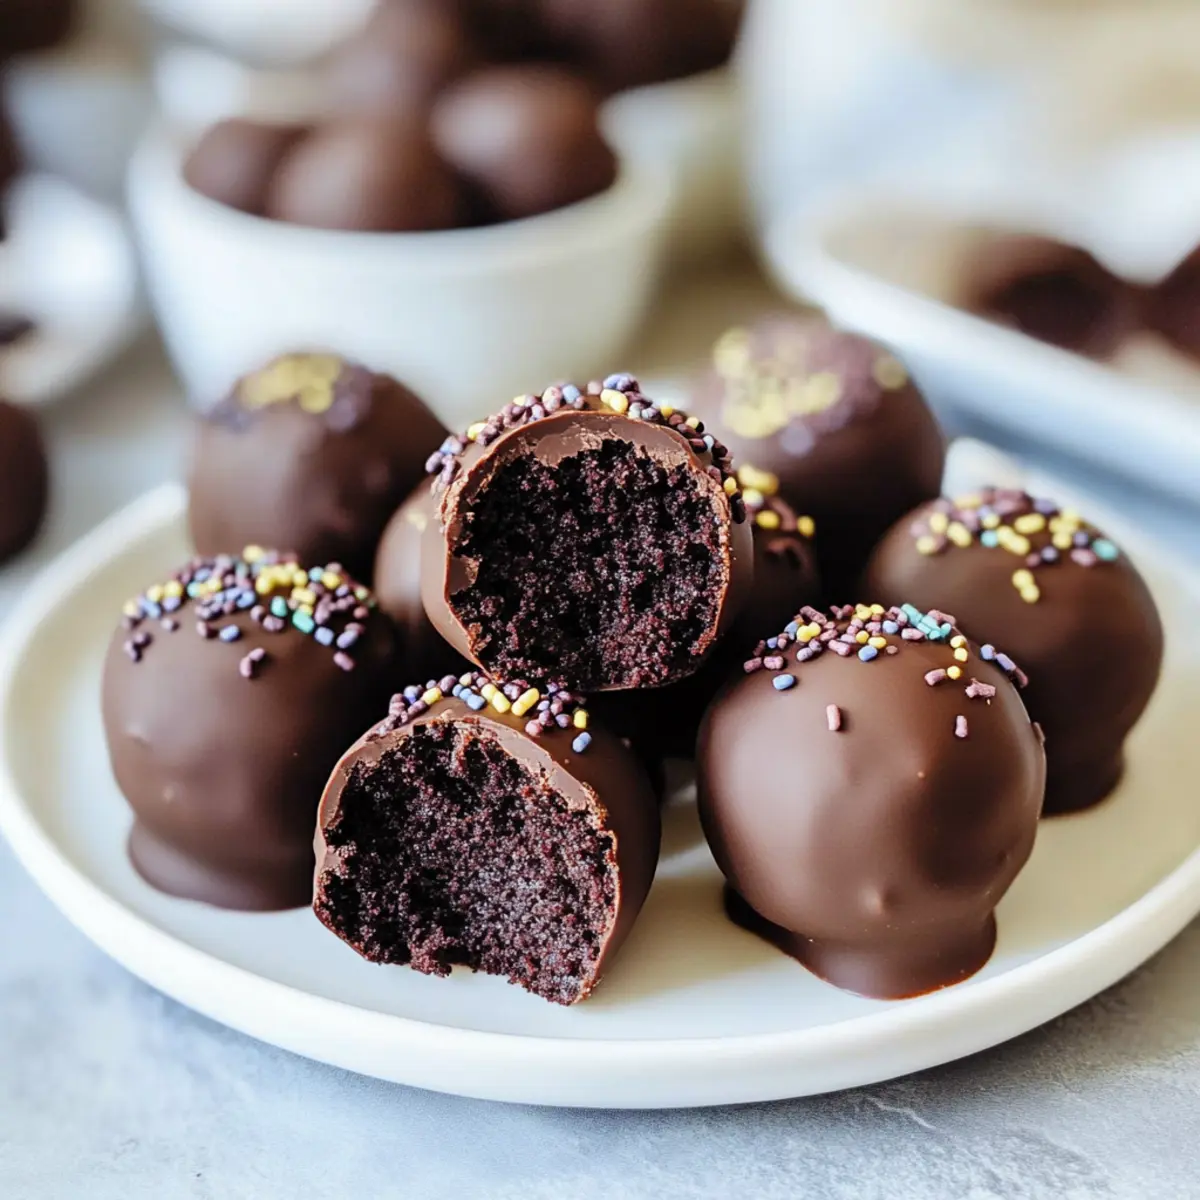
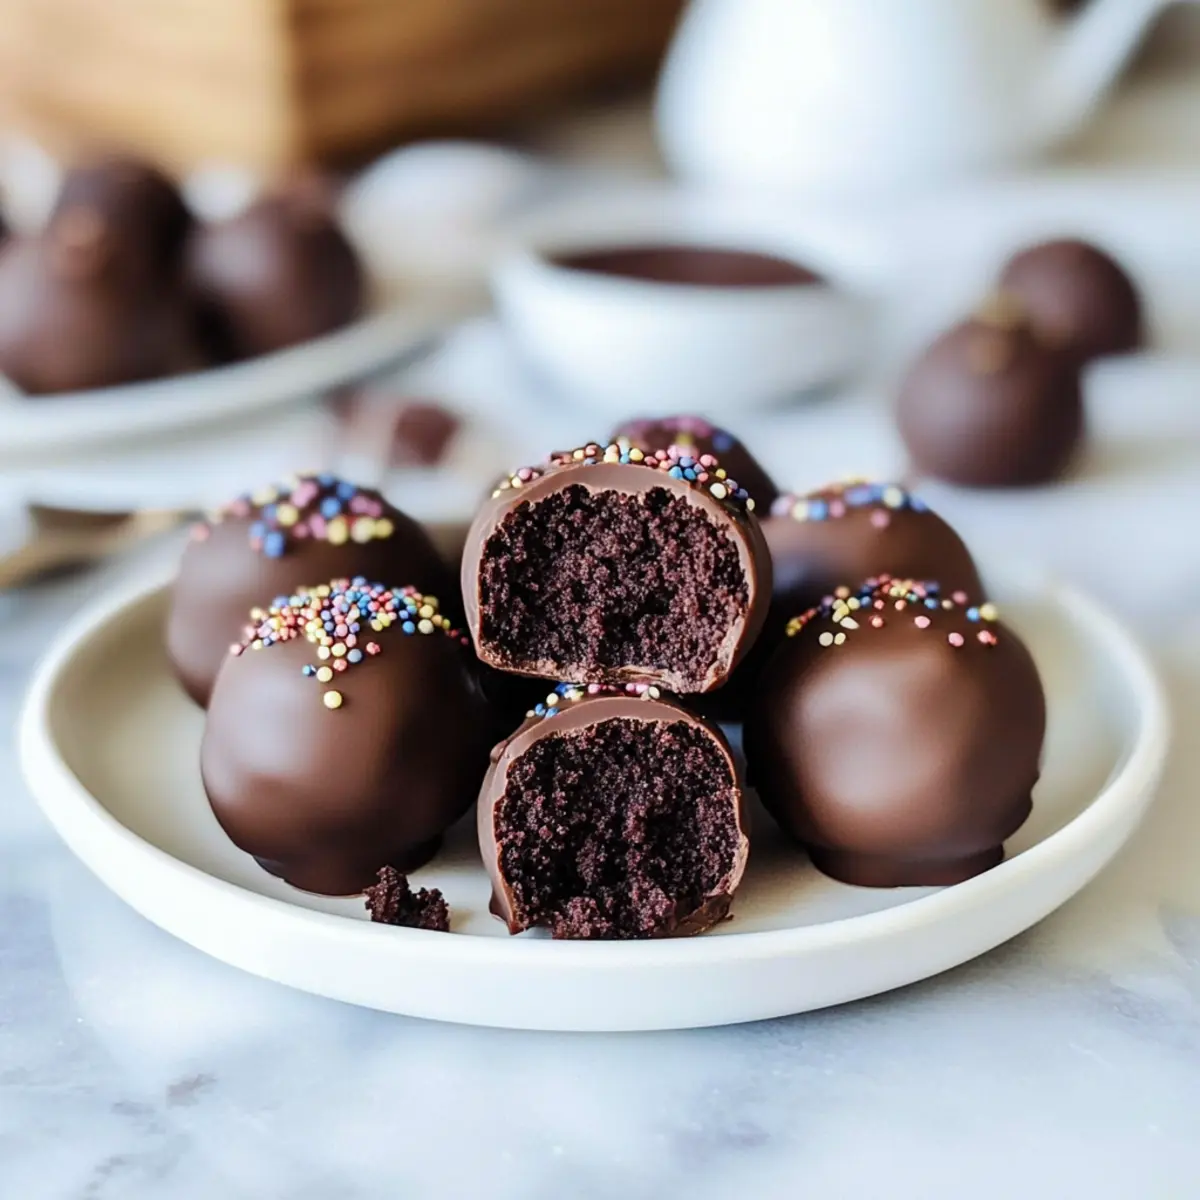
Carefully rolling chocolate cake into perfect little spheres always gives me a thrill. These Decadent Homemade Chocolate Cake Balls are a delightful treat that not only satisfy your sweet tooth but also offer an excellent opportunity for creativity. With a rich, moist center and a smooth chocolate coating, they’re an impressive way to indulge or impress at any gathering. Plus, the best part? You can customize these bites of bliss with various toppings and flavors, ensuring they match any occasion or personal taste. Whether you’re hosting a festive party or just craving a bit of sweetness, these cake balls are a treat that everyone will love. Ready to roll up your sleeves and bring a burst of joy to your next dessert spread? Let’s dive into this easy recipe!
Why Are Chocolate Cake Balls So Irresistible?
Indulgent, rich flavor: These Chocolate Cake Balls are a feast for the senses, featuring a moist chocolate center encased in velvety chocolate coating.
Customizable perfection: Feel free to swap out the frosting or toppings to create unique flavor combinations that suit your palate—think vanilla frosting or even a hint of mint!
Effortless elegance: Impress your guests without spending hours in the kitchen. This simple recipe means you can whip up a stunning dessert in no time.
Crowd favorite: Perfect for parties, gatherings, or just a personal treat, these cake balls are bound to delight everyone who tries them!
Make-ahead magic: Prepping ahead? You can store these delights for several days, ready to wow your guests at a moment’s notice. For more decadent treats, don’t forget to check out Chocolate Pancakes Sweet or Butter Toffee Chocolate.
Chocolate Cake Balls Ingredients
• Get ready for a delicious treat!
For the Cake Base
- Devils Food Cake Mix – For a moist and chocolatey foundation; just follow the instructions on the box!
- Chocolate Frosting – Adds a perfect balance of sweetness and moisture; use about half a can to maintain the right texture.
For the Coating
- Chocolate Candy Coating – This smooth layer enhances both flavor and appearance; make sure to melt it carefully for easy dipping.
For Decoration (optional)
- Sprinkles – These are a fun way to add a personal touch; choose colors that match your occasion for a festive look!
Now you have everything you need to assemble your delicious Chocolate Cake Balls!
Step‑by‑Step Instructions for Chocolate Cake Balls
Step 1: Preheat and Prepare
Begin by preheating your oven to 350°F (175°C). Prepare a 9×13-inch baking pan by greasing it or lining it with parchment paper for easy removal. Prepare the Devils Food Cake mix according to the box instructions, pour it into the prepared pan, and bake for approximately 30–35 minutes, or until a toothpick inserted into the center comes out clean. Allow the cake to cool completely in the pan.
Step 2: Crumble the Cake
Once the cake has completely cooled, transfer it to a large mixing bowl. Use your hands or a mixer to crumble the cake into fine pieces, ensuring there are no large chunks remaining. The texture should be akin to coarse crumbs, which will help bind the mixture with frosting. This step is vital for achieving the perfect consistency for your Chocolate Cake Balls.
Step 3: Mix in the Frosting
Add approximately ½ can of chocolate frosting to the crumbled cake. Using your hands or a spatula, mix thoroughly until the frosting is fully incorporated. The mixture should be moist yet easy to handle; if it feels too wet, you may need to adjust with additional cake crumbs. This chocolate frosting not only adds sweetness but also binds the cake effectively for rolling.
Step 4: Form the Cake Balls
With your hands, take portions of the mixture and roll them into 1-inch balls. Place each ball onto a parchment-lined cookie sheet, ensuring they are spaced apart to prevent sticking. This step is crucial for shaping your Chocolate Cake Balls into delightful, uniform bites that are easy to handle and dip later on.
Step 5: Freeze the Cake Balls
Once all the balls are formed, place the cookie sheet in the freezer for about 45 minutes. Freezing them allows the balls to firm up, making them easier to dip in chocolate later. Keep an eye on them; they should be solid but not frozen solid. This step is key for a smooth coating and to maintain their shape during dipping.
Step 6: Melt the Chocolate Coating
While the cake balls are freezing, prepare the chocolate candy coating. In a microwave-safe bowl, add the chocolate candy coating and heat in 30-second increments, stirring in between to ensure even melting. It should be smooth and pourable. This velvety coating enhances your Chocolate Cake Balls and gives them a delightful finish.
Step 7: Dip the Cake Balls
Retrieve your frozen cake balls from the freezer. Using a fork, dip each ball into the melted chocolate coating, ensuring it is fully covered. Allow any excess chocolate to drip back into the bowl before returning the coated ball to the parchment paper. This technique helps achieve a beautifully smooth and shiny finish on your cake balls.
Step 8: Add the Finishing Touches
If you’d like to add sprinkles for decoration, do so immediately after coating the cake balls in chocolate. While the coating is still wet, sprinkle them generously with your chosen toppings; this will ensure they stick well. The colorful sprinkles not only enhance the appearance but also add a fun, festive touch to your Chocolate Cake Balls.
Step 9: Serve and Store
Once all balls are coated and decorated, let them sit on the parchment paper until the chocolate coating has set. You can serve them right away, or store any leftover chocolate cake balls in an airtight container at room temperature for up to four days. Indulge in these delightful treats at your next gathering or simply enjoy them as a sweet snack!
What to Serve with Decadent Homemade Chocolate Cake Balls
Satisfy your sweet cravings and create a delightful dessert spread with these cake balls that melt in your mouth.
- Vanilla Ice Cream: The creamy texture and subtle flavor balance perfectly with chocolate’s richness, making it a classic pairing that everyone loves.
- Fresh Berries: Juicy strawberries or raspberries add a burst of freshness and tang that contrasts beautifully with the indulgent cake balls.
- Chocolate Dipped Fruit: Elevate your dessert platter with fruit dipped in chocolate to echo the cake ball theme while adding a refreshing touch.
- Coffee or Espresso: A robust cup of coffee complements the sweetness of the cake balls, enhancing their flavor profile and providing a warm contrast.
- Milkshakes: Creamy chocolate or vanilla milkshakes make for a delightful, nostalgic pairing that is sure to charm your guests.
- Mint Chocolate Chip Cookies: Pairing these cake balls with cool mint cookies creates a fun flavor twist, ideal for cookie lovers!
- Chocolate Fondue: Set up a fondue station where guests can dip fresh fruit or marshmallows, creating a delightful interactive dessert experience.
- Lemon Sorbet: The tartness of lemon sorbet offers a refreshing contrast to the rich chocolate, cleansing the palate after every indulgent bite.
- Red Wine: A glass of fruity red wine enhances the dessert experience, drawing out the deeper chocolate flavors for a sophisticated touch.
Make Ahead Options
These Chocolate Cake Balls are perfect for meal prep enthusiasts! You can prepare the cake mixture up to 3 days in advance, crumbling the cooled cake and mixing in the frosting, then refrigerating the mixture in an airtight container to maintain its moisture and flavor. When you’re ready to roll, simply take the mixture out, form it into balls, and freeze them for about 45 minutes. This not only saves you time but also allows you to enjoy freshly dipped treats with just as much flavor and texture as if you made them on the spot. Once coated, they can be stored in an airtight container for up to 4 days at room temperature, ensuring you have delightful snacks ready to enjoy anytime!
Chocolate Cake Balls Variations & Substitutions
Feel free to personalize your Chocolate Cake Balls and enhance their deliciousness with these exciting options!
- Frosting Swap: Replace chocolate frosting with vanilla or cream cheese for a different flavor. It adds a delightful twist that can surprise your taste buds!
- Flavor Boost: Incorporate a splash of peppermint extract into the frosting mixture for a refreshing mint chocolate version. Imagine the festive vibes when you bite into these!
- Nutty Crunch: Mix in some finely chopped nuts into the cake mixture for an extra crunch. Walnuts or pecans pair beautifully with chocolate, adding both texture and flavor!
- Seasonal Sprinkles: Change up your sprinkles based on the season or occasion. Think pumpkin spice for fall or pastel colors for Easter; it’s a fun way to celebrate in style!
- Mini Treats: Instead of rolling full-sized balls, form smaller bite-sized treats for a more snackable version. They’re perfect for casual gatherings or movie nights!
- Spicy Chocolate: Add a pinch of cayenne pepper or chili powder to the chocolate coating for a spicy kick. The heat contrasts beautifully with the sweetness!
- Healthy Twist: Swap in Greek yogurt for frosting to cut some calories while keeping moisture intact. You can enjoy a guilt-free indulgence without sacrificing flavor!
- Decorative Fun: Try coating the balls with crushed cookies or coconut shavings instead of standard sprinkles. This unique twist adds a delightful texture and visual appeal—plus, who can resist cookies?
Don’t forget to explore other scrumptious recipes, like Chocolate Chip Cookies or energizing Oreo Protein Balls, to keep the sweet moments coming!
How to Store and Freeze Chocolate Cake Balls
Room Temperature: Store cake balls in an airtight container at room temperature for up to 4 days. They’ll remain fresh and delicious, perfect for snacking!
Fridge: If you want to extend their shelf life, keep your chocolate cake balls in the refrigerator for up to a week. Just ensure they’re well-sealed to avoid dryness.
Freezer: For longer storage, freeze the chocolate cake balls in a single layer on a baking sheet before transferring them to an airtight container. They can last up to 3 months in the freezer.
Reheating: To enjoy frozen cake balls, remove them from the freezer and let them thaw in the fridge for several hours before enjoying the delightful chocolate indulgence!
Expert Tips for Chocolate Cake Balls
-
Frosting Amount: Ensure you use only about half a can of frosting to avoid a mixture that’s too wet, which can lead to cake balls that don’t hold their shape.
-
Perfect Rolling: When forming the balls, make sure your hands are clean and slightly damp. This prevents the mixture from sticking, allowing for a smoother rolling process.
-
Dipping Technique: Use a fork for dipping the cake balls into the melted chocolate coating. This technique helps achieve an even and beautiful coating, avoiding mess.
-
Chilling is Key: Don’t skip the freezing step! Properly chilling the cake balls for around 45 minutes helps them hold their shape during the chocolate dipping process.
-
Sprinkle Play: If you want to add sprinkles, do it right after the coating, while the chocolate is still wet. This ensures they adhere properly for that festive look.
-
Flavor Variations: Feel free to experiment with different frostings or add-ins to customize your Chocolate Cake Balls. Try peanut butter, mint frosting, or even crushed nuts for exciting twists!
Chocolate Cake Balls Recipe FAQs
How do I select the right frosting for Chocolate Cake Balls?
Absolutely! The frosting plays a crucial role in the texture and flavor of your cake balls. I recommend using a chocolate frosting to match the rich cake base, but you can also explore vanilla or cream cheese frosting for a different flavor profile. Just be mindful to limit the amount to about half a can to avoid the mixture becoming too wet and losing its ability to hold shape.
What is the best way to store leftover Chocolate Cake Balls?
Very! For best results, store your leftover chocolate cake balls in an airtight container at room temperature for up to 4 days. If you’d like them to last longer, placing them in the refrigerator can extend their freshness for up to a week. Just remember to keep them well-sealed to prevent dryness. You’ll want to savor those delightful bites!
Can I freeze Chocolate Cake Balls? If so, how?
Of course! Freezing your chocolate cake balls is a great way to preserve them for later enjoyment. First, place the rolled cake balls on a baking sheet lined with parchment paper and freeze them in a single layer for about 1 hour until they are solid. Once frozen, transfer them to an airtight container or freezer bag, separating layers with parchment to prevent sticking. They can be stored in the freezer for up to 3 months. When you’re ready to enjoy, thaw in the fridge for several hours before serving.
What should I do if my cake ball mixture is too wet?
Great question! If you find that your mixture feels too moist to hold its shape, consider adding crushed graham crackers or additional cake crumbs to help bind it. Start by mixing in a tablespoon of crushed graham crackers at a time until you achieve the desired consistency. This step is crucial to ensure that your chocolate cake balls maintain their form during the rolling and coating process.
Can I make these Chocolate Cake Balls for someone with food allergies?
Absolutely! You can definitely customize these treats to accommodate dietary restrictions. If you’re making them for someone with gluten sensitivities, look for a gluten-free cake mix option. For dairy allergies, consider using dairy-free chocolate frosting and candy coating—there are many great alternatives available. Just be sure to check ingredient labels to ensure they meet dietary needs for everyone involved!
Irresistible Chocolate Cake Balls That Melt in Your Mouth
Ingredients
Equipment
Method
- Preheat your oven to 350°F (175°C) and prepare a baking pan by greasing it or lining with parchment paper. Bake the cake mix as per instructions for 30–35 minutes.
- Allow the cake to cool completely, then crumble it into fine pieces in a mixing bowl.
- Mix in approximately ½ can of chocolate frosting until fully incorporated.
- Roll the mixture into 1-inch balls and place onto a parchment-lined cookie sheet.
- Freeze the cake balls for about 45 minutes until firm.
- Melt the chocolate coating in a microwave-safe bowl, stirring every 30 seconds.
- Dip each ball into the melted chocolate using a fork and let excess chocolate drip off.
- Sprinkle toppings immediately after coating while the chocolate is still wet.
- Let the coated cake balls sit until the chocolate has set, then store or serve.
Leave a Reply