
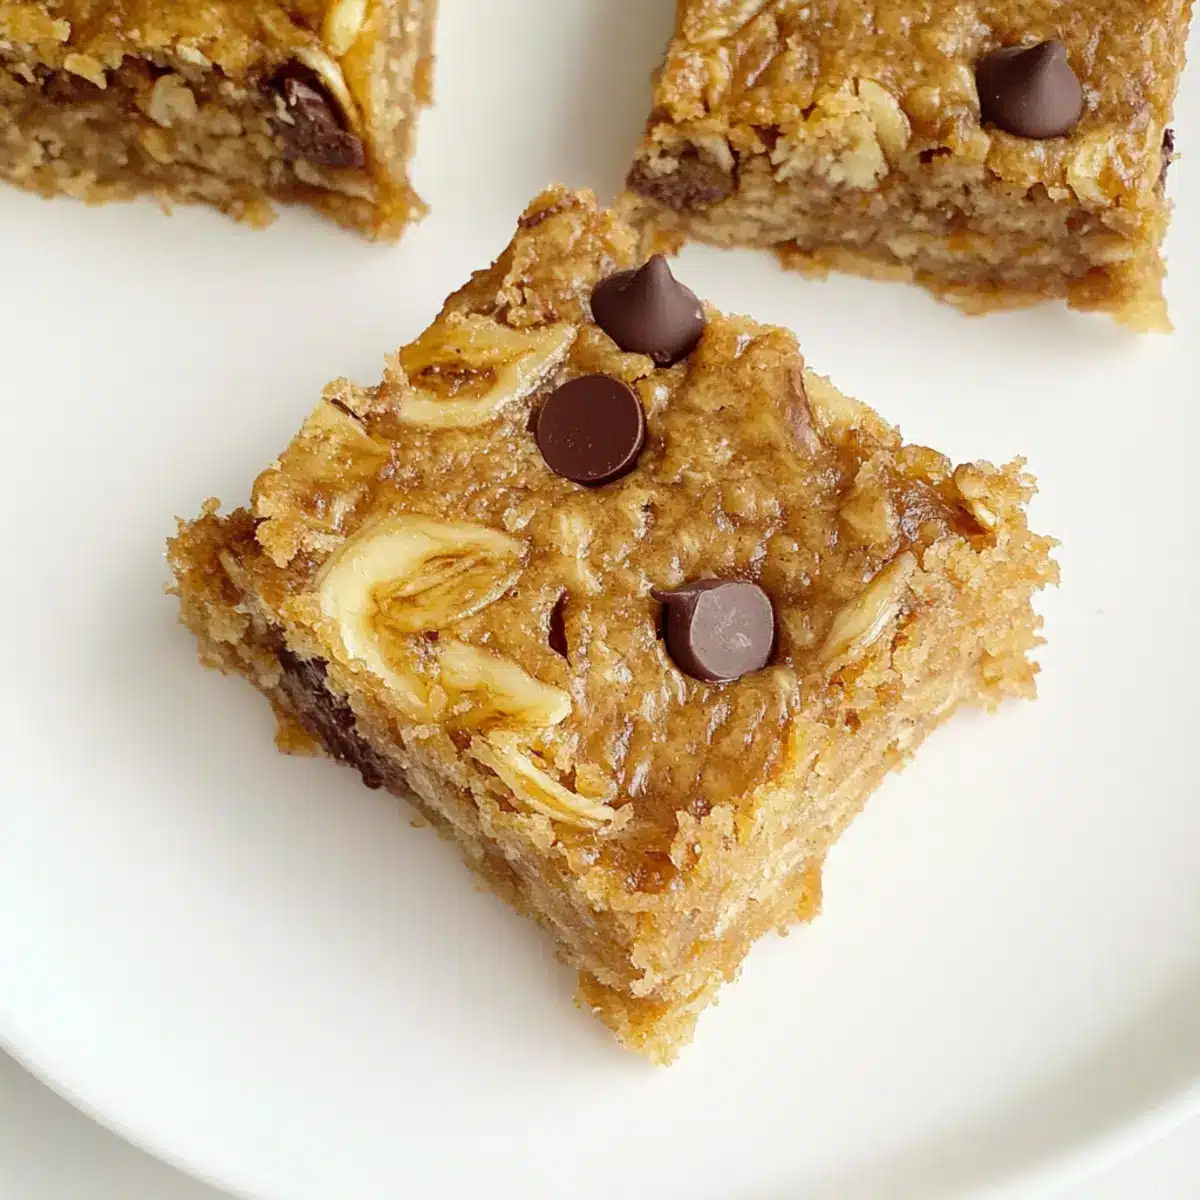
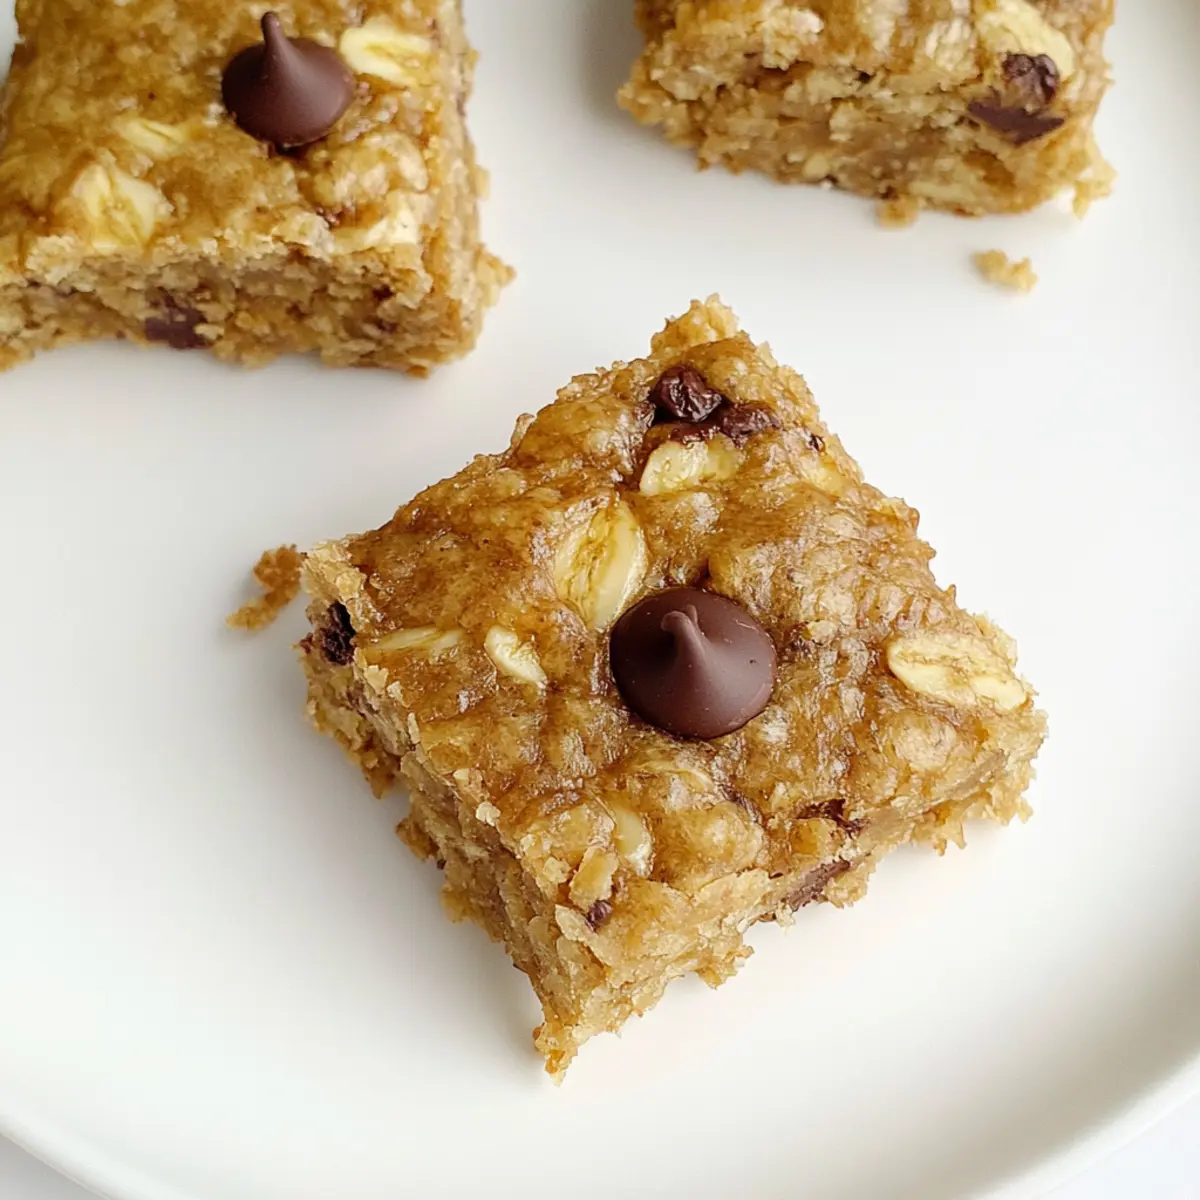
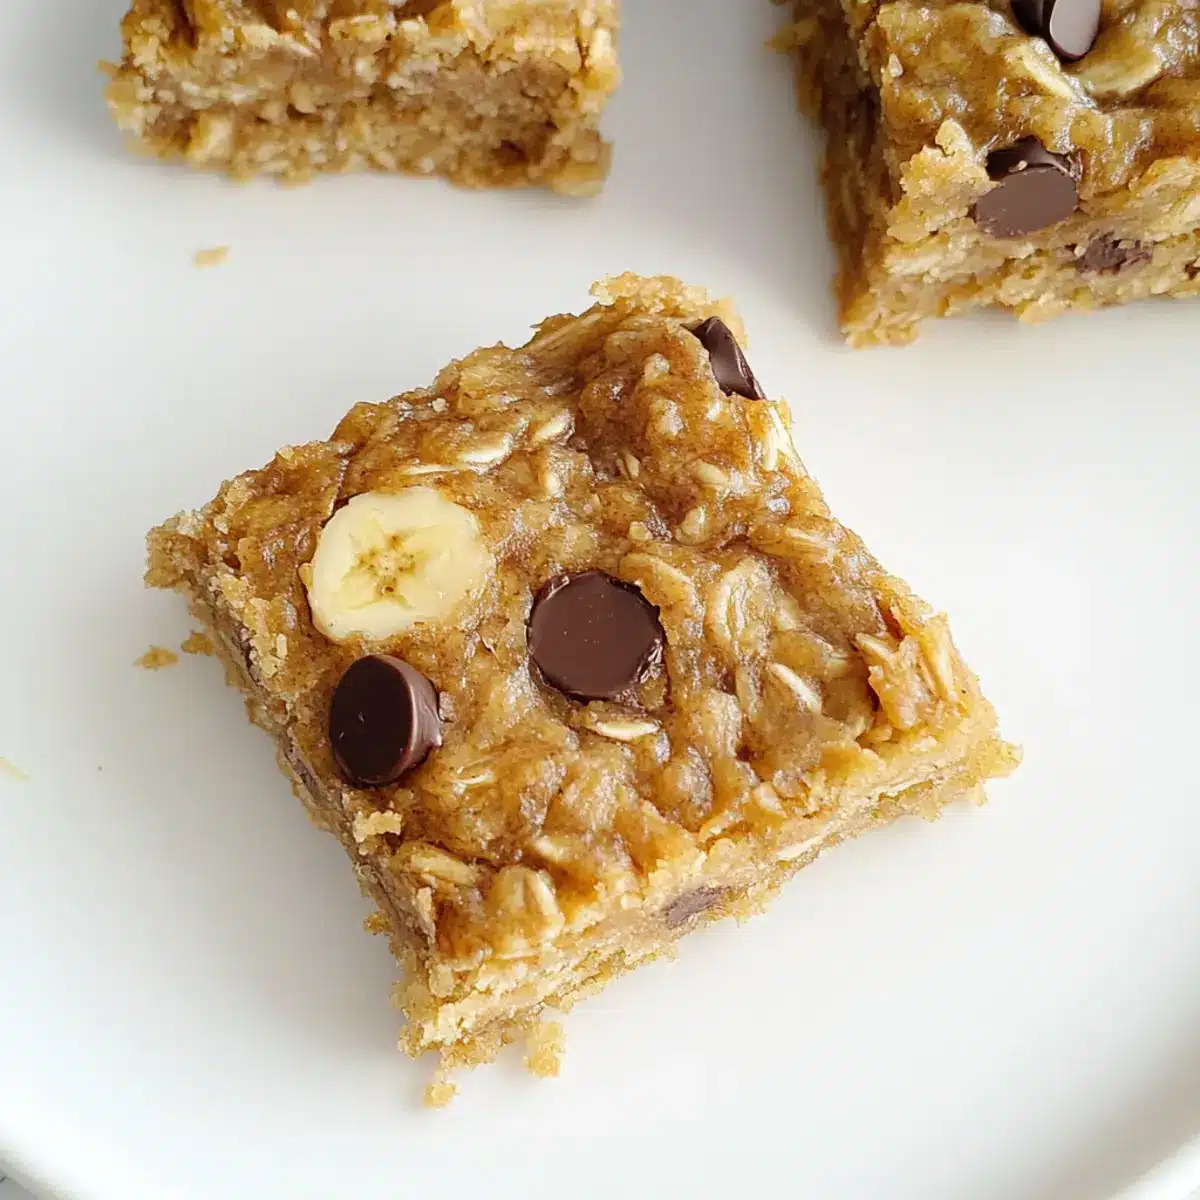
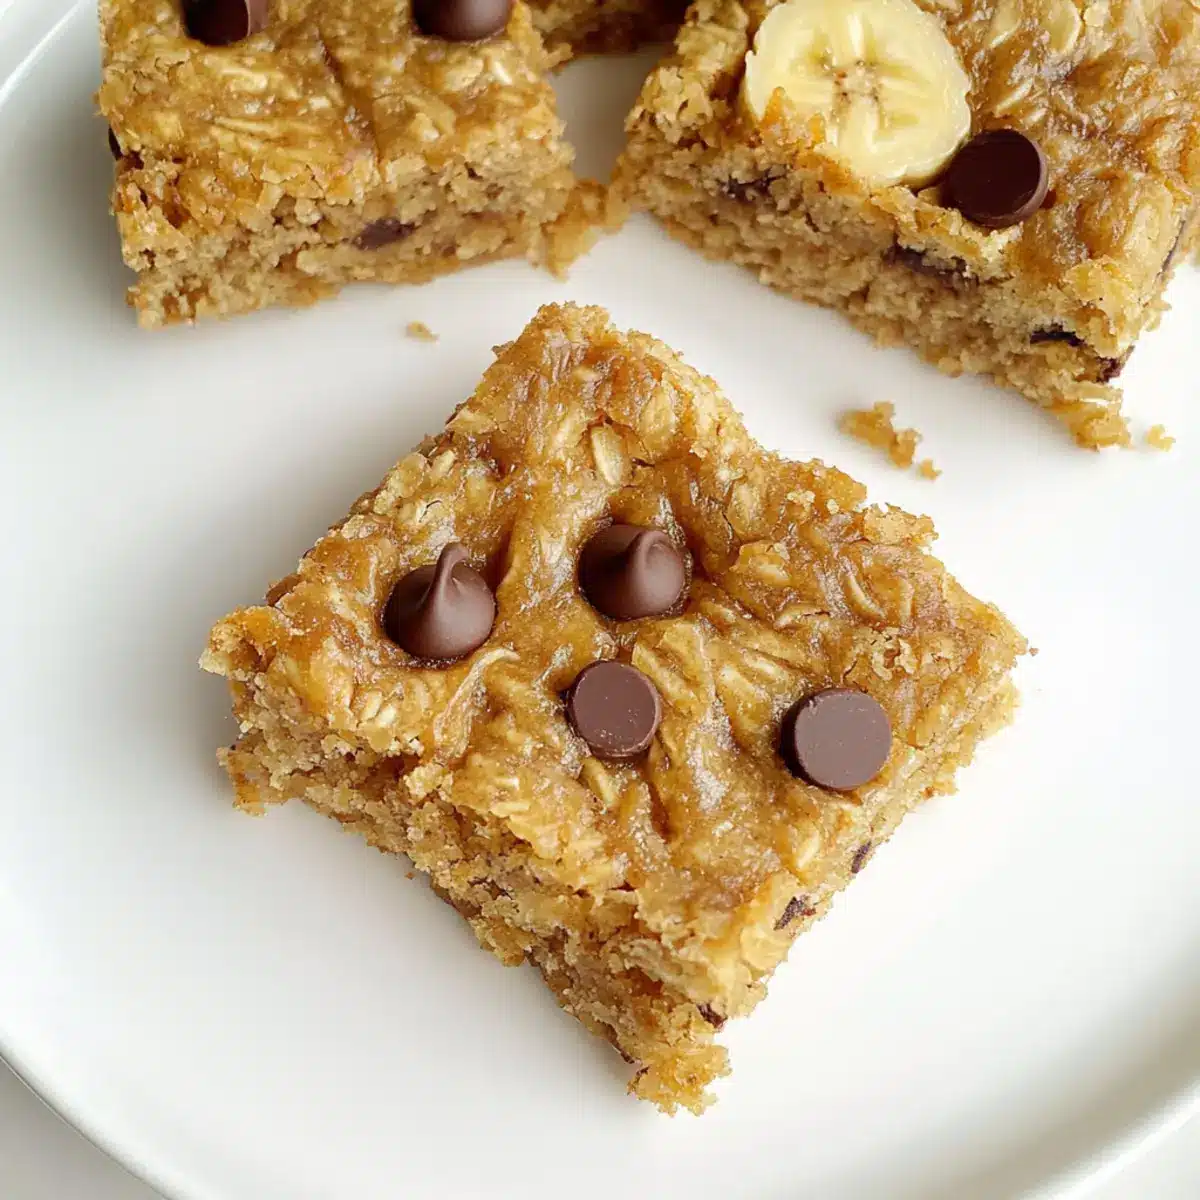
In the whirlwind of daily chaos, finding a healthy snack that pleases both kids and adults can feel like a daunting task. Enter my 4-Ingredient Banana Bars, your new go-to solution for those moments when you crave something tasty without the guilt. These chewy, naturally sweet bars are made with just ripe bananas, rolled oats, and a touch of peanut butter—no added sugar here! Not only are they toddler-friendly, but they also make for an easy prep that fits perfectly in lunchboxes or as a quick breakfast. Plus, they’re freezer-friendly, so you can whip up a batch and enjoy them whenever the craving strikes. Curious about how these simple ingredients transform into a delightful snack? Let’s dive into this easy recipe together!
Why Are Banana Bars a Must-Try?
Simple, with just four ingredients, these Banana Bars transform everyday staples into a wholesome snack. Naturally Sweet, ripe bananas provide all the sweetness you need without any added sugar. Versatile, you can swap ingredients like peanut butter for sunflower seed butter to customize for dietary needs. Toddler-Friendly, they sport a soft, chewy texture that even the pickiest eaters will enjoy! Freezer-Friendly, prepare a batch ahead of time, and you’ve got a convenient treat ready to go. For more exciting options, check out these Peanut Butter Banana Bars and Cereal Bars Homemade.
Banana Bars Ingredients
For the Bars
- Bananas – Use very ripe bananas for maximum natural sweetness and moisture.
- Peanut Butter – This binds the bars together and adds a boost of protein; sunflower seed butter makes a great nut-free option.
- Rolled Oats – They provide essential structure and texture; quick oats can give a softer consistency.
- Chocolate Chips – Deliciously sweet and flavorful; consider using chopped nuts or dried fruit for variety in your banana bars.
These Banana Bars are not just easy to make; they turn wholesome ingredients into a delightful treat your family will adore!
Step-by-Step Instructions for Banana Bars
Step 1: Preheat and Prepare the Baking Dish
Begin by preheating your oven to 350°F (175°C). While it heats up, grease an 8×8 inch baking dish or line it with parchment paper for easy removal after baking. This preparation ensures your Banana Bars will bake evenly and come out perfectly without sticking.
Step 2: Mix the Ingredients
In a large mixing bowl, combine your very ripe mashed bananas, peanut butter, and rolled oats. Stir until everything is well mixed and the consistency is thick yet uniform. If desired, fold in the chocolate chips for added sweetness. This mixture should appear cohesive and slightly sticky, indicating it’s ready for the next step.
Step 3: Transfer to the Baking Dish
Pour the banana mixture into the prepared baking dish, using a spatula to spread it out evenly across the bottom. Make sure to smooth the top so your Banana Bars will cook uniformly; this step is crucial for achieving that soft, chewy texture everyone loves.
Step 4: Bake to Perfection
Place the baking dish in the preheated oven and bake for 12-14 minutes. You’ll know the Banana Bars are ready when the edges turn golden brown and a toothpick inserted in the center comes out clean or with just a few moist crumbs. Keep an eye on them to ensure they don’t overbake!
Step 5: Cool Completely Before Slicing
Once out of the oven, let the Banana Bars cool in the baking dish for at least 10-15 minutes. This cooling period is vital for setting the bars’ structure, making them easier to slice later. Patience here pays off for more attractive and well-formed treats.
Step 6: Slice and Serve
After cooling completely, use a sharp knife to cut the Banana Bars into squares or rectangles, based on your preference. These delicious, chewy bars can now be enjoyed as snacks, breakfast, or even lunchbox treats—perfect for both toddlers and adults!
What to Serve with 4-Ingredient Banana Bars
Incorporating these delightful bars into your meal offers endless possibilities for a well-rounded experience, pleasing both kids and adults alike.
-
Greek Yogurt: Creamy and tangy, yogurt pairs well, adding a smooth texture that complements the chewiness of the bars while providing extra protein. Perfect for dipping!
-
Fresh Fruit Salad: A vibrant mix of seasonal fruits can brighten up your plate and enhance the refreshing qualities of the banana bars. The natural juices provide a burst of flavor.
-
Nut Butter Dip: A drizzle of almond or cashew butter takes these bars to the next level, bringing richness and healthy fats that kids love. This combo makes for a satisfying treat.
-
Milk or Non-Dairy Beverage: A glass of cold milk (or almond milk) offers a comforting drink pairing that washes down the snack beautifully and enhances the wholesome feel of the bars.
-
Oatmeal: A warm bowl of oatmeal on the side compliments the hearty oats in the bars, creating a cozy breakfast that will keep everyone full for longer.
-
Honey or Maple Syrup: A dash of honey or a drizzle of maple syrup can elevate the sweetness factor, enhancing the natural flavors of the banana bars and providing a delightful sticky treat.
-
Spiced Chai: A warm cup of spiced chai tea introduces a comforting, aromatic element, making your snack-time feel like a special occasion without the need for extra sugar.
-
Chocolate-Covered Strawberries: For a special dessert pairing, these can add a touch of indulgence and are easy to prepare, balancing the wholesome banana bars perfectly.
-
Trail Mix: A crunchy trail mix served alongside offers textures that contrast beautifully with the chewy banana bars, plus you can customize it to add your favorite nuts and dried fruits.
-
Classic Ice Cream: For a delightful dessert twist, why not serve the banana bars warm with a scoop of vanilla or caramel ice cream? It’s a classic combination that transforms these bars into a delightful treat.
How to Store and Freeze Banana Bars
Fridge: Store Banana Bars in an airtight container for up to 3-4 days to keep them fresh and chewy. This way, they remain a perfect snack for your little ones anytime!
Freezer: For longer storage, wrap individual Banana Bars tightly in plastic wrap or aluminum foil and freeze for up to 3 months. Thaw them at room temperature or microwave briefly for a quick treat.
Room Temperature: If you plan to eat the bars within a couple of days, they can be kept at room temperature in a covered container, but they will stay fresher longer in the fridge.
Reheating: To enjoy your Banana Bars warm, simply pop them in the microwave for about 10-15 seconds; they’ll taste just like fresh out of the oven!
Variations of Banana Bars
Feel free to unleash your creativity as you customize these delightful Banana Bars to suit your taste and dietary needs!
-
Nut-Free: Substitute peanut butter with sunflower seed butter for a nut-free twist that everyone can enjoy. This simple switch opens the recipe up to those with nut allergies.
-
Sweetness Boost: Add a handful of dried fruits like cranberries or apricots instead of chocolate chips for a burst of natural sweetness and chewy texture. The fruity flavors will perfectly complement the bananas.
-
Spice it Up: Incorporate warming spices like cinnamon or nutmeg into the mix to elevate the flavor profile. A teaspoon of vanilla extract can also enhance the overall aroma, making your kitchen smell heavenly!
-
Fruity Variation: Swap in mashed ripe mango or apple sauce for half the bananas for a surprising fruity twist. This playful variation brings an unexpected pop of flavor while still keeping the base delicious!
-
Cocoa Delight: Mix in some cocoa powder or chocolate chips for a chocolaty version of your Banana Bars. This indulgent twist is sure to satisfy any chocolate craving while staying wholesome!
-
Texture Surprise: Add in some rolled or chopped nuts for a crunch that pairs magically with the soft chewiness of the bars. Walnuts or pecans can add enjoyable variations in texture while boosting the nutritional content.
-
Plant-Based: To make these bars fully vegan, replace honey or any animal-based ingredients with maple syrup or agave. This small change allows everyone to indulge guilt-free.
For even more yummy ideas, you might want to explore Healthy Banana Bread or try a batch of Snickerdoodle Banana Bread for your next family treat!
Make Ahead Options
These 4-Ingredient Banana Bars are perfect for meal prep enthusiasts! To save time during busy weeknights, you can mix the banana, peanut butter, and oats up to 24 hours in advance; simply store the mixture in an airtight container in the refrigerator. The chocolate chips can be added right before baking to maintain their melty goodness. When you’re ready to enjoy your bars, preheat your oven, transfer the mixture to the baking dish, and bake as directed. They’ll come out just as delicious and satisfying! For longer storage, feel free to bake the bars and freeze them individually, ensuring they remain fresh for up to 3 months—it’s the ultimate time-saving snack for any family!
Expert Tips for Banana Bars
- Choose Ripe Bananas: Ensure your bananas are very ripe to maximize natural sweetness; this will enhance the flavor of your Banana Bars.
- Mix Well: Stir the mixture until completely combined to avoid dry pockets; a uniform texture ensures every bite is delicious.
- Cool Before Slicing: Allow the bars to cool fully in the dish before slicing; this prevents them from crumbling and gives you cleaner edges.
- Freeze for Later: Wrap individual bars in plastic wrap for easy snacks later. They can be frozen for up to 3 months, making them a convenient go-to!
- Experiment with Add-ins: Feel free to swap chocolate chips for nuts or dried fruit for a unique twist; just remember to keep the balance for your Banana Bars.
4-Ingredient Banana Bars Recipe FAQs
What kind of bananas should I use for the Banana Bars?
Absolutely! For the best results, use very ripe bananas. Look for ones with a yellow skin and some dark spots; they will provide maximum natural sweetness and moisture. If you don’t have ripe bananas, you can speed up the ripening process by placing them in a brown paper bag for a day or two.
How should I store Banana Bars after baking?
Very! To keep your Banana Bars fresh and chewy, store them in an airtight container in the fridge for up to 3-4 days. This method preserves their soft texture and makes them a convenient snack for your kiddos!
Can I freeze Banana Bars? If so, how?
Absolutely! Freezing is a fantastic way to enjoy your Banana Bars later. Wrap each bar tightly in plastic wrap or aluminum foil, then place them in a freezer-safe bag or container. They can be frozen for up to 3 months! When you’re ready to enjoy, just thaw them at room temperature or pop them in the microwave for about 15-20 seconds.
What should I do if my Banana Bars fall apart while slicing?
Very! If you find your Banana Bars crumbling during slicing, it may be because they didn’t cool long enough. Make sure to let them cool completely in the dish before cutting. If they’re still too soft, try baking them for an extra minute or two next time, but be cautious not to overbake!
Are there any allergy considerations for this recipe?
Absolutely! If you need a nut-free option, you can easily substitute the peanut butter for sunflower seed butter. This alteration ensures that those with nut allergies can enjoy these delicious Banana Bars without worry.
How can I customize these Banana Bars for dietary preferences?
Very! Feel free to get creative with add-ins. If your family prefers a different flavor, swap chocolate chips for dried fruits like raisins or cranberries. You can also sprinkle in some cinnamon or nutmeg for a warm, spiced twist! Just ensure that any changes still maintain the overall balance of ingredients for the best results.
Delicious Banana Bars: Your New Favorite Wholesome Snack
Ingredients
Equipment
Method
- Preheat oven to 350°F (175°C) and grease or line an 8x8 inch baking dish.
- In a bowl, mix mashed bananas, peanut butter, and rolled oats until well combined. Fold in chocolate chips if desired.
- Transfer the mixture into the prepared baking dish and smooth the top.
- Bake for 12-14 minutes until edges are golden and a toothpick comes out clean.
- Let cool in the dish for at least 10-15 minutes before slicing.
- Slice into squares or rectangles and enjoy!
Leave a Reply