
The sound of sizzling chicken fills the kitchen, instantly pulling me in with the promise of a delicious dinner. If you’ve ever craved a dish that feels like a culinary hug while being quick and approachable, this easy Chicken Kiev is the answer. It’s a breeze to make, transforming simple ingredients into a gourmet experience that’s perfect for busy weeknights or impressing guests. With juicy chicken enveloped in a crispy breadcrumb shell and a burst of garlicky goodness hidden inside, this recipe will surely become a family favorite. Plus, it’s customizable with gluten-free and dairy-free options, making it a versatile choice for everyone at your table. Are you ready to dive into this delightful kitchen adventure?

Why is Easy Chicken Kiev a Must-Try?
Simplicity Made Delicious: You’ll love how easy this recipe is, turning everyday ingredients into a showstopper with just a few steps.
Savory Garlic Flavor: The rich garlic and herb butter filling bring an irresistible taste that impresses everyone at the table.
Versatile Options: With gluten-free and dairy-free substitutions, this dish adapts to various dietary needs, so everyone can enjoy it.
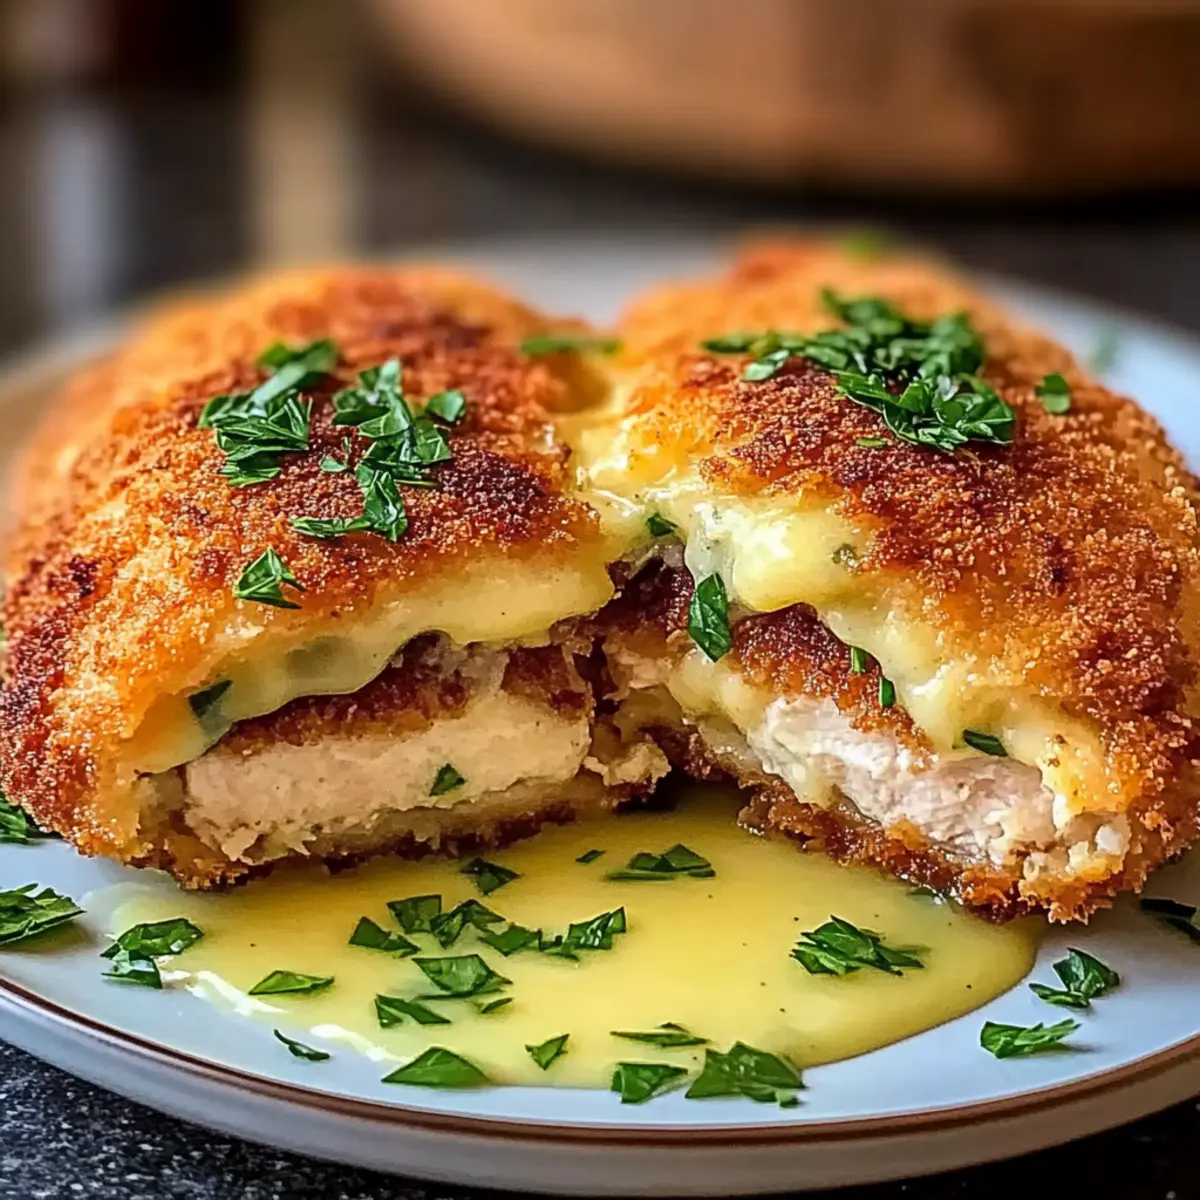
Crispy Texture: The golden breadcrumb coating creates a satisfying crunch that contrasts beautifully with the tender chicken inside.
Crowd-Pleasing Meal: Ideal for family dinners or entertaining, this easy Chicken Kiev will have everyone asking for seconds! Pair it with a fresh salad or some sautéed vegetables, and you’ve got a balanced meal that feels gourmet.
Easy Chicken Kiev Ingredients
For the Filling
• Unsalted Butter – Provides richness and flavor; substitute with a dairy-free alternative for a dairy-free version.
• Garlic Cloves – Adds aromatic flavor that infuses the chicken with deliciousness.
• Fresh Parsley – Offers a fresh herbal touch; use dried parsley at 1/3 of the amount if fresh is unavailable.
• Lemon Juice – Enhances flavor balance and brightens the filling.
• Salt – Enhances the overall taste of the filling.
• Black Pepper – Adds seasoning and depth to the flavor profile.
For the Chicken
• Boneless, Skinless Chicken Breasts – The main protein; ensure even thickness (1/2 inch) for consistent cooking.
For the Coating
• All-Purpose Flour – Provides a crispy coating; use gluten-free flour for a gluten-free version.
• Large Eggs – Acts as a binder for the breadcrumbs.
• Plain Breadcrumbs – Creates the crispy outer layer; consider gluten-free breadcrumbs for a gluten-free option.
For Frying
• Avocado Oil or Neutral Oil – Ideal for frying, chosen for its high smoke point, ensuring a perfect crisp.
This easy Chicken Kiev recipe is a delightful and versatile dish that everyone can enjoy!
Step‑by‑Step Instructions for Easy Chicken Kiev
Step 1: Prepare the Chicken
Begin by placing the boneless, skinless chicken breasts between two sheets of plastic wrap. Using a meat mallet or rolling pin, pound the chicken to an even 1/2-inch thickness. This ensures the chicken cooks evenly and remains juicy. Take your time for this step—it enhances the texture of your Easy Chicken Kiev.
Step 2: Make the Garlic Butter Filling
In a medium bowl, combine the softened unsalted butter, minced garlic, chopped fresh parsley, lemon juice, salt, and black pepper. Mix until everything is well incorporated into a smooth paste. This flavorful filling is the heart of your Easy Chicken Kiev, providing that tantalizing burst of garlic as you bite into it.
Step 3: Fill and Fold the Chicken
Spread a generous amount of garlic butter filling down the center of each chicken breast. Carefully fold the sides over the filling to enclose it completely, then secure with toothpicks to keep the butter from leaking out. This step is crucial to create the wonderful surprise of melted butter inside your chicken.
Step 4: Dredge in the Breading
Set up a breading station with three shallow dishes: one with all-purpose flour, the second with beaten eggs, and the third with plain breadcrumbs. Dredge each stuffed chicken in flour, ensuring it’s fully coated. Then dip into the eggs, and finally roll in the breadcrumbs, pressing gently to adhere them well. This process builds a crispy crust for your Easy Chicken Kiev.
Step 5: Heat the Oil
In an oven-safe skillet, heat 1/4 cup of avocado oil over medium heat. To check if the oil is ready, sprinkle a few breadcrumbs into the pan; they should sizzle immediately. This step is vital to achieving a golden brown exterior on your Easy Chicken Kiev while ensuring a crispy finish.
Step 6: Fry the Chicken
Carefully place the breaded chicken in the hot oil, leaving space between each piece. Cook for about 4–5 minutes on each side, or until golden brown and crispy. Keep an eye on the chicken to prevent burning; this frying step locks in flavors and sets the stage for the delicious filling.
Step 7: Bake to Perfection
Preheat your oven to 400°F (200°C). Once the chicken is golden, transfer the skillet to the oven and bake for 25–30 minutes, or until the chicken is thoroughly cooked and reaches an internal temperature of 165°F (74°C). The baking step ensures the chicken is tender and allows the filling to become luscious and garlicky.
Step 8: Serve and Enjoy
Once cooked, remove the chicken from the oven and let it rest for a few minutes. Carefully remove the toothpicks and slice into the chicken to reveal the buttery filling. Serve your Easy Chicken Kiev with a side salad or sautéed vegetables for a delightful meal that’s both hearty and satisfying.

How to Store and Freeze Easy Chicken Kiev
Fridge: Store any leftover Easy Chicken Kiev in an airtight container for up to 3-4 days; this keeps the chicken juicy and flavorful.
Freezer: For longer storage, you can freeze the uncooked, breaded chicken rolls. Wrap each tightly in plastic wrap and place them in a freezer bag for up to 3 months.
Reheating: To reheat, bake the chicken in the oven at 350°F (175°C) for about 20 minutes or until heated through, maintaining that crispy exterior.
Make-Ahead: Prep Chicken Kiev ahead of time by filling and folding the chicken, then refrigerating before breading if you plan to cook them later within the week.
Expert Tips for Easy Chicken Kiev
-
Use Cold Butter: Keep the butter mixture cold before filling the chicken. This helps it stay intact while cooking, ensuring a luscious, melted center.
-
Even Thickness: Pound chicken breasts to a consistent 1/2-inch thickness. This prevents uneven cooking, avoiding dry edges while ensuring the filling is perfectly gooey.
-
Hot Oil Check: Always ensure the oil is hot enough by testing with breadcrumbs. If they sizzle on contact, your Easy Chicken Kiev will have that coveted crispy coating!
-
Freezing Made Easy: Prep chicken rolls ahead and freeze them before breading. Cook from the frozen state by adding extra baking time for a convenient dinner solution.
-
Airtight Storage: Store any leftovers in an airtight container for up to 3-4 days. Reheat in the oven for a crisp and delicious second serving!
Make Ahead Options
These Easy Chicken Kievs are perfect for meal prep enthusiasts! You can prepare the chicken rolls up to 24 hours in advance by filling and securing them; simply cover the stuffed chicken in plastic wrap and refrigerate. For longer storage, the breaded chicken can be frozen for up to 3 months. To maintain quality, wrap them tightly in foil before freezing to prevent freezer burn. When you’re ready to cook, simply thaw overnight in the refrigerator and follow the frying and baking steps as outlined. This way, you can enjoy restaurant-quality results on busy weeknights with minimal effort!
What to Serve with Easy Chicken Kiev?
The perfect meal is just a few sides away, ready to elevate your dining experience to a comforting and satisfying level.
-
Creamy Garlic Mashed Potatoes: Their smooth texture and buttery flavor perfectly complement the crispy chicken, adding a comforting touch to your plate.
-
Honey Glazed Carrots: Sweet and slightly crunchy, these carrots bring a delightful contrast to the savory chicken, adding a pop of color and freshness.
-
Simple Green Salad: With crisp greens and a zesty vinaigrette, this salad lightens the meal and balances the richness of the Chicken Kiev.
-
Sautéed Spinach: Fresh, lightly wilted spinach adds a burst of color and nutrients, enhancing your meal with a touch of earthiness.
-
Roasted Asparagus: This vegetable boasts a slight crunch and earthy flavor, making it the perfect healthy side that pairs beautifully with Chicken Kiev.
-
Homemade French Fries: Crispy and golden, these fries are great for dipping into the buttery filling, turning your meal into a delightful experience.
-
Refreshing Lemonade: A glass of this citrusy drink complements the garlic and herb flavors while quenching your thirst during a hearty dinner.
-
Chocolate Lava Cake: For dessert, this warm and gooey cake ensures a sweet ending to your meal, creating an indulgent contrast to the savory main dish.
Easy Chicken Kiev Variations & Substitutions
Feel free to put your own spin on this recipe; customizing it is half the fun!
-
Dairy-Free: Substitute unsalted butter with a dairy-free butter alternative for a delightful, creamy filling without the dairy.
-
Gluten-Free: Use gluten-free flour and breadcrumbs-making this dish suitable for those with gluten sensitivities. Enjoy the same crispy crunch!
-
Herb Infusion: Try swapping out parsley for fresh thyme or basil to elevate the flavor profile with a unique herbal twist. Each herb brings its own charming aroma to the dish!
-
Cheesy Goodness: Add a slice of cheese or some grated parmesan to the garlic butter filling for a luscious, melty interior. The richness will elevate the dish to a new level of comfort!
-
Heat it Up: Mix in a pinch of red pepper flakes to the filling if you enjoy a touch of heat. This subtle kick complements the garlic perfectly!
-
Shallot Surprise: For a milder yet flavorful twist, replace garlic with finely chopped shallots. This variation introduces a beautifully sweet undertone, delighting the palate.
-
Veggie Blend: Add some chopped spinach or kale to the garlic butter mixture for a nutritious boost. This adds color and enhances the dish’s visual appeal, making it even more inviting.
-
Baked Option: For a lighter take, omit frying and bake the breaded chicken directly in the oven at 375°F (190°C) until golden and crispy. It’s an equally delicious alternative that cuts down on oil!
Feel inspired to explore these variations, and don’t forget to check out Slow Cooker Chicken for another hearty option, or indulge in Bang Bang Chicken to spice things up on busy evenings!

Easy Chicken Kiev Recipe FAQs
How do I select the right chicken breasts?
Absolutely! When choosing chicken breasts for your Easy Chicken Kiev, look for boneless and skinless breasts that are plump and feel firm to the touch. It’s best to select pieces that are of even thickness, ideally around 1/2 inch, to ensure they cook uniformly without drying out. Avoid any that appear discolored or have dark spots, as they may be going bad.
How should I store leftovers?
Very! To keep your leftover Easy Chicken Kiev at its best, store it in an airtight container in the refrigerator for up to 3-4 days. This helps maintain the chicken’s juiciness and prevents any odors from affecting the flavors. When reheating, for the best results, place the chicken in an oven at 350°F (175°C) for about 20 minutes, so the coating stays crisp and delicious.
Can I freeze Easy Chicken Kiev?
Absolutely! You can freeze your Easy Chicken Kiev by wrapping each uncooked, breaded chicken roll tightly in plastic wrap and then placing them in a freezer bag. This keeps the chicken fresh for up to 3 months. When you’re ready to cook them, there’s no need to thaw—just add an extra 5-10 minutes of baking time to ensure they reach a safe internal temperature of 165°F (74°C).
What if my chicken doesn’t cook evenly?
For a perfectly cooked Easy Chicken Kiev, ensure you pound your chicken breasts to a consistent 1/2-inch thickness before filling. This uniformity helps prevent undercooking in some parts while overcooking others. If you notice that one side seems underdone after baking, consider using a meat thermometer to check the internal temperature directly. If necessary, pop it back in the oven for a few more minutes.
Are there any dietary considerations with this recipe?
Definitely! This Easy Chicken Kiev can be tailored to fit various dietary needs. For a dairy-free option, simply replace the unsalted butter with a dairy-free butter alternative, and use gluten-free flour and breadcrumbs to make it suitable for those with gluten intolerances. Always double-check ingredient labels for any potential allergens, particularly if cooking for someone with food sensitivities.
Easy Chicken Kiev: Juicy, Crispy, Homemade Delight
Ingredients
Equipment
Method
- Prepare the chicken by pounding it to 1/2-inch thickness.
- Make the garlic butter filling by mixing all filling ingredients in a bowl.
- Fill and fold the chicken to enclose the garlic butter filling.
- Dredge the chicken in flour, eggs, and breadcrumbs.
- Heat oil in a skillet until hot.
- Fry the chicken until golden brown, about 4-5 minutes per side.
- Bake the chicken in the oven at 400°F for 25-30 minutes until fully cooked.
- Serve the chicken after resting for a few minutes.
Leave a Reply