
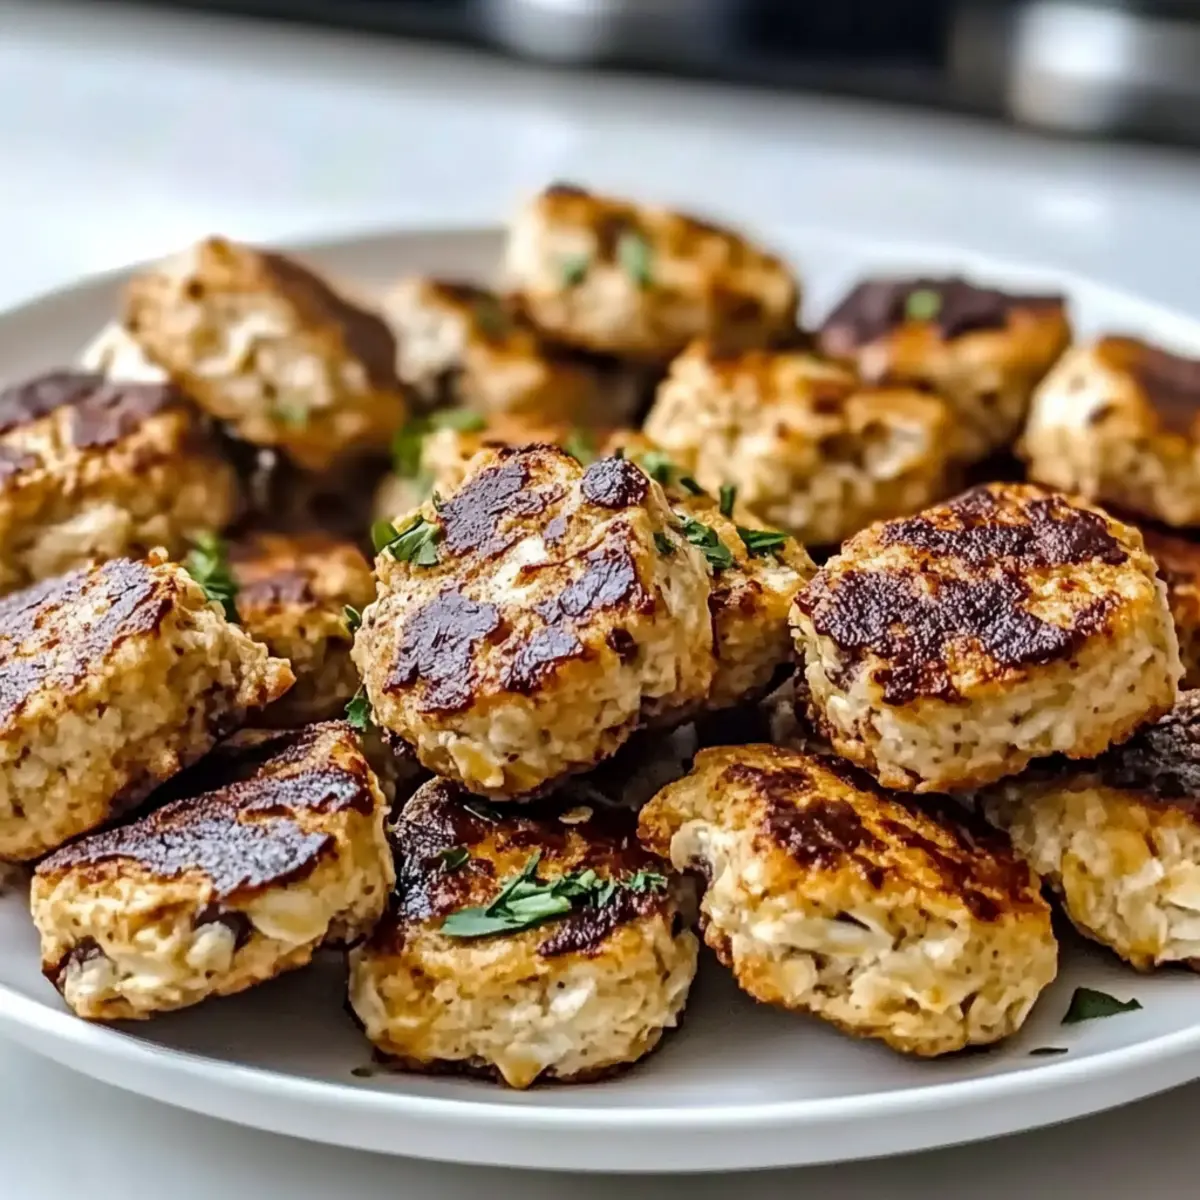
As the aroma of melting chocolate fills the kitchen, I find myself leaning against the countertop, a tempting plate of cookies cooling beside me. Craving a sweet fix that won’t undermine my dietary goals, I turn to my trusty 4-Ingredient Crispy Chocolate Oat Cookies. These easy-to-make delights effortlessly blend a crispy outer layer with a chewy center, making them an ideal snack choice for any time of day. Best of all, they are incredibly versatile, allowing for quick prep and customization—whether you prefer them gluten-free or packed with tasty add-ins like nuts or dried fruits. Are you ready to indulge in a homemade treat that checks all the boxes? Let’s dive into the recipe!

Why are these cookies a must-try?
Simplicity: With just four ingredients, making these cookies is a breeze. No need for complex techniques or lengthy prep time!
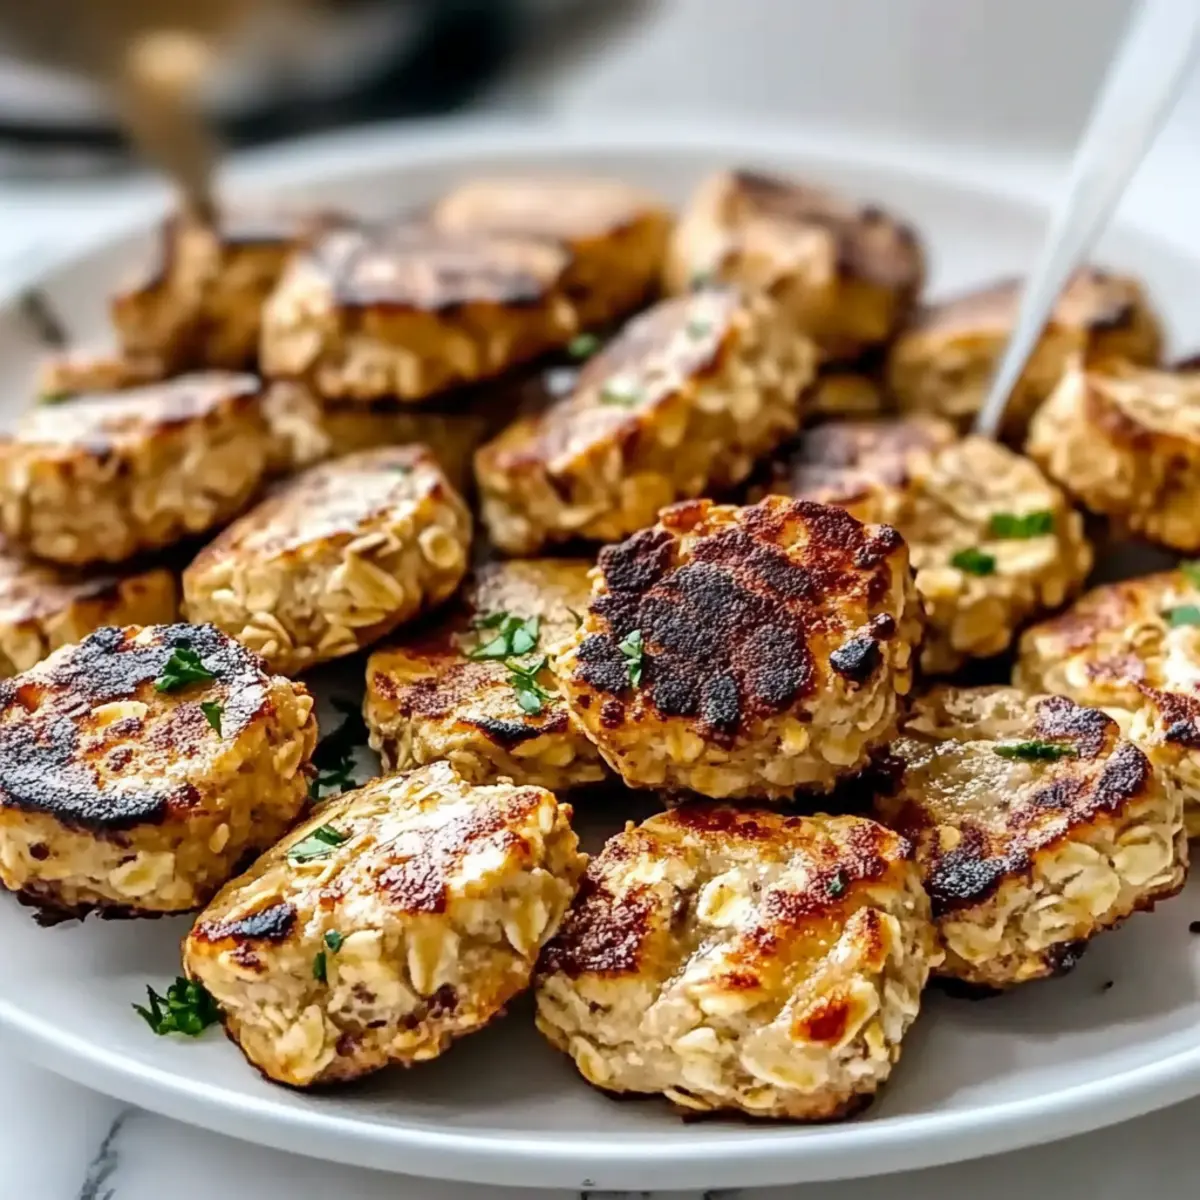
Crispy & Chewy Perfection: The delightful contrast between a crunchy exterior and a chewy center keeps every bite exciting!
Customizable Options: Whether you’re a chocolate lover or prefer a fruity twist, you can easily tailor these cookies to match your tastes. Consider adding in nuts or dried fruits for an extra kick!
Health-Conscious Choice: Packed with fiber and protein, these cookies will satisfy your sweet tooth without sacrificing your health goals.
Ideal for Snack Cravings: Perfectly suited for a quick snack, you can whip them up anytime you need a boost, pairing them with your favorite beverage for an indulgent treat! Try them alongside some Skinny White Chicken Enchiladas for a well-rounded meal!
Chocolate Oat Cookie Ingredients
• Explore the essential components for crafting these delightful cookies.
For the Cookies
- Rolled Oats – Provides structure and a chewy texture; opt for gluten-free oats if necessary.
- Cocoa Powder – Adds a rich chocolate flavor; go for unsweetened cocoa to balance the sweetness.
- Nut Butter (e.g., almond, peanut) – Acts as a binding agent and adds creaminess; substitute with sunflower seed butter for a nut-free option.
- Honey (or Maple Syrup) – Sweetens the cookies and contributes moisture; adjust based on your sweetness preference or swap with agave syrup for a vegan alternative.
Mix-Ins (Optional)
- Chopped Nuts (e.g., walnuts, pecans) – For added crunch and nutty goodness.
- Dried Fruits (e.g., raisins, cranberries) – Introduce a chewy, sweet contrast to the rich cocoa.
- Carob Powder – A tasty alternative to cocoa powder for a unique flavor profile.
Enjoy experimenting with these ingredients, and indulge in a homemade treat that perfectly fits your cravings!
Step‑by‑Step Instructions for Easy Greek Marinated Chicken Kabobs
Step 1: Preheat the Oven
Begin by preheating your oven to 400°F (200°C). Prepare a baking sheet by lining it with aluminum foil or parchment paper to catch any drips during cooking. This will help create easy cleanup afterward, allowing you to focus on the joy of making your Easy Greek Marinated Chicken Kabobs!
Step 2: Prepare the Marinade
In a medium-sized mixing bowl, combine olive oil, lemon juice, garlic, dried oregano, salt, and black pepper. Whisk these ingredients together until well blended, creating a fragrant marinade. The citrusy aroma will signal that you’re on your way to flavorful kabobs, perfect for grilling!
Step 3: Marinate the Chicken
Cut your chicken breasts into 1-inch cubes and add them to the bowl with the marinade. Toss the chicken thoroughly so each piece is coated evenly. Let the chicken marinate at room temperature for about 15–30 minutes for optimal flavor absorption. You will love how the chicken absorbs the zesty goodness!
Step 4: Assemble the Kabobs
After marinating, thread the chicken pieces onto skewers. Leave a little space between each piece for even cooking. If you’re using wooden skewers, remember to soak them in water for about 30 minutes beforehand to prevent burning during cooking. Visualize your Easy Greek Marinated Chicken Kabobs coming together beautifully!
Step 5: Bake the Kabobs
Place the assembled kabobs on the prepared baking sheet and transfer them to your preheated oven. Bake for 15–20 minutes, turning once halfway through. The kabobs should be golden brown and cooked through, with a temperature of at least 165°F (75°C) to ensure safety.
Step 6: Serve and Enjoy
Once cooked, carefully remove the kabobs from the oven and allow them to rest for a few minutes. This will help the juices redistribute for moist, flavorful bites. Serve your Easy Greek Marinated Chicken Kabobs with fresh veggies, pita, or a side of tzatziki sauce for a delightful meal everyone will love!
Make Ahead Options
These 4-Ingredient Crispy Chocolate Oat Cookies are perfect for busy home cooks looking to save time! You can prepare the dough up to 24 hours in advance by mixing rolled oats, cocoa powder, nut butter, and honey, then storing it in an airtight container in the refrigerator. This will preserve the flavors and ensure your cookies are just as delicious when baked. If you prefer, you can also scoop the cookie dough onto the baking sheet, cover it tightly with plastic wrap, and refrigerate until you’re ready to bake. When it’s time to indulge, simply preheat your oven and bake for 10-12 minutes. Enjoy warm, freshly baked cookies with minimal effort!
Easy Chocolate Oat Cookie Variations
Feel free to get creative with these delightful cookie recipes that can suit every craving!
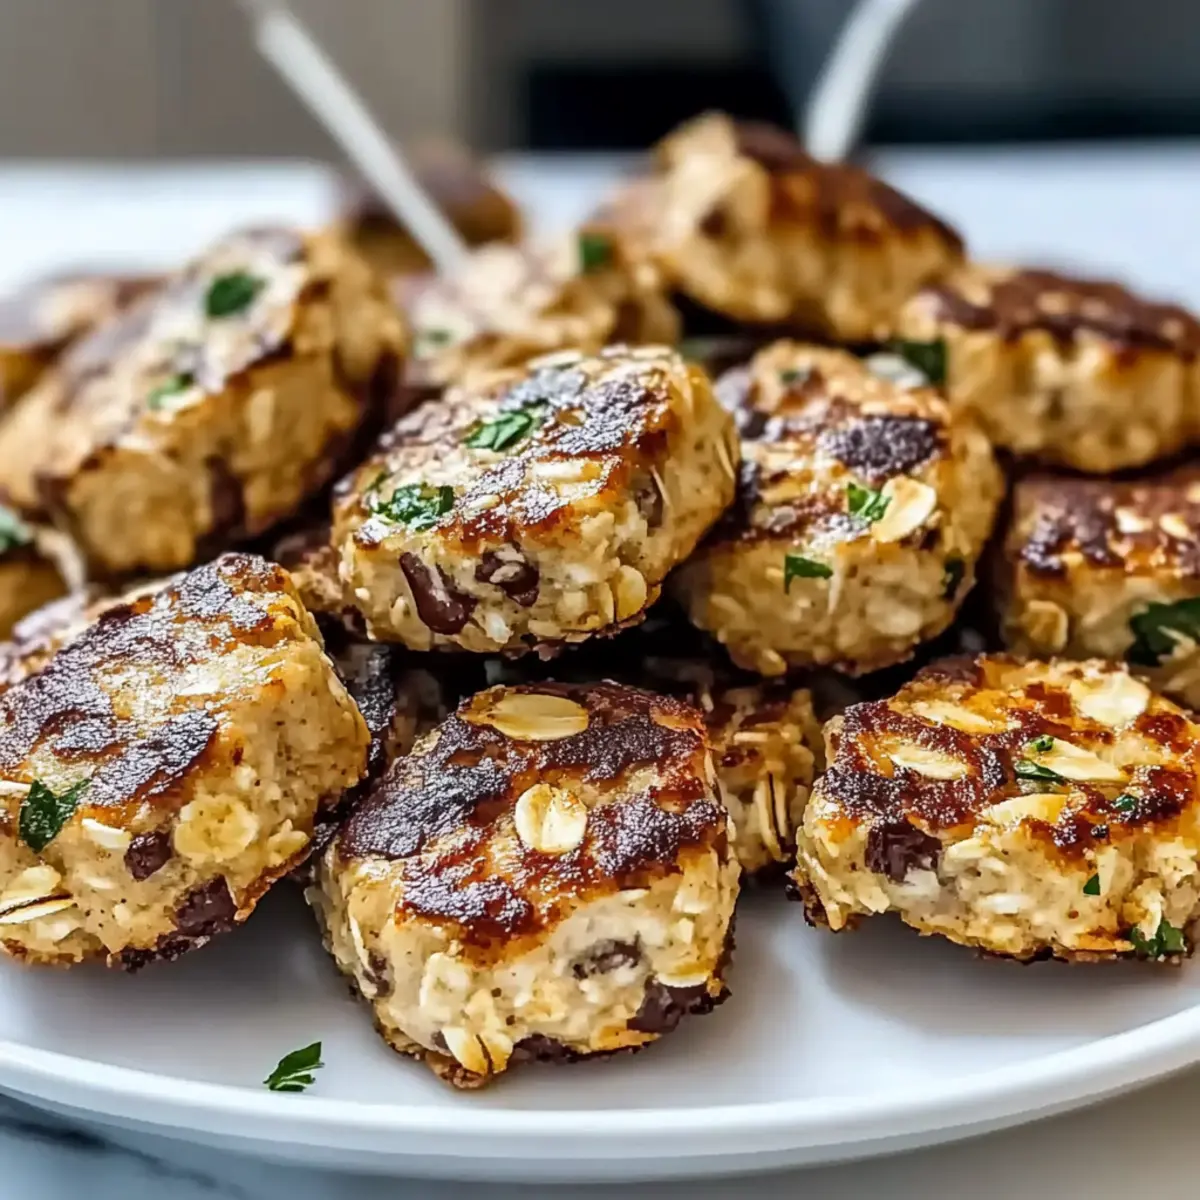
- Nutty Delight: Add in chopped nuts like walnuts or pecans for a satisfying crunch. The rich texture will beautifully complement the chewy oats!
- Fruity Twist: Toss in dried fruits, such as raisins or cranberries, for a sweet and chewy contrast. It’s like a burst of sunshine in every bite!
- Carob Swap: Use carob powder instead of cocoa powder for a unique flavor. This offers a healthful twist while still satisfying your chocolate cravings.
- Spice it Up: Incorporate a pinch of cinnamon or nutmeg for warm, cozy flavors. These spices can transform the cookies into a comforting treat perfect for chilly days.
- Nut-Free Option: Substitute the nut butter with sunflower seed butter to create an allergy-friendly version. The cookies will still be rich and delicious!
- Dark Chocolate Chips: Add dark chocolate chips for an extra decadent touch. This enhances the richness while keeping the cookies healthy and balanced.
- Oatmeal Raisin Fusion: Blend in extra rolled oats and raisins for a classic oatmeal raisin cookie style. This nostalgic mix brings comforting flavors to your snack time!
- Zesty Citrus: A spoonful of orange or lemon zest can brighten the cookies with a refreshing twist. It’s a delightful surprise that pairs wonderfully with chocolate!
These variations will keep your baking delightful and exciting, turning simple recipes into mouthwatering adventures in your kitchen. Why not enjoy them with a side of Slow Cooker Chicken Pot Pie for a well-rounded meal?
Expert Tips for Chocolate Oat Cookies
-
Avoid Overmixing: Keep mixing to a minimum to prevent tough cookies. Lightly combine your ingredients just until they are incorporated!
-
Cookie Scoop Usage: For consistently shaped cookies, use a cookie scoop. This helps them bake evenly for that perfect crispy and chewy combination.
-
Cooling Time: Let your cookies cool completely; they will firm up as they sit. Resist the temptation to eat them while they’re warm for the best texture!
-
Flavorful Add-ins: Experiment with mix-ins like chopped nuts or dried fruits. These additions can elevate your chocolate oat cookies to new heights!
-
Moisture Adjustment: If you prefer softer cookies, adjust the honey or syrup amount to your liking. More sweetener can enhance moisture without compromising health goals.
-
Storage Tips: Keep your cookies in an airtight container, and they’ll stay fresh at room temperature for up to a week!
How to Store and Freeze Chocolate Oat Cookies
Room Temperature: Keep the cookies in an airtight container at room temperature for up to 1 week to maintain their delightful texture and flavor.
Fridge: If you prefer a chewier cookie, store them in the fridge in an airtight container. They can last up to 2 weeks but may lose some crispness.
Freezer: For longer storage, individually wrap the cookies and place them in a freezer-safe bag. They will remain fresh for up to 3 months, making them a great option for future cravings.
Reheating: To enjoy them warm, simply pop the frozen cookies in the microwave for 10-15 seconds or thaw them overnight in the fridge and let them come to room temperature before serving. These Chocolate Oat Cookies will be just as delicious!
What to Serve with 4-Ingredient Crispy Chocolate Oat Cookies
As you savor these delightful cookies, consider rounding out your meal with complementary dishes that enhance the experience.
-
Creamy Greek Yogurt: A dollop of rich yogurt contrasts the cookie’s texture while adding a hint of tanginess to complement the chocolate.
-
Fresh Berries: Juicy strawberries or blueberries offer a burst of freshness that brightens each bite. Plus, the fruit’s natural sweetness pairs beautifully with the rich cocoa!
-
Milkshake: A thick, dreamy milkshake enhances the indulgence of your cookies for those times when you want a deliciously satisfying treat to wash it down.
-
Nuts & Seeds Mix: A crunchy mix of almonds, walnuts, and pumpkin seeds provides a satisfying texture difference while boosting health benefits. Add this for a quick snack on the side.
-
Dark Chocolate Squares: Elevate your cookie experience by pairing them with high-quality dark chocolate. The additional cocoa flavor ties everything together!
-
Vanilla Ice Cream: There’s a reason this classic pairing exists! A scoop of creamy vanilla ice cream alongside your cookies results in an irresistible sweet treat.
-
Chai Tea: Warm, aromatic chai provides a cozy drink pairing, enhancing the richness of the cookies with spiced notes that dance on the palate.
-
Coffee: A steaming cup of coffee is the perfect companion, balancing sweet and bitter flavors, making each bite of your cookies even more enjoyable!
Chocolate Oat Cookies Recipe FAQs
How do I know if my ingredients are ripe or suitable?
Absolutely! For the best cookies, ensure your rolled oats are fresh and free of any rancid odors; they should have a pleasant, nutty smell. When it comes to cocoa powder, look for brands that come without added sugars for a better flavor balance. Opt for nut butter without added sugars or oils for the healthiest choice. Lastly, honey or maple syrup should be pure and free of additives to maximize sweetness naturally.
What is the best way to store my chocolate oat cookies?
Very simple! Store your cookies in an airtight container at room temperature for up to 1 week. If you live in a more humid area, consider placing a piece of bread inside the container to keep them moist without affecting their texture. Just remember to check on your cookies from time to time, and if they start feeling soft or stale, it’s time to treat yourself to some new batches!
Can I freeze chocolate oat cookies? What’s the best way to do it?
Absolutely, freezing is a fantastic option! To freeze your cookies, first allow them to cool completely. Then, wrap each cookie individually in plastic wrap or foil to prevent freezer burn, and place them in a freezer-safe bag or container. They can be frozen for up to 3 months. When you’re ready to enjoy one, simply take it out and let it thaw at room temperature or pop it in the microwave for 10-15 seconds for that fresh-baked feel!
What if my cookies turn out too dry or crumbly?
Very often, the culprit for dry cookies is too much mixing or an unbalanced ratio of wet to dry ingredients. To troubleshoot, ensure you’re gently combining your mixture and sticking to the specified measurements. If your dough seems dry, you can add a teaspoon or two of extra nut butter or honey to bring back moisture. For the next batch, consider keeping a close eye on baking times too—cookies that bake even a minute too long can lose their ideal texture.
Are these cookies suitable for those with nut allergies?
Indeed! You can easily make these cookies nut-free by substituting the nut butter with sunflower seed butter or tahini. Both options maintain the same creamy consistency and will bind the ingredients without any nut allergens. Just double-check all labels if you’re preparing them for someone with specific allergies to ensure safety and enjoyment!
Easy Greek Marinated Chicken Kabobs for Flavorful Grilling Fun
Ingredients
Equipment
Method
- Preheat your oven to 400°F (200°C) and prepare a baking sheet.
- In a mixing bowl, combine olive oil, lemon juice, garlic, oregano, salt, and pepper. Whisk together to create the marinade.
- Add chicken cubes to the marinade, ensuring they are evenly coated. Let marinate for 15–30 minutes.
- Thread marinated chicken onto skewers, leaving space between pieces.
- Bake kabobs on the prepared baking sheet for 15–20 minutes, turning once halfway through.
- Allow kabobs to rest before serving with veggies or pita.
Leave a Reply