
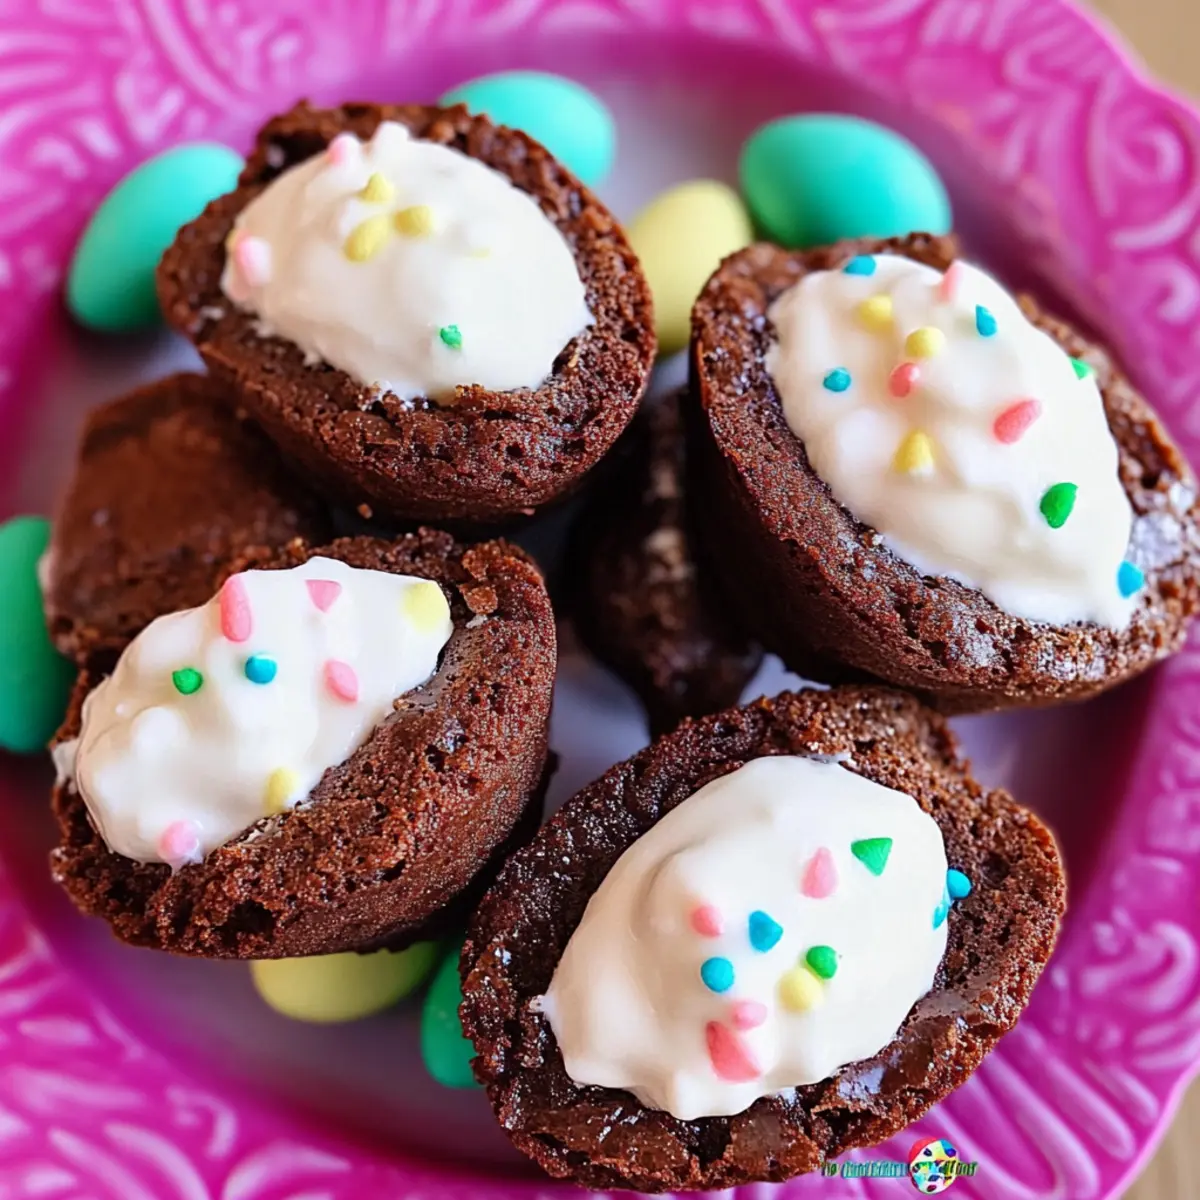
As I stood in my kitchen, the sweet aroma of melting chocolate enveloped me like a warm hug, instantly lifting my spirits. I was on a mission to create the ultimate Easter treat, and that’s when I stumbled upon the idea of deviled brownies. These adorable, egg-shaped delights are not just a feast for the eyes; each bite reveals a soft, fudgy brownie filled with a creamy, tangy cream cheese and marshmallow filling that dances on the palate. Not only are they a quick and easy dessert option, perfect for busy spring gatherings, but they also serve as an irresistible party treat that will have everyone coming back for more. Curious about how to bring a touch of sweet creativity to your holiday celebrations? Let’s dive into this scrumptious recipe together!
Why Are Deviled Brownies a Must-Try?
Irresistible flavor combination: A rich, fudgy brownie pairs perfectly with a creamy, tangy filling, making each bite a heavenly experience.
Quick and Easy: Using a brownie mix streamlines the process, making it accessible for even novice bakers—perfect for last-minute treats!
Festive Appeal: Their fun egg-shaped design makes them an ideal addition to any Easter gathering or spring celebration.
Versatile Options: Feel free to substitute fillings, like cookie butter or peanut butter, to switch things up! For more fun variations, check out these creative brownie ideas.
Crowd-Pleasing: With about 24 brownies per batch, these treats are guaranteed to satisfy guests at any party, leaving everyone asking for the recipe!
Deviled Brownies Ingredients
• Here’s everything you need to create the perfect deviled brownies!
For the Brownies
- Brownie Mix – Use an 18.3 oz box and prepare according to package directions for the best fudgy texture.
- Water – Necessary to hydrate the brownie mix and ensure a rich flavor.
- Vegetable Oil – Adds moisture that keeps the brownies soft and chewy.
- Eggs – Binding agents that help create the perfect brownie structure.
For the Filling
- Cream Cheese – Softened for easy mixing, it adds a delightful richness and tangy flavor to the filling.
- Marshmallow Cream – Provides a sweet and light texture that beautifully complements the brownies; you can swap it with cookie butter for a fun twist!
For Decoration
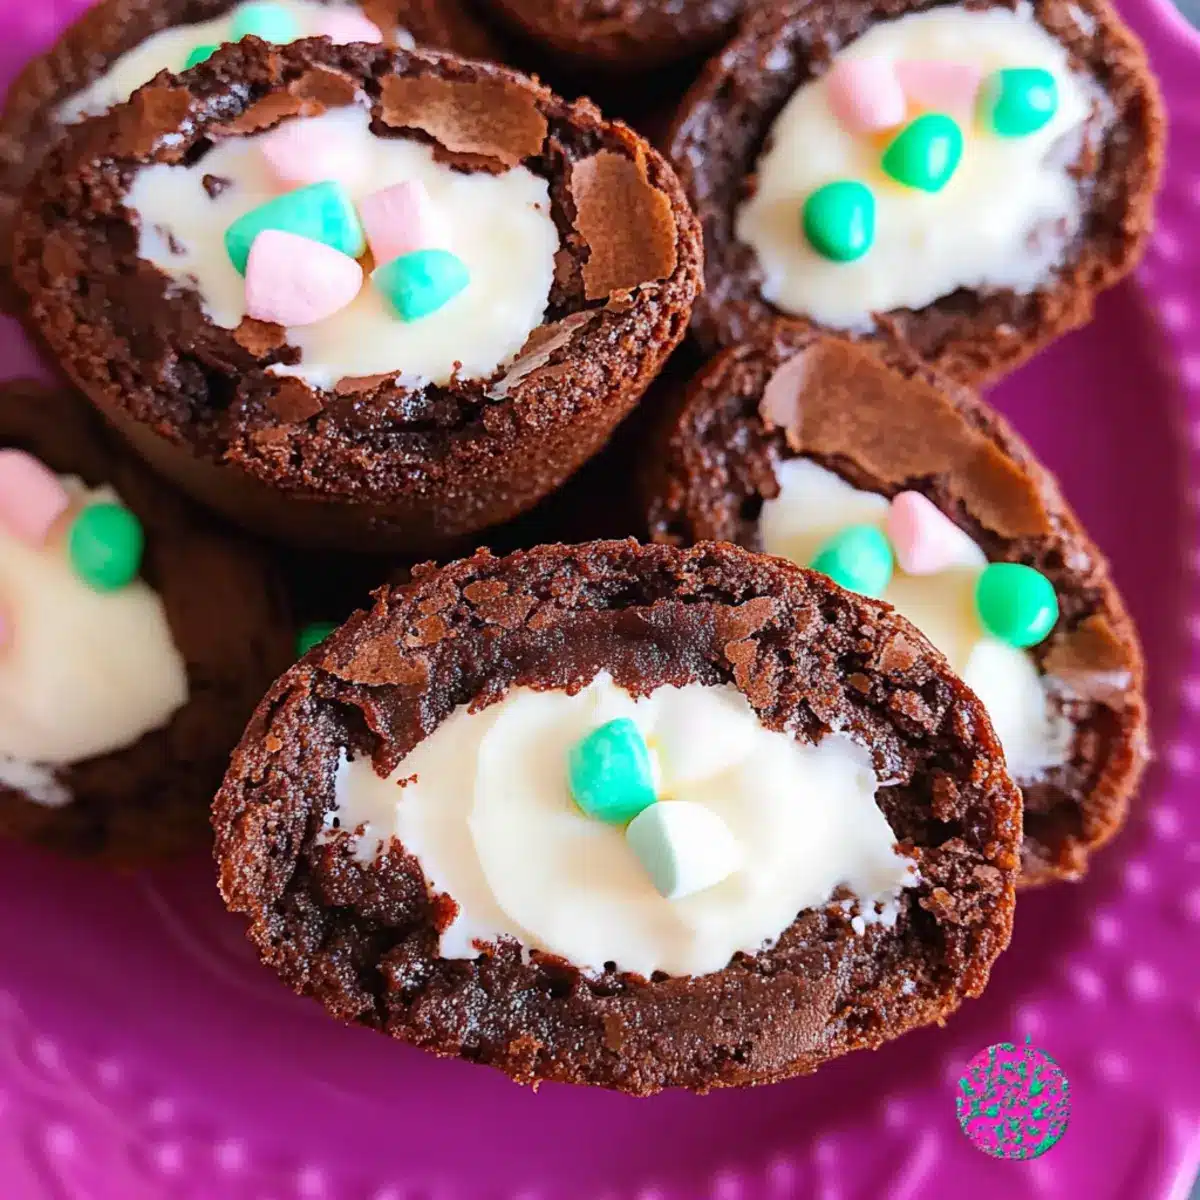
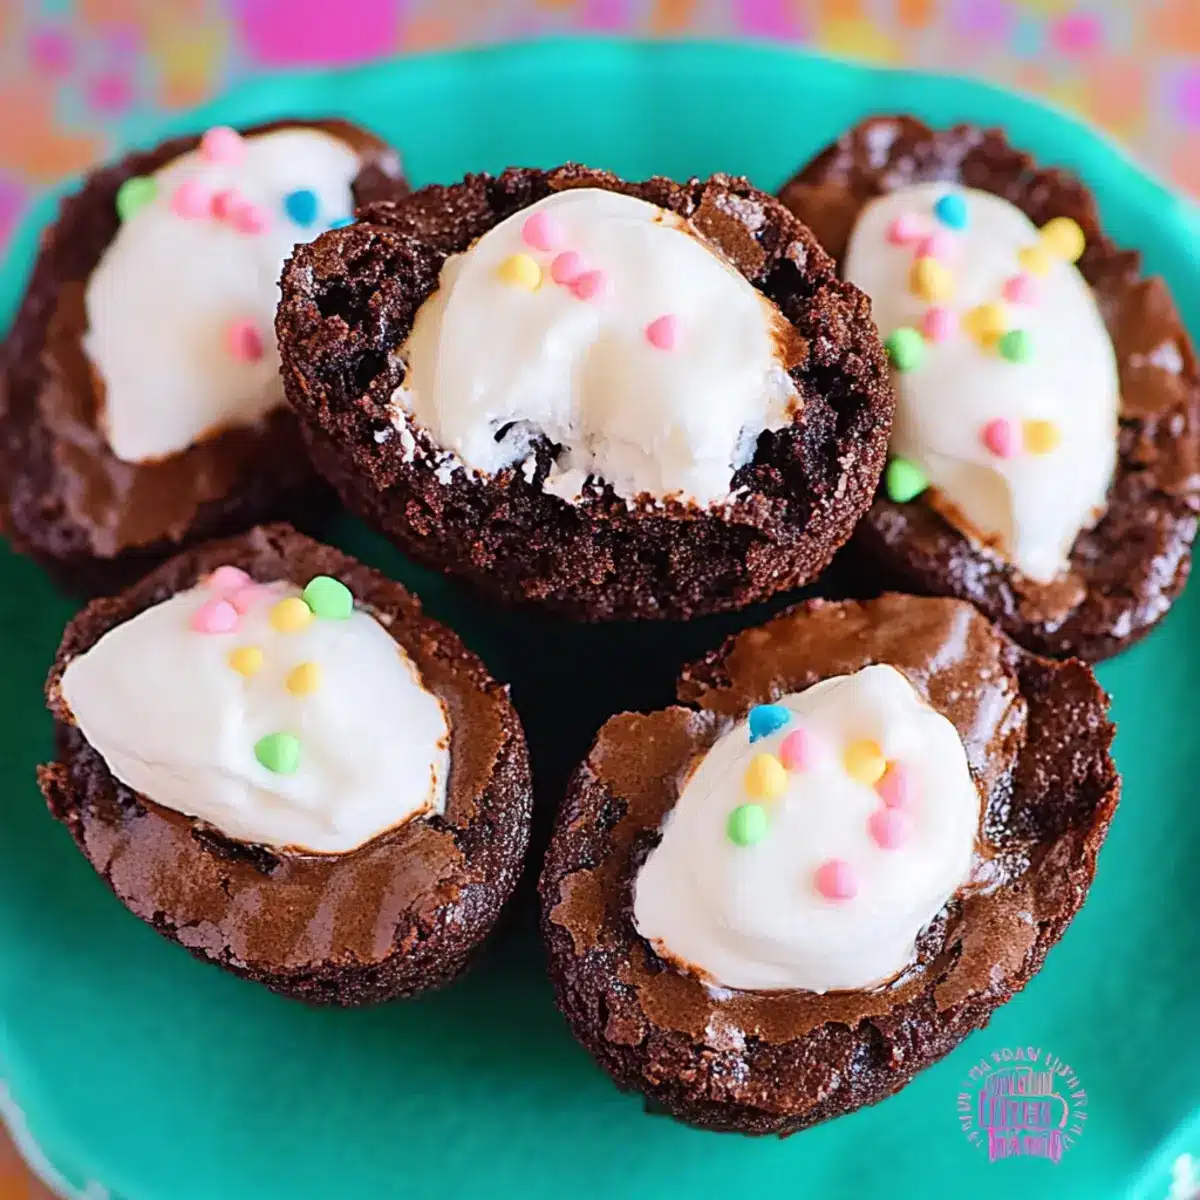
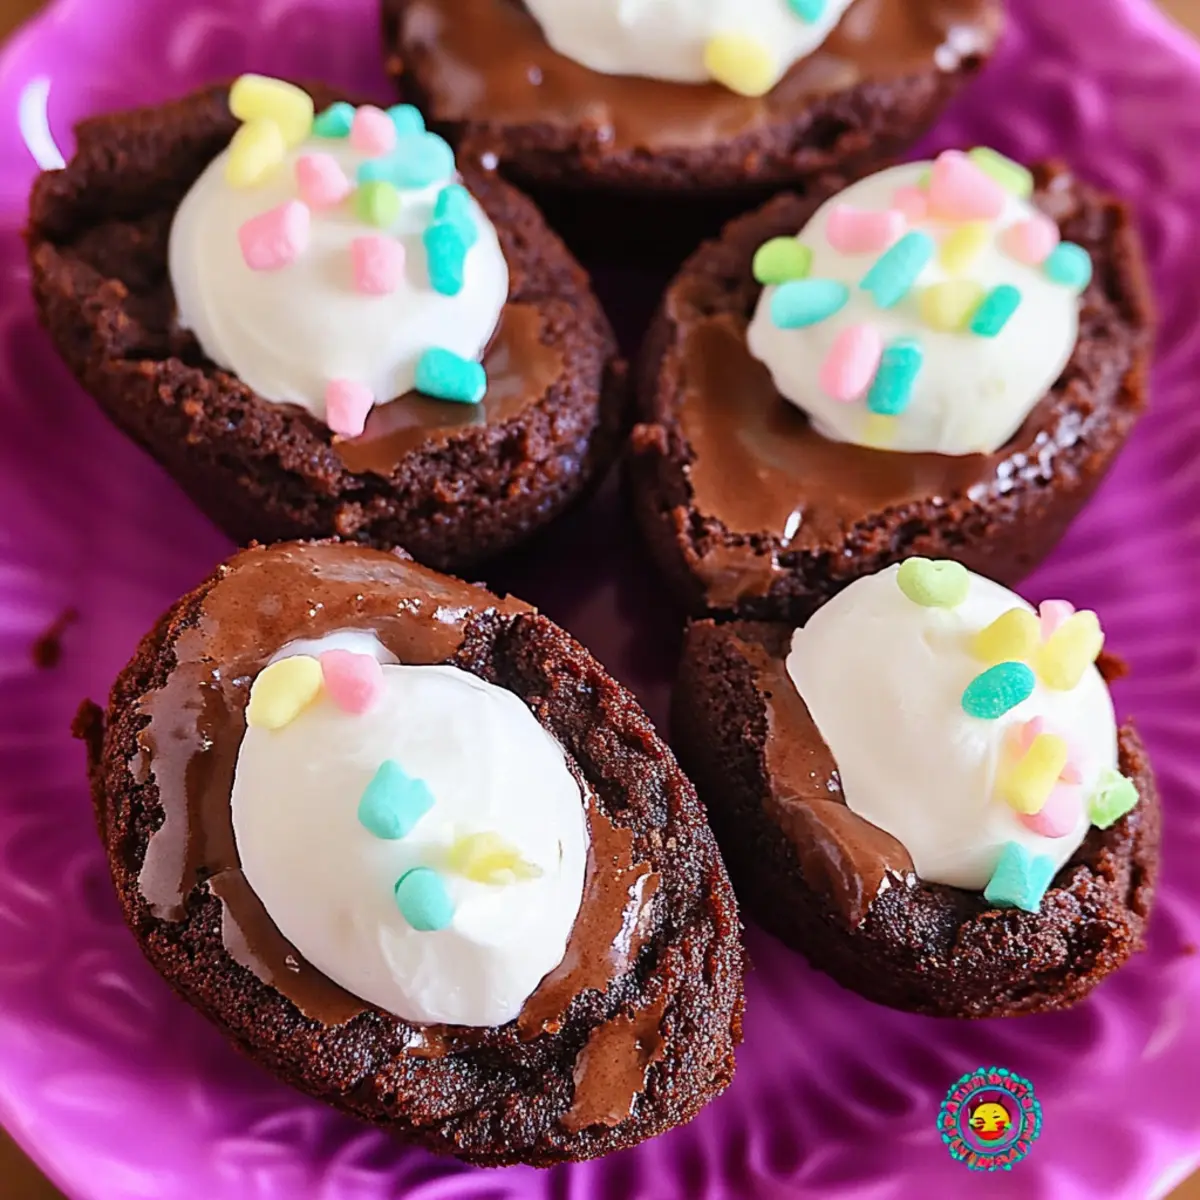
- Sprinkles – Optional, but they add a whimsical touch—add right before serving to keep their vibrant color!
Now, with these deviled brownies ingredients, you’re well on your way to creating a delightful Easter treat that’s quick and easy to make while still being a crowd-pleaser! Happy baking!
Step‑by‑Step Instructions for Deviled Brownies
Step 1: Preheat the Oven
Begin by preheating your oven to 350°F (175°C). This temperature is crucial for achieving the perfect fudgy texture in your deviled brownies. As the oven heats, gather your ingredients and line up your egg-shaped silicone molds to be greased. Taking this step ensures an even bake from the start.
Step 2: Prepare the Brownie Batter
In a mixing bowl, prepare the brownie mix according to the package instructions, typically combining it with water, vegetable oil, and eggs. Stir until just combined to avoid overmixing, which can lead to tougher brownies. The mixture should be thick and slightly glossy, indicating it’s ready for the molds.
Step 3: Grease the Molds
Generously grease your egg-shaped silicone molds with nonstick cooking spray to prevent any sticky situations later. This step is vital for easy removal once the brownies are baked. Ensure every cavity is well-coated, focusing especially on the edges to ensure a smooth release.
Step 4: Fill the Molds
Using a 2-tablespoon scoop, carefully fill each mold cavity with the brownie batter, ensuring they are approximately two-thirds full. This allows enough room for rising without spilling over. The batter should look smooth and even in the molds, giving you a promising start to your deviled brownies.
Step 5: Bake the Brownies
Place the filled molds in the preheated oven and bake for 24-26 minutes. Keep an eye on them; they are done when a toothpick inserted into the center comes out clean or with a few moist crumbs. You’ll notice a slight puff and a shiny top on your brownies, indicating they are ready.
Step 6: Create a Divot
Once baked, remove the molds from the oven and use a ½ teaspoon to gently press a small divot in the center of each brownie while they are still warm. This step creates the perfect little pocket for the cream cheese filling. Allow the brownies to sit for a few minutes before cooling.
Step 7: Cool the Brownies
Let the brownies cool completely in the silicone molds at room temperature. This cooling period is essential for achieving the ideal texture; don’t rush it! The brownies will firm up a bit more, making them easier to handle when you are ready to fill them.
Step 8: Prepare the Filling
In a separate bowl, beat the softened cream cheese and marshmallow cream together until the mixture is smooth and creamy, free of lumps. This delightful cream cheese filling balances the sweetness of the brownies beautifully. Aim for a consistency that’s easy to pipe but still holds its shape.
Step 9: Fill the Brownies
Transfer the smooth filling into a piping bag fitted with a star tip for decorative flair. Carefully pipe the cream cheese mixture into the divots of each brownie, filling them generously but avoiding overfilling. The combination of the soft brownie and the creamy filling is what makes the deviled brownies so special.
Step 10: Chill and Serve
Place the filled brownies in the refrigerator to chill until you are ready to serve them. This step allows the filling to set and enhances the overall flavor. When ready to serve, you can sprinkle optional decorations on top for a festive touch, making your deviled brownies a crowd-pleasing Easter treat!
What to Serve with Deviled Brownies
Delightful toppings and fresh sides can elevate these whimsical treats into a memorable dining experience.
-
Fresh Fruit Salad: A vibrant mix of seasonal fruits adds a refreshing contrast to the rich brownies, balancing sweetness with natural tartness.
-
Vanilla Ice Cream: Spoon some creamy vanilla ice cream alongside, allowing the warm brownie to melt slightly into the cold treat, creating a heavenly combination.
-
Whipped Cream: A dollop of lightly sweetened whipped cream adds airy lightness and makes every bite even more indulgent.
-
Chocolate Ganache: Drizzling warm, velvety ganache over the top enhances the chocolate flavor and creates a truly decadent dessert.
-
Mint Sprigs: Adding fresh mint as a garnish not only brightens the presentation but also introduces a fragrant freshness that complements the rich flavors.
-
Sparkling Lemonade: A glass of bubbly lemonade brings a zesty, thirst-quenching element that balances the sweetness of the brownies beautifully.
Serving these alongside your deviled brownies will make for a delightful treat that keeps guests coming back for more!
Make Ahead Options
These Deviled Brownies are an absolute gem for meal prep, especially during the busy Easter season! You can make the brownie base up to 24 hours in advance; simply prepare and bake them as directed, then cool completely before storing in an airtight container at room temperature. The cream cheese and marshmallow filling can be prepared up to 3 days ahead—just mix the softened cream cheese and marshmallow cream and keep it covered in the fridge. When you’re ready to serve, fill the cooled brownies with the mixture, chill again for a bit, and voilà! You’ll enjoy the same delicious balance of flavors with minimal last-minute effort, making your preparations feel stress-free and enjoyable.
Deviled Brownies Variations & Substitutions
Customize these delightful deviled brownies to suit your tastes and celebrate every occasion!
- Nutty Twist: Add 2-3 tablespoons of peanut butter to the cream cheese filling for a rich, nutty flavor that elevates the sweetness.
- Quick Frosting: Swap the cream cheese filling for your favorite buttercream frosting if you’re in a hurry; it’s a delightful, speedy alternative.
- Colorful Appeal: Use food coloring to tint the cream cheese filling in pastel shades for Easter, or bold hues for birthdays, adding festive flair to your treats.
- Gluten-Free: Substitute the brownie mix with a gluten-free variant to ensure everyone can enjoy this delectable dessert without compromising flavor.
- Fruit-Filled Delight: Mix in chopped strawberries or raspberries into the cream cheese filling for fruity bites that complement the chocolate perfectly.
- Spicy Kick: Add a pinch of cayenne or chili powder to the brownie batter for a subtle heat that contrasts beautifully with the sweetness.
- Crispy Crunch: Fold in crushed nuts or chocolate chips into the brownie mix for a delightful crunchy texture in every fudgy bite.
- Seasonal Swaps: Experiment with different fillings based on the occasion—like pumpkin spice for fall or peppermint for the holidays—to keep things exciting!
Feel free to explore these variations, and if you’re looking for more creative uses for leftover brownies, check out these fun brownie ideas. Happy baking!
Expert Tips for Deviled Brownies
- Cream Cheese Consistency: Ensure your cream cheese is softened but not melted. This ensures a thick filling that pipes beautifully without becoming runny.
- Avoid Overbaking: Keep an eye on your brownies as they bake. Overbaking can lead to dry brownies—remove them from the oven once a toothpick comes out clean or with a few moist crumbs.
- Chill Before Serving: Allow the deviled brownies to chill in the refrigerator after filling. This helps the cream cheese filling set and melds the flavors together for a delicious bite.
- Mold Care: Take extra care when greasing your silicone molds to prevent sticking. A well-greased mold makes removing the brownies much simpler and keeps their adorable shape intact!
- Custom Filling: Feel free to swap the marshmallow cream with cookie butter for a unique twist on these deviled brownies, ensuring every bite has a surprise element.
Storage Tips for Deviled Brownies
-
Room Temperature: Keep deviled brownies in an airtight container at room temperature for up to 2 days to maintain their soft texture and flavor.
-
Fridge: Store the brownies in the refrigerator to extend freshness for up to 4 days. Placing them in an airtight container will prevent them from drying out.
-
Freezer: You can freeze deviled brownies for up to 3 months. Wrap each brownie individually in plastic wrap and then place in a freezer-safe bag to avoid freezer burn.
-
Reheating: To enjoy a warm treat, simply remove a brownie from the fridge or freezer and let it sit at room temperature for a few minutes before gently reheating in the microwave for 10-15 seconds.
Deviled Brownies Recipe FAQs
What type of brownie mix should I use for deviled brownies?
I recommend using an 18.3 oz box of your favorite brownie mix! This size is perfect for creating those fudgy textures we love. Just remember to follow the package instructions for mixing, which usually involves water, oil, and eggs.
How should I store leftover deviled brownies?
To keep your deviled brownies fresh, store them in an airtight container at room temperature for up to 2 days. If you’d like to prolong their deliciousness, transfer them to the refrigerator, where they can last for about 3-4 days. When it comes time to enjoy them, you’ll find that the refrigeration actually enhances their flavor!
Can I freeze deviled brownies?
Absolutely! To freeze your deviled brownies, wrap each one individually in plastic wrap and place them in a freezer-safe bag. They’ll stay fresh for up to 3 months in the freezer. When you’re ready to enjoy, simply remove a brownie, let it thaw at room temperature, and enjoy a delightful treat!
What if my brownies stick to the silicone molds?
If your brownies stick to the molds, it usually means they weren’t greased well enough before baking. For future batches, be generous with the nonstick cooking spray, making sure to coat every cavity. Additionally, allowing the brownies to cool completely in the molds before attempting removal often helps avoid sticking.
Are these deviled brownies suitable for people with nut allergies?
Yes, these deviled brownies can be made nut-free! Just be sure to check your brownie mix and filling options, as some may contain traces of nuts. Stick to the basic ingredients as outlined in the recipe, and you can enjoy these treats without concerns.
What’s the best way to pipe the cream cheese filling?
For neat filling, transfer your cream cheese and marshmallow cream mixture into a piping bag fitted with a star tip. This method not only allows for a beautiful presentation but also helps in controlling the amount filled. If you don’t have a piping bag, a plastic sandwich bag with a corner snipped off will work wonderfully too!
Irresistible Deviled Brownies with Creamy Filling for Easter
Ingredients
Equipment
Method
- Preheat the oven to 350°F (175°C).
- Prepare the brownie batter according to package instructions.
- Grease the silicone molds with nonstick cooking spray.
- Fill each mold cavity with brownie batter, about two-thirds full.
- Bake for 24-26 minutes or until toothpick comes out clean.
- Create a divot in each brownie while still warm.
- Cool brownies completely in molds at room temperature.
- Beat cream cheese and marshmallow cream together until smooth.
- Pipe filling into the divots of each brownie.
- Chill the brownies in the refrigerator until ready to serve.
Leave a Reply