
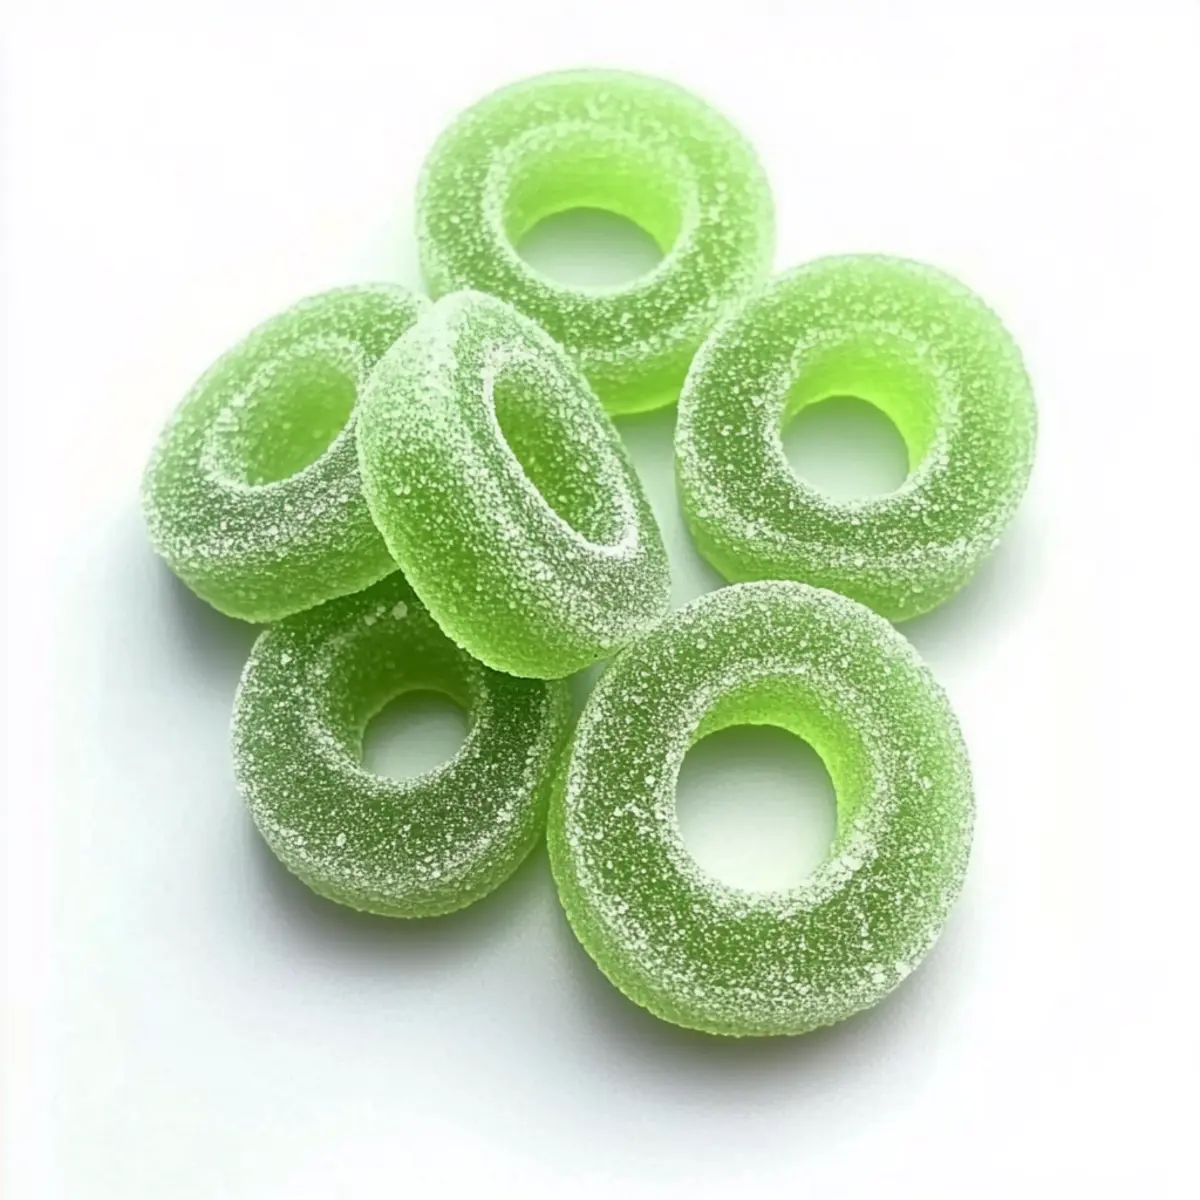
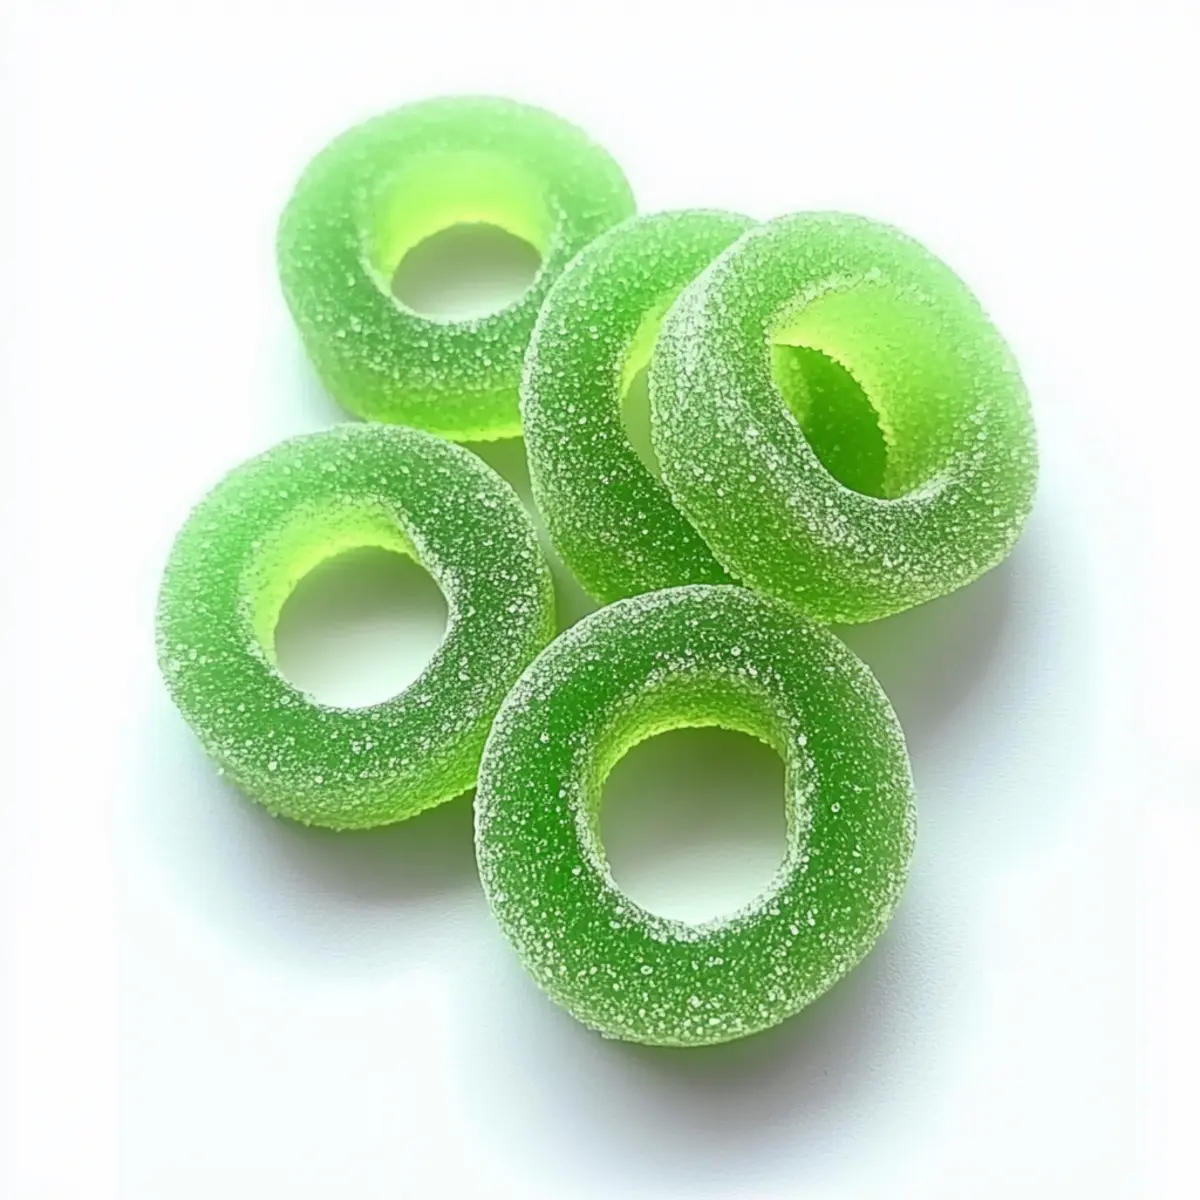
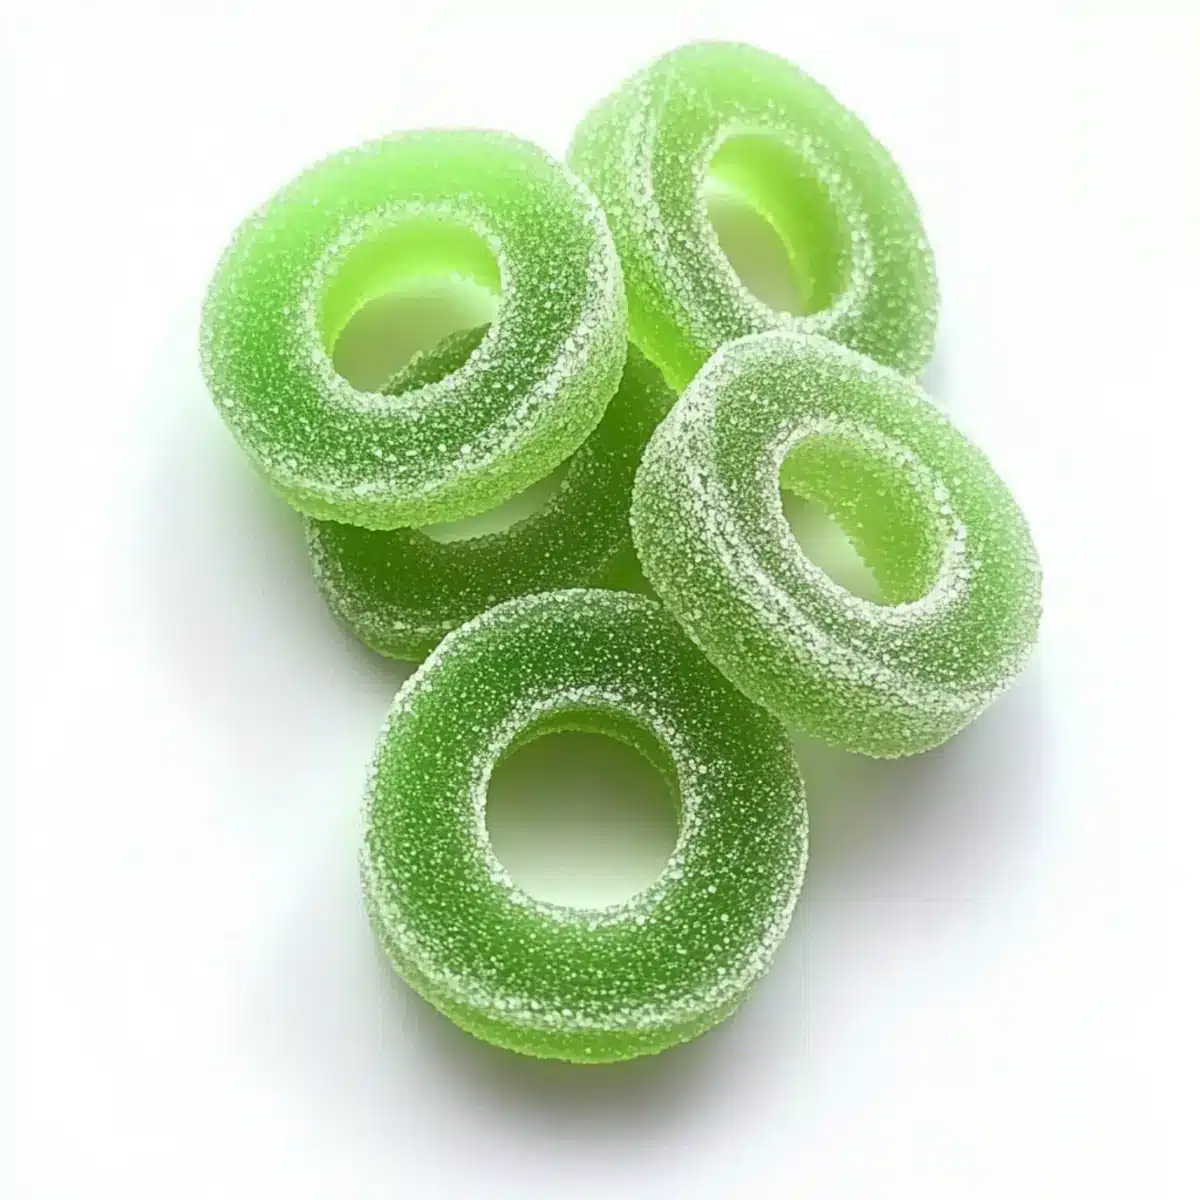
Walking through a sunlit market, I stumbled upon a stand bursting with vibrant green apples. Their tartness was irresistible and instantly took me back to my childhood, where the sweet tang of sour apple rings was my ultimate indulgence. Today, I’m excited to share my homemade recipe for GUMMY APPLE RINGS, LIGHT SOUR. These delightful treats not only bring a nostalgic twist to your candy cravings but are also incredibly easy to whip up in no time. Perfect for gatherings or a fun afternoon project, they promise to be a hit with kids and adults alike. So, are you ready to transform those juicy memories into a chewy candy adventure? Let’s dive in!
Why make sour gummy apple rings?
Deliciously Tangy: These homemade gummy apple rings are bursting with a perfectly balanced sour flavor that will leave your taste buds dancing.
Quick and Easy: You’ll find this recipe simple to follow, making it ideal for both beginners and seasoned candy enthusiasts.
Versatile Flavor: Though the apple flavor is vibrant, feel free to switch it up with other fruits, like cherry or lemon, to cater to different tastes.
Perfect for Occasions: These sour gummy rings are great for parties, candy buffets, or as thoughtful homemade gifts that everyone will love!
Crowd-Pleaser: Whether kids or adults, these chewy treats bring smiles all around, making them a perfect addition to any gathering!
Wholesome Fun: Lastly, if you enjoy creative cooking, check out my Sweet Sour Meatballs for another tasty homemade treat.
Gummy Apple Rings Ingredients
For the Candy Mixture
- Glucose Syrup – Provides sweetness and moisture; can be substituted with corn syrup if needed.
- Sugar – Adds sweetness and helps with texture; consider using a low-calorie sweetener for a healthier option.
- Gelatin – Gives the candy its chewy texture; for a vegetarian alternative, opt for agar-agar.
- Modified Potato Starch – Enhances mouthfeel and stability; omit if you’re in a hurry and focusing on quick consumption.
For the Sour Flavor
- Citric Acid – Delivers the signature sour taste; lemon juice can replace it, but the flavor strength may vary.
- Lactic Acid – Adds depth to the sourness; if unavailable, you can use additional citric acid instead.
- Malic Acid – Intensifies the sour kick; feel free to omit or adjust the amount of citric acid to taste.
- Sodium Malate – Regulates acidity; while there’s no direct substitute, you might experiment with other acids.
For Color and Taste
- Artificial Flavor – Provides the distinct apple flavor; natural apple extract makes for a healthier choice.
- Turmeric – Used for coloring in the gummies; you can skip this if the candy’s hue isn’t a concern.
- FD&C Blue No. 1 – Adds vibrant color; for a natural version, beet juice works well as an alternative.
Get ready to enjoy delightful gummy apple rings with a light sour twist that will take you down memory lane!
Step‑by‑Step Instructions for GUMMY APPLE RINGS, LIGHT SOUR
Step 1: Prepare the Mixture
In a medium saucepan, combine the glucose syrup, sugar, gelatin, and modified potato starch. Stir continuously over medium heat for about 5-7 minutes, until the mixture is completely dissolved and smooth. You’ll know it’s ready when the liquid is shiny and homogeneous, with no grainy texture remaining.
Step 2: Add Acids
Once the mixture is fully melted and smooth, remove the saucepan from the heat. Carefully stir in the citric, lactic, and malic acids, ensuring they are thoroughly incorporated. This step adds the signature zing to your gummy apple rings. It should blend seamlessly, resulting in a fragrant, tangy mixture.
Step 3: Color and Flavor
Next, incorporate the artificial flavor and turmeric (or FD&C Blue No. 1) into the mixture for both taste and color. Stir well for about 2 minutes until the color is evenly distributed, leaving no streaks behind. The vibrant green hue will signal that your gummy apple rings are ready for molding.
Step 4: Mold the Candy
Carefully pour the prepared mixture into candy molds shaped like rings. Fill each cavity to the top, allowing no air bubbles. Let the filled molds sit at room temperature for approximately 4-6 hours, or until the candies are set firm to the touch. Check for a slight bounce back when pressed gently.
Step 5: Finish and Dry
Once the gummy apple rings have set, gently remove them from the molds, taking care not to tear any. Place the candies in a single layer on a clean surface, allowing them to dry for several hours. This step is crucial for achieving a firmer texture, enhancing the chewiness of your delicious treats.
How to Store and Freeze Gummy Apple Rings
Airtight Container: Store your gummy apple rings in an airtight container at room temperature for up to two weeks to maintain their chewy texture and delightful flavor.
Drying Time: If dried properly, these gummy treats can last longer without becoming sticky—just ensure they’re spread in a single layer before storing.
Freezing Option: For extended storage, you can freeze the gummy rings. Place them in a freezer-safe bag, where they can last up to three months without losing flavor.
Reheating Tip: If frozen, let the gummy apple rings thaw at room temperature for a few hours before enjoying to restore their chewy goodness.
What to Serve with Sour Green Apple Gummy Rings
Satisfy your candy cravings by pairing these vibrant, chewy treats with delightful accompaniments that elevate your enjoyment!
-
Creamy Vanilla Ice Cream: The cool, creamy texture beautifully contrasts the chewy gummy apple rings, creating a deliciously indulgent treat.
-
Sparkling Water with Lime: The refreshing fizz enhances the sour notes of the candy, making for a vibrant and thirst-quenching pairing.
-
Fruit Salad Medley: Combine fresh fruit like strawberries, bananas, and cucumbers for a refreshing and light counterpart that adds a healthy crunch. It’s a delightful way to balance the sweet and sour flavors.
-
Chocolate-Covered Pretzels: The salty crunch and rich chocolate create a playful contrast to the tangy gummy rings, perfect for adventurous eaters!
-
Nut Butter Dip: A scoop of almond or peanut butter adds a smooth, nutty richness that perfectly complements the candy’s sweetness and sour zing.
-
Homemade Lemonade: Sipping on a glass of zesty lemonade enhances the flavor experience and keeps the party atmosphere lively.
-
Mini Cheesecake Bites: The creamy, rich cheesecake balances the candy’s acidity; topped with a fruit glaze, it’s a sweet match made in dessert heaven.
-
Tea with Honey: A warm cup of herbal tea sweetened with honey soothes the senses, contrasting nicely with the chewy texture of the gummy treats.
Indulge in these scrumptious pairings for a perfect candy experience that makes your gummy apple rings truly shine!
Expert Tips for Gummy Apple Rings
- Perfect Texture: Ensure that your sugar is completely dissolved before adding acids to avoid any graininess in your gummy apple rings.
- Temperature Check: Use a candy thermometer to monitor the mixture’s temperature; accurate readings will help you achieve a delightful and consistent chewiness.
- Sour Balance: Be cautious with the amount of sour ingredients; adding too much citric or malic acid can lead to an excessively tangy flavor.
- Natural Color: If you prefer a more natural look, consider using beet juice instead of artificial coloring to achieve that vibrant green without additives.
- Storage Wisdom: Keep your gummy apple rings in an airtight container at room temperature to maintain their texture and freshness for longer enjoyment.
Gummy Apple Rings Variations
Feel free to get creative with these gummy apple rings and make them your own delightful twist on a classic treat!
-
Fruit Flavor Swap: Replace the sour apple flavor with other fruity options like cherry, lemon, or raspberry for a different zing. Each fruit adds a unique taste experience!
-
Vegan Alternative: Use agar-agar instead of gelatin for a fully plant-based gummy. This keeps the chewy texture while accommodating dietary preferences.
-
Add Spices: Sprinkle a touch of cinnamon or nutmeg into the mixture to amplify the flavor profile. This adds warmth and an extra layer of complexity to your gummies.
-
Sweetness Levels: Experiment with sugar substitutes like honey or agave syrup for a sweeter twist. Adjust to taste to maintain that wonderful balance between sweet and sour.
-
Coating Twist: After drying, toss the gummy rings in a mixture of citric acid and powdered sugar for an extra tangy crust. It turns the candies into a delightful taste sensation!
-
Layered Gummies: Create stripes by pouring different colors and flavors in layers. This not only looks stunning but also surprises the palate with multiple bursts of flavor.
-
Texture Variation: For a chewier gummy, increase the gelatin slightly. This allows for a fun, bouncy texture that gummy lovers crave!
-
Zesty Zing: Add zest from fresh limes or lemons to the mixture for additional brightness in flavor. It enhances the overall taste profile, making every bite a delightful adventure.
If you’re looking for more fun recipes to try, don’t miss my delightful Apple Fritter Bites or indulge in a heavenly Japanese Cheesecake Light for a sweet end to your day!
Make Ahead Options
These GUMMY APPLE RINGS are perfect for those busy days when you want a delightful treat without the last-minute fuss! You can prepare the candy mixture up to 24 hours in advance. Simply follow the recipe up to the molding step, then refrigerate the mixture in an airtight container. When you’re ready to enjoy your homemade candies, pour the mixture into molds and allow them to set at room temperature, which should take about 4-6 hours. To maintain the chewy texture and vibrant flavor, let the finished gummy apple rings dry completely before storing them in an airtight container. They’ll be just as delicious, making your next gathering a breeze!
Gummy Apple Rings Recipe FAQs
What is the best way to select ripe apples for this recipe?
Absolutely! When choosing apples, look for firm, bright green varieties, like Granny Smith. Avoid ones with dark spots or soft spots, as they indicate overripeness. Fresh apples will enhance the vibrant flavor of your gummy apple rings.
How should I store my gummy apple rings, and how long do they last?
These delightful treats should be kept in an airtight container at room temperature. They’ll stay fresh and chewy for up to two weeks. If you’ve properly dried them and stored them well, they could last even longer without becoming sticky!
Can I freeze gummy apple rings for later use?
Yes, you can freeze your gummy apple rings! Simply place them in a freezer-safe bag or container, and they’ll maintain their flavors for up to three months. To enjoy them, let the gummy rings thaw at room temperature for a few hours before munching on them.
What if my gummy mixture turns grainy during preparation?
Very! If you notice your mixture becomes grainy, it may be due to undissolved sugar. To fix it, ensure you stir the glucose syrup and sugar together over medium heat until fully dissolved and shiny. If needed, adjust the heat slightly and keep stirring. Patience is key!
Are there any dietary considerations I should be aware of for this recipe?
Yes, absolutely! While this gummy recipe is gluten-free, if you’re accommodating allergies, check the labels on your ingredients, especially for additives in glucoses or flavors. If using gelatin, note it’s not vegetarian, but you can easily substitute it with agar-agar if needed.
Can I alter the sourness of my gummy rings?
Of course! Adjust the sour profile to your liking by varying the amounts of citric, lactic, and malic acids in the recipe. Start with less, and you can always add more if you prefer an extra zing! Keep taste-testing along the way to find your perfect balance.

Savor the Zing with Light Sour Gummy Apple Rings
Ingredients
Equipment
Method
- In a medium saucepan, combine the glucose syrup, sugar, gelatin, and modified potato starch. Stir continuously over medium heat for about 5-7 minutes, until smooth.
- Once melted, remove from heat and stir in citric, lactic, and malic acids until thoroughly incorporated.
- Incorporate the artificial flavor and turmeric (or FD&C Blue No. 1) into the mixture and stir well for about 2 minutes.
- Pour the prepared mixture into candy molds shaped like rings without air bubbles.
- Let the molds sit at room temperature for approximately 4-6 hours until set firm.
- Once set, remove from molds and place the candies in a single layer to dry for several hours.
Leave a Reply