
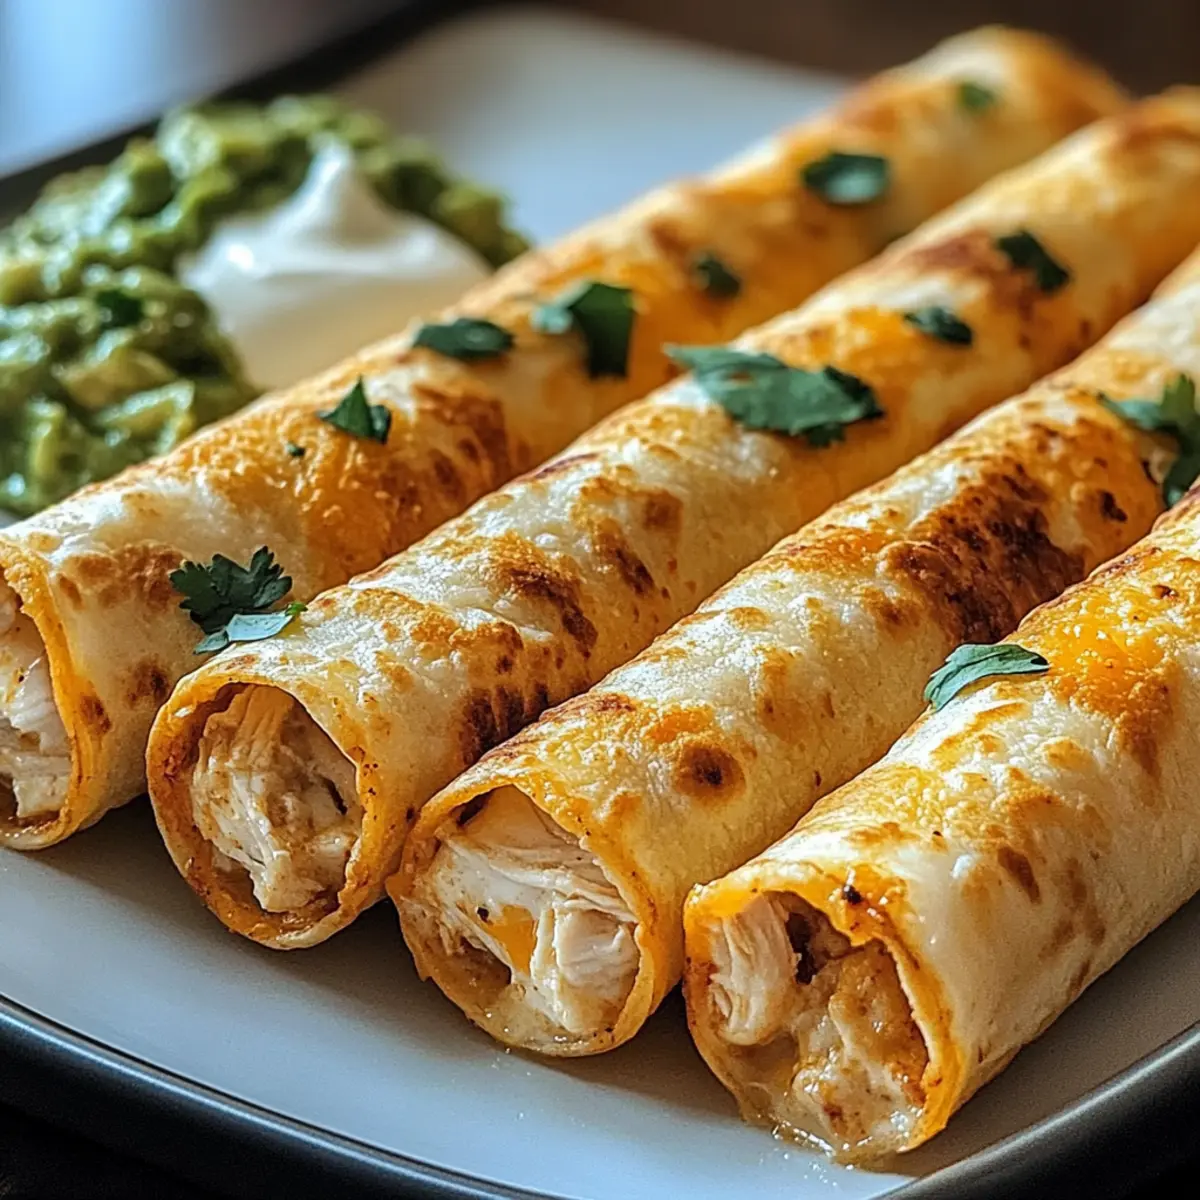
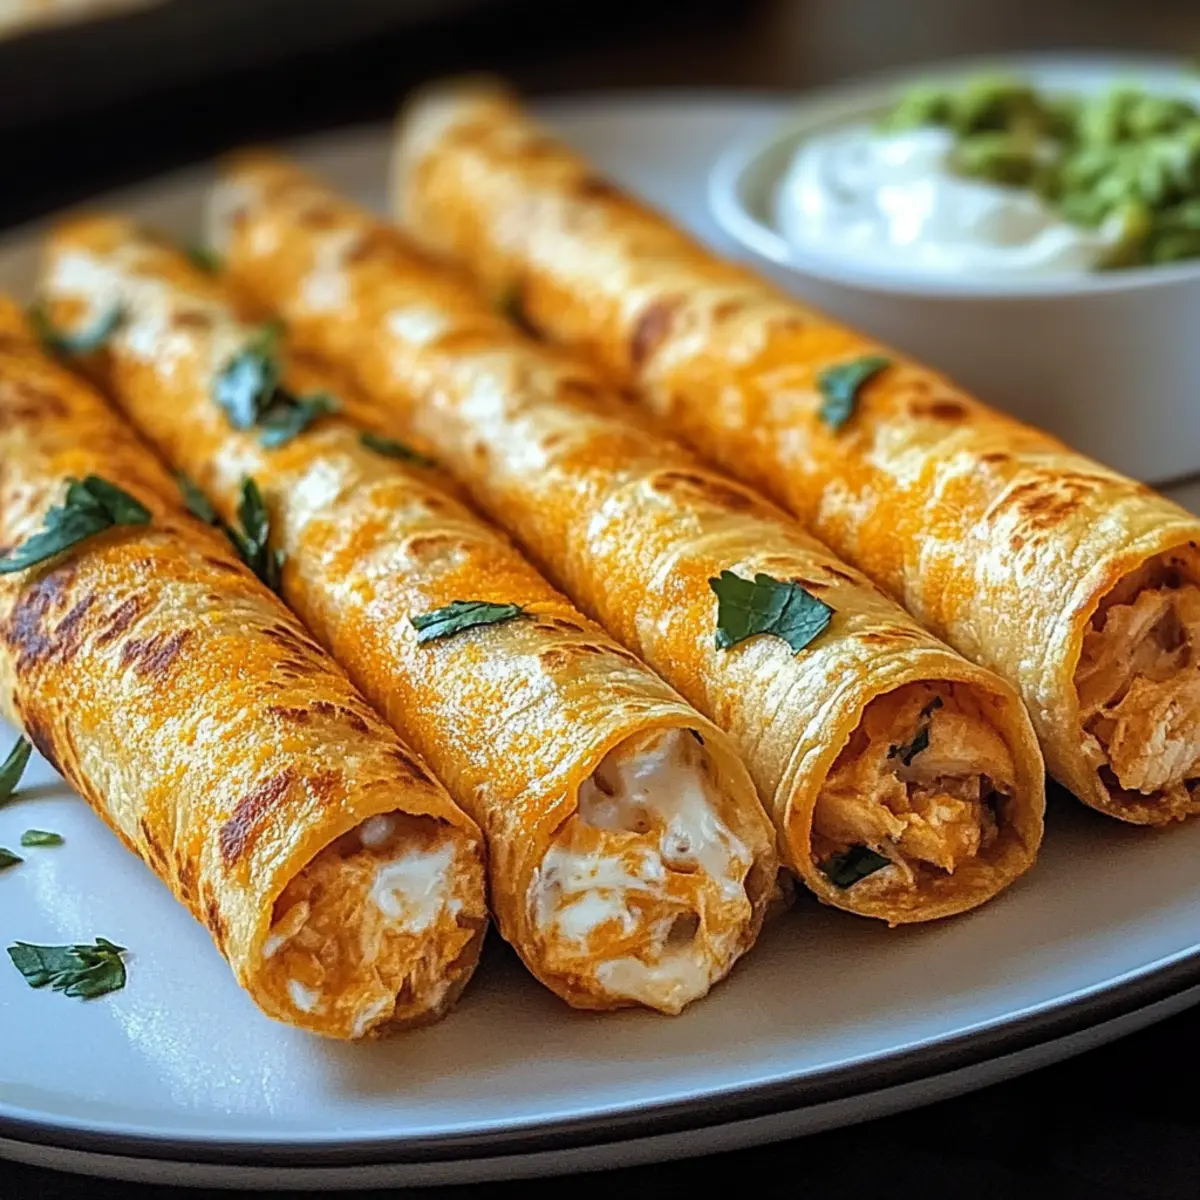
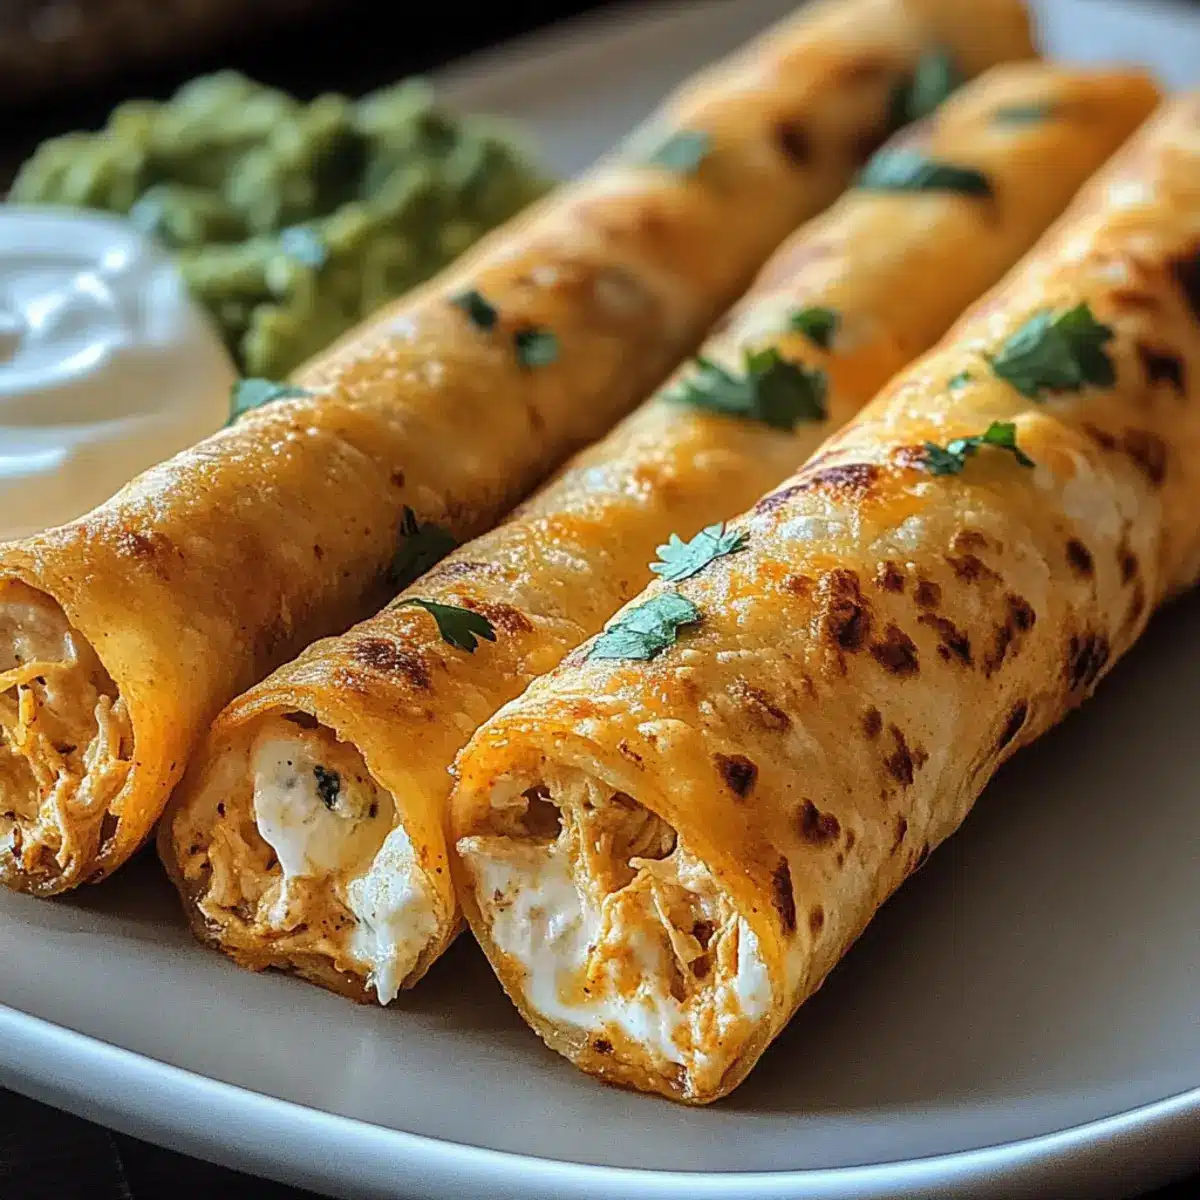
As the enticing aroma of spices fills the kitchen, I find myself whisked away to a bustling mercado in Mexico, where colorful stalls overflow with vibrant ingredients. There’s nothing quite like Crispy Chicken Taquitos to reignite that passion for homemade meals, and that’s precisely what I’m excited to share today. These deliciously golden taquitos are perfectly crispy on the outside, cradling a rich and creamy chicken filling that’s as customizable as your cravings. Whether you’re looking for a quick weeknight fix or a fun appetizer for gatherings, these Mexican-inspired bites are a definite crowd-pleaser. The best part? They can be air-fried or baked for a healthier twist without skimping on flavor. Just think of the possibilities! What toppings will you pair them with today?
Why are Crispy Chicken Taquitos a Must-Try?
Savory Deliciousness: These Crispy Chicken Taquitos are bursting with flavor, thanks to a rich blend of spices and creamy fillings that your taste buds will adore.
Quick and Easy: With just a few simple steps, you can whip up these delightful bites in under 30 minutes. Perfect for busy weeknights or impromptu gatherings!
Customizable Options: Feel free to swap ingredients based on what you love or have on hand, whether it’s black beans or different cheeses.
Healthy Twist: Baked or air-fried, these taquitos allow you to enjoy a decadent treat without the guilt, making them ideal for health-conscious foodies.
Family-Friendly Appeal: Your whole crew will devour these cheesy delights—whether served as an after-school snack or a main dish for dinner. Pair them with a side of fresh salad or your favorite dip, like spicy avocado sauce or homemade guacamole for an irresistible meal!
Crispy Chicken Taquitos Ingredients
For the Filling
- Cooked Shredded Chicken – Main protein source that offers flavor and texture; substitute with rotisserie chicken for convenience.
- Cream Cheese – Adds creaminess to the filling; use reduced-fat cream cheese for a lighter option.
- Shredded Cheddar Cheese – Provides a cheesy flavor; can substitute with Mexican blend cheese for added zest.
- Salsa – Acts as a moisture and flavor booster; choose mild or hot based on your preference.
- Garlic Powder – Enhances the savory flavor; substitute with fresh minced garlic if preferred.
- Chili Powder – Adds warmth and spice to the filling; adjust quantity to taste.
- Cumin – Delivers earthy notes characteristic of Mexican cuisine.
- Salt and Black Pepper – Used for seasoning; adjust to enhance overall flavors.
For the Taquitos
- Tortillas (flour or corn) – Base for taquitos; use corn tortillas for a gluten-free option; warm before filling to prevent cracking.
- Cooking Spray or Oil – Used for brushing; ensures crispiness when baked to perfection.
Step‑by‑Step Instructions for Crispy Chicken Taquitos
Step 1: Preheat and Prepare
Begin by preheating your oven to 425°F (220°C). Line a baking sheet with parchment paper or lightly grease it with cooking spray. This step is crucial for achieving that perfectly crispy texture on your Crispy Chicken Taquitos. While the oven heats, you’ll be preparing the delicious filling that will be nestled inside the taquitos.
Step 2: Mix the Filling
In a large mixing bowl, combine the cooked shredded chicken, cream cheese, shredded cheddar cheese, salsa, garlic powder, chili powder, cumin, salt, and pepper. Use a spatula or fork to mix everything thoroughly until the ingredients are well integrated. The mixture should be creamy and cohesive, ensuring every bite of your taquitos bursts with flavor.
Step 3: Warm the Tortillas
To prevent cracking during rolling, warm the tortillas in the microwave for about 20 seconds. This softening step is essential for flexibility; it makes it easier to roll your Crispy Chicken Taquitos tightly and prevents any breakage. If you’re using corn tortillas, this step is even more important for achieving the ideal texture.
Step 4: Fill and Roll the Taquitos
On each warmed tortilla, place 2-3 tablespoons of your chicken filling on one side. Carefully roll the tortilla tightly around the filling, ensuring the seam is on the bottom. Arrange each taquito seam-side down on the prepared baking sheet. This will help them stay closed during baking, allowing for crispy edges.
Step 5: Brush with Oil
Lightly brush each taquito with cooking oil or spray to enhance crispiness during baking. This step is key to achieving that golden-brown exterior that makes Crispy Chicken Taquitos so irresistibly crunchy. Ensure each taquito gets an even coating for consistent browning as they bake.
Step 6: Bake to Perfection
Place your baking sheet in the preheated oven and bake the taquitos for 15-20 minutes. Keep an eye on them; once they turn golden brown and crispy, they’re done! For extra crunch, you can broil them for an additional 1-2 minutes at the end, just until they reach your desired level of crispiness.
Step 7: Serve and Enjoy
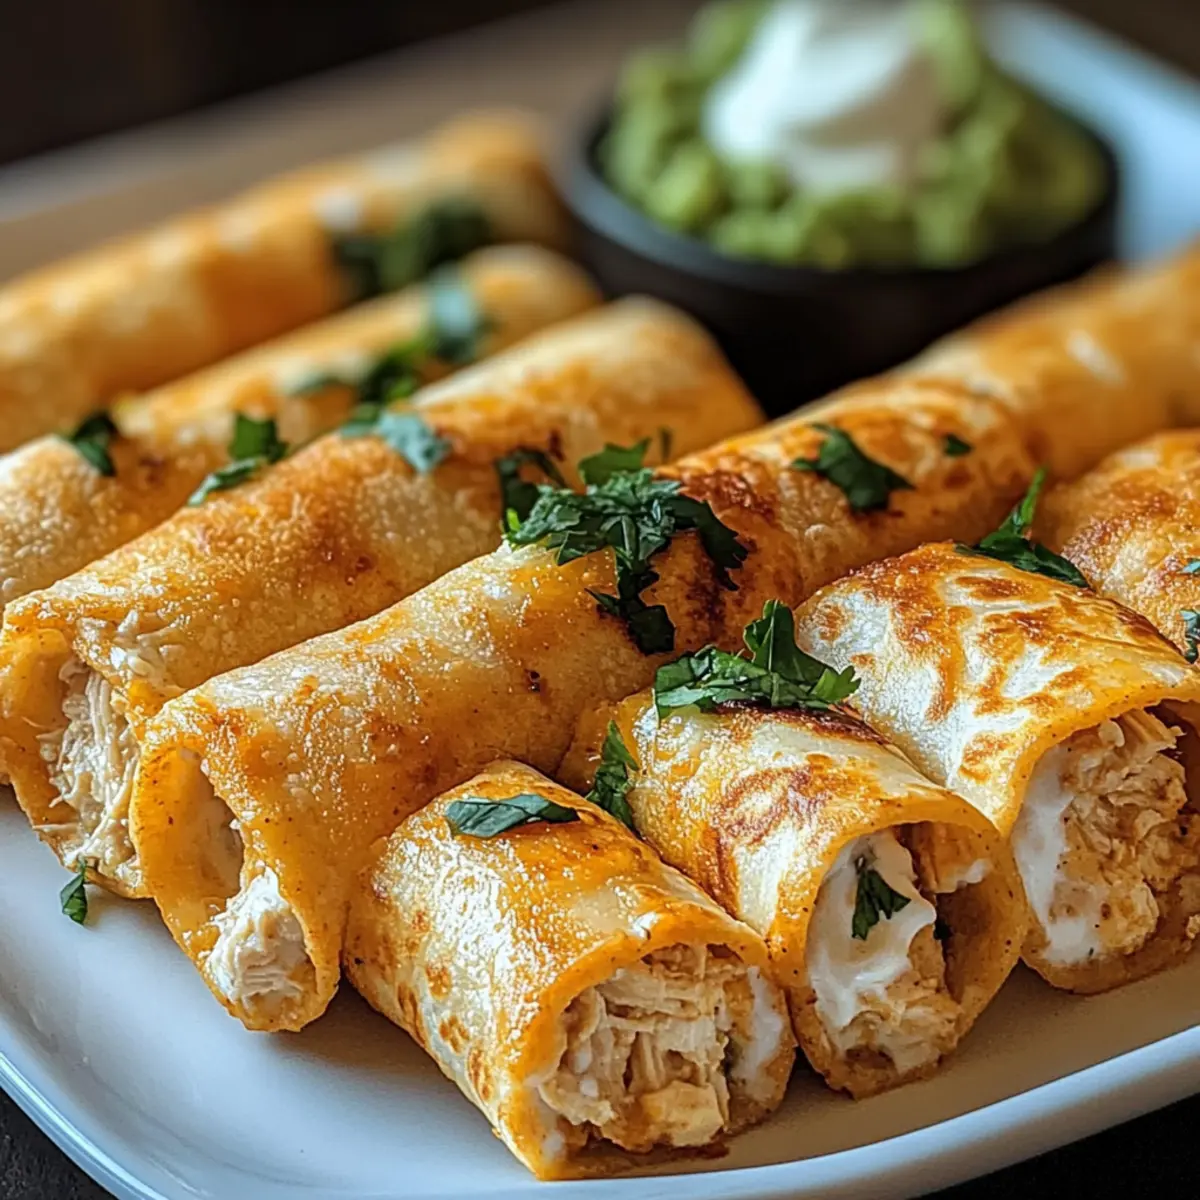
Once out of the oven, let your Crispy Chicken Taquitos cool for a minute. Serve them warm with your favorite toppings, such as sour cream, guacamole, or salsa. They make for a perfect snack or appetizer and are certain to be a hit at any gathering or family meal!
What to Serve with Crispy Chicken Taquitos
Elevate your taquito experience with these delightful pairings that create a feast for the senses!
-
Creamy Guacamole: Fresh, vibrant, and creamy, this classic dip brings a cool contrast to the crispy taquitos. The rich avocado flavor complements the spices perfectly.
-
Zesty Mexican Rice: Flavored with tomatoes, spices, and cilantro, this side dish adds a comforting warmth that enhances the meal’s overall flavor profile.
-
Crisp Garden Salad: A refreshing mix of greens and vegetables provides a crunchy texture and lightness that helps balance the richness of the taquitos. Top with a zesty lime vinaigrette for a burst of flavor.
-
Spicy Black Beans: Hearty and fiber-rich, Black Beans add a delicious depth and spice, making every bite satisfying and nutritious. They blend beautifully with the taquitos for a complete meal.
-
Sour Cream or Greek Yogurt: A dollop provides wonderful creaminess, cooling down the heat from any spices and complementing the savory filling of the taquitos.
-
Chilled Beer or Margarita: For an adult twist, pair your meal with a refreshing drink! A light beer or fruity margarita enhances the festive vibe, making your dinner feel like a celebration.
Expert Tips for Crispy Chicken Taquitos
-
Prep in Advance: You can assemble Crispy Chicken Taquitos ahead of time. Store them in the fridge for up to 24 hours or freeze for longer. Bake from frozen with adjusted baking time for convenience.
-
Choose the Right Tortillas: If using corn tortillas for a gluten-free option, make sure they are warmed sufficiently to prevent cracking while rolling.
-
Spice It Up: If you’re craving a kick, add diced jalapeños or a splash of hot sauce to your chicken filling for an extra burst of flavor!
-
Achieving Crispiness: Ensure each taquito is evenly brushed with oil or cooking spray before baking to achieve that golden, crunchy exterior that everyone loves.
-
Mix It Up: Feel free to substitute ingredients based on your taste preferences. Try different cheeses or add black beans for extra nutrition and flavor.
How to Store and Freeze Crispy Chicken Taquitos
Fridge: Store cooked Crispy Chicken Taquitos in an airtight container for up to 3 days. Reheat in the oven or air fryer to restore their crispiness.
Freezer: Freeze assembled taquitos before baking by placing them in a single layer on a baking sheet. Once frozen, transfer to a freezer bag for up to 2 months.
Reheating: Bake from frozen at 425°F (220°C) for 20-25 minutes, adding extra time as needed, until heated through and crispy.
Make-Ahead Tip: Prepare and fill taquitos ahead of time, then refrigerate for up to 24 hours before baking for a quick weeknight meal!
Variations & Substitutions for Crispy Chicken Taquitos
Don’t be afraid to make these Crispy Chicken Taquitos your own! The possibilities are endless, and your taste buds will thank you.
-
Protein Swap: Substitute shredded chicken with turkey or beef for a different flavor profile that maintains the same heartiness.
-
Cheese Choice: Use pepper jack for a spicy kick, or opt for mozzarella for a milder, stretchy texture. Each cheese brings its own flair!
-
Vegetarian Delight: Replace chicken with black beans or grilled vegetables for a satisfying plant-based option that’s still hearty and delicious.
-
Dipping Toppings: Experiment with your favorite sauces like creamy ranch or tangy salsa verde paired with these crispy bites for an extra layer of excitement.
-
Gluten-Free Goodness: Choose corn tortillas instead of flour to make these taquitos gluten-free without sacrificing any flavor or crunch.
For an added punch, consider trying your Crispy Chicken Taquitos alongside a fresh mango salsa or some flavorful guacamole—just like in my Greek Chicken Lemon recipe, where accompaniments dance together beautifully.
Get creative—your taste buds will love your unique twists on these classic taquitos!
Make Ahead Options
Crispy Chicken Taquitos are perfect for meal prep, allowing you to save time on busy weeknights! You can assemble these delicious taquitos and refrigerate them for up to 24 hours before baking. Simply follow the steps for mixing the filling and rolling the taquitos, then store them tightly covered in the refrigerator. For longer storage, freeze them flat for several hours before transferring to an airtight container or freezer bag, where they can last up to 3 months. When you’re ready to enjoy them, bake directly from frozen—just add an additional 5-10 minutes to the baking time for perfectly crispy results. Enjoy the ease of having these flavorful Crispy Chicken Taquitos ready to go whenever cravings strike!
Crispy Chicken Taquitos Recipe FAQs
What type of chicken works best for the filling?
Absolutely! Using cooked shredded chicken is ideal for these taquitos, as it provides both flavor and texture. For convenience, I often use rotisserie chicken. Just shred it up, and you’re good to go!
How should I store leftover taquitos?
For optimal flavor and texture, store cooked Crispy Chicken Taquitos in an airtight container in the refrigerator for up to 3 days. When you’re ready to enjoy them, I recommend reheating in the oven at 375°F (190°C) for about 10-15 minutes, which will help restore their crispiness.
Can I freeze taquitos, and how do I do it?
Certainly! To freeze, assemble your Crispy Chicken Taquitos but don’t bake them yet. Lay them out on a baking sheet in a single layer and freeze for about 1-2 hours until firm. Then, transfer them to a freezer bag, where they can stay good for up to 2 months. When ready to bake, preheat your oven to 425°F (220°C) and bake from frozen for 20-25 minutes, adding extra time if necessary until they’re hot and crispy.
What can I do if my tortillas keep cracking?
No worries! If you find that your tortillas are cracking while rolling, it’s usually because they are too cold. Try warming them in the microwave for about 20 seconds to soften them before filling. Also, consider using fresh corn tortillas as they tend to be more pliable than stale ones.
Are there any dietary considerations for these taquitos?
Absolutely! For a gluten-free option, use corn tortillas. Just ensure they’re warmed before rolling, as this helps prevent cracking. If you or your family members have allergies, avoid any ingredients based on their needs, such as substituting dairy products with plant-based alternatives or leaving out any spices that may cause sensitivity.
Can I make these taquitos ahead of time?
Yes, you can! Assemble and fill the Crispy Chicken Taquitos up to 24 hours in advance. Just keep them covered in the refrigerator until you’re ready to bake. It’s a fantastic way to cut down on prep time for busy weeknights or those impromptu gatherings!
Crispy Chicken Taquitos That Will Wow Your Taste Buds
Ingredients
Equipment
Method
- Preheat your oven to 425°F (220°C) and line a baking sheet with parchment paper or grease lightly.
- In a large bowl, mix cooked shredded chicken, cream cheese, cheddar cheese, salsa, garlic powder, chili powder, cumin, salt, and pepper until well integrated.
- Warm the tortillas in the microwave for about 20 seconds to prevent cracking.
- On each tortilla, place 2-3 tablespoons of the chicken filling and roll tightly, seam-side down on the baking sheet.
- Brush each taquito lightly with cooking oil or spray for crispiness.
- Bake in the oven for 15-20 minutes until golden brown and crispy. Optionally broil for the last 1-2 minutes for extra crunch.
- Let cool briefly and serve warm with toppings like sour cream or guacamole.
Leave a Reply