
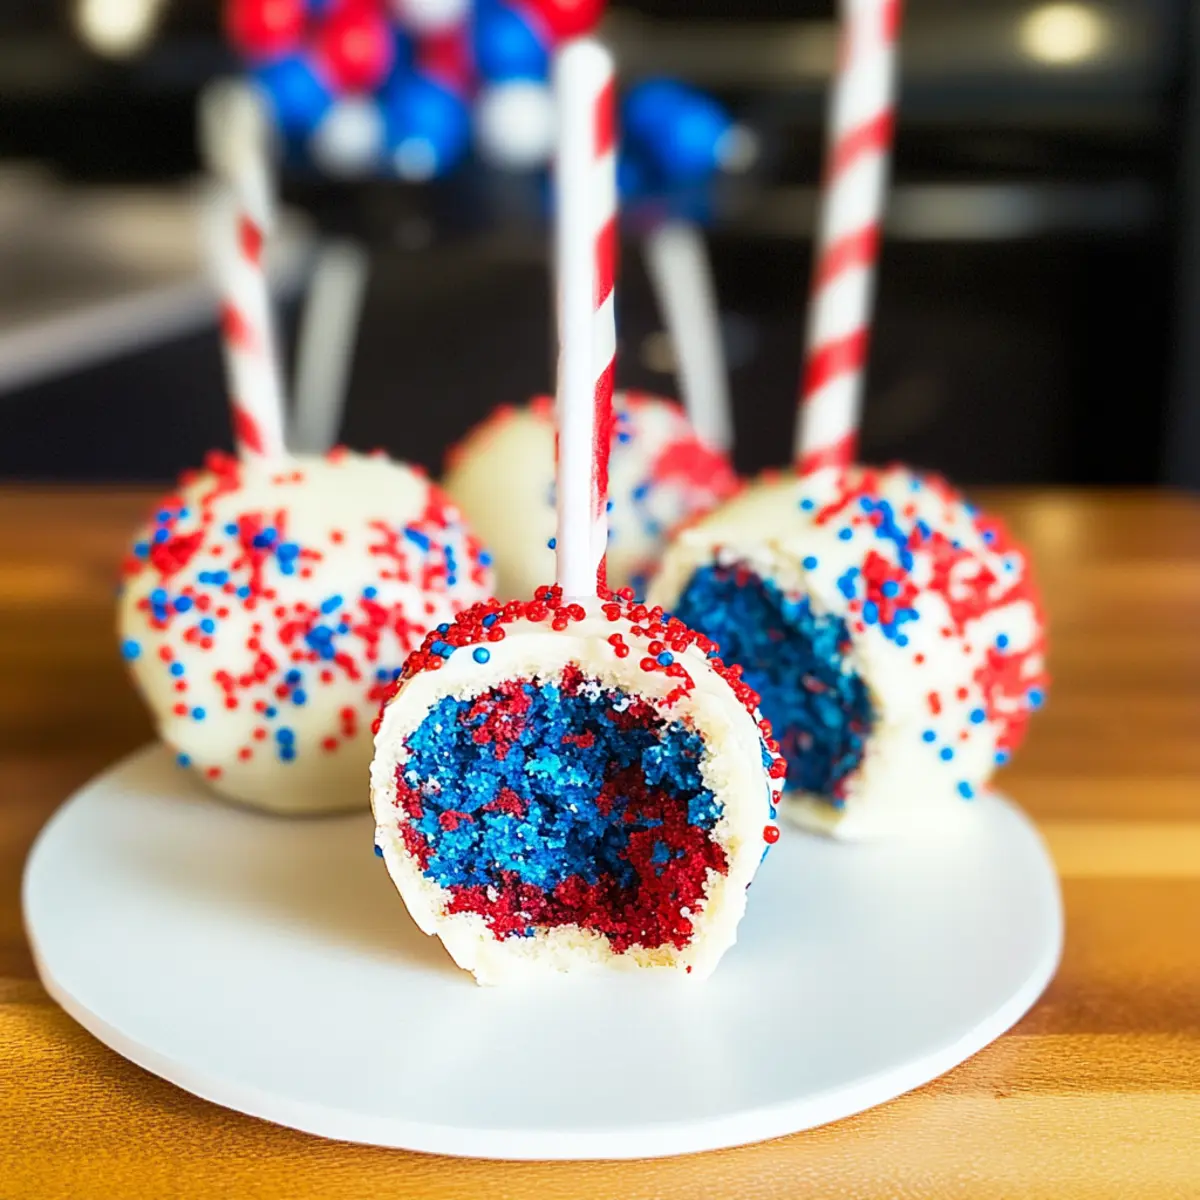
As fireworks illuminate the sky and laughter fills the air, there’s nothing quite like capturing the essence of a festive celebration in a bite-sized treat. These Egg-Free Red, White & Blue Cake Pops are the perfect patriotic treat that will bring color and joy to your Fourth of July festivities! Made with creamy Greek yogurt, they’re a healthier alternative that doesn’t compromise on taste or fun. Not only are these delightful pops quick to whip up, but they also double as a show-stopping centerpiece for any summer gathering. Adorned with vibrant sprinkles, they promise both whimsy and deliciousness in every mouthful. Curiosity piqued? Let’s dive into creating these cheerful bites that will have everyone reaching for seconds!
Why Are These Cake Pops Special?
Flavorful, Wholesome Twist: These Egg-Free Red, White & Blue Cake Pops are a delightful blend of sweetness and tang from Greek yogurt, making them a nutritious option for dessert lovers.
Easy to Make: With minimal ingredients and fuss, you can whip these festive treats up swiftly, letting you focus on the fun rather than the fuss!
Perfect for Celebrations: Whether it’s a Fourth of July barbecue or a summer picnic, these cake pops are an instant hit; they bring the party to your dessert table.
Customizable: Feel free to experiment with flavors by subbing in chocolate cake mix or adding different gel colors for various holidays. The options are endless!
Eye-Catching Fun: Their vibrant layers not only look stunning but also make for a fun, interactive treat that sparks delight in both kids and adults. Get ready for everyone to ask for the recipe, just like they do for my German Pancakes Wow or Chocolate Pancakes Sweet options.
Red, White & Blue Cake Pops Ingredients
For the Cake Pops
• Box of White Cake Mix – This serves as the foundation of your cake pops; you can use a homemade version for a personal touch.
• Plain Greek Yogurt – Adds moisture and a healthy twist, making these Red, White & Blue Cake Pops egg-free.
• Water – Used to hydrate the cake mix for the perfect batter consistency.
For the Coating
• White Candy Melts – Ideal for a sweet outer layer; try dark chocolate melts for a richer flavor.
• Vegetable Shortening – Ensures a smooth candy coating; coconut oil is a tasty alternative if you want a different flavor.
For the Colors
• Red & Blue Food Coloring – Essential for creating vibrant patriotic layers; gel food coloring is highly recommended for maximum brightness.
For Topping
• Red, White & Blue Sprinkles – Perfect for decorating your cake pops, adding an extra festive flair that’s fun for all ages!
Step‑by‑Step Instructions for Red, White & Blue Cake Pops
Step 1: Preheat Oven
Begin by preheating your oven to 350°F (175°C). This is the perfect temperature for our cake layers to rise beautifully. While the oven is heating, gather your baking dishes and grease them well to prevent sticking later on. Ensuring your dishes are ready to go will make the next steps even smoother.
Step 2: Mix Batter
In a large mixing bowl, whisk together the box of white cake mix, plain Greek yogurt, and water until a smooth, sticky batter forms. Make sure there are no lumps, as this will help create the perfect texture for your Red, White & Blue Cake Pops. This process should take about 2-3 minutes of vigorous mixing.
Step 3: Color the Batter
Divide the mixture into three separate bowls. Leave one bowl plain, dye the second red, and the third blue using gel food coloring. Stir each bowl well until the colors are evenly distributed throughout the batter—aim for a vibrant hue that reflects the patriotic spirit of your dessert.
Step 4: Bake the Cake Layers
Pour the colored batters into your prepared baking dishes and place them in the oven. Bake for 12-15 minutes, or until a toothpick inserted into the center comes out clean. As the cakes rise and take on their beautiful colors, your kitchen will fill with a warm, inviting aroma!
Step 5: Cool and Crumble
Once baked, remove the cake layers from the oven and let them cool completely in the baking dishes. After about 20-30 minutes, crumble the cooled cakes into a large mixing bowl using your hands. Aim for a fine crumble, ensuring no large pieces remain—this is crucial for forming perfect cake pops.
Step 6: Form Cake Balls
Using your hands, section the crumbled mixture into tablespoon-sized portions and roll them into smooth balls. You should aim for uniform shapes to ensure even coating later. Once rolled, place these cake balls on a parchment-lined baking sheet for chilling.
Step 7: Chill Cake Balls
Insert a straw or lollipop stick into the center of each cake ball, making sure not to pierce through the bottom. Chill the cake balls in the refrigerator for at least 1 hour. This step is essential to keep them firm while you prepare for coating.
Step 8: Melt Coating
In a microwave-safe bowl, melt the white candy melts and vegetable shortening together in 30-second intervals, stirring in between until you achieve a smooth and shiny consistency. The melted mixture should be just warm enough to dip the cake pops without hardening too quickly.
Step 9: Dip the Cake Pops
Carefully dip each chilled cake ball into the melted candy coating, ensuring it’s fully submerged. Twirl the cake pop gently to remove any excess coating. A smooth and even layer will give your Red, White & Blue Cake Pops an elegant finish.
Step 10: Add Toppings
Before the candy coating sets, sprinkle the dipped cake pops with red, white, and blue sprinkles for a festive touch. These decorations will not only enhance the visual appeal but also add a fun crunch to your treats, making them as delightful to look at as they are to eat.
Step 11: Set and Serve
Return the decorated cake pops to the fridge for about 30 minutes or until the coating has fully hardened. Once set, you can serve them as stunning patriotic treats at your Fourth of July celebration or any festive summer gathering. Enjoy the vibrant flavors in every bite!
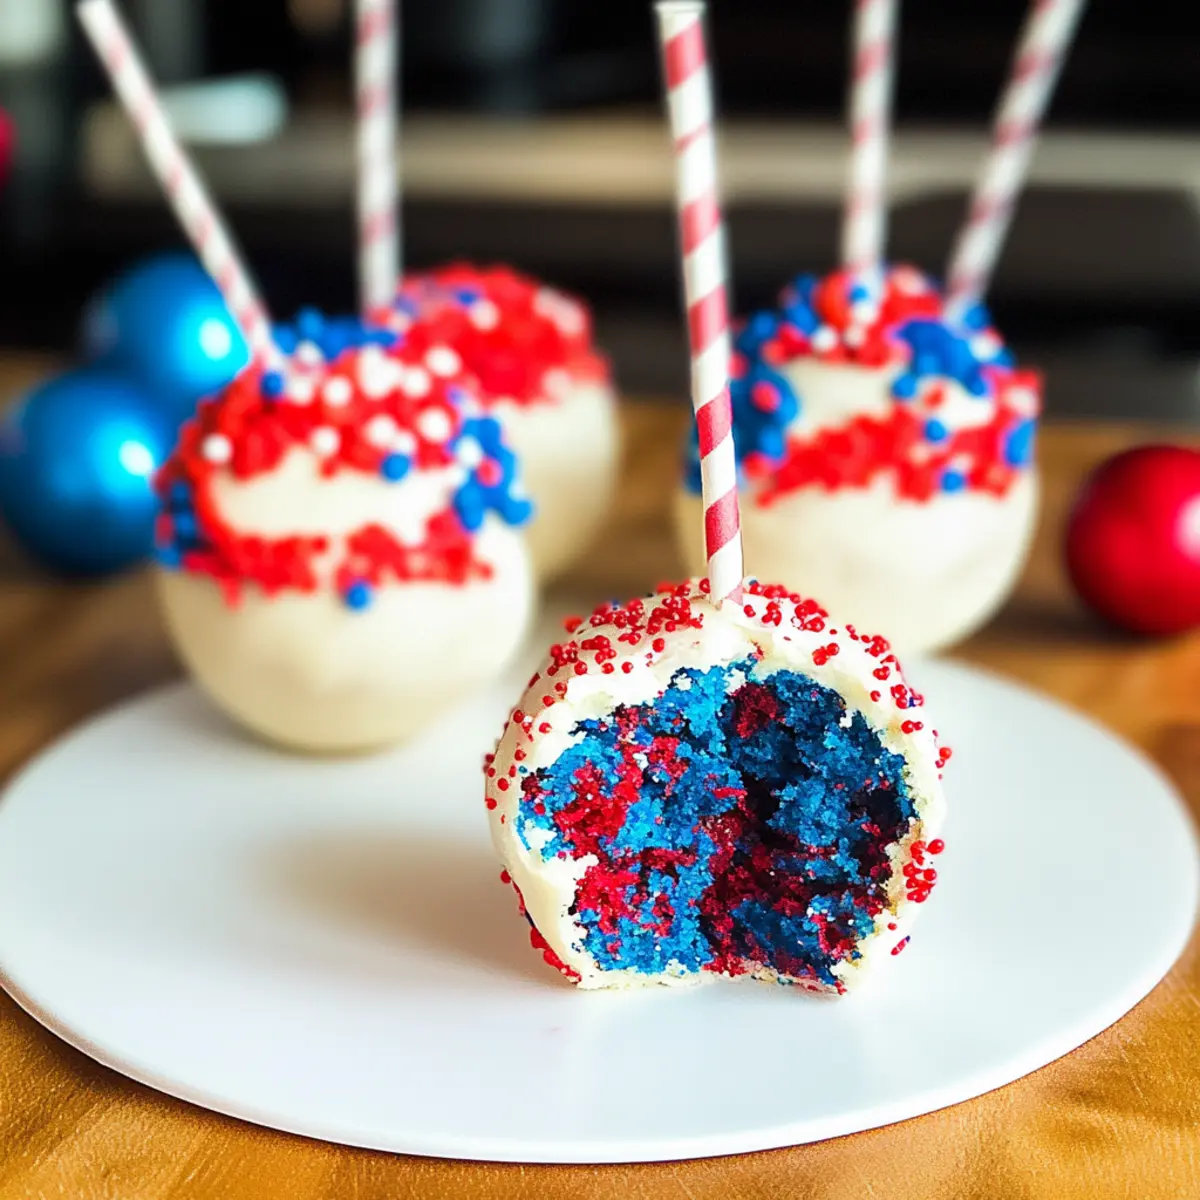
Red, White & Blue Cake Pops Variations
Feel free to unleash your creativity and customize these cake pops to suit your tastes and celebrations!
-
Chocolate Twist: Substitute the white cake mix with chocolate cake mix for a decadent, rich version that adds a delicious contrast to the colorful layers.
-
Lower-Fat Option: Swap Greek yogurt with unsweetened applesauce to lower the fat content even further while keeping the cake pops moist and irresistible.
-
Flavor Infusion: Add a teaspoon of vanilla or almond extract to the batter for an extra flavor boost that complements the cake’s sweetness. Your guests will love the aromatic surprise!
-
Different Colors: Use vibrant food coloring to create themed cake pops for various holidays, like pastel shades for Easter or orange and black for Halloween. The options are endless!
-
Mini Cake Pops: Shape smaller bite-sized versions of the cake pops for a fun twist on sharing. They make for delightful party favors or a playful dessert option.
-
Nutty Crunch: Mix in some finely chopped nuts or sprinkles inside the cake batter for added texture and a delightful crunch that pairs beautifully with the smooth coating.
-
Creamy Center: Insert a small dollop of yogurt or cream cheese frosting into the center of each cake ball before dipping for an extra surprise that adds moistness to each bite. It’s a delicious twist that no one will see coming!
-
Recommended Pairing: Enjoy these cake pops alongside a scoop of vanilla ice cream for a delightful dessert experience that balances creamy with cheerful sweetness.
With these variations, you’ll find it easy to create the perfect cake pops for any festive occasion or simply to satisfy your sweet cravings!
How to Store and Freeze Red, White & Blue Cake Pops
-
Room Temperature: Keep cake pops at room temperature for up to 2 hours if serving at a party, ensuring they remain fresh and vibrant.
-
Fridge: Store cake pops in an airtight container in the refrigerator for up to one week to retain their delightful moisture and flavor.
-
Freezer: For longer storage, freeze cake pops in a single layer on a baking sheet, then transfer to an airtight container. They can be frozen for up to 2 months.
-
Thawing: To enjoy frozen Red, White & Blue Cake Pops, thaw them overnight in the refrigerator for the best texture before serving.
What to Serve with Egg-Free Red, White & Blue Cake Pops
These delightful treats are not just tasty bites; they also inspire a festive spread for your summer gatherings.
-
Refreshing Watermelon Salad: Juicy watermelon cubes tossed with mint and feta offer a refreshing contrast to the sweet cake pops. This combination is bright, colorful, and perfect for hot days.
-
Zesty Lemonade: A chilled glass of zesty, homemade lemonade provides a tangy refreshment that balances the sweet flavors of the cake pops. Its vibrant taste will keep your guests refreshed and happy.
-
Patriotic Fruit Skewers: Skewers of strawberries, blueberries, and marshmallows make for a playful, healthful complement to the cake pops. The added freshness enhances the overall festive spirit.
-
Cheesy Garlic Bread: Savory, warm garlic bread adds a delightfully rich element to your dessert table. Guests will appreciate the balance of sweet and savory in each bite.
-
Grilled Veggie Platter: A colorful assortment of grilled vegetables like zucchini, bell peppers, and corn brings a wholesome touch to your gathering. The smokiness perfectly contrasts with the sweetness of the cake pops.
-
Sparkling Berry Punch: A fizzy berry punch, sparkling with fresh fruits, captures the celebratory essence of summer. It’s a fun, effervescent drink that pairs harmoniously with the cake pops.
-
Chocolate Dipped Strawberries: For those who crave a chocolate fix, these sweet berries provide a luxurious treat that complements the vibrant cake pops. The rich chocolate contrasts beautifully with the fruity flavors.
-
Classic Vanilla Ice Cream: A scoop of creamy vanilla ice cream is an evergreen favorite that contrasts the cake pops’ textures. It adds a delightful creaminess to your festive spread, perfect for satisfying those sweeter cravings.
Make Ahead Options
These Red, White & Blue Cake Pops are perfect for meal prep, allowing you to savor festive flavors while saving time for more summer fun! You can prepare the cake layers up to 24 hours in advance—simply bake, cool, crumble, and form the cake balls. Store them in an airtight container in the refrigerator to maintain their moisture. On the day of serving, just chill the cake balls for at least an hour, dip them in melted candy coating, and sprinkle with toppings. With this make-ahead strategy, you’ll have beautiful patriotic treats ready in a flash, ensuring your celebrations are just as delicious without the last-minute rush!
Tips for the Best Red, White & Blue Cake Pops
-
Chill Before Dipping: Ensure cake balls are well-chilled for at least an hour to prevent melting during the coating process.
-
Use Gel Colors: Opt for gel food coloring instead of liquid for more vibrant and true-to-life colors in your Red, White & Blue Cake Pops.
-
Smooth Dipping Technique: Dip the cake pops in a smooth motion to maintain a clean finish. Twirling them helps to remove excess coating and avoid clumps.
-
Experiment with Flavors: Feel free to mix in different extracts or flavored cake mixes to customize your cake pops for different occasions.
-
Perfect Storage: Store these delightful cake pops in an airtight container in the refrigerator for up to a week. For longer storage, freeze them and thaw in the fridge before serving.
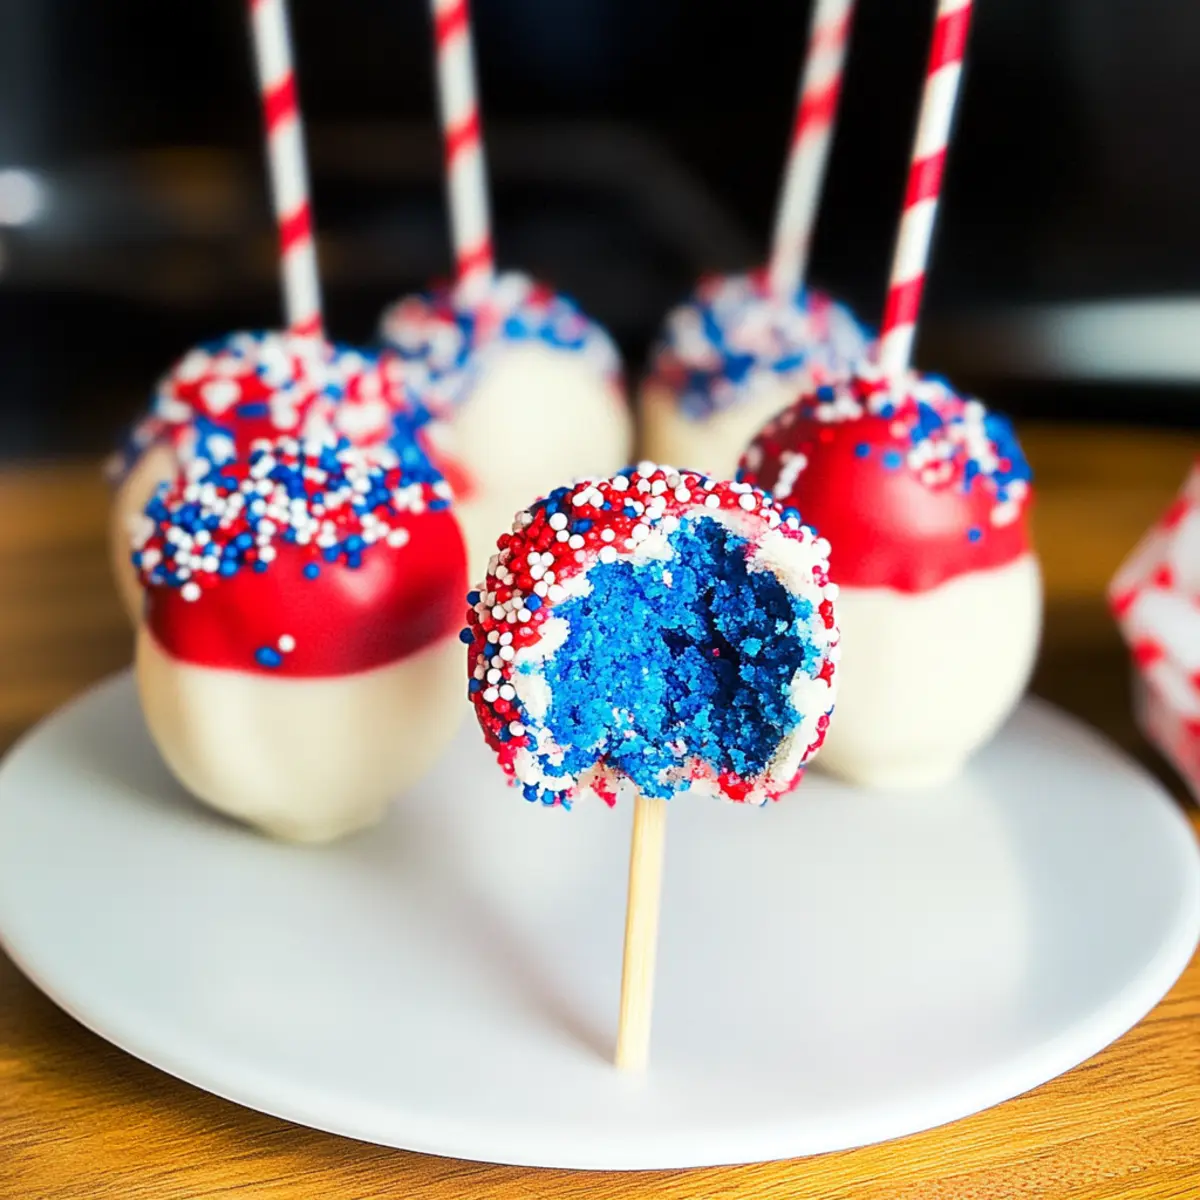
Red, White & Blue Cake Pops Recipe FAQs
What should I look for when selecting Greek yogurt for this recipe?
Absolutely! Choose plain Greek yogurt that is thick and creamy to ensure the best moisture and texture for your Red, White & Blue Cake Pops. Check the expiration date and avoid yogurts with added flavors or sugar, which can alter the taste of your cake pops.
How should I store my Red, White & Blue Cake Pops for optimal freshness?
To keep your cake pops fresh, store them in an airtight container in the refrigerator for up to one week. This will help them retain their moisture and flavor. If you want to enjoy them longer, you can freeze them for up to 2 months. Just make sure they are completely cooled and set before freezing!
Can I freeze Red, White & Blue Cake Pops? If so, how?
Yes, you can freeze these delightful cake pops! To do so, place your fully prepared cake pops in a single layer on a baking sheet and freeze until solid. Once frozen, transfer them to an airtight container or freezer-safe bag. Just remember to thaw them in the refrigerator overnight before indulging in their yummy goodness!
What can I do if my cake balls are too crumbly?
If your cake balls are crumbling too much, you can add a bit more Greek yogurt, about one tablespoon at a time, mixing well until the mixture holds together better. Alternatively, if they seem too dry, you can also sprinkle a touch of water into the mixture until it reaches the desired consistency.
Are there any dietary considerations for pets regarding these cake pops?
Absolutely! While these cake pops are a fun treat for humans, they are not suitable for pets. Always be cautious about sharing human treats with your furry friends, especially those containing ingredients like chocolate, which can be toxic to pets. It’s best to stick to treats specifically made for them!
Can I make substitutions to accommodate allergies?
Very! To make these Red, White & Blue Cake Pops allergy-friendly, you can use allergen-free cake mix and coconut yogurt in place of Greek yogurt. Make sure to check labels to ensure they meet your dietary needs. Keeping it fun and safe for everyone is what celebrations are all about!

Delicious Red, White & Blue Cake Pops for Your Summer Celebrations
Ingredients
Equipment
Method
- Preheat your oven to 350°F (175°C) and prepare your baking dishes.
- In a large mixing bowl, whisk together the white cake mix, Greek yogurt, and water until smooth.
- Divide the batter into three bowls: one plain, one red, and one blue. Mix well.
- Pour the colored batters into baking dishes and bake for 12-15 minutes.
- Let the cakes cool completely, then crumble into a large bowl.
- Roll the crumbled mixture into tablespoon-sized balls and place on a baking sheet.
- Insert sticks into the center of each ball and refrigerate for at least 1 hour.
- Melt the candy melts and shortening until smooth.
- Dip each chilled cake ball into the melted coating, ensuring full coverage.
- Sprinkle with red, white, and blue sprinkles before the coating sets.
- Chill again for 30 minutes until the coating hardens before serving.
Leave a Reply