
As I reached for my favorite bagels this morning, I felt an idea bubbling up that instantly made my mouth water—Quiche Stuffed Bagels! Combining the chewy delight of freshly baked bagels with a creamy, savory quiche filling isn’t just a breakfast revolution; it’s a game-changer for busy mornings and leisurely brunches alike. These customizable creations are not only exceptionally portable, perfect for on-the-go meals, but they also allow you to infuse your personality into every bite. Want to swap bacon for spinach or add a sprinkle of feta? The filling options are endless! Whether you’re whipping them up for yourself or impressing guests at your next gathering, these quiche stuffed bagels are set to become a beloved staple. Ready to make your breakfast a little more exciting? Let’s dive in!
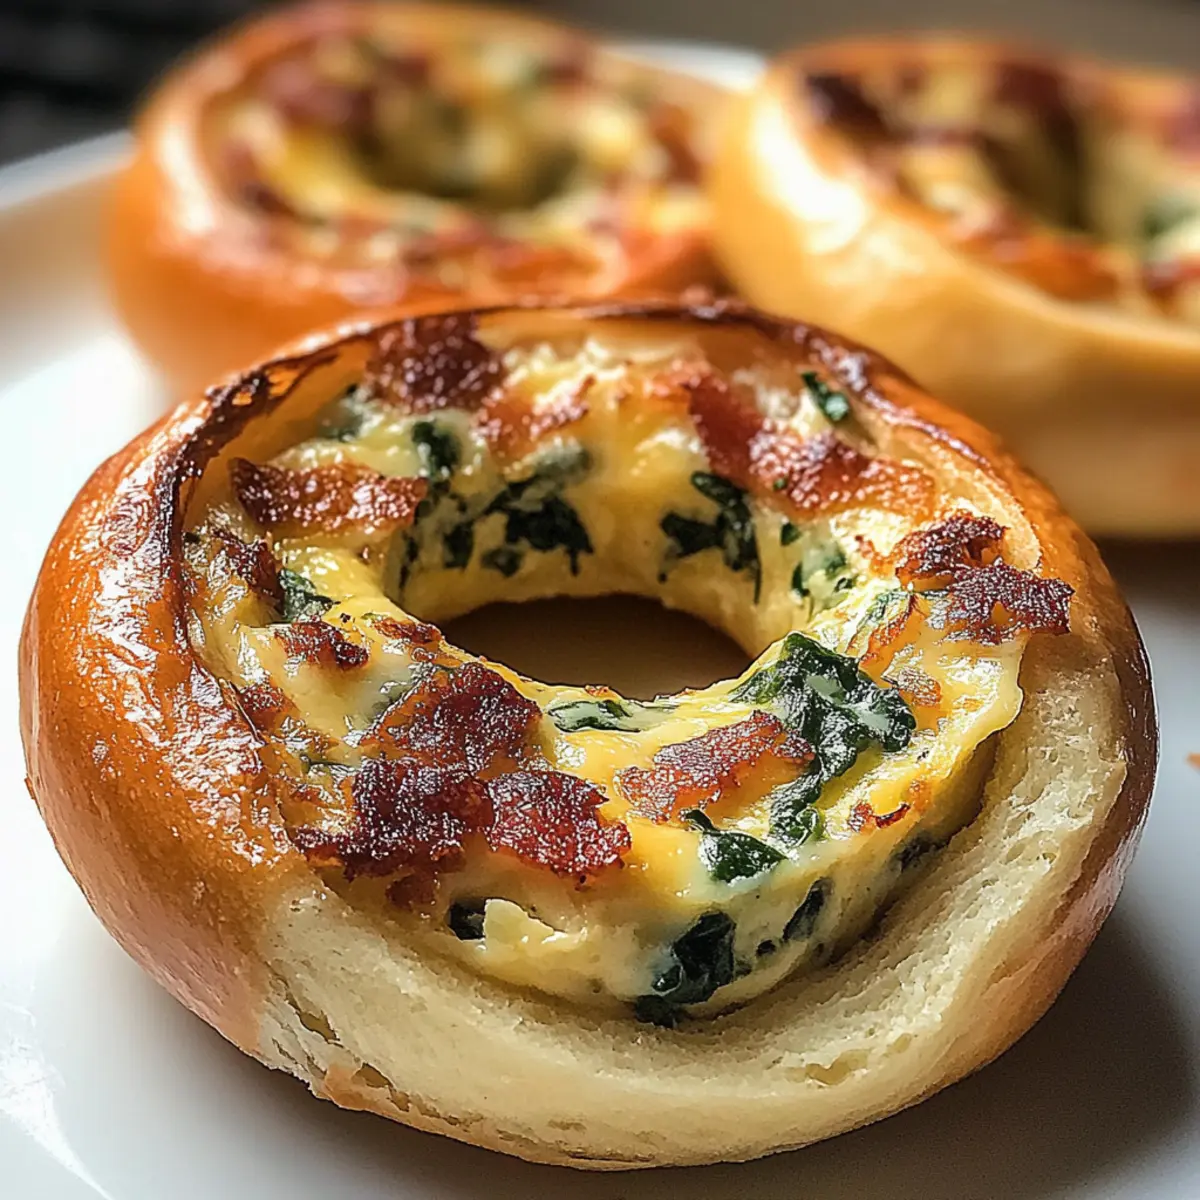
Why are Quiche Stuffed Bagels a Must-Try?
Portable and fun: These bagels are a dream for busy mornings or laid-back brunches, offering a unique twist on traditional recipes. Customizable options: Choose your favorite fillings—vegetarian, meaty, or spicy—to create something that reflects your taste. Time-saving and practical: Prepare a batch and freeze them for quick breakfasts on the go. Impressive presentation: Serve them warm, garnished with chives, and watch your friends rave about this delightful surprise. Nutritious delight: Packed with protein and healthy ingredients, they make for a hearty meal without the guilt! Don’t miss out on the versatility of these make-ahead delicious bagels!
Quiche Stuffed Bagel Ingredients
For the Bagel Base
• Bagels – Use fresh or slightly stale for enhanced structure and ease of handling.
For the Quiche Filling
• Eggs – Beat well for a smooth custard consistency throughout the filling.
• Heavy Cream – Adds luxurious creaminess; substitute with half-and-half for a lighter option.
• Cheese (e.g., cheddar, feta) – Enhances flavor and gives a melty texture; low-fat versions work too.
• Vegetables (e.g., spinach, bell peppers) – Boost nutrition and flavor; pre-cook to prevent excess moisture.
• Meats (e.g., bacon, sausage) – Adds savory depth; plant-based alternatives can replace them for vegetarian versions.
• Salt & Pepper – Crucial for seasoning; adjust to taste for the perfect blend of flavors.
Optional Topping
• Extra Cheese – Sprinkle on top for a crispy, golden finish to your quiche stuffed bagels.
Step‑by‑Step Instructions for Quiche Stuffed Bagels
Step 1: Preheat the Oven
Begin by preheating your oven to 375°F (190°C) to ensure it’s hot and ready for baking. This temperature is perfect for achieving a golden and crispy exterior for your quiche stuffed bagels. While the oven warms, gather your baking sheet and line it with parchment paper for easy cleanup.
Step 2: Prepare the Bagels
Next, take your fresh or slightly stale bagels and gently hollow out the centers. Use a small knife or a bagel slicer to create a generous cavity without breaking the bagel. This step is essential for holding the creamy quiche filling. Set the hollowed bagels aside on your lined baking sheet, ready to be filled.
Step 3: Whisk the Filling
In a large mixing bowl, crack in the eggs and pour the heavy cream. Whisk them together until you achieve a smooth custard-like mixture. Then, stir in shredded cheese, pre-cooked vegetables, meats, and season generously with salt and pepper. Ensure everything is well combined for even flavor throughout your quiche stuffed bagels.
Step 4: Fill the Bagels
Carefully spoon the quiche mixture into the hollowed-out centers of each bagel, filling them generously but avoiding overflow. Use a small offset spatula or the back of a spoon to smooth out the tops. This will allow for even baking and a deliciously creamy filling, making your quiche stuffed bagels irresistible.
Step 5: Add Optional Toppings
For an extra touch of gooey goodness, sprinkle additional cheese on top of the filled bagels. This optional step will give your quiche stuffed bagels a beautifully golden and crispy finish that adds flavor and texture. Take a moment to admire your work before placing them in the oven.
Step 6: Bake the Bagels
Now, place the baking sheet in the preheated oven and bake for 15 to 18 minutes. You’ll know they are done when the tops are golden brown and the filling is set, puffed, and slightly bubbly. Keep an eye on them to avoid over-baking—the aroma will be irresistible.
Step 7: Cool and Serve
Once baked to perfection, carefully remove the quiche stuffed bagels from the oven and allow them to cool for a few minutes. This will make them easier to handle. After cooling, garnish with fresh chives or a drizzle of hot sauce, if desired. Serve warm and enjoy the delightful flavors you’ve created!
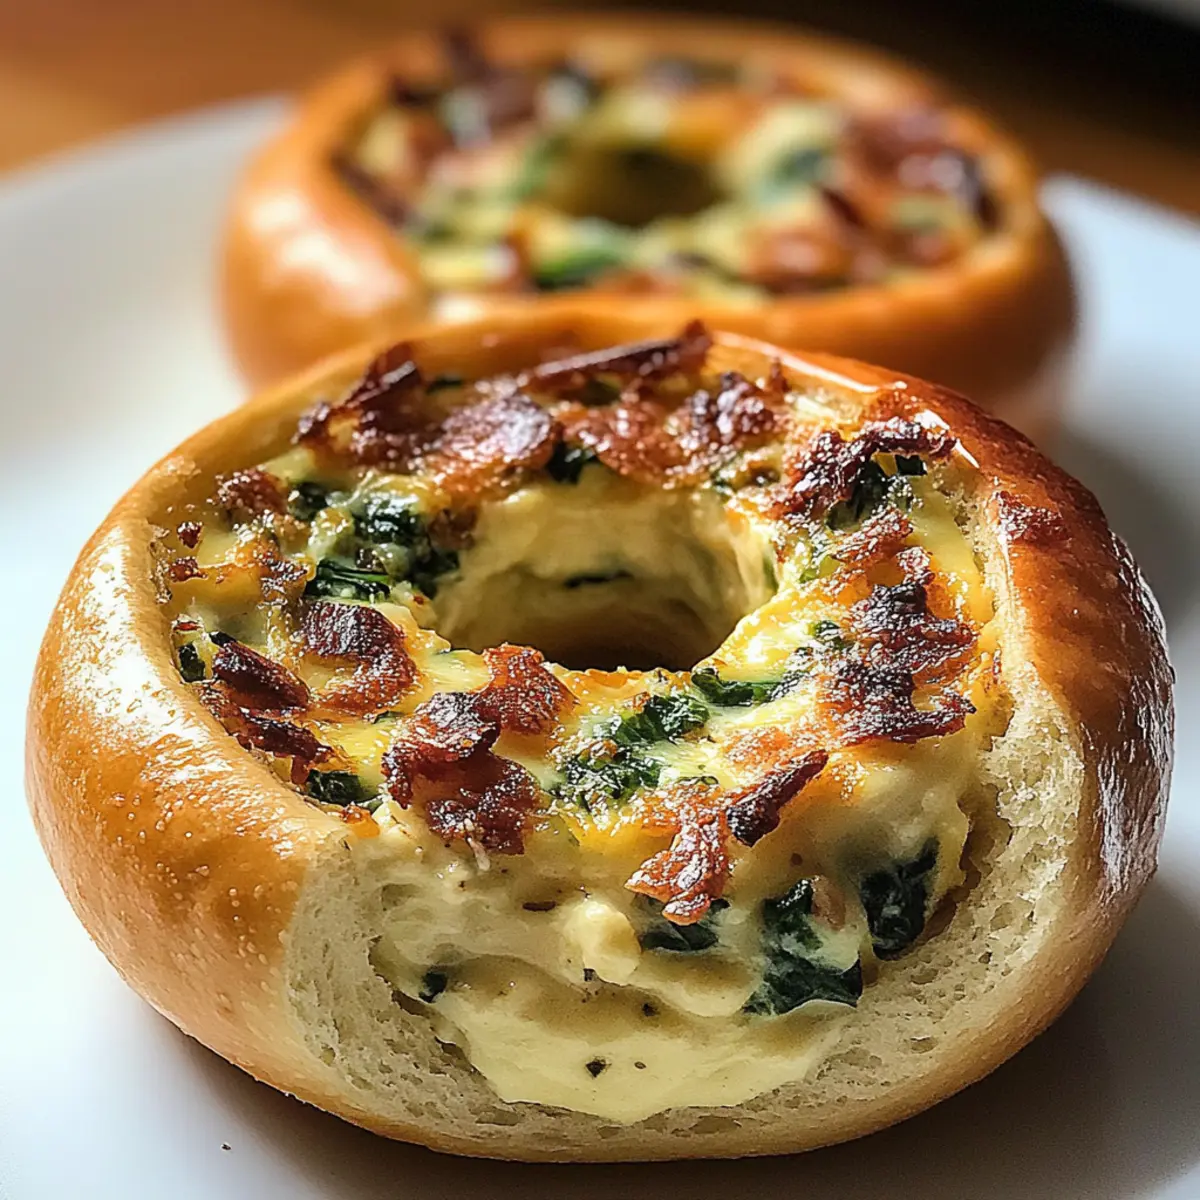
Quiche Stuffed Bagels Variations
Feel free to mix and match to create your perfect quiche stuffed bagel experience! The tantalizing possibilities are sure to spark your culinary creativity.
-
Spicy Twist: Add jalapeños and pepper jack cheese for a bold, fiery kick that awakens your taste buds. Spice up your mornings with this exciting combination!
-
Mediterranean Delight: Combine sun-dried tomatoes, olives, and feta cheese for a vibrant, tangy flavor profile that transports you to the sunny shores of Greece.
-
Healthier Option: Use turkey bacon and low-fat cheese as a substitute to enjoy the same deliciousness with fewer calories. It’s a guilt-free way to indulge!
-
Veggie Lovers: For a rich plant-based option, fill with sautéed mushrooms, zucchini, and fresh spinach. The earthy flavors create a wonderful harmony of taste.
-
Breakfast Bonanza: Add in some crumbled sausage, hash browns, and cheddar for an all-in-one breakfast experience that’s both hearty and satisfying.
-
Cheesy Goodness: Use a mix of cheeses such as gouda, mozzarella, and cream cheese for a melty, decadent filling that takes the classic to another level.
-
Herb Infusion: Incorporate fresh herbs like basil, cilantro, or dill to elevate the flavor and freshness, creating a delightful aroma with every bite.
-
Make-Ahead Freezer Friendly: Assemble unbaked bagels, wrap them securely, and freeze for a quick breakfast solution—just bake from frozen, adjusting the cooking time as needed.
Explore these variations and customize your quiche stuffed bagels to delight your family with each enticing bite! For more delicious bagel inspiration, check out our easy bagel recipe!
What to Serve with Quiche Stuffed Bagels
Serve these savory delights with sides that elevate the brunch experience and spark joy at your table.
-
Fresh Fruit Salad: A colorful mix of seasonal fruits adds a burst of freshness and balances the richness of the bagels.
-
Crispy Green Salad: Tossed greens with a zesty vinaigrette provide a refreshing contrast, enhancing the meal’s overall lightness.
-
Tangy Yogurt Dip: A creamy dip made with Greek yogurt and herbs offers a cool complement, perfect for dipping the bagels.
-
Sweet Potato Home Fries: These crispy, slightly sweet bites work well alongside the savory filling, creating a delightful combination of flavors.
-
Savory Scones: Pair with warm, cheesy scones for a hearty touch—perfect for guests craving a little extra comfort.
-
Mimosa: A classic brunch beverage, this sparkling drink adds a festive touch and contrasts beautifully with the rich stuffed bagels.
Fresh ingredients and varied textures not only round out your meal beautifully but also invite everyone to indulge in a delicious brunch atmosphere. Enjoy!
Storage Tips for Quiche Stuffed Bagels
-
Room Temperature: Enjoy your quiche stuffed bagels fresh out of the oven! If left at room temperature, they’re best consumed within 2 hours to maintain flavor and texture.
-
Fridge: Store any leftover quiche stuffed bagels in an airtight container in the refrigerator for up to 3 days. This keeps them fresh and ready to reheat.
-
Freezer: For longer storage, freeze unbaked assembled quiche stuffed bagels. They can remain in the freezer for up to 3 months. Just bake from frozen, adding a few extra minutes to the cooking time.
-
Reheating: To revive your quiche stuffed bagels, reheat them in the oven at 350°F (175°C) for about 10-15 minutes or until warmed through, ensuring they stay deliciously crispy!
Make Ahead Options
These Quiche Stuffed Bagels are perfect for meal prep enthusiasts! You can prepare the filling—whisking together eggs, heavy cream, cheese, and any desired pre-cooked vegetables or meats—up to 24 hours in advance. Simply store the mixture in an airtight container in the refrigerator. Additionally, you can hollow out the bagels up to 3 days ahead of time and keep them in a zip-top bag to maintain freshness. When you’re ready to serve, just fill the bagels with the chilled quiche mixture, add any extra cheese on top, and bake them straight from the fridge for golden, delicious results. It’s an effortless way to savor a tasty breakfast with minimal morning fuss!
Expert Tips for Quiche Stuffed Bagels
• Prevent Sogginess: Always pre-cook vegetables to reduce moisture, ensuring your quiche stuffed bagels stay crisp and delicious.
• Choose the Right Bagels: Opt for slightly stale bagels—they hold their shape better, making it easier to fill generously without risking breakage.
• Fill Smartly: Don’t overfill the bagels; leave a little space to allow for the filling to expand while baking and avoid messy overflow.
• Experiment Freely: Don’t hesitate to mix and match different fillings based on your taste preferences. The beauty of quiche stuffed bagels lies in their customization!
• Watch Baking Time: Keep a close eye while baking; every oven is different, and you want a perfect golden top without overdoing it.
• Make Ahead: Consider assembling unbaked quiche stuffed bagels and freezing them for a quick, satisfying breakfast option later!
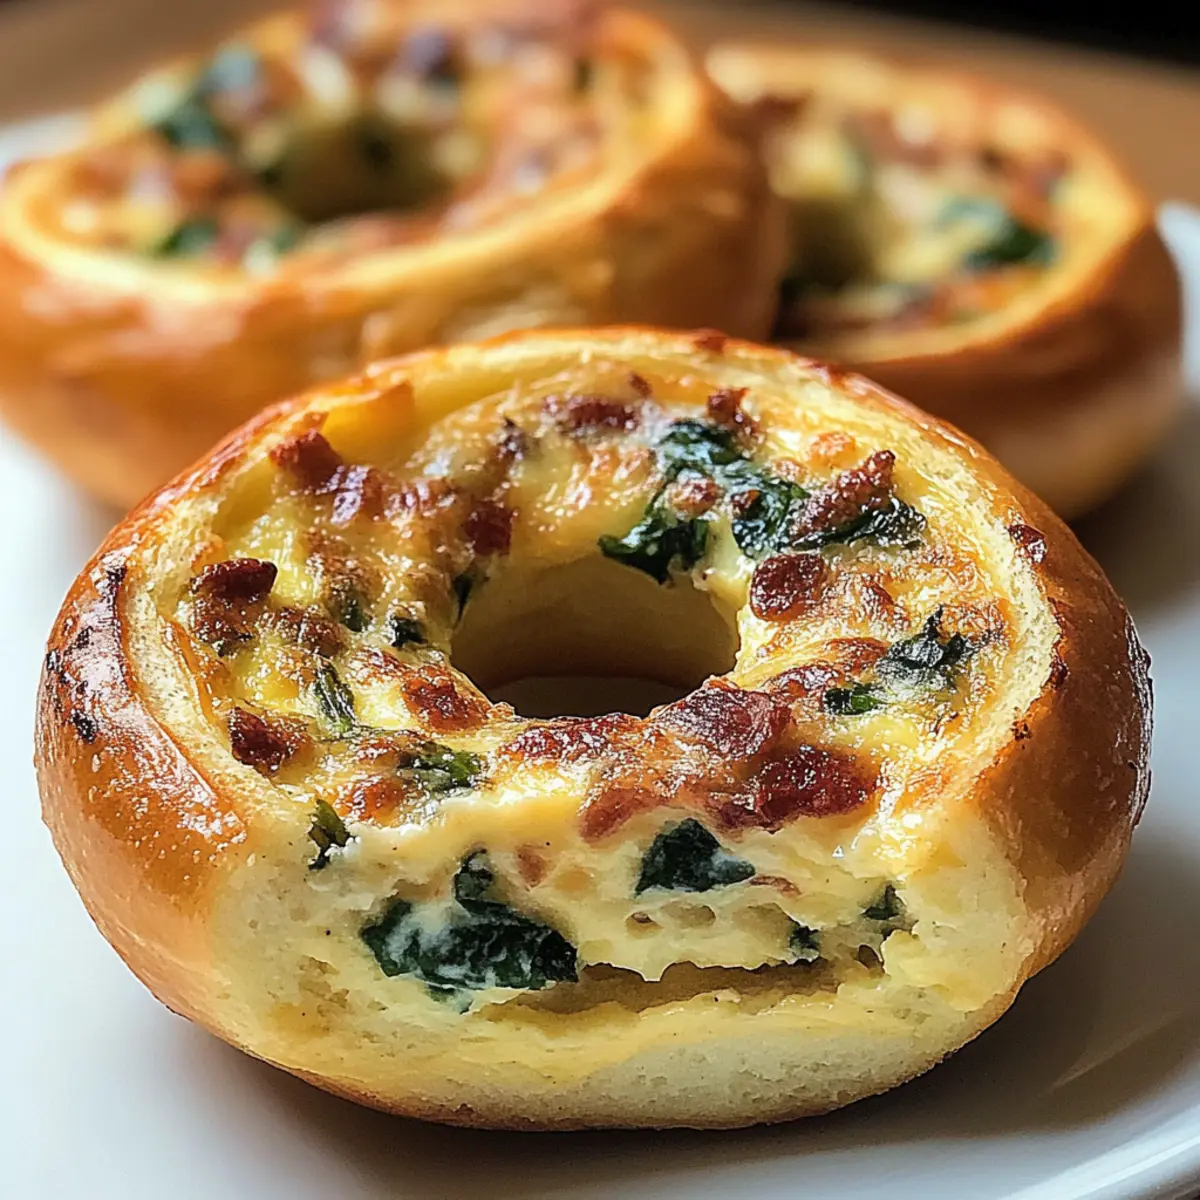
Quiche Stuffed Bagels Recipe FAQs
What is the best type of bagel to use for quiche stuffed bagels?
I recommend using slightly stale bagels as they are sturdier and easier to hollow out without breaking. Fresh bagels can also work well, but if they’re too soft, they might collapse during the filling and baking process.
How long can I store leftover quiche stuffed bagels?
If you have any leftovers, store them in an airtight container in the refrigerator for up to 3 days. When stored properly, they’ll maintain their flavor and texture, making them great for quick breakfasts!
Can I freeze quiche stuffed bagels, and how do I do it?
Absolutely! You can freeze unbaked assembled quiche stuffed bagels for up to 3 months. Simply prepare the bagels with the filling, then place them on a baking sheet to freeze until solid. Once frozen, transfer them to a freezer-safe bag or container. When you’re ready to enjoy, bake them straight from the freezer, adjusting the cooking time by adding an extra 5-10 minutes.
What should I do if my quiche filling overflowed during baking?
If your fillings overflowed, it’s likely due to overfilling or using too many wet ingredients. For next time, ensure you leave a little space at the top of the bagel, and pre-cook vegetables to reduce moisture. You can also try thickening your egg mixture with a touch of flour to prevent it from bubbling over.
Are quiche stuffed bagels suitable for vegetarians?
Yes, they can easily be customized for a vegetarian diet! Simply swap out meats like bacon or sausage for tasty vegetables such as bell peppers, mushrooms, or spinach. Plus, feel free to add plant-based cheeses for an extra layer of flavor without compromising the dish.
What ingredients should I avoid if I have food allergies?
If you have allergies, it’s wise to skip eggs or dairy-based ingredients, possible allergens in this recipe. You might opt for dairy-free cream or alternative egg substitutes, such as silken tofu, to create a safe and delicious quiche filling that accommodates your dietary needs. Always check labels if using packaged products to ensure they are free from allergens!
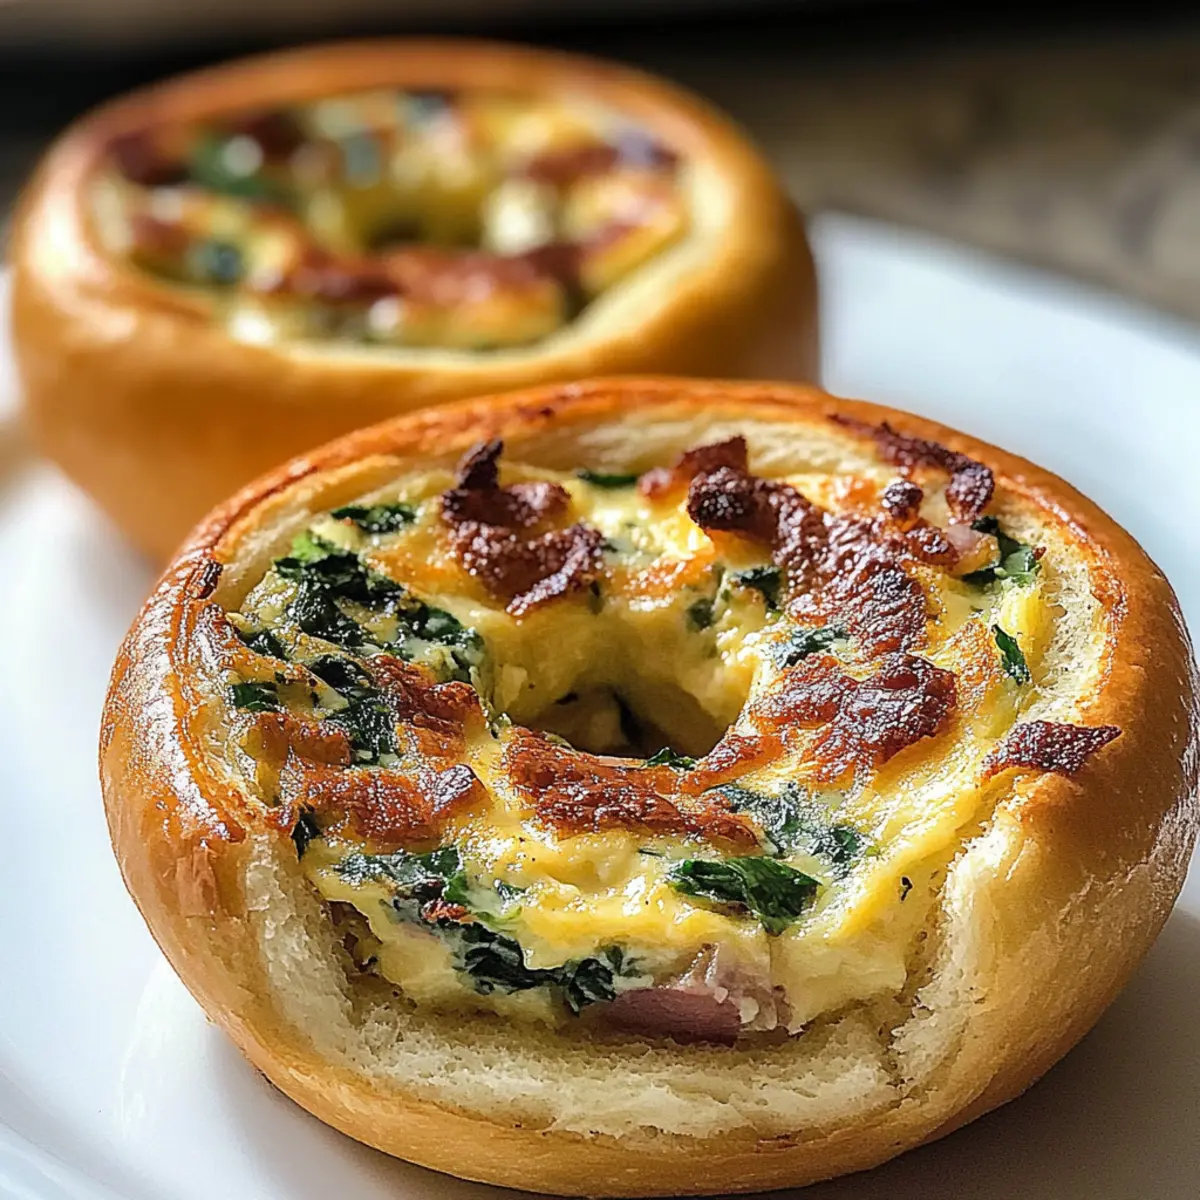
Quiche Stuffed Bagels: Your New Go-To Portable Brunch Treat
Ingredients
Equipment
Method
- Preheat your oven to 375°F (190°C) and line a baking sheet with parchment paper.
- Hollow out the centers of the bagels, creating a cavity for the filling.
- In a mixing bowl, whisk together the eggs and heavy cream until smooth, then add cheese, vegetables, meats, salt and pepper.
- Spoon the filling into the hollowed bagels, smoothing out the tops.
- If desired, sprinkle extra cheese on top before baking.
- Bake for 15 to 18 minutes until the tops are golden brown and filling is set.
- Allow to cool slightly, garnish with chives, and serve warm.
Leave a Reply