
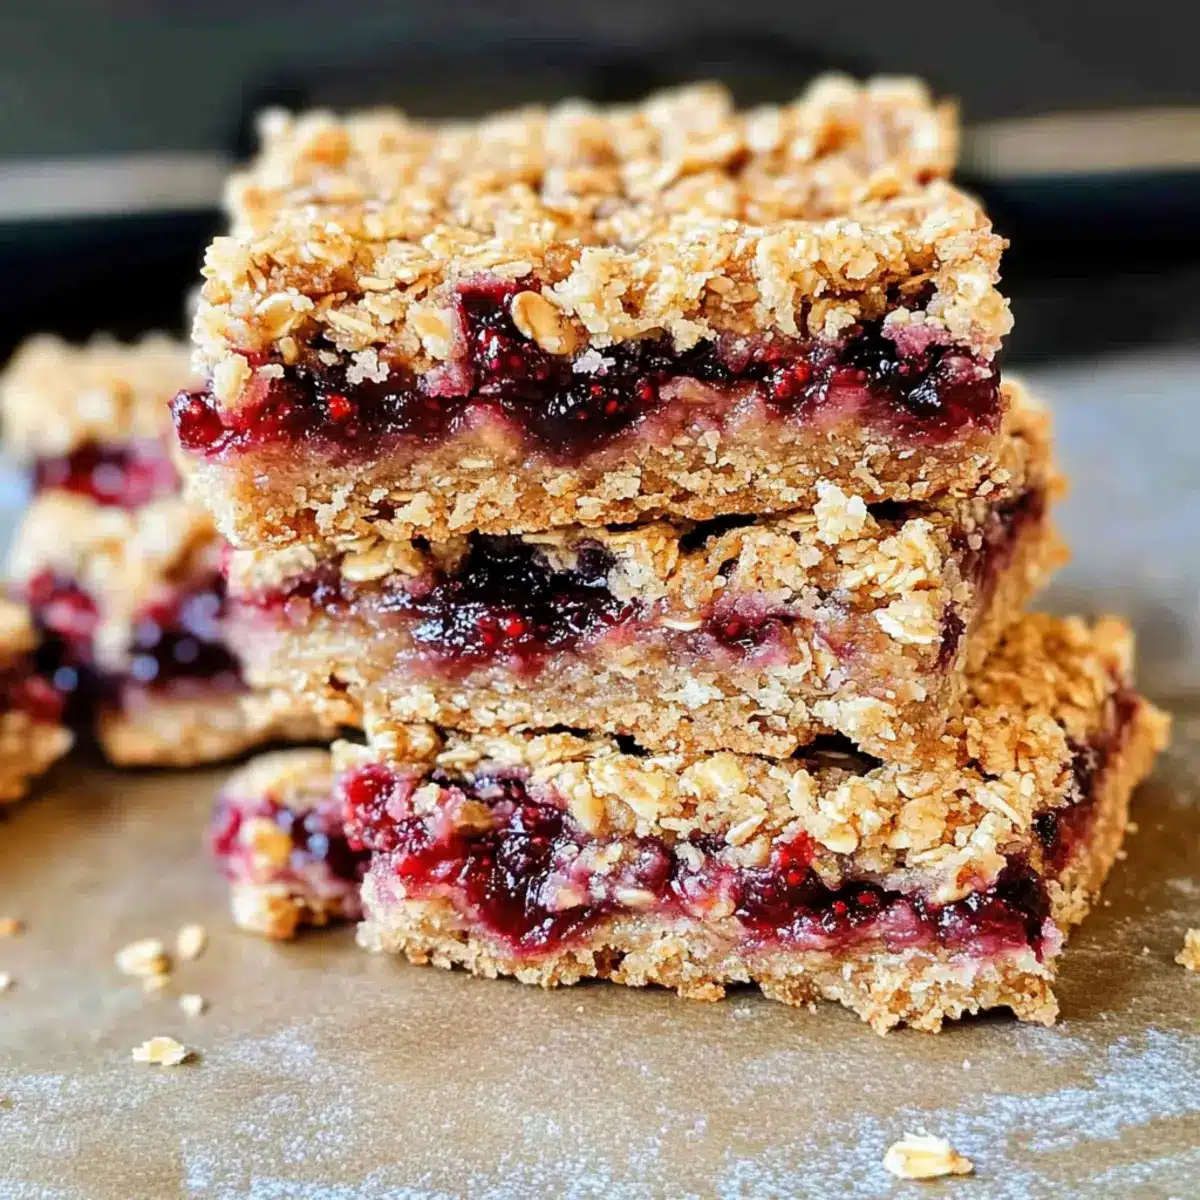
As I sift through my pantry, it hits me: life is just better with a homemade treat on hand. Enter these Healthy Berry Oat Bars—a delightful concoction that brings together the wholesome goodness of oats and juicy berries without the guilt of refined sugars. Perfectly chewy yet crumbly, they make an ideal quick breakfast or a satisfying snack for any time of the day. What truly makes this recipe shine is its ability to come together in just 30 minutes, making it a win for busy days. Plus, with simple swaps, you can easily make these bars gluten-free! Ready to turn your kitchen into a hub of delicious flavors? Let’s dive into making some scrumptious berry oat bars that your family will adore!
Why are Berry Oat Bars special?
Healthy, Wholesome Ingredients: Packed with oats and sweetened naturally, these bars are a deliciously guilt-free treat for everyone.
Quick and Easy: In just 30 minutes, you’ll have homemade snacks ready to go—perfect for busy lifestyles.
Customizable Flavors: Switch up the raspberry preserves for any favorite fruit or add nut butter for a creamy twist.
Nutritious and Filling: These bars provide a satisfying chew, keeping hunger at bay without refined sugars. For more healthy snacks, check out my Cereal Bars Homemade or Nut Free Bars for additional options!
Family Approved: Kids and adults alike will love these tasty bites, making them a go-to snack for any occasion.
Berry Oat Bars Ingredients
• Get ready to bake with these essentials!
For the Base
- Coconut Oil – Binds ingredients and adds moisture; substitute with butter or avocado oil if desired.
- All-Purpose Flour or Gluten-Free Substitute – The primary structure of the bars; use a 1:1 gluten-free flour blend for gluten-free versions.
- Quick Oats – Provides chewiness and acts as the base; rolled oats can be used, but adjust cooking time.
- Maple Syrup – Adds natural sweetness; can substitute with honey, though the flavor may vary.
- Coconut Sugar or Granulated Sugar – Sweetening agent; coconut sugar can be replaced with granulated sugar based on preference.
- Baking Powder – Provides leavening for lightness; ensure it’s fresh for the best results.
- Salt – Balances sweetness and is essential for flavor.
For the Filling
- Raspberry Preserves – Offers flavor and moisture; substitute with any fruit preserves or fresh berries for a twist.
These Berry Oat Bars not only pack a delicious punch but are also a healthier alternative for snacking, ensuring everyone at home can enjoy a treat without compromise!
Step‑by‑Step Instructions for Berry Oat Bars
Step 1: Preheat and Prepare
Begin by preheating your oven to 350°F (175°C). While the oven warms up, take an 8×8 baking pan and spray it generously with non-stick spray, ensuring every corner is covered to prevent sticking. This preparation step is essential for achieving bars that slide out effortlessly after baking.
Step 2: Combine the Dry Ingredients
In a large mixing bowl, combine the all-purpose or gluten-free flour, quick oats, coconut sugar, baking powder, and salt. Stir the ingredients together until they’re well incorporated, which should take about 30 seconds. This ensures even distribution of the dry ingredients in your berry oat bars, setting the stage for consistent flavor and texture.
Step 3: Mix in the Wet Ingredients
Next, melt the coconut oil in a microwave-safe bowl, then pour it into the mixing bowl with the dry ingredients. Add the maple syrup to the mixture and stir it all together until the ingredients are completely combined. You should have a thick, somewhat sticky mixture that binds together nicely, forming the base of your delicious berry oat bars.
Step 4: Press the Base into the Pan
Take two-thirds of the mixture and scoop it into the prepared baking pan. Using your hands or a spatula, press the mixture evenly into the bottom of the pan, creating a firm, smooth surface. This step is crucial for ensuring your berry oat bars maintain their shape after baking, so be diligent in achieving an even layer.
Step 5: Add the Raspberry Preserves
Spread a layer of raspberry preserves evenly over the base you’ve just pressed down, leaving about a ½ inch border around the edges. This layer of sweetness and moisture will add a delicious contrast to the textured base. Make sure to distribute it well to ensure every bite has a hint of fruity flavor!
Step 6: Crumble the Remaining Mixture
With the preserves in place, crumble the remaining mixture over the raspberry layer. Gently press it down with your fingers to help it stick, but avoid compacting too much. This layer of crumbled mixture adds a delightful topping to your berry oat bars, contributing to their chewiness and texture.
Step 7: Bake and Check for Doneness
Place the baking pan in the preheated oven and bake for 25-30 minutes. Keep an eye on the bars, and look for a lightly browned top as an indicator of doneness. The edges may also start to lift slightly from the sides of the pan, confirming that your berry oat bars are ready to come out!
Step 8: Cool and Cut
Once baked, remove the pan from the oven and let it cool on a wire rack for about 15-20 minutes. After it has cooled sufficiently, carefully transfer the bars onto a cutting board and slice them into squares or rectangles. Allowing them to cool completely is key to prevent crumbling, ensuring your berry oat bars are easy to serve and enjoy!
How to Store and Freeze Berry Oat Bars
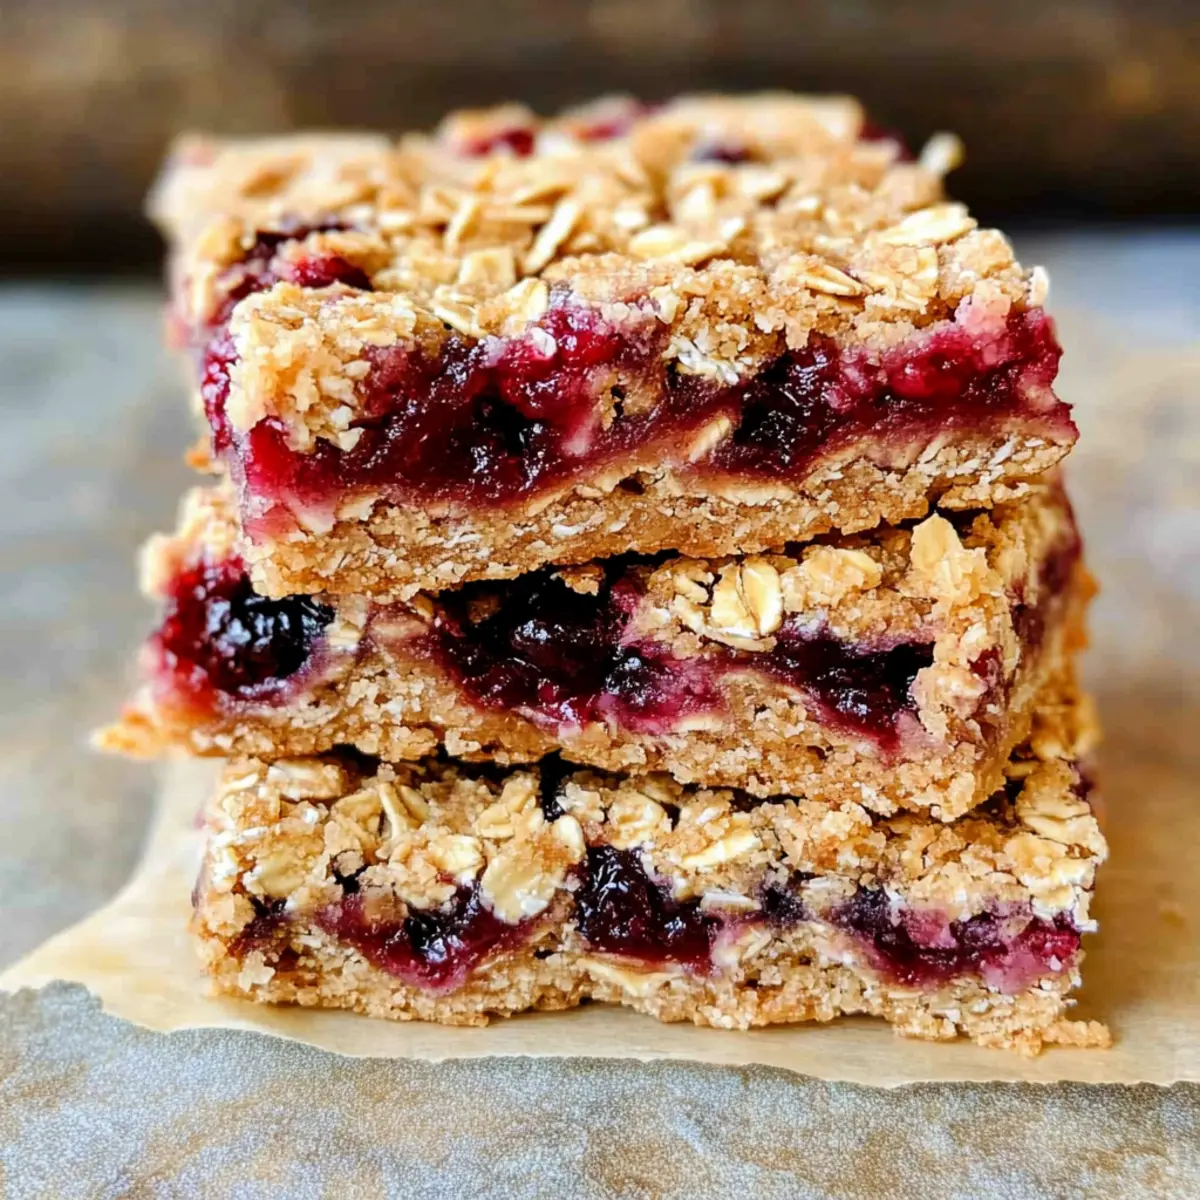
Room Temperature: Store your berry oat bars in an airtight container at room temperature for up to 5 days to maintain their chewy texture and freshness.
Fridge: For extended freshness, keep them in the refrigerator where they’ll last up to 8 days. Just make sure they’re in a tight container to prevent drying out.
Freezer: To freeze, wrap individual bars in plastic wrap and place them in a freezer-safe bag. They can be stored in the freezer for up to 3 months—perfect for a quick snack later on!
Reheating: When you’re ready to enjoy a frozen bar, simply thaw it in the fridge overnight or microwave it for about 15-20 seconds for a warm, wholesome treat.
What to Serve with Healthy Berry Oat Bars
As you prepare to enjoy your Berry Oat Bars, think about pairing them with delightful complements that enhance their natural flavors.
- Fresh Fruit Salad: A vibrant mix of seasonal fruits adds a refreshing contrast and boosts your vitamin intake, making for a balanced meal.
- Greek Yogurt: Creamy and rich, a dollop of yogurt adds tanginess that pairs perfectly with the natural sweetness of the bars, creating a satisfying snack.
- Nut Butter Dip: Serve a side of almond or peanut butter for a creamy, protein-packed dip. It adds texture and richness that elevates your snack time.
- Herbal Tea: A soothing cup of herbal tea, like chamomile or mint, balances the sweetness of the bars and makes for a cozy afternoon treat.
- Smoothie: Blend up your favorite fruits and greens for a nutritious smoothie. The cool, fresh flavors make a delightful contrast to the chewy oat bars.
- Chocolate Covered Almonds: For a touch of indulgence, these crunchy treats offer a satisfying crunch that complements the chewiness of the bars beautifully.
- Coconut Chia Pudding: A creamy, coconut-infused chia pudding provides a delightful texture and pairs well with the berry flavor in the bars.
- Nutty Granola: Sprinkle some nutty granola on top of your yogurt or fruit to add an extra crunch that enhances the overall experience of your berry oat bars.
Berry Oat Bars Variations & Substitutions
Feel free to get creative and customize your berry oat bars to suit your taste buds and dietary needs!
- Jam Alternative: Swap raspberry preserves for strawberry, blueberry, or peach to create a unique flavor profile. Each alternative brings its own sweetness and texture!
- Nutty Addition: Add 1 tablespoon of ground flaxseed for extra protein and nutrition. This not only boosts health but also adds a lovely nutty flavor.
- Nut Butters: Incorporate almond or peanut butter into the base for a rich, creamy twist. The added moisture will make your bars even more satisfying.
- Gluten-Free: Use a 1:1 gluten-free flour blend instead of all-purpose flour. This ensures everyone can enjoy these bars without worry!
- Sugar Swaps: Try using agave syrup or honey in place of maple syrup for a different sweetening agent. Each one offers its own distinct taste and sweetness.
- Lower Sugar Option: Choose sugar-free fruit preserves for a lower-sugar snack that still delivers on flavor. Enjoy the taste without the guilt!
- Add More Fiber: Toss in a handful of chia seeds or oats for extra fiber and texture. This little addition will turn your bars into a more filling snack!
- Spice it Up: Sprinkle in some cinnamon or a touch of vanilla extract for an aromatic flavor boost. This helps create a warm, comforting essence that’s irresistible.
With all these variations, your berry oat bars will never be boring! For more delightful recipes, consider checking out my 4-Ingredient Chocolate Oat Cookies or Nut Free Bars for more scrumptious ideas!
Expert Tips for Berry Oat Bars
-
Press Firmly: Make sure to press the base mixture firmly into the pan to help the bars hold their shape after baking.
-
Jam Management: Avoid letting the raspberry preserves touch the edges of the pan. This can cause scorching while baking, affecting flavor and texture.
-
Cooling Time: Allow the berry oat bars to cool completely before cutting. This helps prevent crumbling and makes for cleaner slices.
-
Ingredient Quality: Ensure your baking powder is fresh for the best rise and texture. Expired ingredients can lead to dense bars.
-
Variations Are Key: Feel free to experiment by swapping out the raspberry preserves with other flavors for a delicious twist on your berry oat bars!
Make Ahead Options
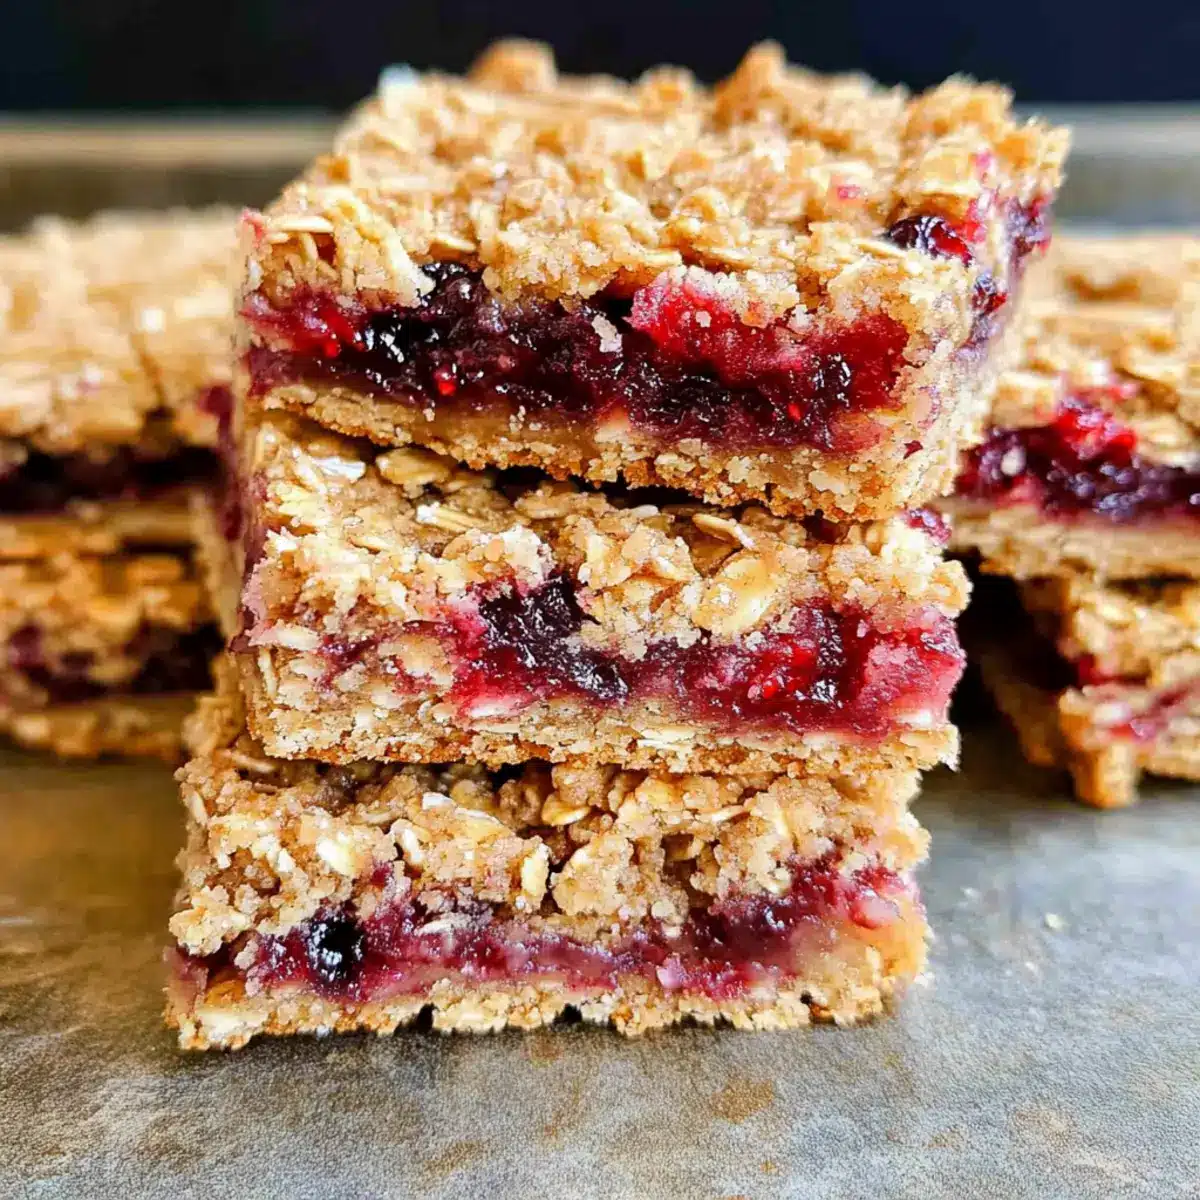
These Berry Oat Bars are perfect for meal prep enthusiasts looking to save time during busy weeks! You can prepare the dry mixture (flour, oats, sugar, baking powder, and salt) and store it in an airtight container for up to 3 days. Additionally, you can press the base into the baking pan and refrigerate it (for up to 24 hours) before adding the raspberry preserves and crumbled topping. To maintain quality, it’s essential not to spread the preserves until you’re ready to bake, as this prevents the base from becoming soggy. When you’re ready to whip up a batch, just add the preserves, crumble on the top, bake, and enjoy these hassle-free, delicious Berry Oat Bars!
Berry Oat Bars Recipe FAQs
How do I choose ripe berries for the filling?
Absolutely! Choose berries that are vibrant in color and firm to the touch. Look for fruits without bruises or dark spots, as these can indicate overripeness. Fresh, plump berries will ensure your berry oat bars are bursting with flavor!
How should I store leftover berry oat bars?
You can store your berry oat bars in an airtight container at room temperature for up to 5 days. If you’d like to extend their shelf life, refrigerate them, and they’ll stay fresh for up to 8 days. Just ensure they’re tightly sealed to prevent them from drying out!
Can I freeze my berry oat bars?
Very! To freeze your berry oat bars, wrap each cooled bar individually in plastic wrap, then place them into a freezer-safe bag or container. They can be stored in the freezer for up to 3 months. When you want to enjoy one, just thaw it in the fridge overnight or microwave for about 15-20 seconds to bring back their delightful chewiness!
What should I do if my bars crumble when cutting?
I recommend allowing the bars to cool completely in the pan before cutting. If your bars are still crumbly, it may be that they weren’t pressed firmly enough into the pan or needed an extra minute in the oven to set firmly. Ensure you’ve pressed the base down well and, if necessary, the next time you make them, let them bake an extra few minutes.
Are there any allergies I should be aware of with this recipe?
Definitely! While the berry oat bars are naturally free of refined sugars, they’re not gluten-free unless you specifically use a gluten-free flour blend. Always check for cross-contaminated ingredients if you’re accommodating gluten sensitivities. Additionally, take caution with nut butters or nut-based toppings, as they may not be suitable for individuals with nut allergies.
Can I use different sweeteners in the berry oat bars recipe?
Absolutely! You can substitute maple syrup with honey or agave nectar if preferred. However, keep in mind that the flavor will change slightly. If you’re looking to reduce sugar, consider using sugar-free preserves, as they can significantly lower the overall sugar content in the bars while still delivering delicious flavor.
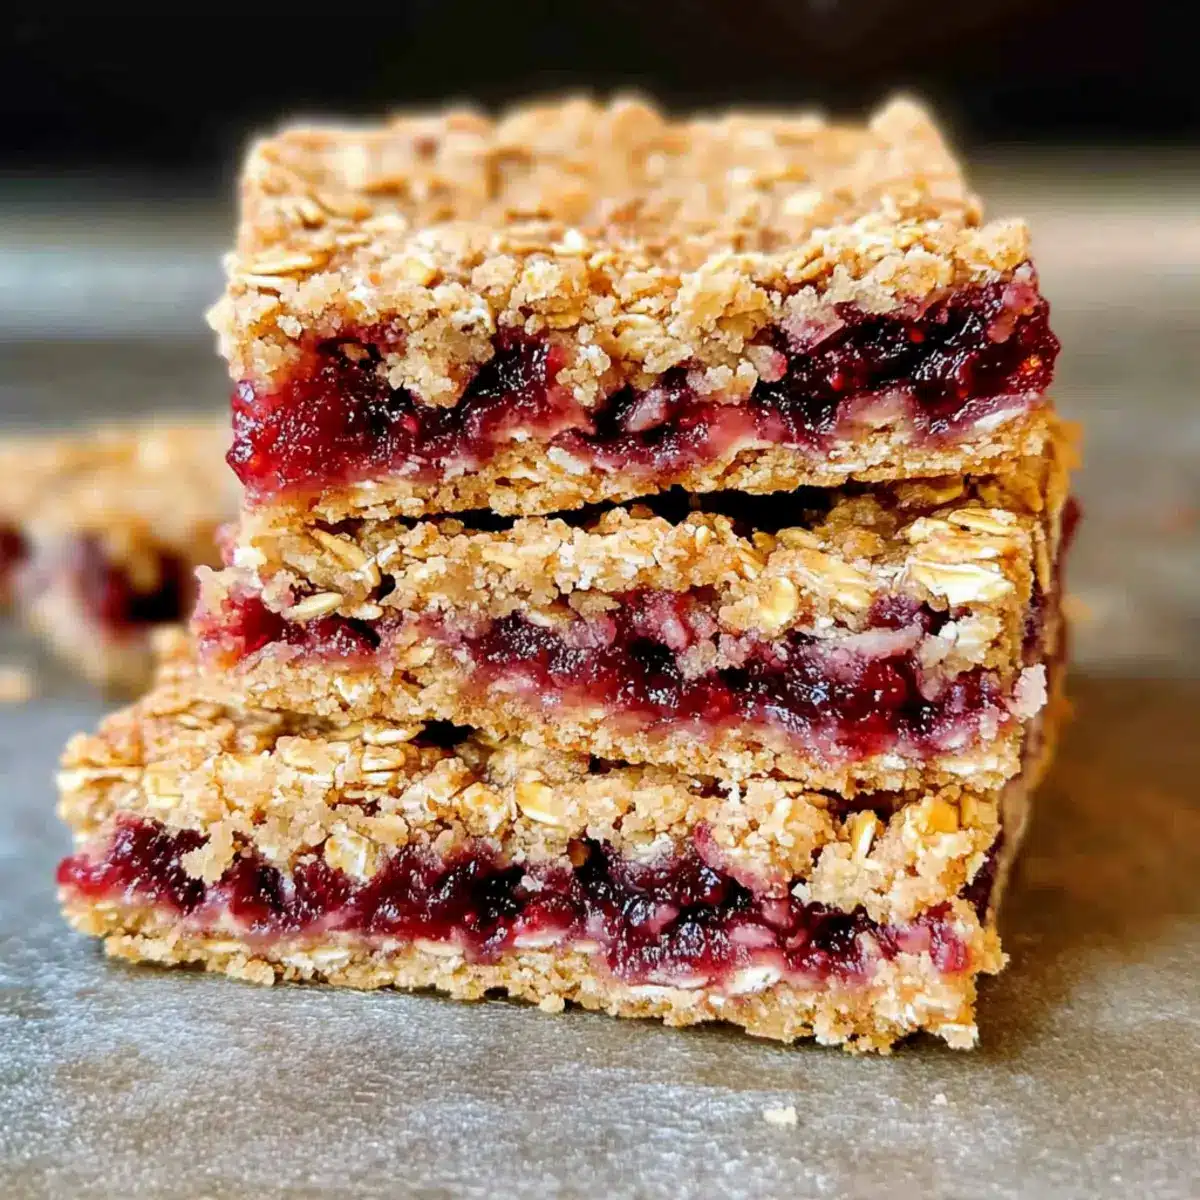
Delicious Berry Oat Bars: Healthy, No Refined Sugar Treats
Ingredients
Equipment
Method
- Preheat your oven to 350°F (175°C). Spray an 8x8 baking pan with non-stick spray.
- Combine flour, oats, coconut sugar, baking powder, and salt in a bowl.
- Melt coconut oil and add it to the dry mixture along with the maple syrup. Mix until combined.
- Press two-thirds of the mixture into the bottom of the prepared pan.
- Spread raspberry preserves evenly over the base, leaving a ½ inch border.
- Crumble the remaining mixture over the raspberry layer and press down gently.
- Bake for 25-30 minutes until lightly browned and edges lift.
- Let cool on a wire rack for 15-20 minutes before slicing.
Leave a Reply