
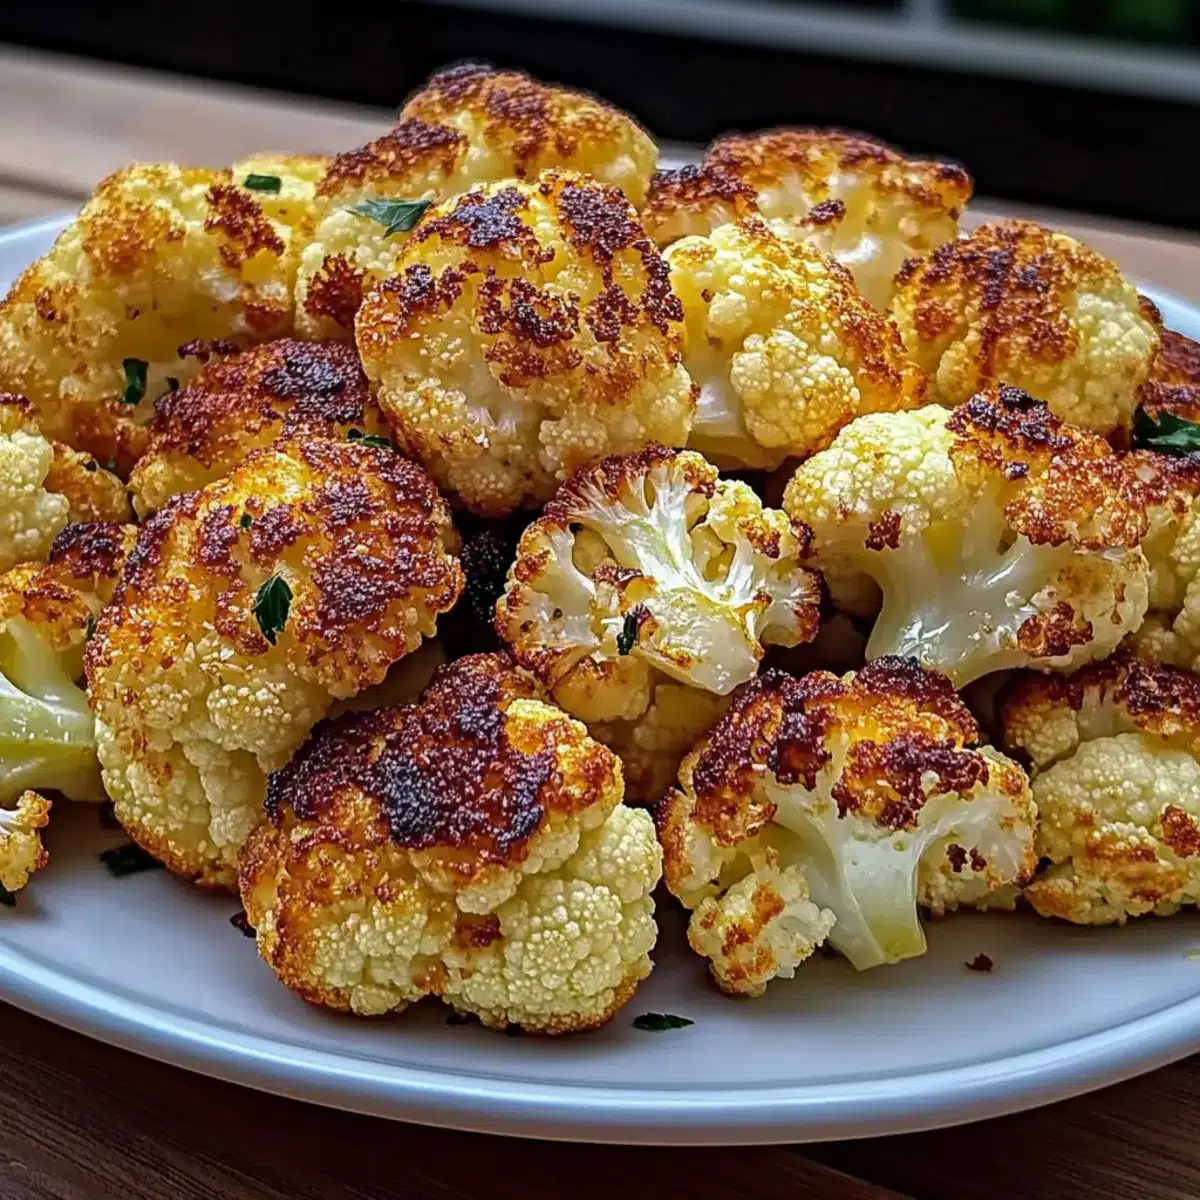
In the bustling world of weeknight dinners, garlic butter roasted cauliflower emerges as my hero. The sound of bubbling butter, the aromatic garlic wafting through the kitchen—it’s nothing short of a culinary hug. This garlic butter roasted cauliflower side is not only a quick fix for busy nights, but it also transforms the innocent cauliflower into a crispy, golden delight that can steal the show at any table. Whether you’re looking for a flavorful addition to your go-to family meals or a fancy side for your next gathering, this dish fits the bill. Plus, it’s gluten-free and low-carb, making it perfect for those health-conscious moments. How do you elevate your meals? Let’s dive into this scrumptious recipe and find out!
Why is Garlic Butter Roasted Cauliflower Irresistible?
Simplicity at its Finest: This recipe is approachable, allowing even novice cooks to create a show-stopping side in minutes.
Rich, Buttery Flavor: The combination of melted butter and fresh garlic provides a savory taste that enhances the humble cauliflower.
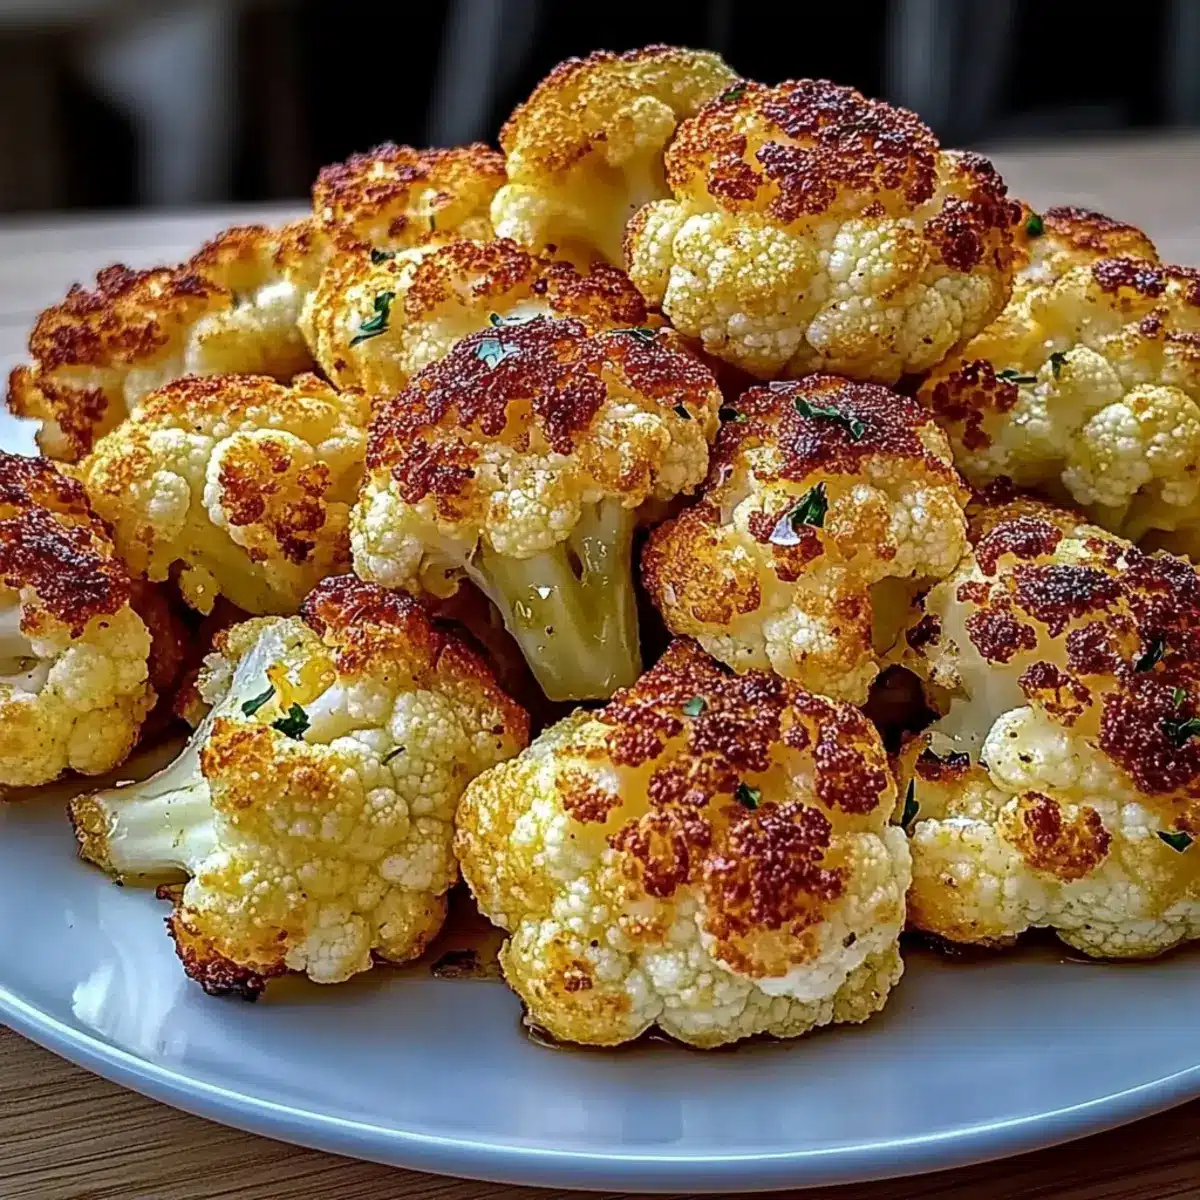
Perfectly Crispy Texture: The roasting process yields golden-brown, crispy edges that contrast beautifully with tender centers, making every bite a delight.
Versatile Pairing: Ideal alongside grilled chicken or casseroles, this dish complements any meal, from casual family dinners to elegant gatherings.
Healthy Indulgence: Low-carb and gluten-free, this flavorful side dish satisfies cravings without adding guilt. You’ll find it fitting for both healthy meals and celebrations!
Don’t forget to check out my Garlic Butter Steak for a combination that elevates your dining experience even further!
Garlic Butter Roasted Cauliflower Ingredients
• Dive into the essentials for this delicious dish!
For the Cauliflower
- Cauliflower – a firm, fresh head is key to achieving that delightful roast.
- Salt (¾ teaspoon) – enhances the overall flavor, tweak to taste for extra goodness.
For the Garlic Butter
- Unsalted Butter (4 tablespoons) – brings richness; opt for Kerrygold for a smoother melt. Use olive oil for a dairy-free alternative.
- Minced Garlic (60 grams) – the heart of flavor; swap with 1 teaspoon garlic powder if needed.
For the Finish
- Fresh Lemon Juice (2 tablespoons) – brightens up the dish, a must for balance.
- Optional Smoked Paprika (1 tablespoon) – adds depth and character, perfect for the dairy-free version.
Perfectly crafted as a Garlic Butter Roasted Cauliflower Side, these ingredients will elevate your cooking game!
Step‑by‑Step Instructions for Garlic Butter Roasted Cauliflower Side
Step 1: Preheat the Oven
Begin by preheating your oven to 400°F (200°C). This temperature is essential for achieving that perfect golden-brown, crispy texture that makes your garlic butter roasted cauliflower truly irresistible. While the oven warms up, gather all your ingredients and equipment, including a baking sheet and a mixing bowl, to streamline the cooking process.
Step 2: Prepare the Cauliflower
Next, carefully cut the fresh cauliflower head into even-sized florets. Ensure the pieces are dry, as moisture will hinder crisping during roasting. Place the florets in a large bowl, taking in their vibrant white color—this indicates they’re fresh and ready for roasting.
Step 3: Melt the Garlic Butter
In a medium saucepan, melt 4 tablespoons of unsalted butter over low heat. Once melted, add 60 grams of minced garlic and sauté gently for about 1-2 minutes until fragrant, but do not allow it to brown. This step infuses the butter with rich garlic flavor that will beautifully coat your cauliflower florets.
Step 4: Toss the Cauliflower
Pour the melted garlic butter over the cauliflower florets in the mixing bowl. Add ¾ teaspoon of salt to enhance the flavor. Using a spatula or your hands, toss the florets thoroughly to ensure each piece is well-coated in the delicious garlic butter, making the cooking experience even more tantalizing.
Step 5: Arrange on Baking Sheet
Spread the garlic butter coated cauliflower florets in a single layer on a rimmed baking sheet. Make sure there is space between each floret to allow for proper roasting. This step is crucial to achieving that coveted crispy finish, as crowding the pan will result in steaming rather than roasting.
Step 6: Roast the Cauliflower
Place the baking sheet in the preheated oven and roast the cauliflower for 25-30 minutes. Halfway through, carefully turn the florets to ensure even cooking and prevent steaming. Keep an eye out for that beautiful golden-brown color, signaling that the garlic butter roasted cauliflower is nearly ready.
Step 7: Finish with Lemon Juice
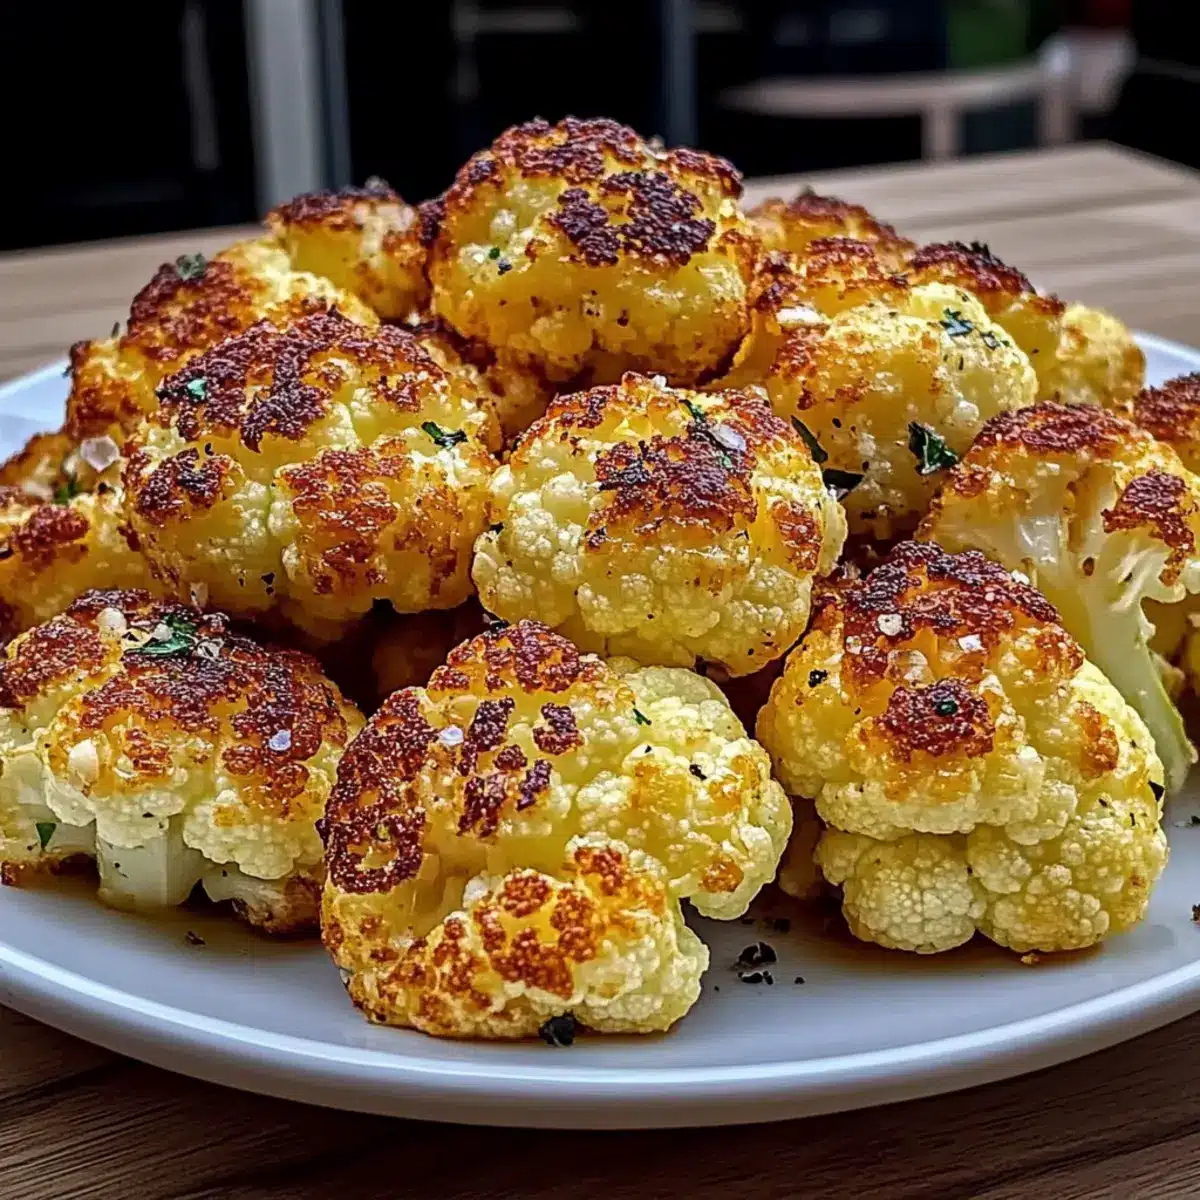
Once your cauliflower is crispy and golden, remove it from the oven. Squeeze 2 tablespoons of fresh lemon juice over the roasted florets for a bright, zesty finish that balances the rich garlic and butter flavors. This final touch elevates the dish, making your garlic butter roasted cauliflower side an unforgettable delight for any meal.
Garlic Butter Roasted Cauliflower Variations
Feel free to explore these delightful variations that can elevate your garlic butter roasted cauliflower to new heights of flavor and excitement!
-
Dairy-Free: Substitute unsalted butter with olive oil for a creamy, rich texture without dairy. This option keeps it light yet satisfying.
-
Balsamic Twist: Drizzle balsamic glaze over the roasted cauliflower for a sweet and tangy finish. It adds depth and a beautiful glaze that makes it irresistible.
-
Herb Infusion: Toss in fresh herbs like thyme or rosemary before roasting for a fragrant herbal touch. The aromatic qualities will enhance your dish and create a wonderful flavor profile.
-
Spicy Kick: Add a pinch of red pepper flakes or cayenne pepper for heat. It gives the dish an exciting twist that balances nicely with the garlic butter.
-
Cheesy Flavor: Sprinkle grated Parmesan cheese or nutritional yeast on the cauliflower in the last few minutes of roasting for a cheesy finish without being overpowering. This adds a savory depth that will have your family asking for more.
For additional inspiration, consider pairing this roasted side with my Peanut Butter Banana Oatmeal Bake for breakfast or alongside a juicy Garlic Butter Steak dinner!
-
Nutty Almonds: Toss in sliced almonds or chopped walnuts before serving for a crunchy texture contrast. Nuts add a satisfying crunch that complements the creamy cauliflower beautifully.
-
Zesty Lime: Swap lemon juice for fresh lime juice to brighten the flavors with a citrusy twist. It’s a fun change that adds a refreshing zing to each bite.
Let your culinary creativity flow, and enjoy the journey of flavor with these delicious variations!
Make Ahead Options
These Garlic Butter Roasted Cauliflower florets are perfect for meal prep, allowing you to enjoy a flavorful side dish with ease. You can cut and toss the cauliflower with melted garlic butter and salt up to 24 hours in advance, storing it in an airtight container in the fridge. When it’s time to cook, simply spread the marinated florets on a baking sheet and roast them in a preheated oven. To maintain that sought-after crispiness, ensure the florets are dry before tossing them in the butter, and avoid overcrowding on the baking sheet. Finish with a squeeze of fresh lemon juice right before serving, and you’ll have delicious, restaurant-quality Garlic Butter Roasted Cauliflower ready without the last-minute rush!
What to Serve with Garlic Butter Roasted Cauliflower
Transform your meal into an unforgettable experience with delightful accompaniments that enhance each bite.
-
Grilled Chicken: The savory flavors of the chicken beautifully complement the buttery, garlicky goodness of the cauliflower, creating a restaurant-worthy plate.
-
Quinoa Salad: Add texture and freshness with a light, zesty quinoa salad featuring cucumbers and cherry tomatoes for a refreshing contrast.
-
Mediterranean Couscous: The fluffy couscous, infused with lemon and herbs, adds an element of brightness and is an ideal partner for the rich cauliflower.
-
Roasted Salmon: Rich and flaky salmon pairs perfectly with the crispy cauliflower, creating a balanced meal that’s both nutritious and satisfying.
-
Creamy Mashed Potatoes: Indulge in the comforting creaminess of mashed potatoes; their luscious texture contrasts delightfully with the crispy cauliflower.
-
Garlic Bread: For a true flavor fiesta, serve garlic bread that echoes the garlic notes of the cauliflower while adding a crunchy, buttery layer to your meal.
-
Sparkling Lemonade: Refreshing and lively, a chilled sparkling lemonade complements the savory elements of your meal while providing a hint of sweetness.
-
Chocolate Mousse: Finish with a decadent chocolate mousse for dessert—a rich, creamy treat that closes the meal on a sweet and luxurious note.
Each of these pairings elevates your garlic butter roasted cauliflower side, making dinner not just a meal, but a celebration!
Expert Tips for Garlic Butter Roasted Cauliflower
-
Dry Your Cauliflower: Ensure the florets are thoroughly dried to achieve maximum crispiness during roasting. Any moisture can lead to steaming instead of roasting.
-
Mind the Garlic: Be cautious with garlic; if it starts to brown too quickly while sautéing, immediately remove it from heat to prevent bitterness in your garlic butter roasted cauliflower.
-
Space it Out: Don’t overcrowd the baking sheet! Give each floret enough space to roast evenly, allowing those delicious crispy edges to form while avoiding steaming.
-
Toss Halfway Through: For optimal results, toss the cauliflower halfway through the roasting process. This helps distribute the garlic butter evenly and promotes even browning.
-
Serve Hot: Enjoy the garlic butter roasted cauliflower side dish right away for the best texture and flavor. Reheating can compromise its crispiness!
How to Store and Freeze Garlic Butter Roasted Cauliflower
Fridge: Store cool, leftover garlic butter roasted cauliflower in an airtight container for up to 3 days to maintain its flavor and texture.
Freezer: For longer storage, freeze the cooled cauliflower in a zip-top bag for up to 2 months. To prevent freezer burn, remove as much air as possible.
Reheating: To bring back its crispiness, reheat in a 400°F (200°C) oven for about 10-15 minutes, or until heated through. Avoid microwaving, as it can make the florets soggy.
Make-Ahead Tip: If planning to prepare it ahead of time, make and store it without lemon juice, and add just before serving for a fresh taste.
Garlic Butter Roasted Cauliflower Recipe FAQs
What should I look for when selecting cauliflower?
Choose fresh heads of cauliflower that are firm and white, avoiding any signs of brown spots or wilting. The florets should be tightly packed, as this indicates freshness. If you find any dark spots or excessive moisture, it’s best to pick another head for optimal roasting.
How should I store leftover garlic butter roasted cauliflower?
Allow your leftovers to cool completely before transferring them to an airtight container. They can be stored in the refrigerator for up to 3 days. Make sure to consume or reheat promptly to maintain their delicious flavor and texture, keeping them away from the sogginess!
Can you freeze garlic butter roasted cauliflower?
Absolutely! To freeze, let the cauliflower cool entirely, then place it in a zip-top bag. Aim for removing as much air as possible to minimize freezer burn. It will keep well in the freezer for up to 2 months. When you’re ready to enjoy it again, simply reheat in a 400°F (200°C) oven for about 10-15 minutes until crispy again.
What should I do if my garlic butter starts to brown too quickly?
If your garlic is browning more rapidly than desired while sautéing, remove it from the heat immediately. This will prevent a bitter taste from developing. You can always add a little more fresh garlic later to regain that authentic flavor without sacrificing your dish.
Is this recipe suitable for people with dietary restrictions?
Yes! This garlic butter roasted cauliflower is both gluten-free and low-carb, making it a great choice for those with gluten sensitivities or following low-carb diets. For a dairy-free twist, simply substitute olive oil for butter and skip any dairy-based toppings. Always double-check the ingredients, especially when cooking for guests with allergies or other dietary needs.
Can I make this dish ahead of time?
Certainly! You can prepare the garlic butter roasted cauliflower ahead of time by roasting it without adding the lemon juice. Store the cooled cauliflower in an airtight container, and add the lemon juice just before serving. This keeps the dish fresh and vibrant, enhancing that zingy flavor when it’s time to enjoy!
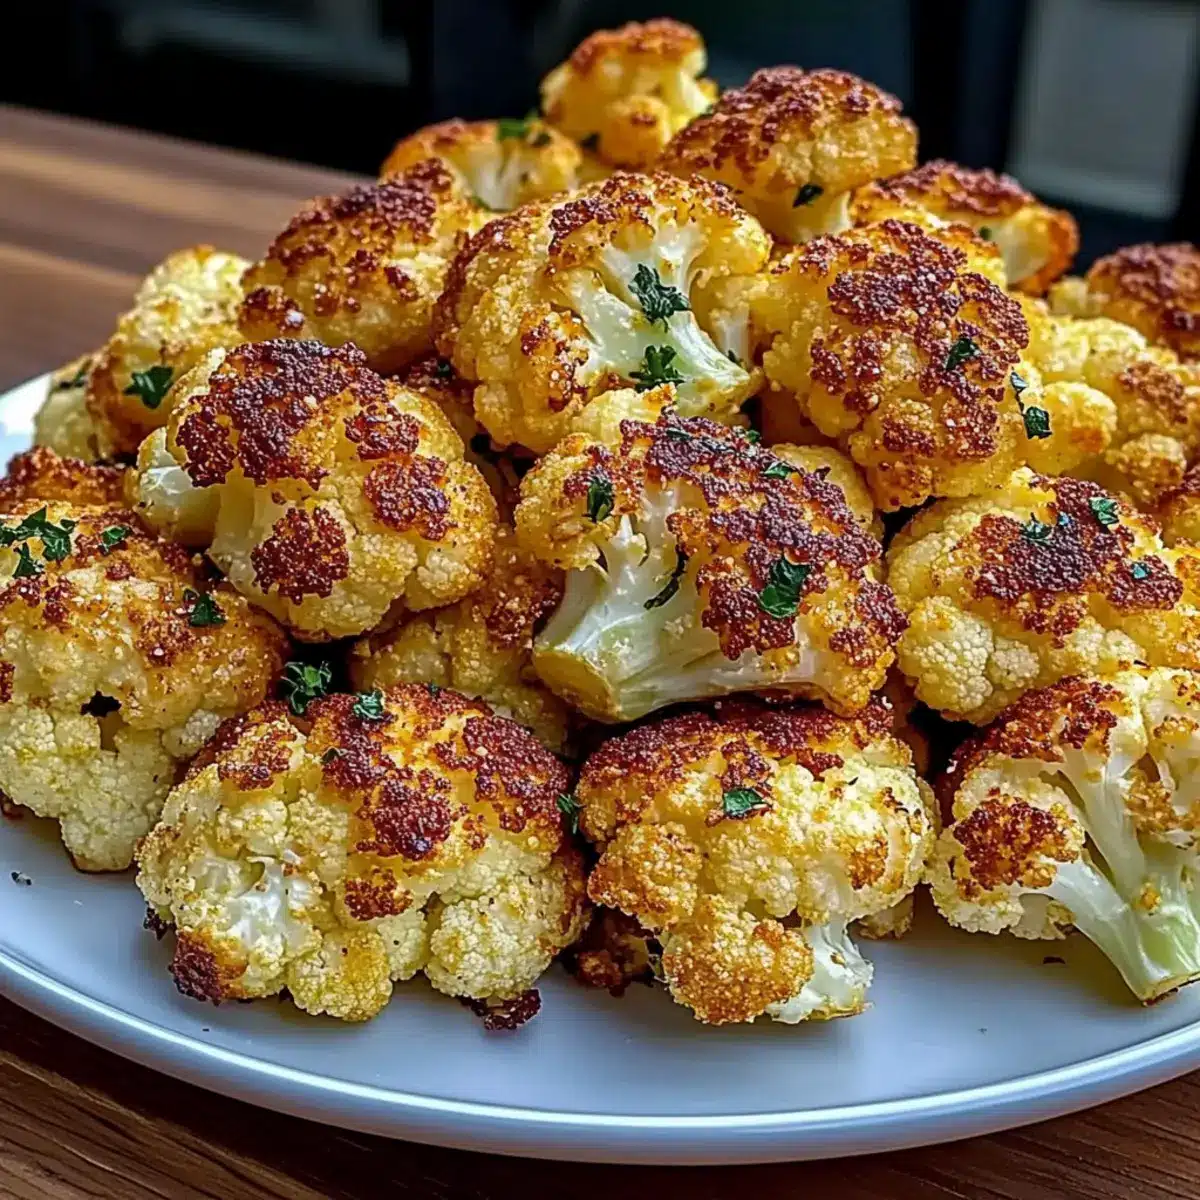
Irresistible Garlic Butter Roasted Cauliflower Side Dish
Ingredients
Equipment
Method
- Preheat your oven to 400°F (200°C). Gather all your ingredients and equipment.
- Cut the fresh cauliflower head into even-sized florets and place in a large bowl.
- Melt 4 tablespoons of unsalted butter in a medium saucepan over low heat. Add 60 grams of minced garlic and sauté for 1-2 minutes until fragrant.
- Pour the melted garlic butter over the cauliflower florets in the mixing bowl. Add ¾ teaspoon of salt and toss thoroughly.
- Spread the coated cauliflower florets in a single layer on a rimmed baking sheet.
- Roast the cauliflower in the preheated oven for 25-30 minutes, turning midway for even cooking.
- After roasting, squeeze 2 tablespoons of fresh lemon juice over the cauliflower before serving.
Leave a Reply