
As I sifted through my pantry, a magical idea struck me: why not combine two beloved desserts into one show-stopping creation? Enter the Hershey’s Chocolate Cheesecake Cake—a heavenly hybrid that seamlessly merges the rich decadence of chocolate cake with the creamy delight of a velvety cheesecake. This recipe isn’t just a feast for the senses; it’s an easy-to-follow delight perfect for any gathering, making it a crowd-pleaser that will have friends and family clamoring for seconds. Whether you’re looking to impress at a holiday dinner or simply treat yourself to a slice of indulgence, this cake brings that bakery-quality experience right to your kitchen. Ready to create something extraordinary that will surely garner rave reviews? Let’s dive in and whip up this decadent masterpiece!
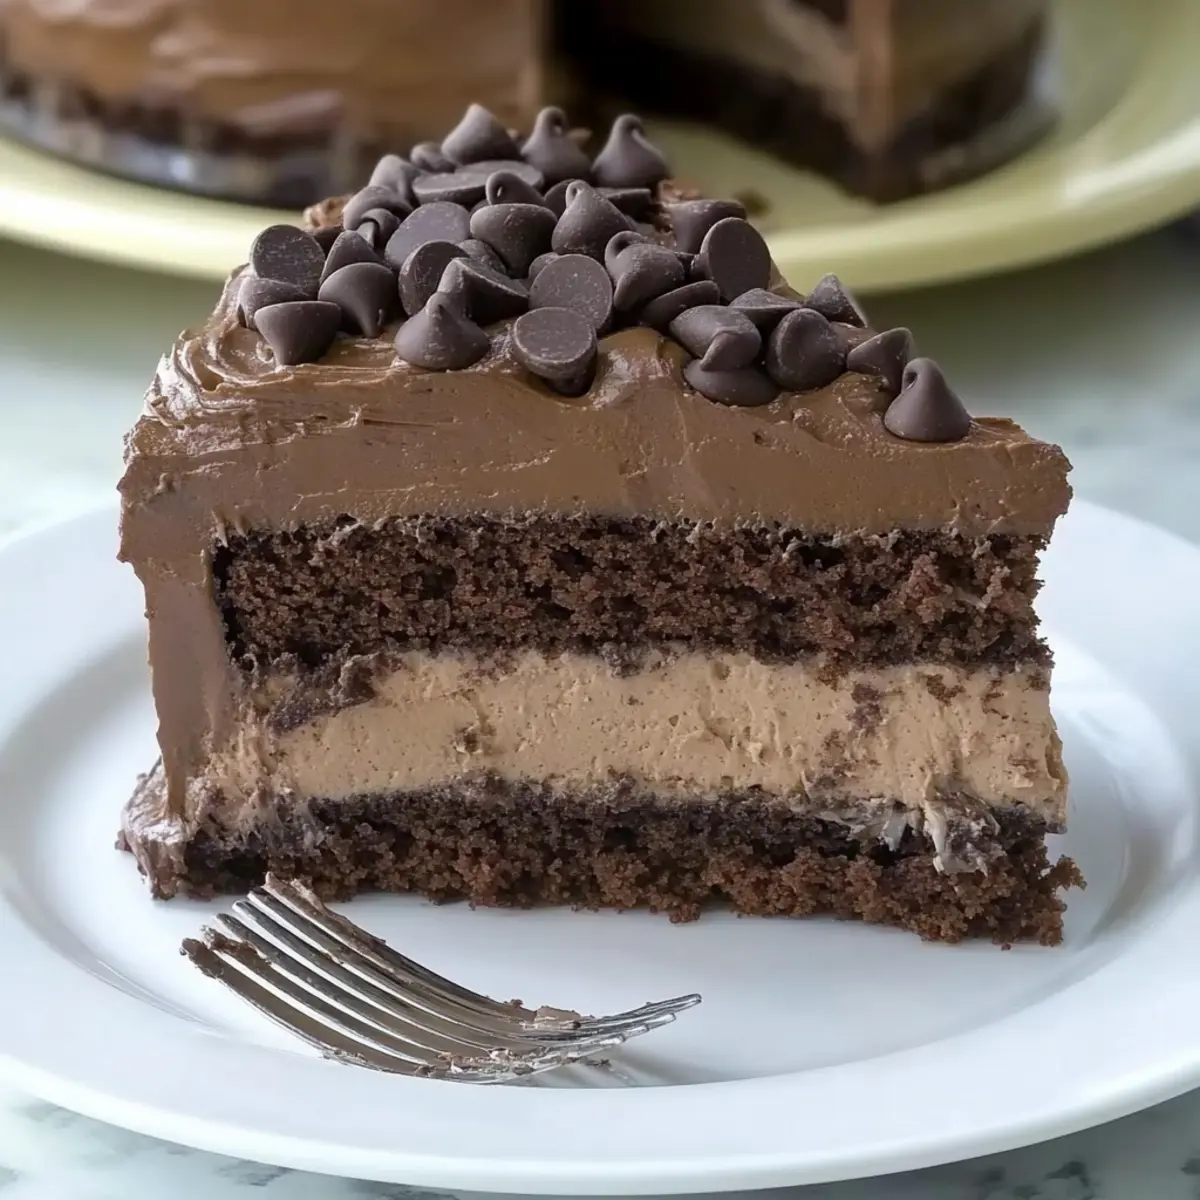
Why is this cake a must-try?
Decadent Delight: The Hershey’s Chocolate Cheesecake Cake effortlessly combines two favorite desserts, delivering rich chocolate flavor in every bite.
Easy Instructions: With a straightforward approach, even novice bakers can master this show-stopping cake without fuss.
Versatile Options: Feel free to customize with toppings or variations, like adding fresh berries or switching out the chocolate layers for vanilla.
Perfect for Gatherings: This cake is an impressive centerpiece, guaranteed to spark joy and delight at any festive occasion, keeping guests talking long after the last slice.
Irresistible Flavor: The unique blend of velvety cheesecake and moist chocolate cake creates a flavor experience that is simply unforgettable—think of it as a gourmet dessert right from your home!
If you’re a fan of chocolate desserts, you might also enjoy Chocolate Chip Cookies or whip up some Japanese Cheesecake Light for a different treat!
Hershey’s Chocolate Cheesecake Cake Ingredients
For the Cake
• All-purpose flour – A structural base; gluten-free flour can be a great substitute for those with dietary restrictions.
• Granulated sugar – Provides sweetness for the cake; substituting with brown sugar adds a richer flavor.
• Unsweetened cocoa powder – Essential for chocolate flavor; make sure it’s unsweetened to keep sweetness in check.
• Baking soda – This leavening agent makes the cake rise; always check its expiration date for best results.
• Salt – Enhances overall flavor; using sea salt elevates the taste for that gourmet touch.
• Eggs – Adds structure and moisture; for a vegan choice, flax eggs work wonderfully for the cheesecake layer.
• Whole milk – Keeps the cake moist; almond milk can be used for a delicious dairy-free alternative.
• Vegetable oil – Infuses moisture into the cake; feel free to use melted coconut oil as a natural substitute.
• Boiling water – Activates the cocoa for a richer flavor; make sure it’s freshly boiled for best results.
For the Cheesecake Layer
• Cream cheese – The creamy heart of the cheesecake layer; you can swap it for vegan cream cheese if needed.
• Powdered sugar – Provides sweetness and structure; erythritol is a great low-calorie alternative.
• Vanilla extract – Enhances flavors in both layers; pure vanilla adds a warm aromatic touch.
For the Topping
• Chocolate chips – Introduces delightful texture and adds extra chocolate goodness; choose dark or semi-sweet based on your preference.
• Hershey’s chocolate frosting – This luscious frosting envelops the cake beautifully, making it irresistible!
With these ingredients, you’re just a step away from creating the delightful Hershey’s Chocolate Cheesecake Cake that will leave everyone asking for the recipe!
Step‑by‑Step Instructions for Hershey’s Chocolate Cheesecake Cake
Step 1: Preheat the Oven
Begin by preheating your oven to 350°F (175°C). While it warms up, prepare two 9-inch round baking pans by greasing them generously with cooking spray and lining the bottoms with parchment paper. This will ensure your Hershey’s Chocolate Cheesecake Cake comes out of the pans smoothly and keeps its shape for the layers ahead.
Step 2: Mix the Dry Ingredients
In a large mixing bowl, combine 2 cups of all-purpose flour, 1 ½ cups of granulated sugar, ¾ cup of unsweetened cocoa powder, 1 ½ teaspoons of baking soda, and 1 teaspoon of salt. Whisk these dry ingredients together until fully blended, creating a rich base for your chocolate cake. This mix is essential for achieving an evenly baked, flavorful cake.
Step 3: Add the Wet Ingredients
Next, add 2 large eggs, 1 cup of whole milk, and ½ cup of vegetable oil to the dry ingredient mixture. Mix these together until you achieve a smooth batter. Gradually incorporate 1 cup of boiling water into the mixture while stirring, making the batter thinner but richer in flavor, perfect for your Hershey’s Chocolate Cheesecake Cake layers.
Step 4: Bake the Cake Layers
Divide the batter equally between the prepared pans, ensuring an even layer to facilitate even baking. Place them in your preheated oven and bake for about 30 to 35 minutes. To check for doneness, insert a toothpick into the center; it should come out clean when the cakes are ready. Let them cool in the pans for a few minutes, then transfer to wire racks.
Step 5: Prepare the Cheesecake Layer
While the cake layers cool, start on the cheesecake layer. In a mixing bowl, beat 16 ounces of softened cream cheese until velvety smooth. Gradually add in ⅔ cup of powdered sugar and 1 teaspoon of vanilla extract, mixing until creamy. This mixture will provide the rich and luscious cheesecake filling that perfectly complements the chocolate.
Step 6: Assemble the Cake
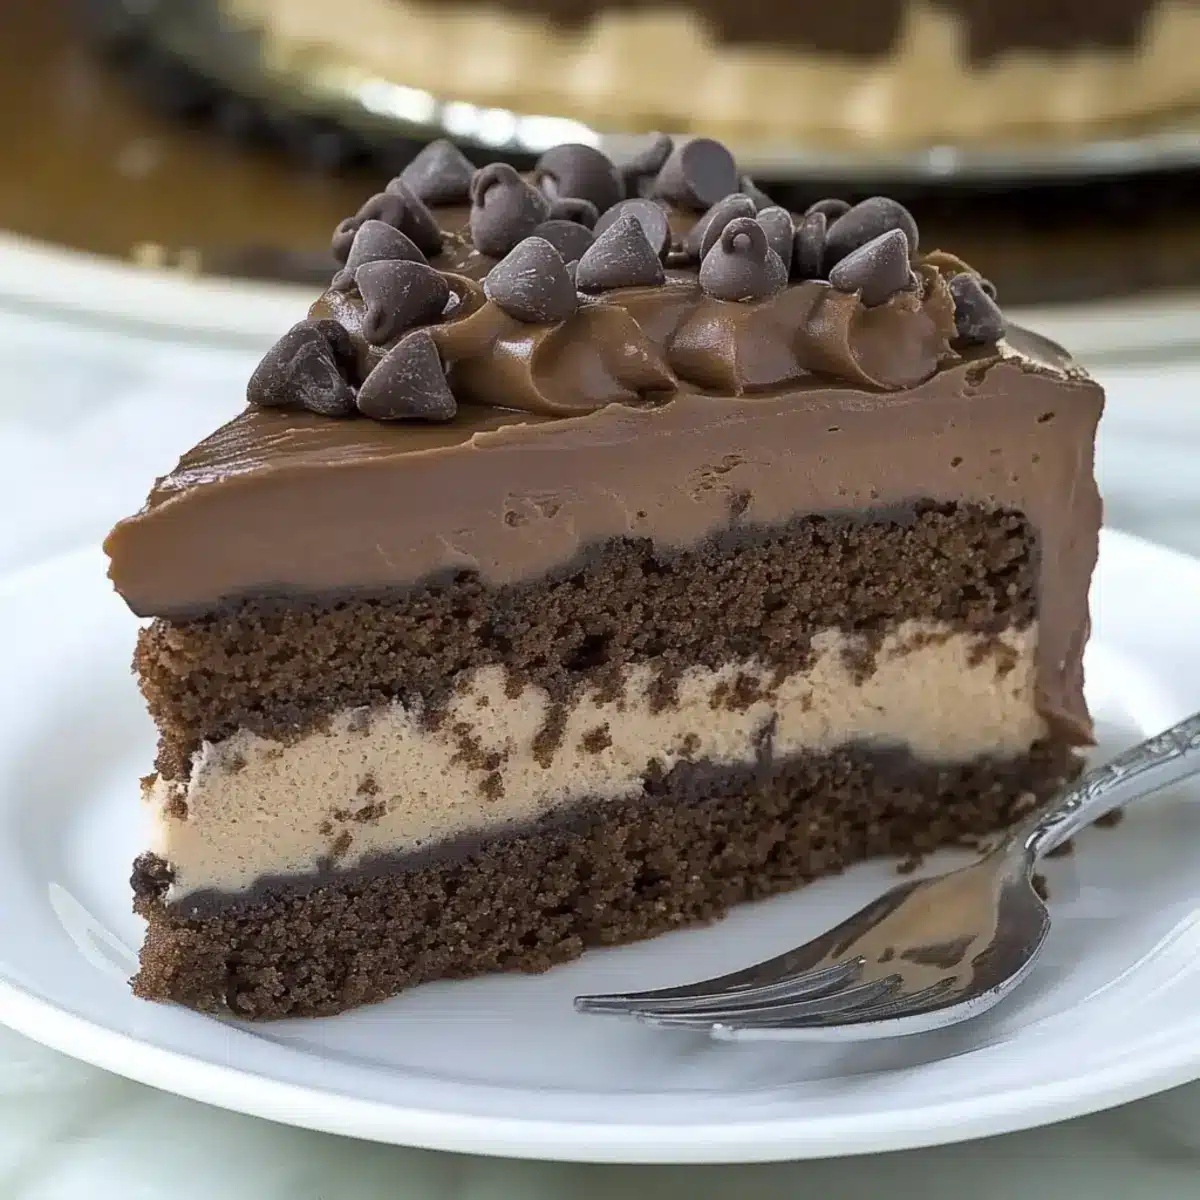
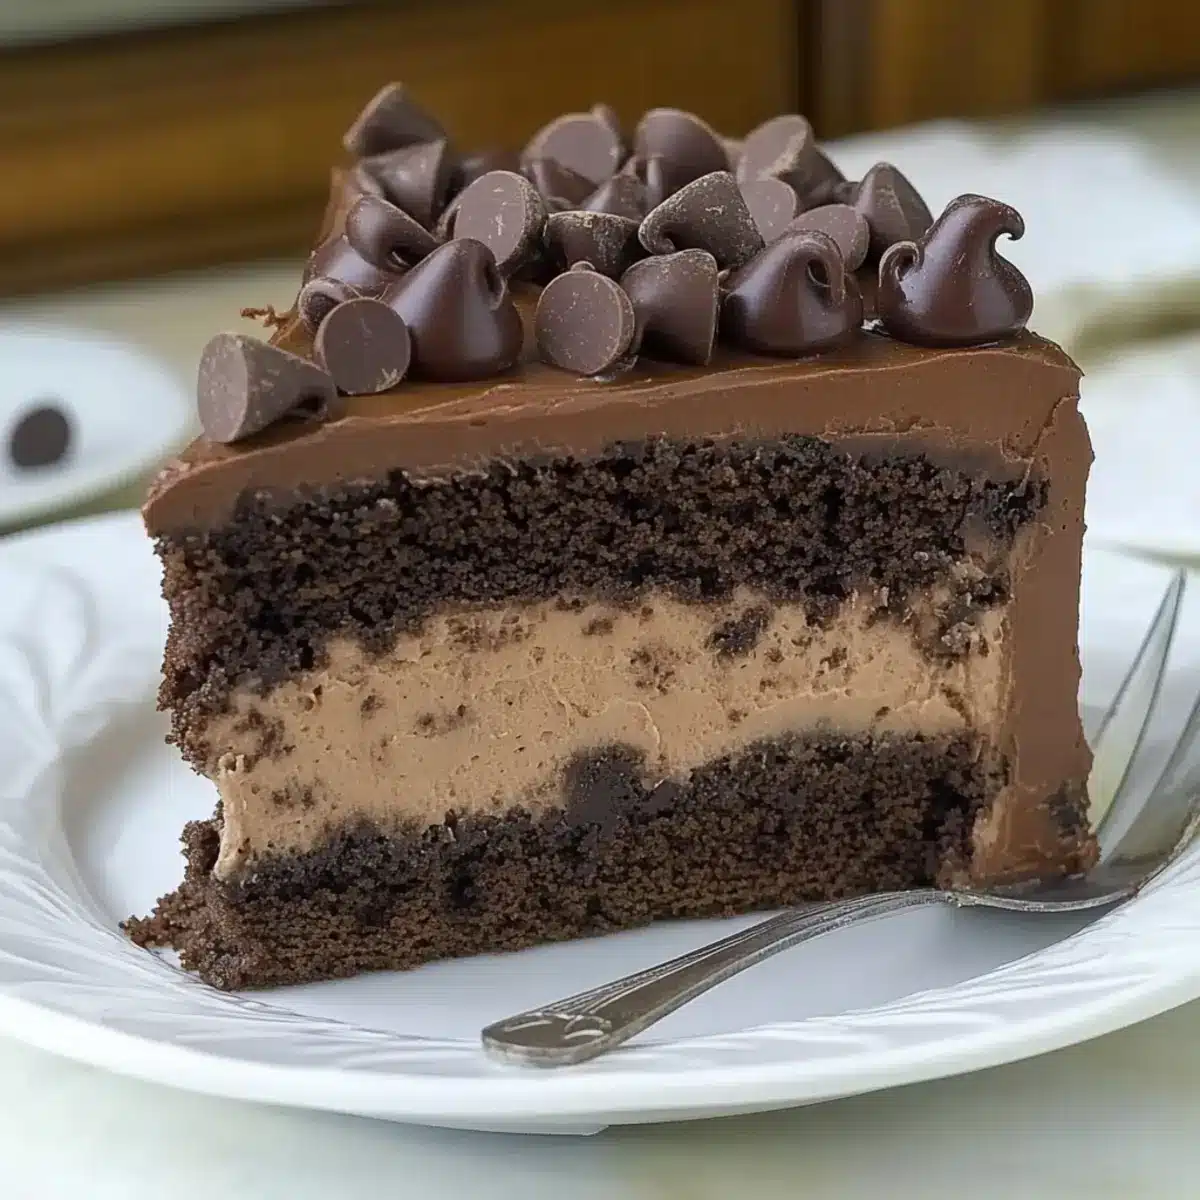
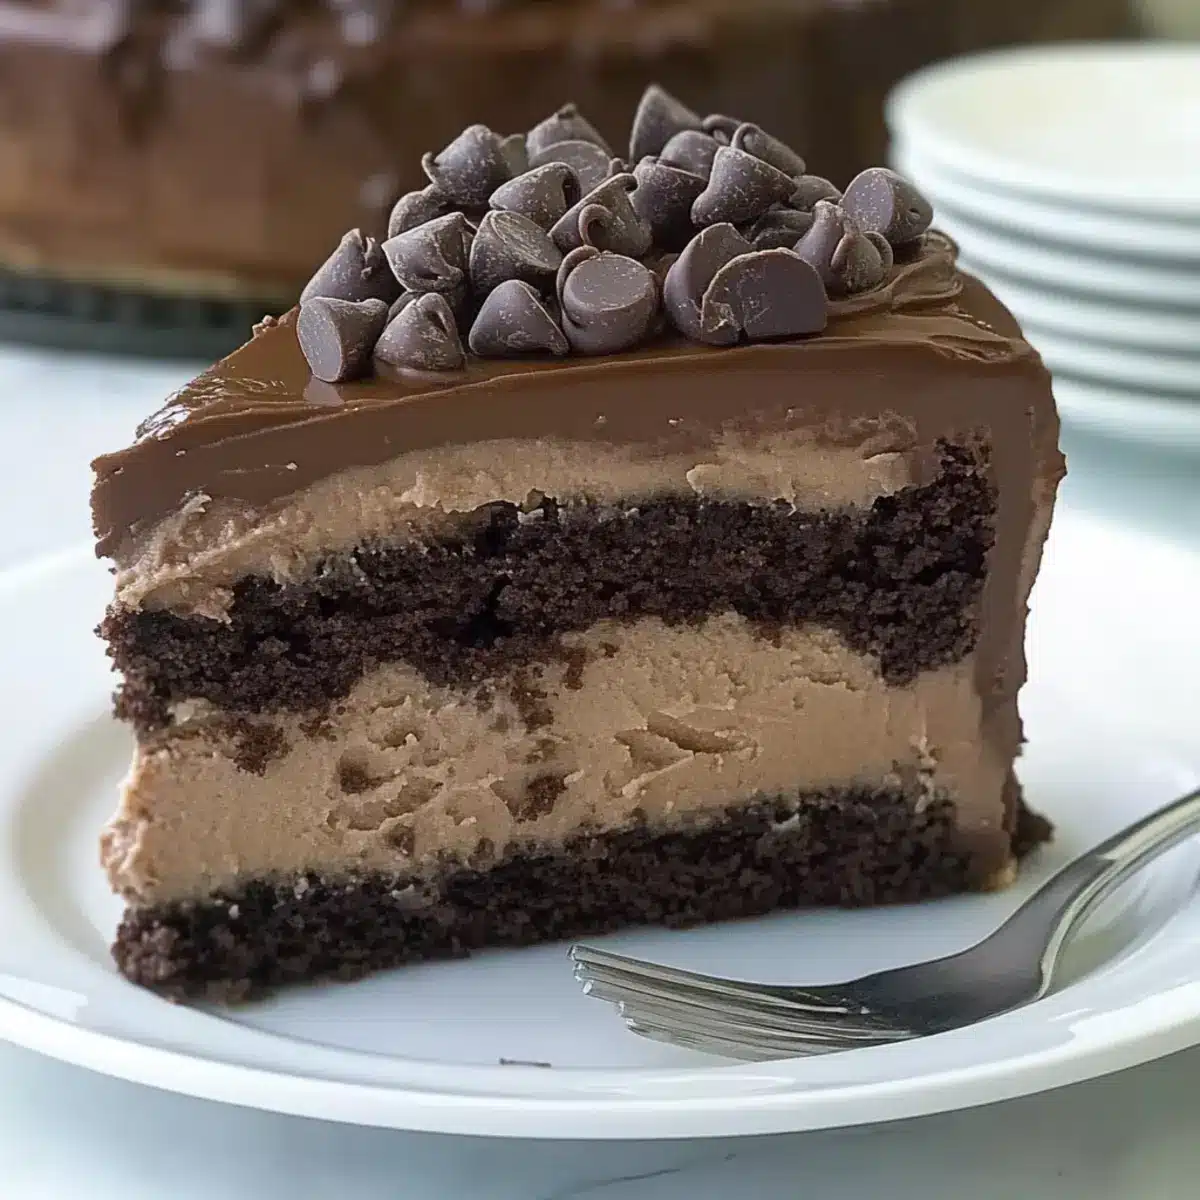
Once your cake layers are completely cooled, take one layer and place it on a serving plate. Spread the cheesecake mixture evenly over the top of this layer, ensuring a rich, creamy spread. Gently place the second cake layer on top of the cheesecake, creating a delicious chocolate and cheesecake sandwich that defines the Hershey’s Chocolate Cheesecake Cake.
Step 7: Frost and Decorate
Using Hershey’s chocolate frosting, generously cover the top and sides of your assembled cake. Ensure every bit of the chocolate cake layer is enveloped in that rich frosting for a beautiful finish. For a final touch, sprinkle chocolate chips on top to add texture and an irresistible crunch to your decadent creation.
Step 8: Chill and Serve
To allow the layers to set perfectly, refrigerate your masterpiece for at least 4 hours, or overnight if possible. This chilling time ensures that when you slice into the cake, the layers hold beautifully together. Serve chilled, and watch everyone revel in the indulgence of your Hershey’s Chocolate Cheesecake Cake with satisfaction!
How to Store and Freeze Hershey’s Chocolate Cheesecake Cake
Fridge: Store your cake in an airtight container in the refrigerator for up to 5 days to maintain its moistness and flavor.
Freezer: If you’re looking to save some for later, wrap individual slices tightly in plastic wrap and place them in a freezer-safe bag for up to 3 months.
Thawing: To enjoy your frozen Hershey’s Chocolate Cheesecake Cake, transfer the slices to the fridge the night before serving to thaw slowly while retaining their delicious texture.
Reheating: If desired, gently warm individual slices in the microwave for about 15 seconds to regain the cake’s lusciousness.
What to Serve with Hershey’s Chocolate Cheesecake Cake
Indulge in a chocolate lover’s dream by creating the perfect meal to complement this show-stopping dessert.
- Fresh Berries: The tartness of raspberries or strawberries cuts through the richness of the cake, boosting flavor vibrancy.
- Whipped Cream: This light and airy topping enhances the creamy texture of the cheesecake layer, adding a delightful contrast.
- Vanilla Ice Cream: A scoop of creamy ice cream melts naturally against the warm slice, offering a delightful temperature play.
- Coffee: A rich cup of coffee pairs seamlessly, balancing the dessert’s sweetness while enhancing chocolate flavors.
For a delightful twist, consider serving it with a Chocolate Ganache Drizzle. This adds an extra layer of chocolate indulgence that chocolate enthusiasts won’t resist.
- Caramel Sauce: Drizzling caramel adds a warm sweetness that pairs beautifully with both layers of chocolate and cream.
- Mint Tea: A refreshing mint tea serves as a palate cleanser, bringing a fresh note to the dessert experience.
- Chocolate Martini: Elevate the special occasion by pairing this decadent cake with a luscious chocolate martini for a dessert cocktail.
Expert Tips for Hershey’s Chocolate Cheesecake Cake
• Cool Completely: Allow the cake layers to cool completely before frosting; otherwise, the frosting may melt and slide off.
• Ingredient Temperature: Use room temperature ingredients like eggs and cream cheese for easily blended mixtures without lumps.
• Boiling Water: Always use freshly boiled water to enhance the cocoa flavor; this step makes a significant difference in the richness.
• Watch the Cheesecake: Keep an eye on the cheesecake layer while it’s baking; it should be firm yet slightly jiggly in the center when done.
• Chill Time: Don’t rush the chilling process; let the cake set for at least four hours to achieve layers that hold together when sliced.
• Creative Variations: Feel free to experiment with toppings like fresh berries or a chocolate ganache for an extra layer of flavor on your Hershey’s Chocolate Cheesecake Cake.
Hershey’s Chocolate Cheesecake Cake Variations
Time to sprinkle in your own touch of magic! Customize your dessert with these exciting twists to delight your taste buds.
-
Gluten-Free: Substitute all-purpose flour with gluten-free flour to make this decadent cake accessible for everyone. This way, no one misses out on a slice!
-
Vegan Delight: Replace eggs with flax eggs and cream cheese with vegan cream cheese for a delightful plant-based version. Everyone deserves to indulge, regardless of dietary preferences.
-
Brown Sugar Boost: Swap granulated sugar for brown sugar to enhance the flavor with a hint of molasses. It’ll add extra depth to your already rich cake!
-
Flavor Explosion: Incorporate espresso powder into the batter for a delightful coffee flavor that enhances the chocolate. This little secret makes everything taste incredibly indulgent.
-
Fruitful Addition: Layer fresh raspberries or strawberries under the cheesecake layer for a fresh, fruity surprise. The vibrant flavors will elevate your cake to new heights of deliciousness.
-
Nutty Texture: Add chopped walnuts or pecans in the cake batter for a delightful crunch and contrasting texture. It’s a perfect way to liven things up!
-
Chocolate Ganache: Drizzle a rich chocolate ganache over the top to further intensify that chocolate experience. It’s a must for true chocolate lovers!
-
Seasonal Spice: Add a pinch of cinnamon or nutmeg for a warm, cozy flavor perfect for fall gatherings or holiday celebrations. Your guests will be begging for this recipe!
These variations let you express your creativity and satisfy different palates. For a chocolatey finish, consider pairing with a scoop of vanilla ice cream alongside your slice of Hershey’s Chocolate Cheesecake Cake for a match made in dessert heaven!
Make Ahead Options
The Hershey’s Chocolate Cheesecake Cake is a fantastic choice for meal prep, allowing you to save precious time during busy weeks. You can prepare the chocolate cake layers and the cheesecake filling up to 24 hours in advance. Simply bake the cake layers, then let them cool completely before wrapping them tightly in plastic wrap and storing them in the refrigerator. For the cheesecake layer, mix it up and store it in an airtight container until you’re ready to assemble. When it’s time to enjoy, layer the cheesecake between the cooled cakes, frost with Hershey’s chocolate frosting, and refrigerate for at least 4 hours before serving. This way, your dessert will be just as delicious and impeccably fresh!
Hershey’s Chocolate Cheesecake Cake Recipe FAQs
How do I select ripe ingredients for this recipe?
Absolutely! When choosing the cream cheese, look for blocks labeled “full-fat” for optimal creaminess. If using fresh eggs, they should be free from cracks and feel heavy—fresh eggs lead to a fluffier cake!
How should I store my Hershey’s Chocolate Cheesecake Cake?
Store your cake in an airtight container in the refrigerator for up to 5 days. This ensures it retains its moistness and flavor. Remember to keep it well-covered to prevent it from drying out!
Can I freeze this cake for later enjoyment?
Yes! To freeze your Hershey’s Chocolate Cheesecake Cake, wrap individual slices tightly in plastic wrap, then place them in a freezer-safe bag. It can be stored this way for up to 3 months. For the best experience, allow the slices to thaw in the fridge overnight before enjoying.
What should I do if my cheesecake layer cracks while baking?
Very! If you notice cracks, serve it as a rustic dessert topped with fresh whipped cream or berries—it’ll still taste fantastic! To avoid this, ensure your oven temperature is accurate and consider using a water bath to keep it moist during baking.
Are there any dietary considerations for this recipe?
Absolutely! For a dairy-free option, substitute regular cream cheese with a vegan cream cheese brand and use almond milk in the cake. For egg-free versions, flax eggs (1 tablespoon ground flaxseed mixed with 2.5 tablespoons water) substitute well for each egg in the cheesecake layer. Always check labels for allergens, especially since chocolate can contain traces of nuts or dairy.
Indulge in Hershey’s Chocolate Cheesecake Cake Bliss
Ingredients
Equipment
Method
- Preheat your oven to 350°F (175°C) and prepare two 9-inch round baking pans by greasing them and lining with parchment paper.
- In a large mixing bowl, combine all-purpose flour, granulated sugar, unsweetened cocoa powder, baking soda, and salt; whisk until blended.
- Add the eggs, whole milk, and vegetable oil to the dry mixture; mix until smooth. Gradually incorporate the boiling water.
- Divide the batter between the two pans and bake for 30 to 35 minutes, checking with a toothpick for doneness.
- While the cake layers cool, beat the softened cream cheese until smooth. Gradually add the powdered sugar and vanilla extract, mixing until creamy.
- Once the cake layers are cooled, place the first layer on a serving plate and spread the cheesecake mixture over the top. Add the second layer on top.
- Frost the top and sides with Hershey’s chocolate frosting and sprinkle chocolate chips on top for decoration.
- Chill the cake for at least 4 hours before serving to allow the layers to set.
Leave a Reply