
There’s something incredibly satisfying about whipping up a batch of cookies that require only four simple ingredients. These 4-Ingredient Crispy Chocolate Oat Cookies not only save you time—ready in a snap—but they also offer a delightful crunch paired with rich chocolate goodness. Perfectly gluten-free and irresistibly easy, this recipe provides a delicious alternative to fast food snacks while keeping your kitchen tied to the comfort of homemade treats. With just a few mixing and chilling steps, you can indulge in a wholesome bite that’s both satisfying and guilt-free. Are you ready to transform those pantry staples into a delightful snack that will please any crowd?

Why Are These Cookies So Irresistible?
Simplicity Matters: With just four ingredients, you’ll whip up these cookies in no time!
Rich Chocolate Flavor: Each bite features melted chocolate chips, delivering a decadent experience.
No-Bake Convenience: Simply refrigerate the dough, making them a hassle-free option for busy days.
Gluten-Free Goodness: Perfect for those seeking gluten-free snacks without sacrificing taste.
Crowd-Pleasing Treat: These cookies are a hit with kids and adults alike, making them ideal for gatherings.
If you love quick and delicious recipes, don’t forget to check out my Butter Banana Oatmeal for another fantastic treat you won’t want to miss!
Chocolate Oat Cookies Ingredients
For the Cookies
- Oats – Provides texture and structure; use old-fashioned rolled oats for the best crunch.
- Nut Butter (e.g., almond or peanut) – Acts as a binding agent and adds a smooth creaminess; sunflower seed butter is great for a nut-free option.
- Maple Syrup – Sweetens and binds the ingredients together; honey can be used as a delightful substitute for a similar sweetness.
- Dark Chocolate Chips – Infuses the cookies with rich, chocolatey flavor; opt for dairy-free chips to keep it vegan-friendly.
These simple ingredients come together to create delightful Chocolate Oat Cookies, ensuring a quick and enjoyable snacking experience!
Step‑by‑Step Instructions for 4-Ingredient Crispy Chocolate Oat Cookies
Step 1: Mix Dry Ingredients
In a medium mixing bowl, combine 1 cup of old-fashioned rolled oats and 1 cup of dark chocolate chips. Stir the mixture thoroughly with a wooden spoon until the oats and chocolate chips are evenly distributed. This should take about 1–2 minutes and will create a textured base for your cookies.
Step 2: Prepare Wet Mixture
In a separate bowl, add 1/2 cup of nut butter and 1/4 cup of maple syrup. Use a whisk or electric mixer to blend them together until smooth and creamy, which will take approximately 2–3 minutes. This mixture acts as the binder for your 4-Ingredient Crispy Chocolate Oat Cookies, ensuring they hold together deliciously.
Step 3: Combine Mixtures
Carefully pour the wet mixture into the bowl with the dry ingredients. Using a spatula, gently fold and mix the ingredients until they are just combined, being careful not to over-mix. You should see all the oats coated in the nut butter mixture, which usually takes about 2 minutes; the dough will be thick and sticky.
Step 4: Shape Cookies
With your hands, scoop out tablespoon-sized portions of the dough and roll them into balls. Place each ball on a lined baking sheet and flatten them slightly using your palm to make cookie shapes. Aim to leave about 2 inches of space between each cookie, as they won’t spread much during chilling.
Step 5: Chill
Transfer the baking sheet to the refrigerator and chill the shaped cookies for at least 20 minutes. This step is crucial as it allows the cookies to firm up and helps them retain their shape when served. They should feel slightly firmer to the touch when ready to take out.
Step 6: Serve or Store
Once chilled, the 4-Ingredient Crispy Chocolate Oat Cookies are ready to enjoy! You can serve them immediately for a delightful snack or store them in an airtight container at room temperature for up to a week. If you want to keep them longer, consider freezing them for a quick treat later!
Expert Tips for 4-Ingredient Cookies
Mix Wisely: Ensure even distribution of oats and chocolate chips to prevent clumps and achieve a uniform texture in your cookies.
Check Your Nut Butter: Stir your nut butter well before measuring; oil separation can lead to uneven consistency, yielding cookies that don’t hold together well.
Don’t Over-Mix: Once wet and dry ingredients combine, mix just until coated to guarantee a chewy texture in your chocolate oat cookies.
Chill Time Matters: Allowing the cookies to chill for the full 20 minutes is essential. This helps them firm up, ensuring they hold their shape perfectly.
Customize to Your Taste: Feel free to switch dark chocolate chips for white chocolate or dried fruits, creating new flavor bursts in your cookies.
Chocolate Oat Cookies Variations
Explore these delightful twists to make your chocolate oat cookies even more special!
-
Nut-Free: Replace nut butter with sunflower seed butter for a kid-friendly option that’s allergen-safe.
-
Sweetness Swap: Try agave syrup instead of maple syrup for a different flavor profile while keeping it vegan-friendly.
-
Chocolate Bliss: Use white chocolate chips or a mix of dark and milk chocolate chips for a sweet surprise in every bite.
-
Flavor Boost: Add 1 teaspoon of vanilla extract to your wet mixture for an aromatic boost that complements the chocolate.
-
Fruit Infusion: Stir in a half cup of dried cranberries or raisins to add a chewy texture and fruity sweetness.
-
Spicy Kick: Add a dash of cayenne pepper or ground cinnamon to the dough for a warm, spicy twist that surprises your taste buds.
-
Texture Variation: Incorporate chopped nuts or seeds (like walnuts or chia seeds) for an extra crunch that elevates the cookie’s rustic charm.
If you’re feeling adventurous, you can also whip up a batch of Butter Banana Oatmeal to transform those pantry staples into a delightful snack that will please any crowd!
What to Serve with 4-Ingredient Crispy Chocolate Oat Cookies
There’s nothing quite like a plate of sweet, crunchy cookies to create a cozy atmosphere. Let’s elevate your snack time with some delicious pairings!
-
Creamy Yogurt: A dollop of vanilla yogurt adds a creamy, tangy contrast that complements the rich chocolate flavor beautifully.
-
Nutty Granola: Sprinkle your cookies with a handful of nutty granola for an added crunch and layer of texture, enhancing the chewy goodness of the oats.
-
Fresh Berries: Pairing with strawberries or blueberries brings a burst of freshness and a perfect balance to the sweetness of the cookies.
-
Plant-Based Milk: Enjoy your cookies with a chilled glass of almond or coconut milk. The nuttiness will amplify the overall flavor experience.
-
Vanilla Ice Cream: Serve crumbled cookies over a scoop of creamy vanilla ice cream for a delightful warm and cold treat—a perfect ending to any meal!
-
Coffee or Herbal Tea: A warm cup of coffee or soothing herbal tea makes for an excellent drink pairing, enhancing the comforting vibe of your snack time.
-
Dark Chocolate Dipping Sauce: For an extra indulgence, melt some dark chocolate to dip your cookies into, enriching your treat with even more chocolatey delight!
Make Ahead Options
These 4-Ingredient Crispy Chocolate Oat Cookies are perfect for meal prep, allowing you to enjoy delicious homemade snacks throughout the week! You can prepare the cookie dough and chill it in the refrigerator for up to 24 hours before shaping the cookies. Simply mix your ingredients as directed, form the dough into balls, and refrigerate. To maintain their delightful texture, ensure the cookies are tightly covered or wrapped in plastic. When you’re ready to indulge, just take them out, allow them to sit for a few minutes to soften slightly, and enjoy a treat that’s just as delicious and satisfying as when freshly made.
Storage Tips for Chocolate Oat Cookies
Room Temperature: Keep the cookies in an airtight container at room temperature for up to 1 week. This helps maintain their delightful crunch while being easily accessible for snacking.
Fridge: If you prefer a chilled treat, store the cookies in the refrigerator for 10–14 days. Just be sure to use a sealed container to prevent moisture from affecting their texture.
Freezer: For longer storage, freeze the cookies for up to 3 months. Place them in a freezer-safe bag or container, separating layers with parchment paper to avoid sticking.
Reheating: To enjoy a warm chocolatey treat, simply reheat the cookies in the microwave for about 10–15 seconds. This restores their soft center while enhancing the delicious chocolate flavor.

Chocolate Oat Cookies Recipe FAQs
How do I know if my oats are fresh enough to use?
When selecting oats, look for old-fashioned rolled oats, which offer the best texture. Ensure they are free from any dark spots or an off-putting smell; fresh oats should have a pleasant, nutty aroma.
What’s the best way to store my cookies?
I recommend storing the cookies in an airtight container at room temperature for up to one week. If you want them to last longer, you can also refrigerate them for 10–14 days, ensuring they’re sealed properly to maintain their delightful crunch.
Can I freeze these Chocolate Oat Cookies?
Absolutely! To freeze, place the cookies in a freezer-safe bag or container, making sure to separate layers with parchment paper to prevent sticking. They can be stored in the freezer for up to 3 months. When you’re ready to enjoy them, simply thaw at room temperature, or warm them in the microwave for about 10–15 seconds.
What should I do if my cookie dough is too sticky?
If your dough feels overly sticky, it might be due to the nut butter being too oily or not enough dry ingredients. To correct this, you can add a bit more oats—start with a tablespoon at a time—until the consistency is more manageable. Remember not to over-mix to keep them chewy!
Are these cookies suitable for those with nut allergies?
If you’re cooking for someone with nut allergies, I suggest substituting the nut butter with sunflower seed butter. It works beautifully and maintains the sweetness and texture of the recipe without any nuts. Just make sure to check that your chocolate chips are also nut-free!
Can I replace maple syrup with another sweetener?
Yes! You can definitely use honey as a substitute for maple syrup, providing a similar sweetness and binding properties. Just remember that honey isn’t vegan, so if you’re aiming for a vegan recipe, stick with the maple syrup or consider agave syrup as another alternative.

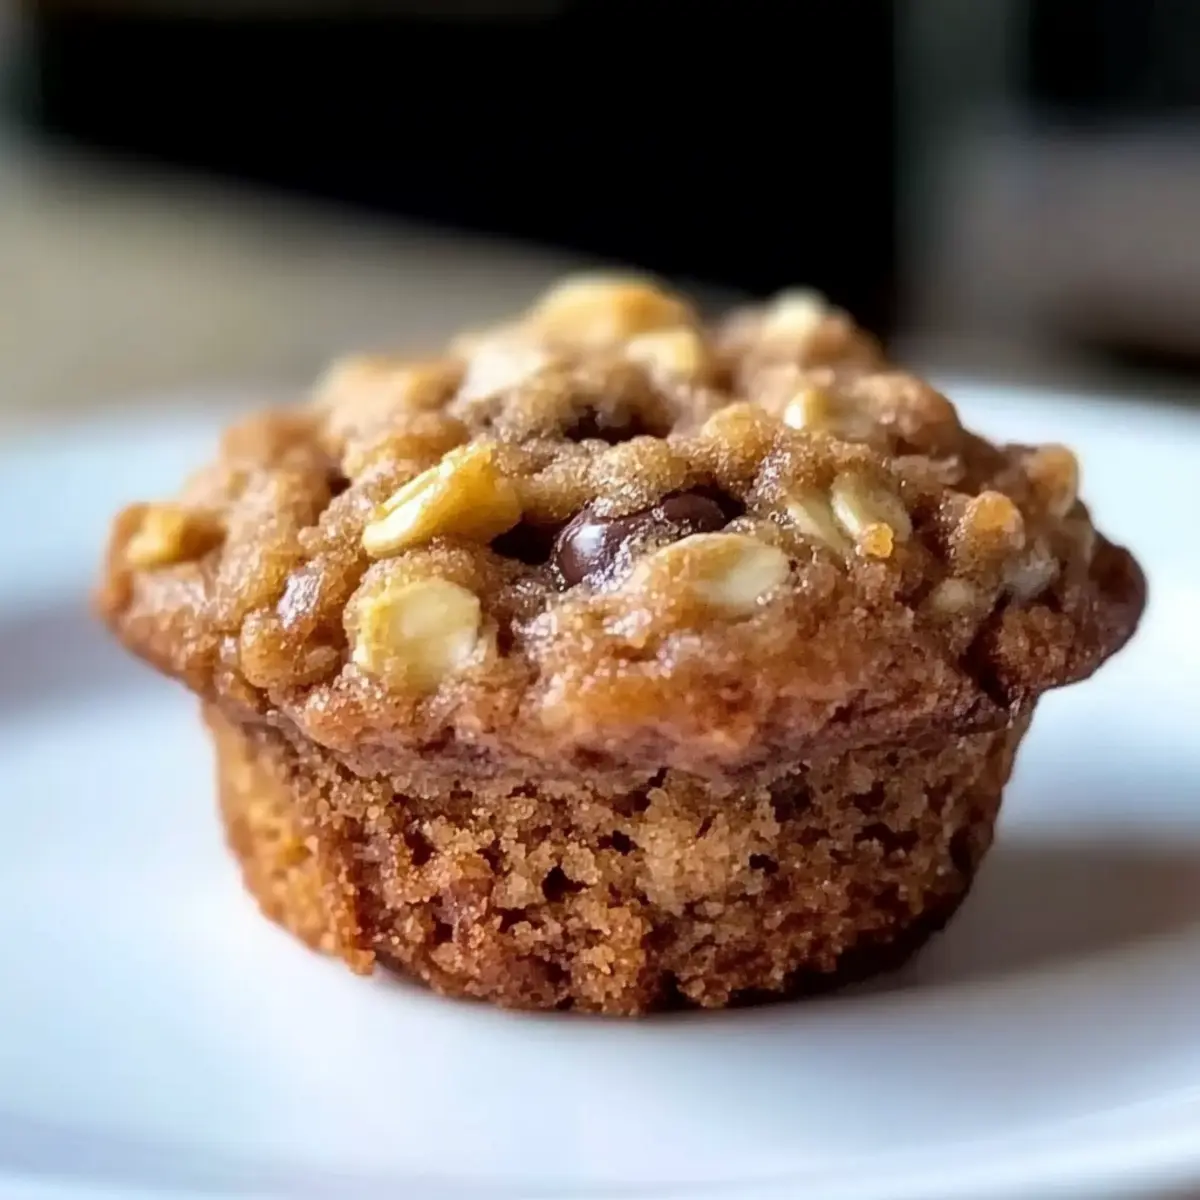
Deliciously Moist Banana Oatmeal Muffins for a Cozy Morning
Ingredients
Equipment
Method
- In a medium mixing bowl, combine oats and chocolate chips and stir thoroughly.
- In a separate bowl, blend nut butter and maple syrup until smooth and creamy.
- Pour the wet mixture into the dry ingredients and fold gently until just combined.
- Scoop tablespoon-sized portions of the dough, roll into balls, and flatten slightly on a baking sheet.
- Chill shaped cookies for at least 20 minutes to firm up.
- Serve immediately or store in an airtight container for up to 1 week.
Leave a Reply