
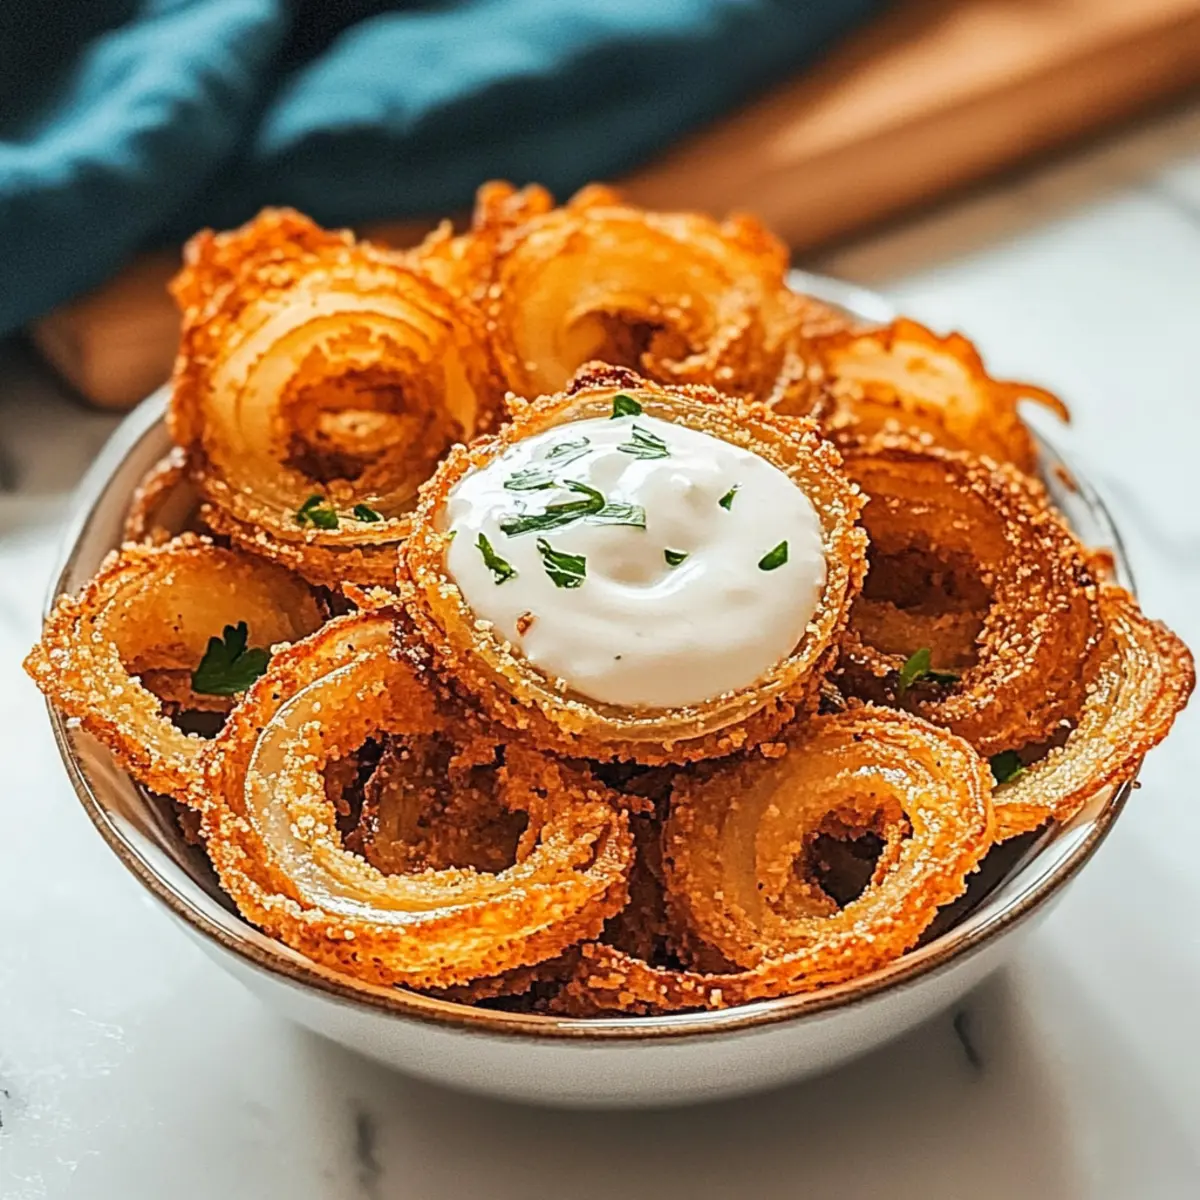
The aroma of sizzling onions fills the air, instantly transporting me to my favorite diner. While I adore the nostalgia of ordering a side of crispy Onion Ring Chips, I’ve discovered that making them at home is even more satisfying. In just 25 minutes, you can whip up a batch of these crunchy delights for yourself! Not only are they super quick to prepare, but they can also be a healthier choice if you opt for baking instead of frying. Plus, whether you choose to spice things up with a pinch of cayenne or keep it classic, they make a versatile snack for any occasion. Ready to dive into homemade snack heaven? Let’s get cooking!
Why Are Homemade Onion Ring Chips Amazing?
Crispy Texture: These Onion Ring Chips deliver an irresistible crunch that will have you reaching for seconds.
Quick Prep Time: In just 25 minutes, you can enjoy a delicious batch—perfect for impromptu gatherings or late-night cravings.
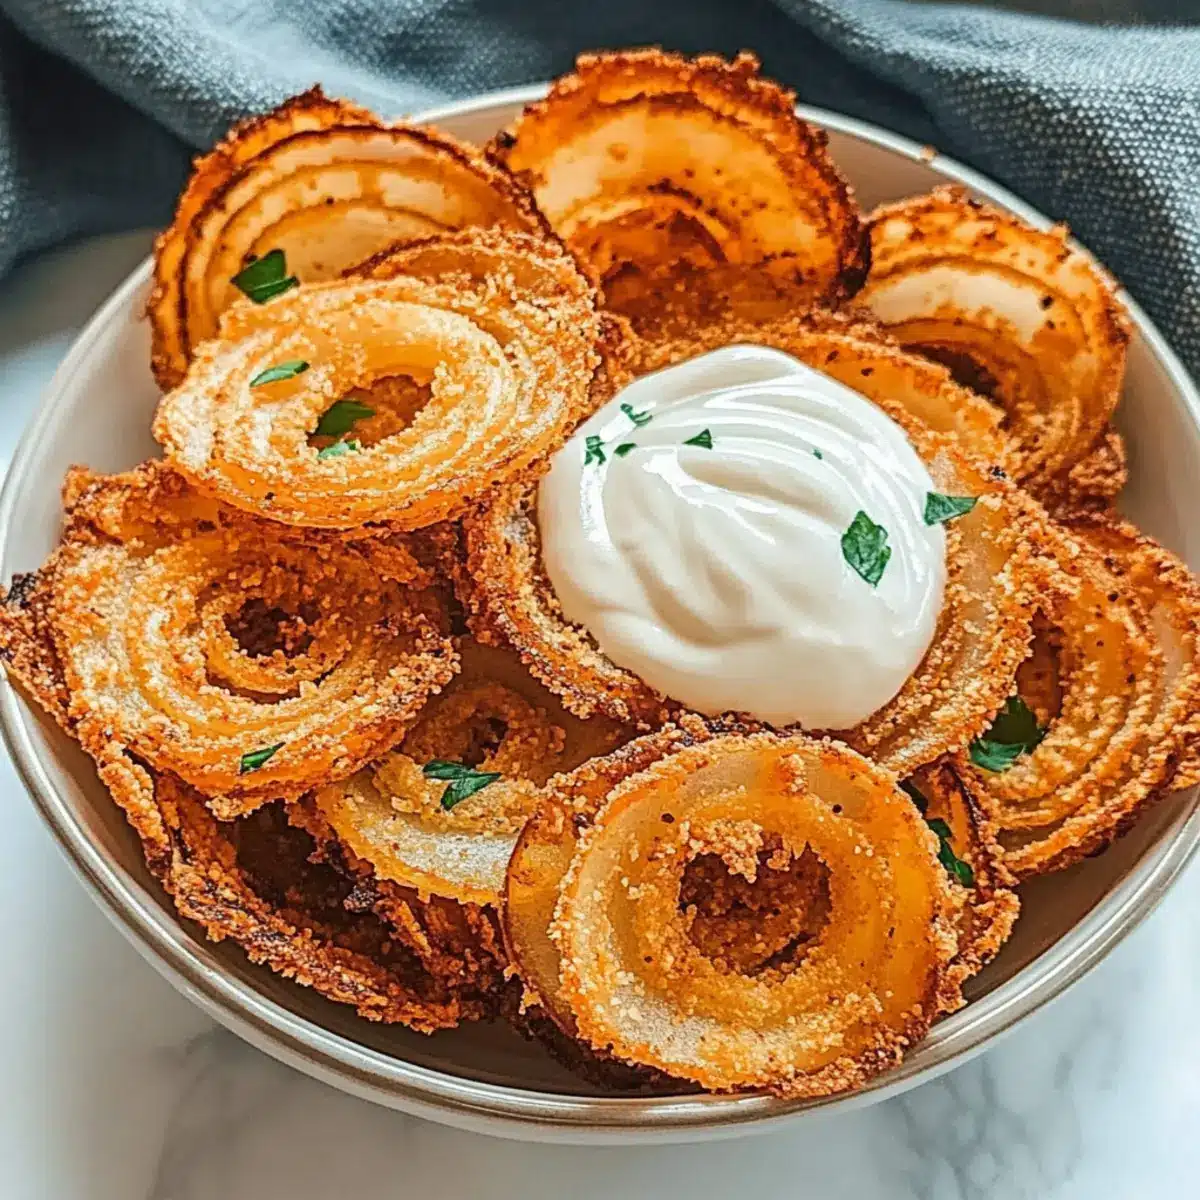
Healthy Option: Want to lighten it up? Try baking instead of frying for a guilt-free snack.
Flavor Versatility: Spice it up with cayenne pepper or indulge in the classic garlic and paprika blend for a taste that suits everyone.
Family Favorite: No matter the occasion, these chips are sure to please both kids and adults alike, just like some Gluten Free Chocolate to satisfy your sweet tooth!
Dipping Delight: Pair with ranch, barbecue sauce, or spicy aioli for a fun sharing experience!
Onion Ring Chips Ingredients
• Get ready to create your crunchy masterpiece!
For the Batter
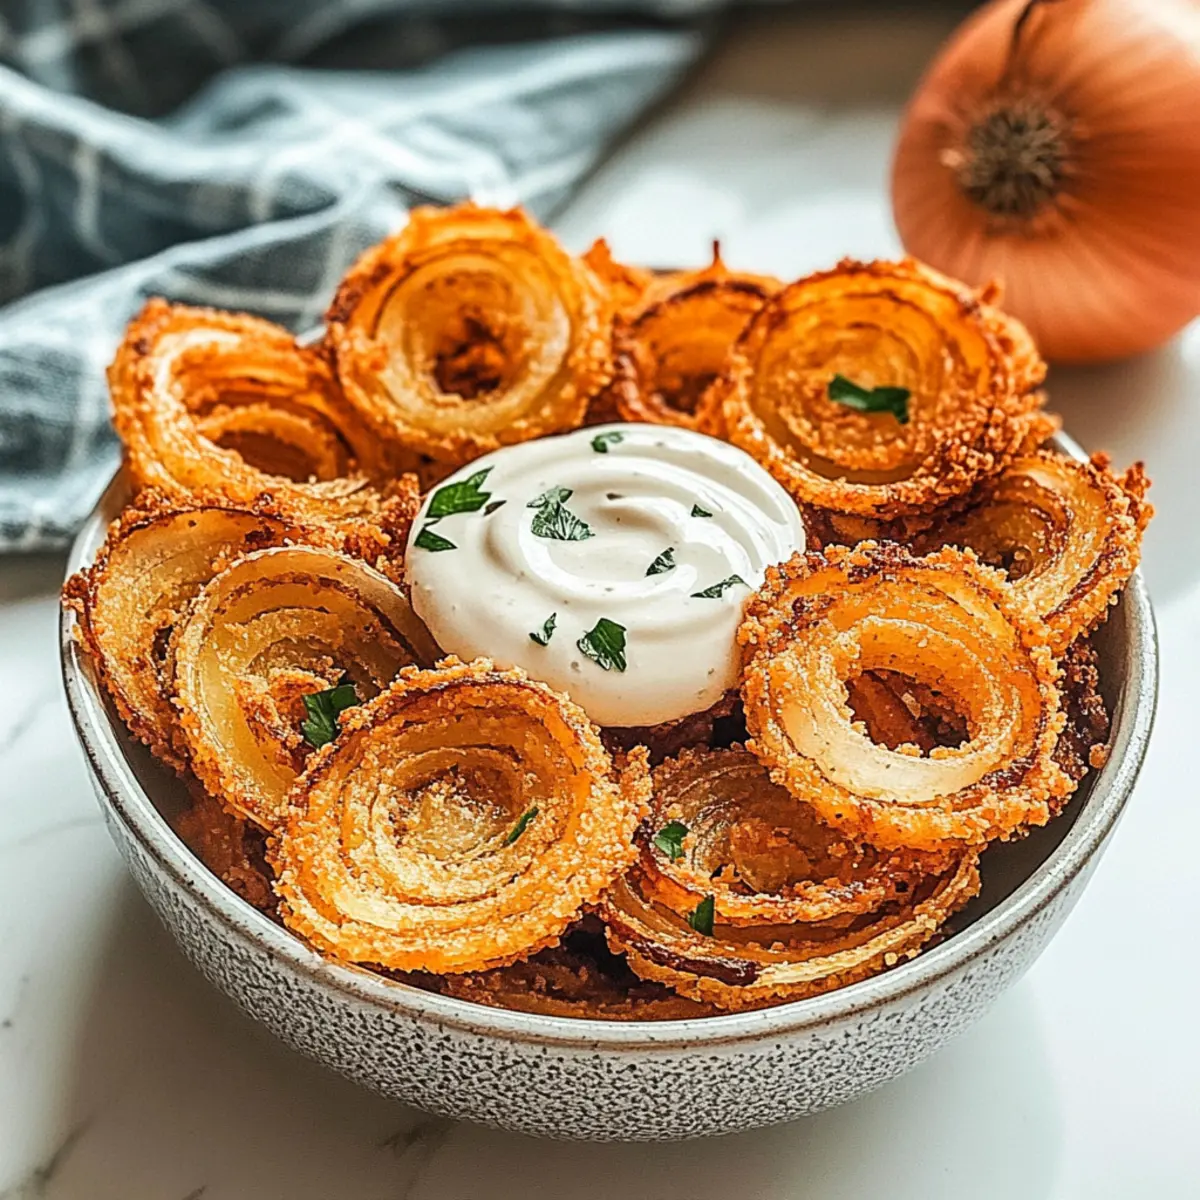
- Onions – Sweet onions (like Vidalia) work best for a milder flavor.
- All-Purpose Flour – Provides a crispy coating; substitute with gluten-free flour for a gluten-free version.
- Garlic Powder – Adds depth and a wonderful aroma that enhances the chips.
- Paprika – Offers a subtle smokiness and a pop of color to the batter.
- Salt – Essential for bringing out all the flavors in the onion ring chips.
- Black Pepper – A hint of spice adds a nice kick to the mix.
- Buttermilk – Aids in creating a sticky coating; regular milk mixed with vinegar can serve as a substitute.
For the Crunch
- Panko Breadcrumbs – Ensures a light and extra crispy texture; regular breadcrumbs can be used in a pinch.
- Vegetable Oil – Crucial for frying to achieve that perfect crunch on your Onion Ring Chips.
Got everything? Now let’s get frying or baking to make those delicious Onion Ring Chips!
Step‑by‑Step Instructions for Onion Ring Chips
Step 1: Heat the Oil
Begin by heating the vegetable oil in a deep fryer or large pot over medium-high heat until it reaches 350°F (175°C). Use a cooking thermometer to ensure the oil is hot enough, as this is crucial for achieving that delightful crispy texture on your Onion Ring Chips. While the oil heats, prepare for the next steps.
Step 2: Mix the Dry Ingredients
In a shallow bowl, combine the all-purpose flour, garlic powder, paprika, salt, and black pepper. Whisk these ingredients together until evenly blended. This flavorful mixture will coat the onion rings and provide a crispy, seasoned crust. Set this bowl aside as you prepare the buttermilk for the next step.
Step 3: Prepare the Buttermilk
Pour the buttermilk into another shallow bowl. If you’re looking for a quick substitute, mix regular milk with a splash of vinegar to mimic buttermilk’s thickness and acidity. The buttermilk will help the flour mixture adhere to the onion rings, creating a perfect layer of crunch when fried.
Step 4: Coat the Onion Rings
Take each sliced onion ring and dip it into the buttermilk, allowing any excess to drip off. Next, immerse the wet onion ring in the flour mixture, ensuring it’s fully coated. This initial dip in buttermilk and the flour mixture not only adds flavor but also forms the base layer of your Onion Ring Chips.
Step 5: Double Coat for Extra Crunch
After the onion ring is coated with flour, return it to the buttermilk, allowing it to get slightly wet again. Then, dredge it in the panko breadcrumbs, pressing gently to guarantee they stick well. This double coating technique will give your Onion Ring Chips an irresistible crunch that everyone will love.
Step 6: Fry the Onion Rings
Carefully place the coated onion rings in the hot oil, frying in small batches to avoid overcrowding (this helps maintain crispiness). Fry them for about 2-3 minutes, or until they turn a beautiful golden brown. Use a slotted spoon to gently stir them occasionally for even cooking—watching the oil bubble away is part of the fun!
Step 7: Drain and Cool
Once golden brown, remove the fried onion rings from the oil with a slotted spoon and transfer them to a paper towel-lined plate. Let them drain for a moment to remove excess oil; this keeps your Onion Ring Chips crispy and not greasy.
Step 8: Serve and Enjoy
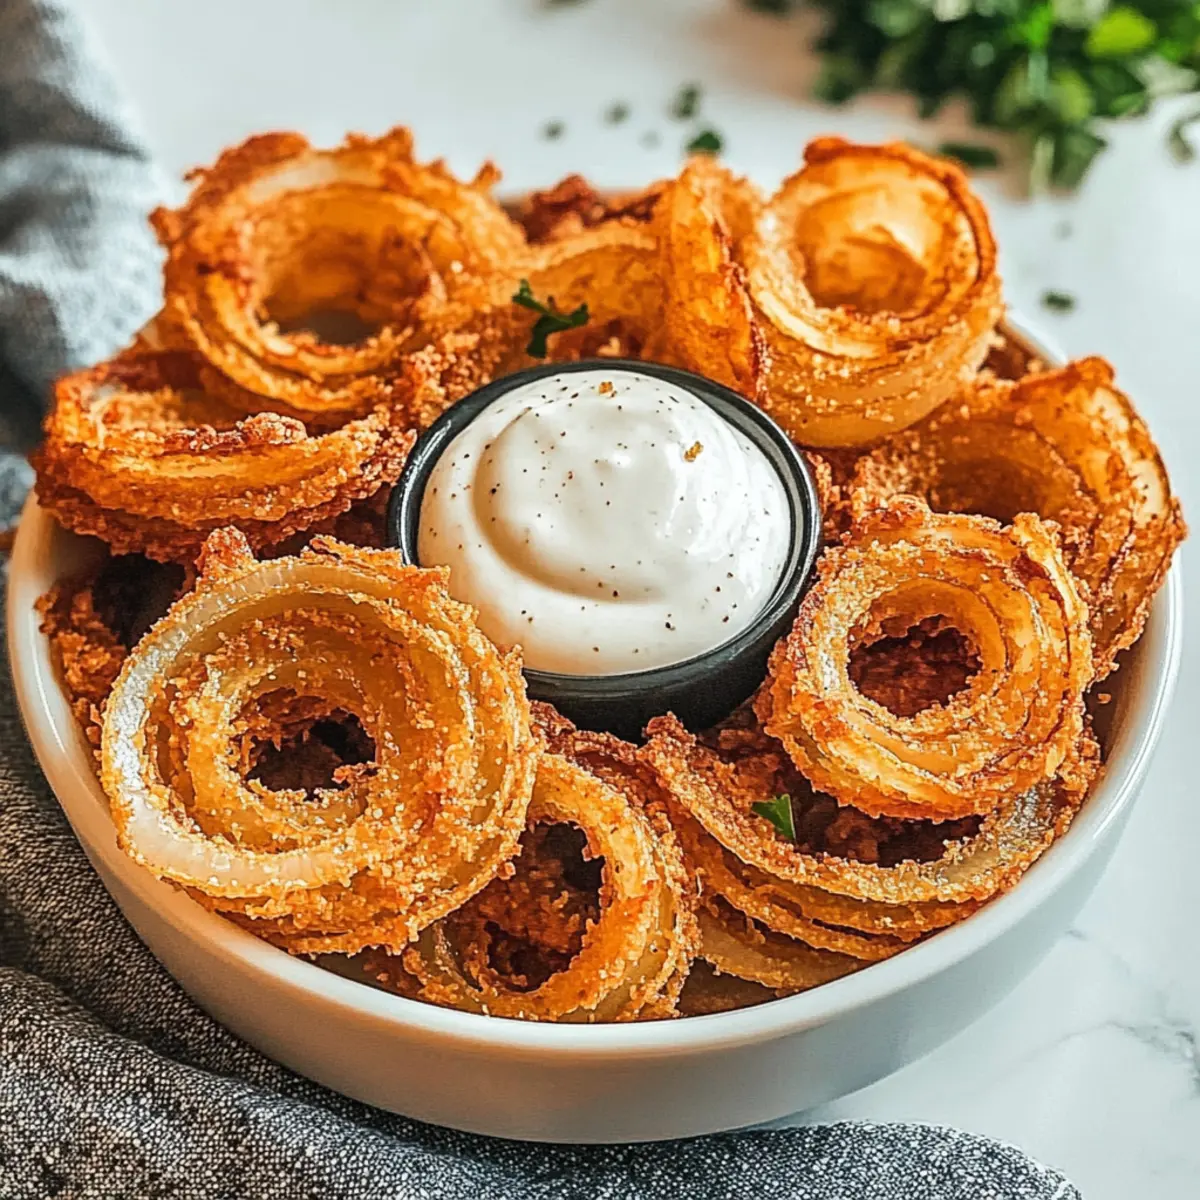
Serve your warm Onion Ring Chips immediately, paired with your favorite dipping sauces like ranch or spicy aioli. The contrast of the crispy exterior and soft onion interior makes for a delightful snack that’s sure to impress your family and friends at any gathering!
How to Store and Freeze Onion Ring Chips
Fridge: Store leftover Onion Ring Chips in an airtight container in the fridge for up to 3 days. This keeps them fresh, but they may lose some crispiness.
Freezer: For longer storage, freeze un-fried coated onion rings on a baking sheet for about 2 hours, then transfer to an airtight freezer bag. They’ll stay good for up to 3 months.
Reheating: To regain some crunch, reheat fried onion rings in the oven at 350°F (175°C) for 10-15 minutes. Avoid microwaving as it can make them soggy.
Make-Ahead: Un-fried onion rings can be prepared and stored in the fridge for several hours, so you can quickly fry them when ready for your snack cravings!
Tips for the Best Onion Ring Chips
-
Oil Temperature: Make sure your oil is hot enough before frying. Use a thermometer to check, as low temperatures can lead to soggy chips.
-
Batch Frying: Fry the onion rings in small batches to ensure they cook evenly and stay crispy. Overcrowding the pan can cause steaming rather than frying.
-
Double-Dip Technique: For extra crunch, dip the coated onion rings back into buttermilk then into the panko breadcrumbs again. This adds an impeccable layer of crispiness to your Onion Ring Chips.
-
Baking Alternative: If you prefer a healthier version, bake them at 425°F (220°C) for 20-25 minutes, flipping halfway through for even cooking.
-
Flavor Variations: Experiment by adding cayenne pepper to your flour mixture for a spicy kick. This small tweak can elevate your Onion Ring Chips into a whole new delicious experience!
Make Ahead Options
These crispy Onion Ring Chips are perfect for meal prep enthusiasts! You can slice your onions and coat them with the flour mixture up to 24 hours in advance, keeping them in an airtight container in the refrigerator. To maintain their crunch, avoid dipping them in buttermilk and panko until you’re ready to fry. When you’re ready to enjoy, simply dip the prepped onion rings in buttermilk and dredge them in panko before frying or baking. This way, you’ll get to savor the deliciousness of homemade Onion Ring Chips with minimal effort, perfect for busy weeknights or spontaneous gatherings!
Onion Ring Chips Variations
Feel free to mix and match these ideas to create your perfect version of Onion Ring Chips that excites your taste buds!
- Baked Option: Skip the frying! Bake the coated onion rings at 425°F (220°C) for 20-25 minutes for a healthier snack.
- Spicy Kick: Add cayenne pepper to the flour mixture for a fiery twist that packs a flavorful punch. If you like heat, this little addition will keep your taste buds dancing!
- Gluten-Free Delight: Use gluten-free panko breadcrumbs and gluten-free flour to make these crunchy treats suitable for everyone at your table. You’ll never miss the gluten!
- Onion Swap: Try using yellow or red onions in place of sweet onions for a bolder flavor that adds a new depth to your chips. Each type brings its unique charm, so don’t hesitate to experiment!
- Herb Infusion: Mix in dried herbs like oregano or thyme into the flour mixture for an aromatic twist. These flavors will elevate your chips and make them extra inviting.
- Cheesy Flavor: For a cheesy variation, sprinkle some grated Parmesan on top before baking or frying. The melted cheese will add richness and a delightful crunch!
- Seasoned Crunch: Experiment with additional spices like cumin or smoked paprika to create a unique flavor blend for your Onion Ring Chips. Each bite will give you a new surprise!
- Sweet Surprise: For a sweet-salty twist, drizzle a bit of honey or maple syrup on your finished chips for an unexpected and delicious contrast. This works beautifully with your favorite aioli for dipping!
Enjoy crafting your perfect batch of Onion Ring Chips—each variation is a lovely reminder of how versatile homemade cooking can be, much like a comforting Red Potato Salad to pair with your next gathering!
What to Serve with Crispy Homemade Onion Ring Chips
The perfect accompaniment to these crispy delights takes your snack experience to a whole new level.
-
Creamy Ranch Dip: A classic choice, this cooling dip perfectly balances the crunch of the onion rings with its creamy texture.
-
Spicy Aioli: Elevate your flavor game with a zesty aioli that adds a delightful kick, making your chips even more irresistible.
-
BBQ Sauce: Smoky and sweet, BBQ sauce provides a delicious contrast to the onion rings’ savory crunch, perfect for dipping.
-
Coleslaw: Refreshing and crunchy, coleslaw adds a contrasting texture and complements the savory flavors of the onion rings beautifully.
-
Sweet Potato Fries: Pairing these two crispy treats creates a delightful contrast of flavors and colors, making for a tasty side platter.
Indulging in the duo of onion ring chips and sweet potato fries is a sweet and savory symphony for your taste buds!
-
Cucumber Salad: The crispness of fresh cucumbers in a tangy vinaigrette brightens up the plate, adding a fresh element to your snack feast.
-
Iced Tea or Lemonade: Pair your chips with a refreshing drink like lemony iced tea or homemade lemonade for a thirst-quenching complement.
-
Chocolate Milkshake: For a fun dessert twist, enjoy a rich chocolate milkshake after your savory treat for the ultimate indulgence!
Onion Ring Chips Recipe FAQs
How do I choose the best onions for making Onion Ring Chips?
Absolutely! Sweet onions, such as Vidalia or Walla Walla, are recommended for a milder flavor and a perfect balance with the crispy coating. Look for onions that are firm and have smooth, dry skin without any dark spots or soft areas.
What’s the best way to store leftover Onion Ring Chips?
Very! You can store leftover Onion Ring Chips in an airtight container in the fridge for up to 3 days. However, keep in mind they may lose some of their crispiness over time. To maintain texture, it’s best to enjoy them fresh.
Can I freeze Onion Ring Chips? How do I do it?
Definitely! To freeze un-fried coated onion rings, spread them out on a baking sheet in a single layer and place them in the freezer for about 2 hours. Once frozen, transfer them to an airtight freezer bag. They will last for up to 3 months and can be fried straight from the freezer—no thawing needed for that crunchy goodness!
What should I do if my Onion Ring Chips don’t come out crispy?
If your onion rings aren’t crispy, check that your oil is hot enough—ideally around 350°F (175°C). Frying in small batches allows the temperature to stay consistent, which is key for crispiness. If they are soggy, it may be a sign of overcrowding the pan or insufficient frying time.
Are there any dietary considerations for pets or allergies with Onion Ring Chips?
Absolutely! If you’re cooking for someone with allergies, be mindful of flour and seasoning ingredients like garlic powder or paprika, which can cause reactions. Additionally, it’s important to keep Onion Ring Chips away from pets, especially due to the potential for onions being toxic to dogs and cats.
Can I make Onion Ring Chips gluten-free?
Yes, you can! Simply substitute the all-purpose flour with a gluten-free flour blend and use gluten-free panko breadcrumbs. This way, you can enjoy the crispy delight of Onion Ring Chips without gluten. Enjoy your cooking adventure!
Crispy Onion Ring Chips You Can't Resist – Bake or Fry!
Ingredients
Equipment
Method
- Heat the oil in a deep fryer or large pot over medium-high heat until it reaches 350°F (175°C).
- In a shallow bowl, combine the all-purpose flour, garlic powder, paprika, salt, and black pepper. Whisk until evenly blended.
- Pour the buttermilk into another shallow bowl.
- Take each sliced onion ring and dip it into the buttermilk, then immerse it in the flour mixture.
- Double coat by returning the onion ring to the buttermilk and dredging it in the panko breadcrumbs.
- Carefully place the coated onion rings in the hot oil, frying for about 2-3 minutes until golden brown.
- Remove the fried onion rings from the oil with a slotted spoon and transfer to a paper towel-lined plate.
- Serve your warm Onion Ring Chips immediately with your favorite dipping sauces.
Leave a Reply