
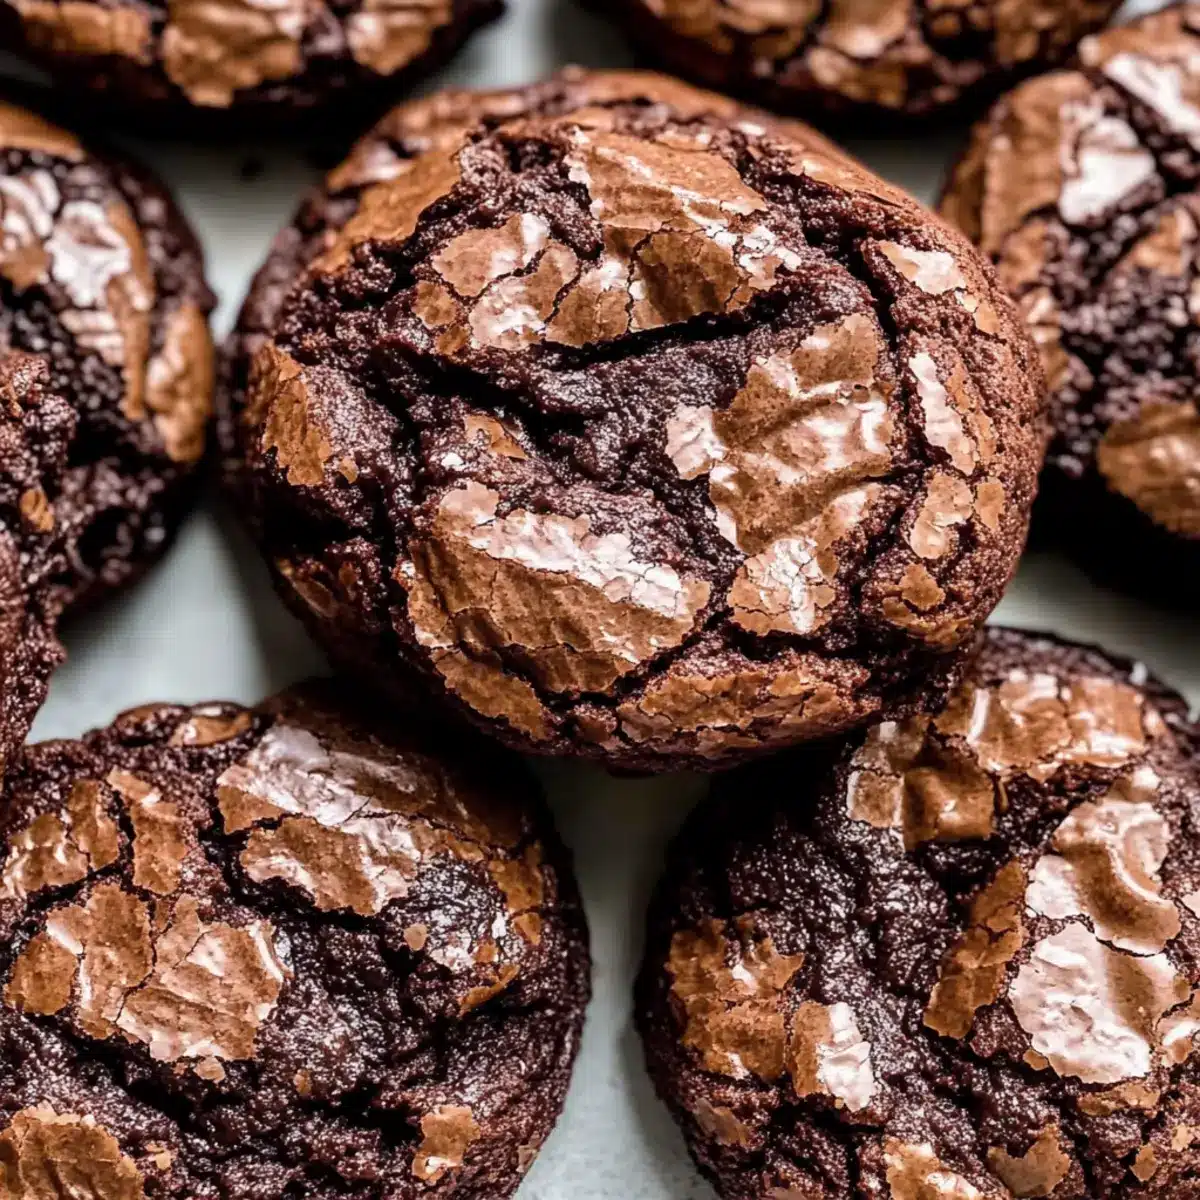
The moment the oven timer dings, I’m already imagining the warm, chocolatey aroma wafting through my kitchen. Enter these chewy brownie cookies—an incredible treat that marries the rich, fudgy texture of brownies with the convenience of a cookie. With their crinkly tops and delectable flavor, they promise to satisfy even the most intense chocolate cravings. What I love most about this recipe is how quick and easy it is; it takes just 15 minutes to whip up these gems, making them perfect for last-minute gatherings or a cozy night in. Whether you’re a seasoned baker or just starting, you’ll find these brownie cookies are an irresistible addition to your dessert repertoire. Ready to indulge in some chocolate bliss? Let’s dive into making these delightful treats!
Why Are These Brownie Cookies Perfect?
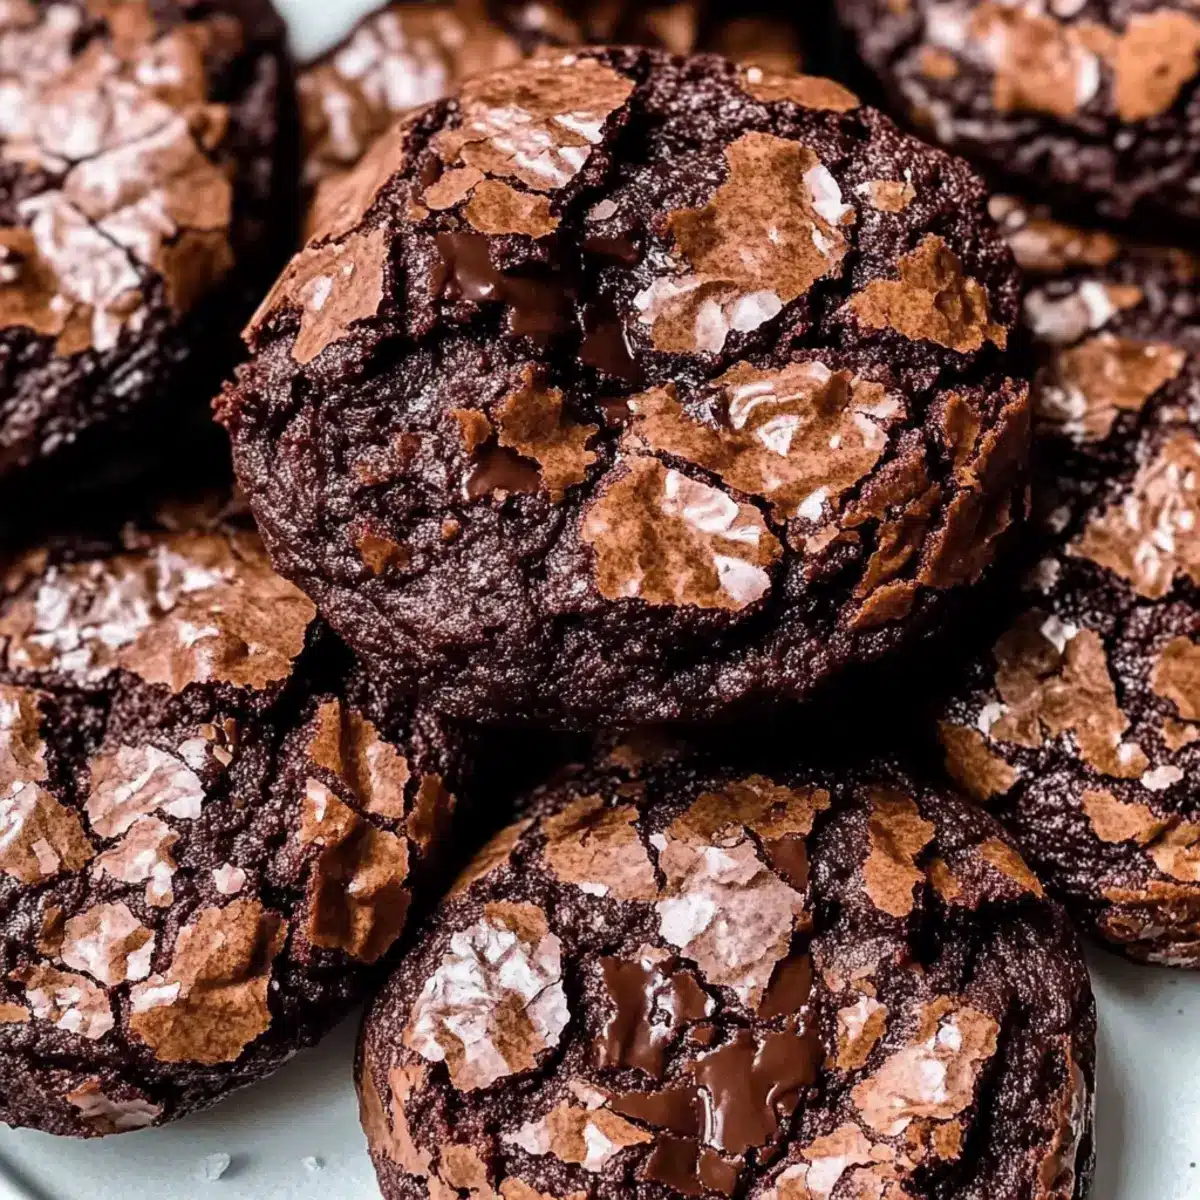
Irresistible Flavor: The deep chocolate flavor combined with a fudgy center makes each bite a luscious experience.
Quick and Easy: Ready in just 15 minutes, these cookies are the ultimate solution for unexpected sweet cravings.
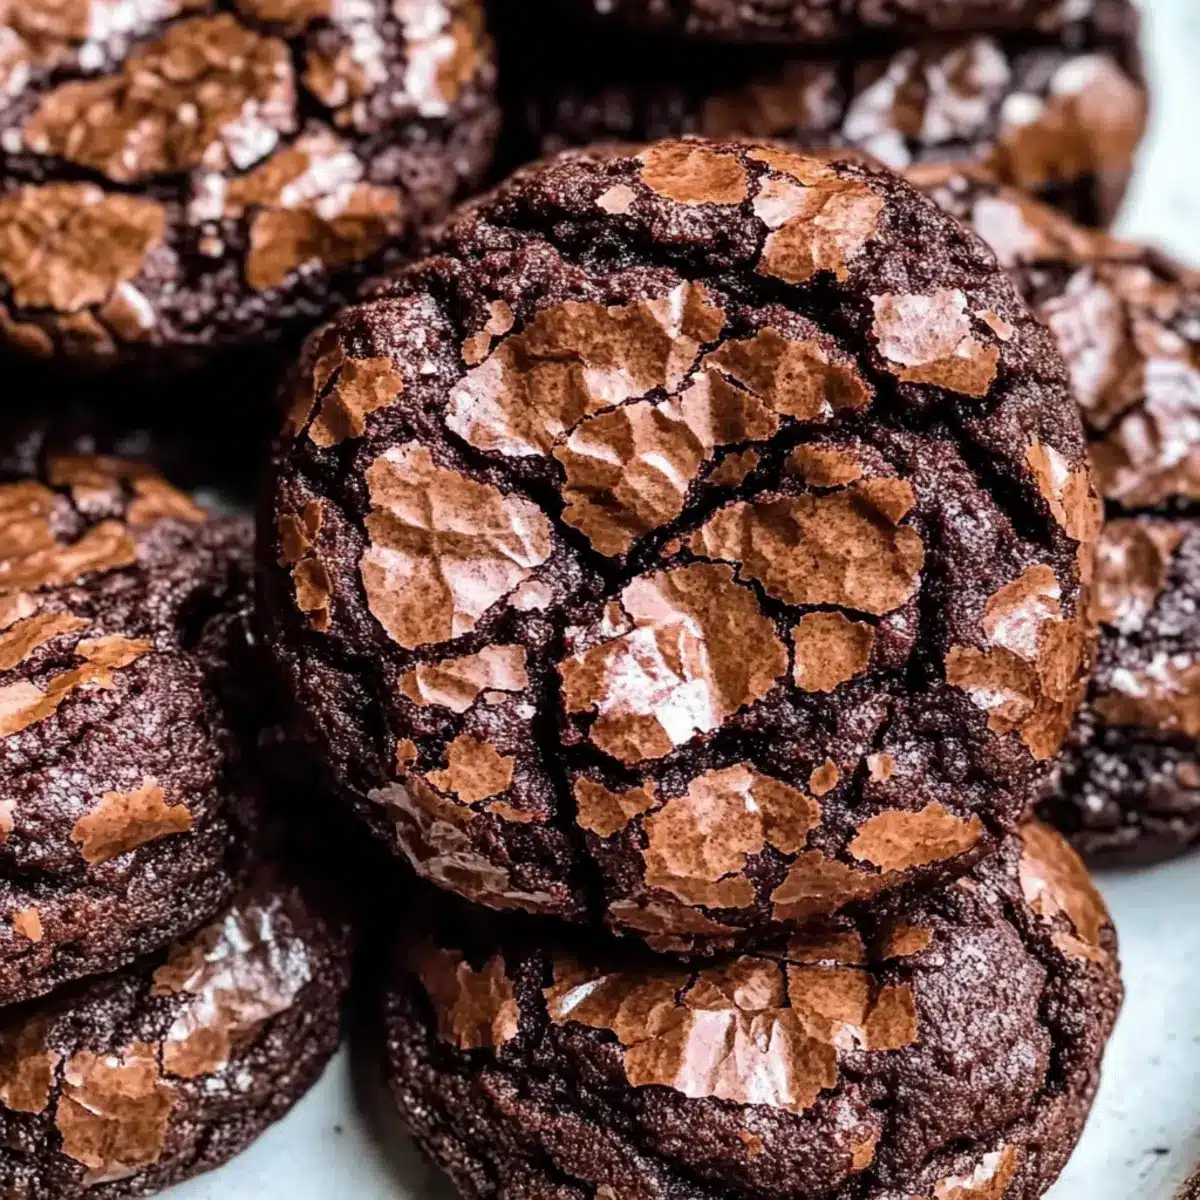
Crinkly Tops: Achieving that glossy, crinkly top is easier than you think, thanks to a few simple techniques!
Versatile Add-Ins: Feel free to customize; toss in chocolate chips or nuts for extra texture or even experiment with festive flavors like peppermint extract.
Crowd-Pleasing Treat: Perfect for cookie exchanges or coffee gatherings, these chewy brownie cookies are sure to impress friends and family alike.
So grab your ingredients and enjoy this delightful recipe that beautifully merges the best of brownies and cookies. Don’t forget to check out our other favorites like Chocolate Chip Cookies for more delicious ideas!
Brownie Cookies Ingredients
-
For the Cookie Dough
• Unsalted Butter – Adds richness and moisture; substitute with salted butter but omit additional salt.
• Chopped Dark Chocolate (60% cocoa) – Provides a deep chocolate flavor; chocolate chips can be used but may vary in quality.
• All-Purpose Flour – Gives structure to cookies; be sure to spoon and level for accuracy (120-125 grams per cup).
• Dutch Process Cocoa Powder – Enhances the chocolate flavor and gives a darker aesthetic; natural cocoa powder can be used but will slightly alter the taste.
• Salt – Balances sweetness and enhances flavor; consider using kosher salt as an alternative.
• Baking Powder – Helps the cookies rise; avoid direct substitutions for the best result.
• Granulated Sugar – Sweetens and contributes to texture; coconut sugar can be a less refined alternative but will change the final taste.
• Light Brown Sugar – Adds moisture and a caramel flavor; regular brown sugar is an acceptable replacement.
• Eggs – Essential for binding and moisture; use room temperature eggs for optimal incorporation.
• Vanilla Extract – Enhances flavor; homemade or pure vanilla extracts are preferred. -
For the Finishing Touch
• Flaky Sea Salt (for sprinkling) – Adds a savory contrast; it’s optional but highly recommended for that perfect finish.
Dive into the wonderful world of brownie cookies with these simple ingredients that come together to create a deliciously indulgent treat!
Step‑by‑Step Instructions for Chewy Brownie Cookies
Step 1: Preheat the Oven
Preheat your oven to 350°F (175°C) to ensure the perfect baking temperature for your chewy brownie cookies. While the oven warms up, line a large baking sheet with parchment paper, allowing for easy removal and clean-up once your cookies are baked to perfection.
Step 2: Melt the Chocolate and Butter
In a medium saucepan over low heat, melt together the unsalted butter and chopped dark chocolate. Stir frequently until both are completely melted and smoothly combined; this should take about 3-5 minutes. Remove from heat and set the mixture aside, allowing it to cool slightly while you prepare the dry ingredients.
Step 3: Combine the Dry Ingredients
In a separate medium bowl, whisk together the all-purpose flour, Dutch process cocoa powder, salt, and baking powder. This step incorporates the ingredients evenly, ensuring your chewy brownie cookies have a rich flavor and the right texture. Set this mixture aside, ready to join the wet ingredients shortly.
Step 4: Whip the Sugars, Eggs, and Vanilla
In a large mixing bowl, use a hand mixer to beat together the granulated sugar, light brown sugar, eggs, and vanilla extract for about 7 minutes. The mixture should become pale and fluffy, a key step that helps achieve those signature crinkly tops on your brownie cookies.
Step 5: Mix in the Melted Chocolate
Now, gently add the slightly cooled melted chocolate and butter mixture to the egg mixture. Stir until just combined, being careful not to overmix. The glossy chocolate mixture should blend seamlessly with your fluffy egg mixture, creating a rich batter that’s ready for the dry ingredients.
Step 6: Fold in the Dry Ingredients
Gradually fold the dry ingredients into the wet mixture until just combined, ensuring not to overwork the batter. The dough will be soft and slightly sticky; this is a sign you’re on the right track to achieving chewy brownie cookies that are fudgy in the center.
Step 7: Scoop the Cookie Dough
Using a tablespoon or cookie scoop, portion the dough onto the prepared baking sheet. Space each mound about 1.5 inches apart to allow for spreading while baking. The scoops should look rough and rustic, which contributes to the appealing texture of the finished brownie cookies.
Step 8: Bake the Cookies
Place the baking sheet into the preheated oven and bake for 11-12 minutes. Keep an eye on them, as they should develop a crinkle on top and look slightly underbaked; that’s the perfect moment for a chewy cookie center.
Step 9: Cool the Cookies
Remove the baking sheet from the oven and let the brownie cookies cool for 5 minutes. This allows them to firm up slightly before transferring them to a wire rack. Sprinkle each cookie with flaky sea salt while they are still warm for that delightful sweet and salty contrast.
Step 10: Transfer and Serve
After the cookies have cooled completely on the wire rack, you can dig in! Make sure to savor the rich, fudgy goodness of your chewy brownie cookies, whether you enjoy them straight away or save them for a later treat.
Helpful Tricks for Brownie Cookies
-
Measure Accurately: Use a kitchen scale to weigh your flour for perfect consistency in your brownie cookies—too much flour can lead to dry cookies.
-
Mixing Time: Beat your sugars and eggs for the full 7 minutes. This helps create the signature crinkly tops that every brownie cookie lover craves.
-
Don’t Chill the Dough: Bake your cookie dough immediately after mixing to maintain that gorgeous crinkle; chilling will result in flatter cookies.
-
Watch the Bake Time: Keep an eye on your cookies towards the end of baking. If they look slightly underbaked, that’s ideal for a fudgy center.
-
Check Oven Temperature: If your cookies spread too much, your oven might be too hot. Consider lowering the temperature by 10°F to achieve the perfect shape.
Make Ahead Options
These chewy brownie cookies are perfect for meal prep enthusiasts looking to save time! You can prepare the dough up to 24 hours in advance; simply scoop the portioned dough onto your baking sheet, cover it tightly with plastic wrap, and refrigerate. Allow the dough to sit at room temperature for about 10-15 minutes before baking, ensuring that the cookies maintain their chewy centers and crinkly tops. For baking later, you can freeze the individual cookie dough balls in an airtight container for up to 3 months. Just be sure to add an extra minute to the baking time if baking straight from frozen. Enjoy the convenience of freshly baked brownie cookies anytime!
What to Serve with Chewy Brownie Cookies?
Indulging in warm, fudgy brownie cookies creates the perfect backdrop for a delightful meal experience. Let’s make those chocolatey bites even sweeter with these delicious pairings!
-
Vanilla Ice Cream: A scoop of creamy vanilla ice cream melts beautifully atop warm brownie cookies, enhancing their decadent chocolate flavor.
-
Fresh Berries: Ripe strawberries or raspberries add a burst of freshness, balancing the rich sweetness with their tartness.
-
Espresso or Coffee: The bold flavor of espresso or a rich cup of coffee complements the chocolate notes, making for a delightful dessert experience.
-
Chocolate Sauce: Drizzling warm chocolate sauce over the cookies intensifies their fudginess and creates an irresistible dessert layer.
-
Toasted Nuts: Crunchy toasted walnuts or pecans provide a satisfying contrast to the chewy texture, adding a delightful nutty flavor.
-
Fruit Compote: A homemade berry compote or citrus sauce brings a tangy twist, cutting through the sweetness while adding a vibrant color.
-
Milk or Almond Milk: A tall glass of cold milk, or its creamy almond counterpart, perfectly enhances the fudgy richness of the brownie cookies.
-
Caramel Sauce: A drizzle of warm caramel sauce offers a sweet, buttery richness that melds beautifully with your brownie cookies.
Brownie Cookies Variations & Substitutions
Feel free to get creative with these brownie cookies, customizing them to please your palate and suit any occasion!
-
Chocolate Chips:
Add a mix of your favorite chocolate chips for extra gooeyness. Blend in semi-sweet or even white chocolate for delightful contrast. -
Nuts:
Stir in chopped walnuts or pecans for added crunch and depth. Their earthy tones beautifully complement the rich chocolate. -
Minty Fresh:
Introduce a splash of peppermint extract for a festive spin. Top with crushed candy canes during the holidays for a perfect seasonal treat. -
Dairy-Free:
Swap in vegan butter and dairy-free chocolate for a deliciously plant-based version. Your vegan friends will be overjoyed! -
Gluten-Free:
Substitute with a 1:1 gluten-free flour blend to cater to gluten sensitivities. These cookies maintain their chewy goodness, and no one will be the wiser! -
Other Flavors:
Use milk chocolate instead of dark for a sweeter flavor profile. Alternatively, try using white chocolate for a delightful twist on the traditional brownie. -
Sea Salt Finish:
Experiment with different finishing salts, like smoked salt, to add an unexpected, savory contrast to your sweet cookies. It’s an adventurous taste explosion!
Don’t forget to keep it simple and enjoy experimenting with these variations. They’ll take your brownie cookies to the next level! For more cookie inspiration, check out my recipes like Chocolate Chip Cookies and Butter Jelly Cookies.
How to Store and Freeze Brownie Cookies
Room Temperature: Store your brownie cookies in an airtight container at room temperature for up to 4 days to retain their chewyness and flavor.
Fridge: If you prefer a cooler treat, these cookies can stay fresh in the fridge for up to a week. Just ensure they’re well-wrapped to prevent drying out.
Freezer: For longer storage, place the cookies in a single layer in an airtight freezer-safe container. They can last up to 2 weeks in the freezer, ready to thaw and indulge whenever cravings hit.
Reheating: To revitalize your brownie cookies, reheat them in the microwave for a few seconds or pop them in a warm oven for 5 minutes at 350°F (175°C) before serving. Keep them wrapped to retain moisture!

Brownie Cookies Recipe FAQs
What is the best way to select ripe ingredients for brownie cookies?
Absolutely! When choosing your ingredients, look for dark chocolate that has a cocoa content of 60% or higher for a rich flavor. For butter, always opt for unsalted to control the salt content—it provides the perfect moisture without altering the taste. Fresh eggs should be used, as room temperature eggs blend better, resulting in a lighter texture.
How should I store my brownie cookies to keep them fresh?
Very! Store your brownie cookies in an airtight container at room temperature for up to 4 days. Just ensure they’re well-sealed to keep them chewy and delicious. If you’d like to enjoy them later, place them in the fridge where they can last up to a week.
Can I freeze brownie cookies? If so, how?
Absolutely! To freeze your brownie cookies, first allow them to cool completely. Then, layer them in a single layer in an airtight freezer-safe container, with parchment paper between layers to prevent sticking. They can be stored in the freezer for up to 2 weeks. When you’re ready to enjoy them, simply thaw them at room temperature or warm them gently in the microwave for a few seconds.
What should I do if my brownie cookies spread too much while baking?
If you find your cookies spreading too much, it could mean your oven is a bit too hot! I recommend lowering the temperature by 10°F (5°C) next time you bake to maintain their shape. Additionally, ensure your ingredients are measured accurately, especially the flour, which can lead to dry cookies if over-measured.
Are there any dietary considerations for brownie cookies, such as allergies?
Yes, definitely! For those with nut allergies, ensure the chocolate you use is nut-free and consider using allergy-friendly products for other ingredients. If you’re baking for pets, it’s important to remember that chocolate is toxic to dogs and cats, so keep these tempting treats safely away from them.
Chewy Brownie Cookies: Indulge in Fudgy Chocolate Bliss
Ingredients
Equipment
Method
- Preheat your oven to 350°F (175°C) and line a large baking sheet with parchment paper.
- Melt together the unsalted butter and chopped dark chocolate over low heat until smooth; set aside to cool slightly.
- Whisk together the all-purpose flour, Dutch process cocoa powder, salt, and baking powder in a medium bowl.
- Beat the granulated sugar, light brown sugar, eggs, and vanilla extract together for about 7 minutes until pale and fluffy.
- Gently mix the melted chocolate and butter mixture into the egg mixture until just combined.
- Fold the dry ingredients into the wet mixture until just combined; the dough will be soft and slightly sticky.
- Scoop the dough onto the prepared baking sheet, spacing each mound about 1.5 inches apart.
- Bake for 11-12 minutes until they develop a crinkle on top; they should look slightly underbaked.
- Cool the cookies on the baking sheet for 5 minutes before transferring them to a wire rack, sprinkling with flaky sea salt while warm.
- Let the cookies cool completely before serving or enjoying after reheating.
Leave a Reply