
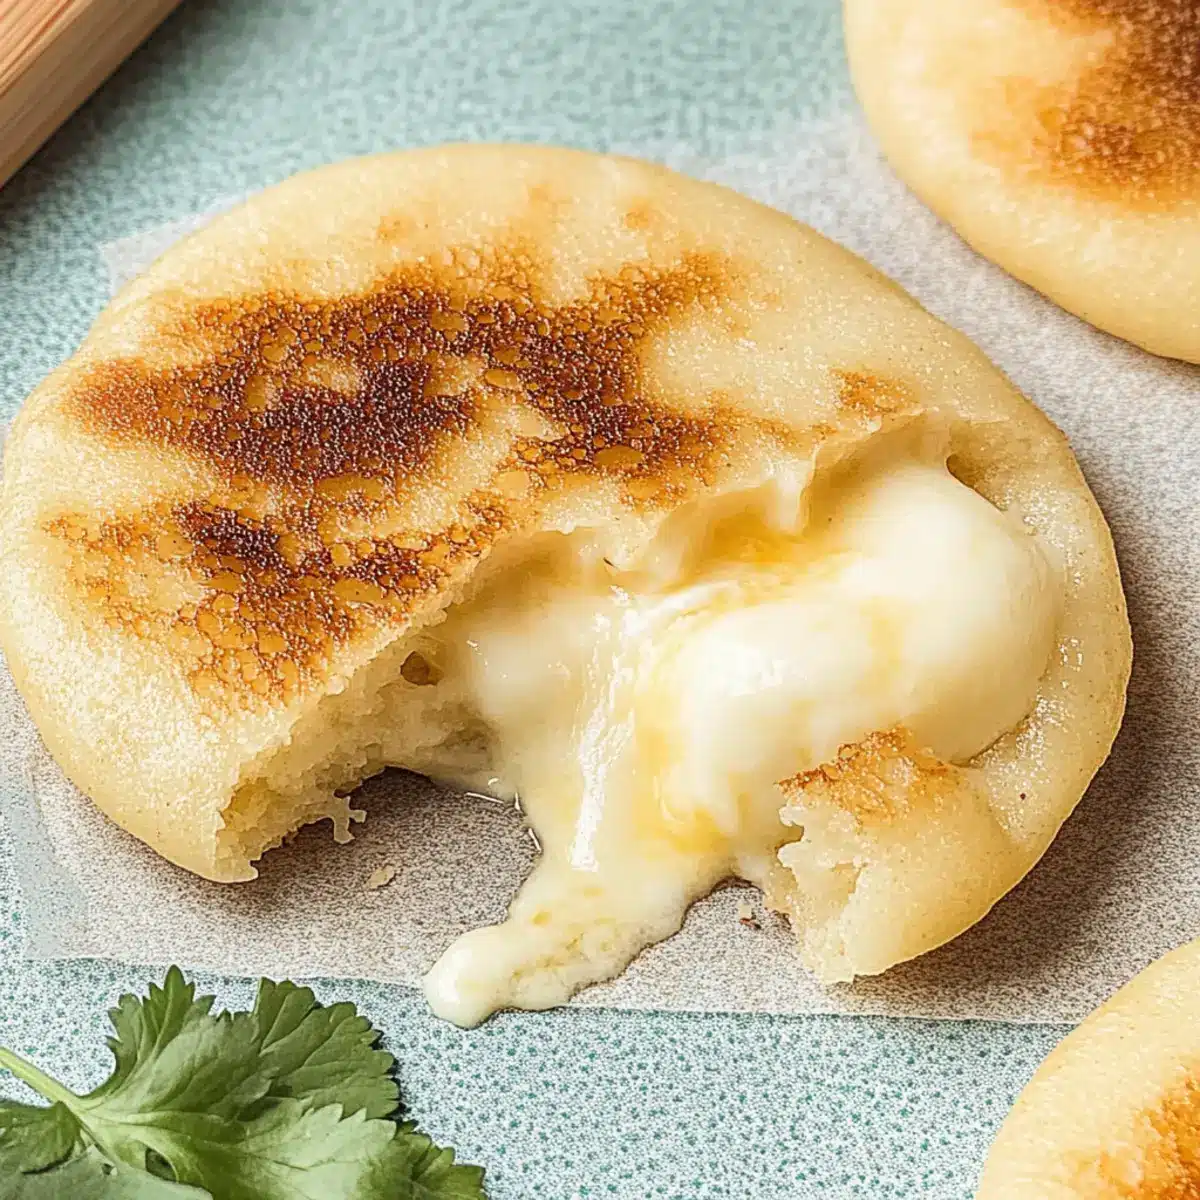
The first time I bit into a perfectly crisp Arepa con Queso, it felt like a warm embrace from another world—one filled with vibrant Colombian flavors and hearty comfort. These savory corn cakes, filled with gooey cheese, are a delightful answer to that fast-food fatigue we all experience from time to time. Making Arepas con Queso is a breeze, taking just a few ingredients and minimal time so that you can savor homemade goodness without hours in the kitchen. Whether you enjoy them at breakfast with eggs, as a satisfying lunch, or even as a quick snack, these gluten-free treasures are bound to impress everyone at the table. Curious about how to make these delicious Colombian arepas? Let’s dive into the recipe!
Why Arepas con Queso Will Delight You?
Quick and Easy: The preparation is a snap, allowing you to whip up these tasty cheese-filled treats in under 30 minutes.
Gluten-Free Goodness: Made with masarepa, they’re perfect for those avoiding gluten while still craving comfort food.
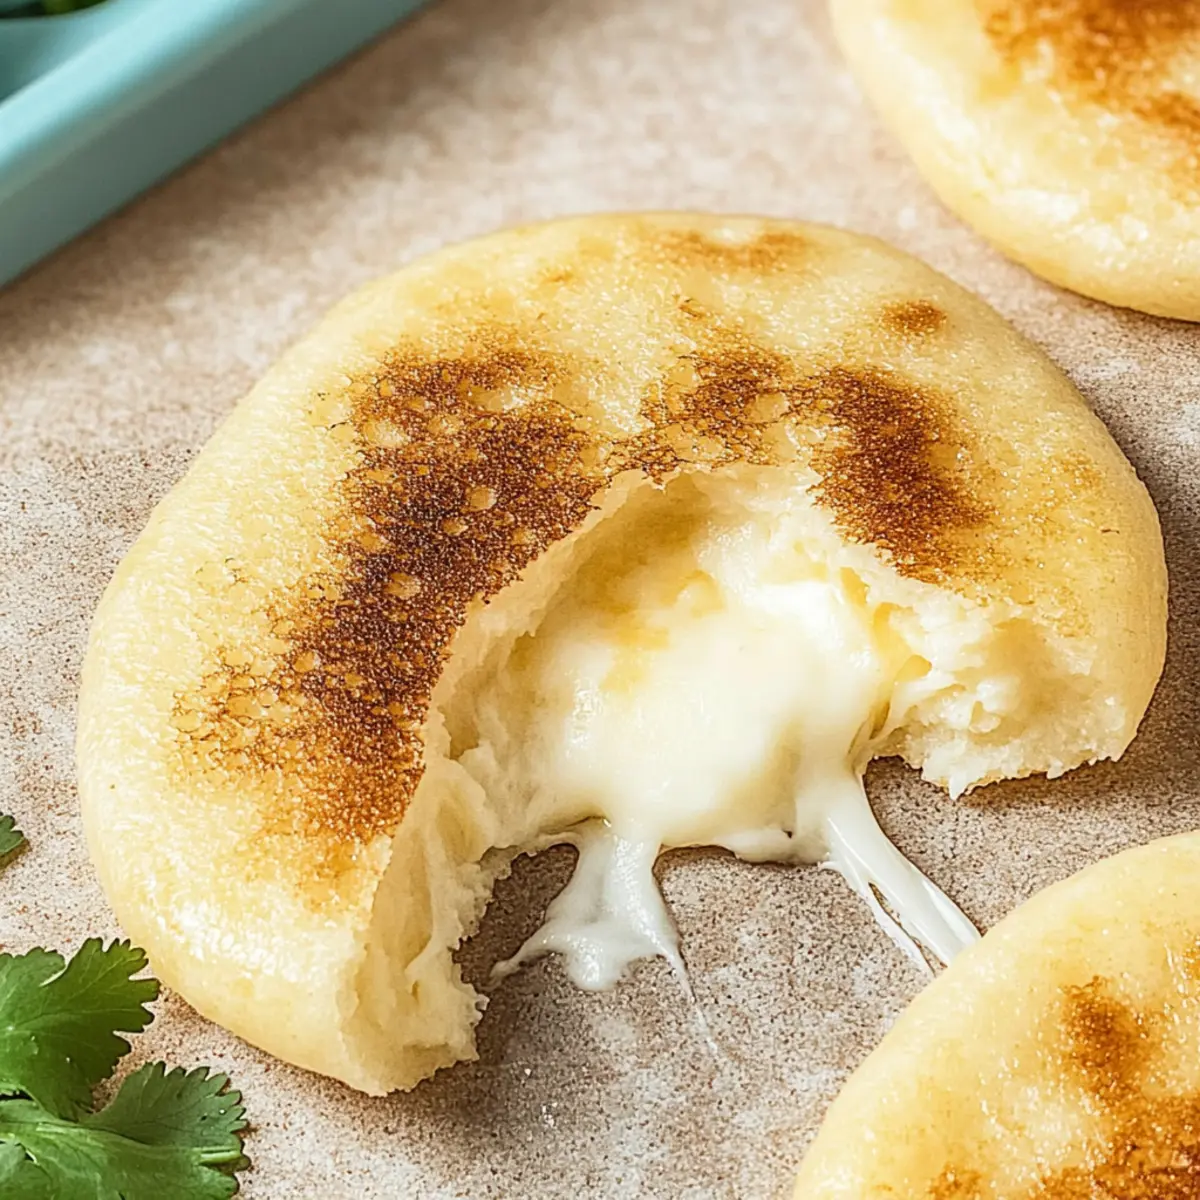
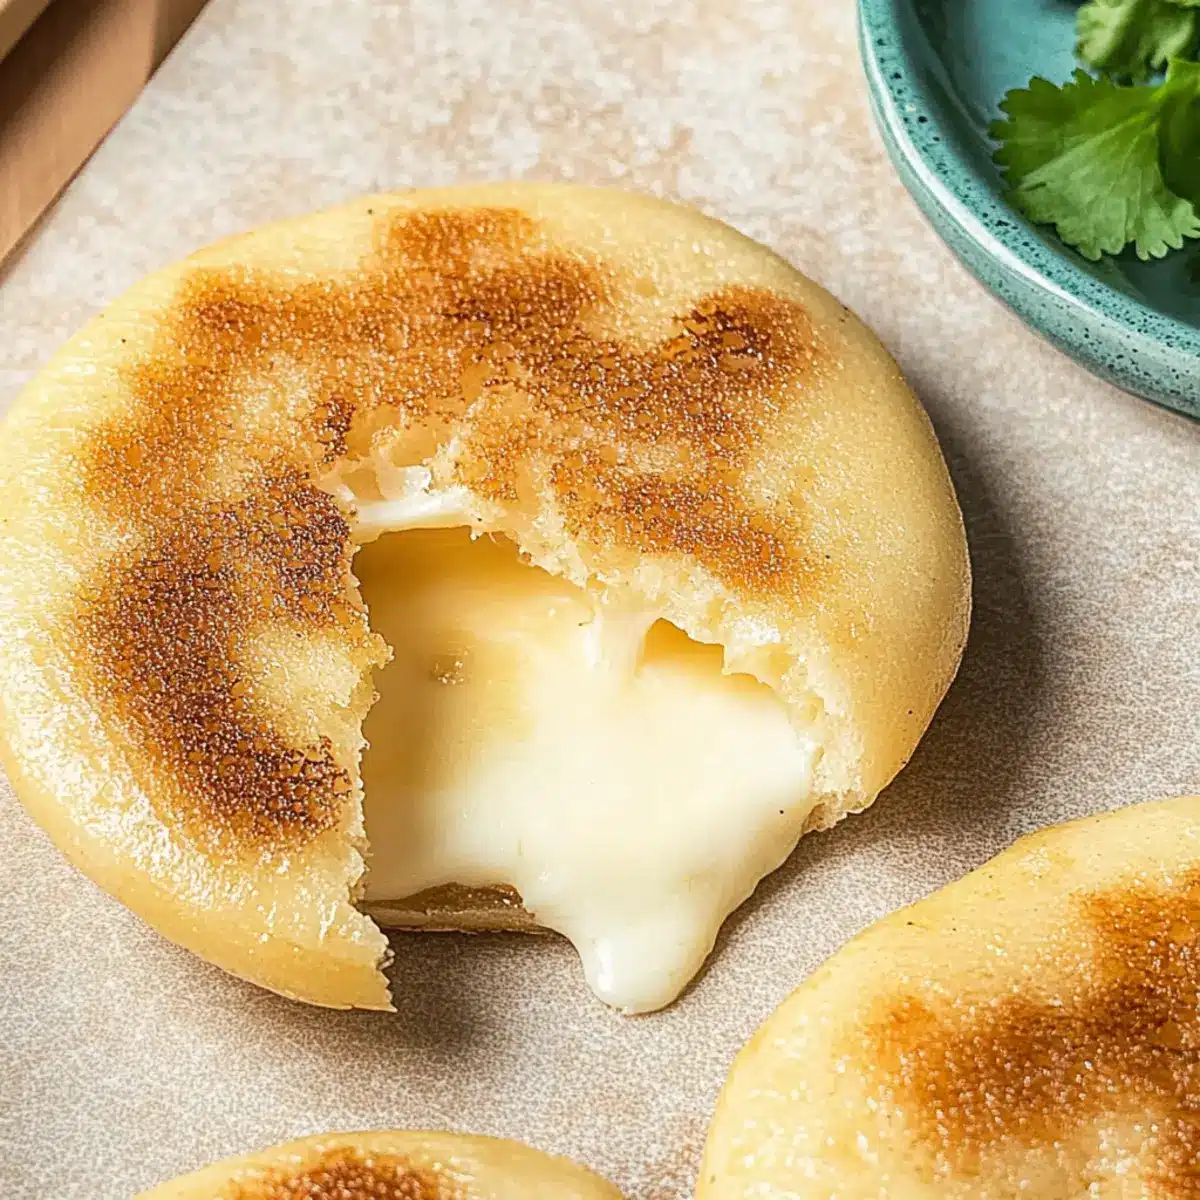
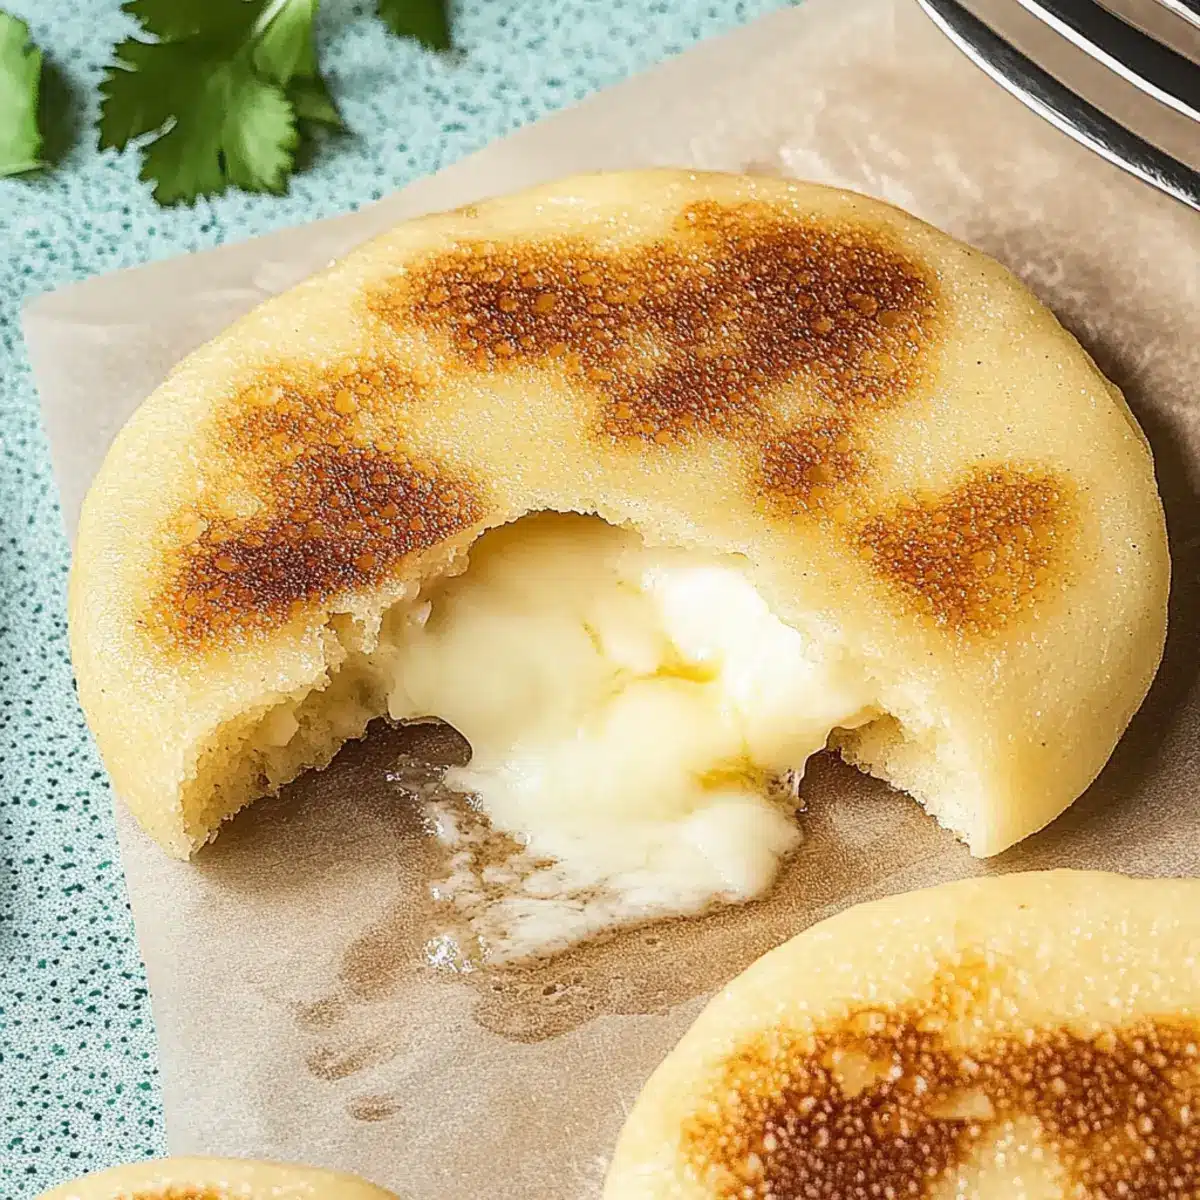
Crispy and Cheesy: Enjoy the delightful contrast of a crispy exterior and a gooey, cheesy interior with every bite.
Versatile Treat: Fill them with anything you like—pulled pork, veggies, or even a refreshing avocado salsa for added flair.
Crowd-Pleasing Flavor: Perfect as an appetizer or accompaniment to any meal, everyone will come back for more! For more delightful recipes, check out my Bacon Brown Sugar Chicken Tenders and Bacon Cheeseburger Pasta.
Arepas con Queso Ingredients
For the Dough
• Masarepa – A pre-cooked white cornmeal that’s essential for that perfect soft texture; don’t use regular cornmeal!
• Sea Salt/Kosher Salt – Enhances the flavor beautifully; feel free to adjust based on your taste preference.
• Cotija Cheese – Provides a crumbly, salty burst; if unavailable, feta cheese makes a great substitute.
• Butter – Richens the dough; can be swapped with oil for a dairy-free option.
• Warm Water – Binds everything together; adjust the amount to achieve a smooth, manageable dough.
For the Filling
• Shredded Mozzarella Cheese – Melts into gooey goodness inside the arepas; try cheddar for a different flavor twist!
For Cooking
• Oil/Butter for Cooking – Ensures a golden-brown finish and prevents sticking; non-stick spray or olive oil works wonderfully!
Step‑by‑Step Instructions for Arepas con Queso
Step 1: Prepare the Dough
In a medium bowl, combine masarepa, sea salt, crumbled Cotija cheese, softened butter, and warm water. Stir the mixture until everything is well combined, then knead for about 2-3 minutes until a smooth, pliable dough forms. Cover the dough with a damp cloth and let it rest for 10 minutes to allow the flavors to meld.
Step 2: Shape Arepas
Once the dough has rested, divide it into 8 equal pieces and roll each into a ball. Flatten each ball into a circle about 5 inches in diameter. Place a generous amount of shredded mozzarella cheese in the center, ensuring to leave a border. Carefully seal the filling by placing another circle of dough on top, pinching the edges to ensure they are well sealed.
Step 3: Cooking Method – Stovetop
Heat a skillet over medium-low heat and add a tablespoon of oil or butter. Once hot, carefully place the arepas in the skillet, allowing space between them. Cook for 4-5 minutes on each side until golden brown and crisp, checking that the edges are firm. The arepas should have a beautiful golden crust when they are ready to be flipped.
Step 4: Cooking Method – Air Fryer
For a healthier option, preheat your air fryer to 350°F. Arrange the arepas in a single layer in the basket, ensuring they are not overcrowded. Cook for about 5 minutes, flipping them halfway through the cooking time, until they are golden and crisp. This method will yield perfectly cooked Arepas con Queso with a delightful texture.
Step 5: Serve
Once cooked, remove the arepas from the skillet or air fryer and let them cool slightly. Serve them warm, optionally adding a pat of butter on top for extra richness. These Arepas con Queso are perfect for any meal or as an appetizer, ready to be enjoyed with your favorite sauces or salsas.
Expert Tips for Arepas con Queso
• Right Masarepa Choice: Always use masarepa, not regular cornmeal, to ensure the perfect texture for your arepas con queso.
• Dough Resting: Allow the dough to rest for 10 minutes; this helps develop flavor and ensures better handling while shaping.
• Avoid Overfilling: Be careful not to overstuff your arepas with cheese. A generous amount is fine, but too much can cause spills during cooking.
• Cooking Temperature: Cooking on medium-low heat allows for even browning without burning. If they brown too quickly, lower the heat.
• Crisp Finish: For a crispy finish, consider brushing the arepas with melted butter or oil before cooking—this adds a beautiful richness and prevents sticking.
How to Store and Freeze Arepas con Queso
Fridge: Store leftover Arepas con Queso in an airtight container for up to 3 days. Reheat in a toaster oven or skillet for the best results—this keeps them crispy!
Freezer: For longer storage, freeze cooked arepas individually wrapped in plastic wrap, then place in a freezer bag. They can last up to 3 months.
Reheating: For frozen arepas, reheat from frozen in an air fryer at 350°F for about 8-10 minutes, or until heated through. This method restores their crispiness.
Make-Ahead Tip: Prepare the dough ahead of time, shape your arepas, and keep them in the fridge covered for up to 24 hours before cooking!
Arepas con Queso Variations
Feel free to get creative and personalize these delightful cheese-filled arepas to suit your taste!
-
Dairy-Free: Replace Cotija and mozzarella with plant-based cheese alternatives for a delicious vegan twist.
For a creamy option, try dairy-free mozzarella. It melts beautifully and still gives that satisfying cheesy flavor. -
Spicy Kick: Add diced jalapeños or a sprinkle of crushed red pepper flakes into the filling for a zesty kick.
The heat pairs perfectly with the rich cheese and gives your arepas a delightful spiciness that wakes up your taste buds. -
Herb Infusion: Mix fresh chopped cilantro or parsley into the dough for a fresh herbal note.
This adds a vibrant flavor that can elevate the entire dish and brings a touch of garden freshness to your meal. -
Sweet Surprise: For a unique taste, add a spoonful of sweet corn or diced bell peppers in the filling.
The sweetness complements the savory cheese beautifully and offers an unexpected flavor combination that is truly delightful. -
Loaded Arepas: Fill with pulled pork, chicken, or black beans for a heartier option.
These additions transform your arepas into a main dish, perfect for lunch or dinner, while keeping that wonderful cheesy essence. -
Crunchy Texture: Consider adding crushed tortilla chips or crispy onions in moderation to the filling for extra crunch.
This twist provides a delightful textural contrast that enhances the overall experience with every delicious bite. -
Cheddar Twist: Swap in sharp cheddar cheese for a bolder, more robust flavor experience.
This change will create a deliciously rich inside, wrapped in that crispy exterior that makes arepas so wonderful.
For more exciting flavor combos, check out my other beloved recipes like Bacon Cheeseburger Pasta and Bacon Brown Sugar Chicken Tenders.
Make Ahead Options
These Arepas con Queso are perfect for meal prep enthusiasts looking to save time on busy weeknights! You can prepare the dough up to 24 hours in advance by making it and storing it in an airtight container in the refrigerator. Additionally, you can shape the arepas and keep them separated with parchment paper in the fridge for up to 3 days. When you’re ready to enjoy them, just cook them straight from the fridge—there’s no need to thaw! Keep an eye on the cooking time as they may need a minute or two longer. This way, you’ll have delicious, homemade arepas ready in no time, just as tasty as if they were freshly made!
What to Serve with Colombian Arepas con Queso?
Elevate your dining experience by pairing these delightful cheese-filled gems with complementary flavors and textures that will perfectly round out your meal.
- Refreshing Avocado Salad: A light salad with diced avocado and fresh tomatoes adds a creamy contrast to the crispy arepas.
- Spicy Salsa Verde: This zesty sauce brings a vibrant kick, enhancing the corn cake’s subtle sweetness with its tangy freshness.
- Black Bean Soup: A hearty soup complements the arepas beautifully, making for a satisfying and wholesome meal.
- Sweet Plantains: The caramelized sweetness of fried plantains contrasts perfectly with the savory cheese-filled arepas.
- Colombian Aji Sauce: Drizzling this spicy, tangy sauce over your arepas provides an extra burst of flavor that’s hard to resist.
- Grilled Corn on the Cob: The charred sweetness of grilled corn adds a delightful texture and an earthy flavor, creating a comforting summer feel.
- Mango Lassi: This creamy, fruity drink offers a sweet balance to the savory arepas, making it a refreshing addition to your meal.
- Chili Lime Corn Salad: This bright, zesty salad enhances the overall experience with its crunch and combines perfectly with the savory notes of arepas con queso.
- Coconut Rice: Creamy coconut rice serves as a luscious bed for your arepas, enhancing their flavor while keeping the meal light and tropical.
Arepas con Queso Recipe FAQs
How do I choose ripe ingredients for Arepas con Queso?
Absolutely! For the best flavor in your Arepas con Queso, opt for Cotija cheese that’s fresh but firm, with a slightly crumbly texture. Masarepa should be free from lumps and stored in a cool, dry place. When buying mozzarella, select a block rather than pre-shredded; block cheese melts better and gives a creamier filling.
How should I store leftover Arepas con Queso?
Certainly! Store any leftover Arepas con Queso in an airtight container in the fridge for up to 3 days. Reheat in a skillet on low heat or in a toaster oven—this helps retain their crispiness, ensuring they are just as delightful as when freshly made!
Can I freeze Arepas con Queso?
Yes, you can! To freeze Arepas con Queso, allow them to cool completely. Wrap each arepa tightly in plastic wrap, then place them into a freezer bag. They can be stored in the freezer for up to 3 months. When you’re ready to enjoy, simply air fry from frozen at 350°F for about 8-10 minutes until heated through and crispy again.
What should I do if my dough is too dry or crumbly?
Very good question! If your arepa dough feels too dry, gradually add warm water, one tablespoon at a time, while kneading until it reaches a smooth, pliable consistency. Alternatively, if it’s too wet, you can add a bit more masarepa until the texture is right. Remember, a well-prepped dough makes for beautifully smooth arepas!
Can my pet safely have Arepas con Queso?
While your furry friend may love the smell of Arepas con Queso, it’s best to keep them away. Ingredients like cheese can be hard for pets to digest, and the added salt isn’t healthy for them. Just stick to pet-safe treats for your beloved companions!
Any dietary considerations for allergies?
Of course! Arepas con Queso are naturally gluten-free due to the use of masarepa. If dairy-free is a preference, try using plant-based cheeses or omitting the cheese altogether. Always check the labels for any possible allergens, especially if you’re sharing with friends or family who may have sensitivities.
Savory Arepas con Queso: Comforting Cheese Corn Cakes
Ingredients
Equipment
Method
- In a medium bowl, combine masarepa, sea salt, crumbled Cotija cheese, softened butter, and warm water. Stir until well combined, then knead for about 2-3 minutes until a smooth dough forms. Cover and let it rest for 10 minutes.
- Divide the dough into 8 equal pieces, roll into balls, and flatten each into a circle about 5 inches in diameter. Place shredded mozzarella in the center, leaving a border, and seal with another circle of dough.
- Heat a skillet over medium-low heat, add oil or butter, and cook the arepas for 4-5 minutes on each side until golden brown and crisp.
- For air frying, preheat the air fryer to 350°F. Arrange arepas in a single layer, cook for about 5 minutes, flipping halfway until golden and crisp.
- Remove the arepas and let them cool slightly. Serve warm, optionally adding a pat of butter on top.
Leave a Reply