
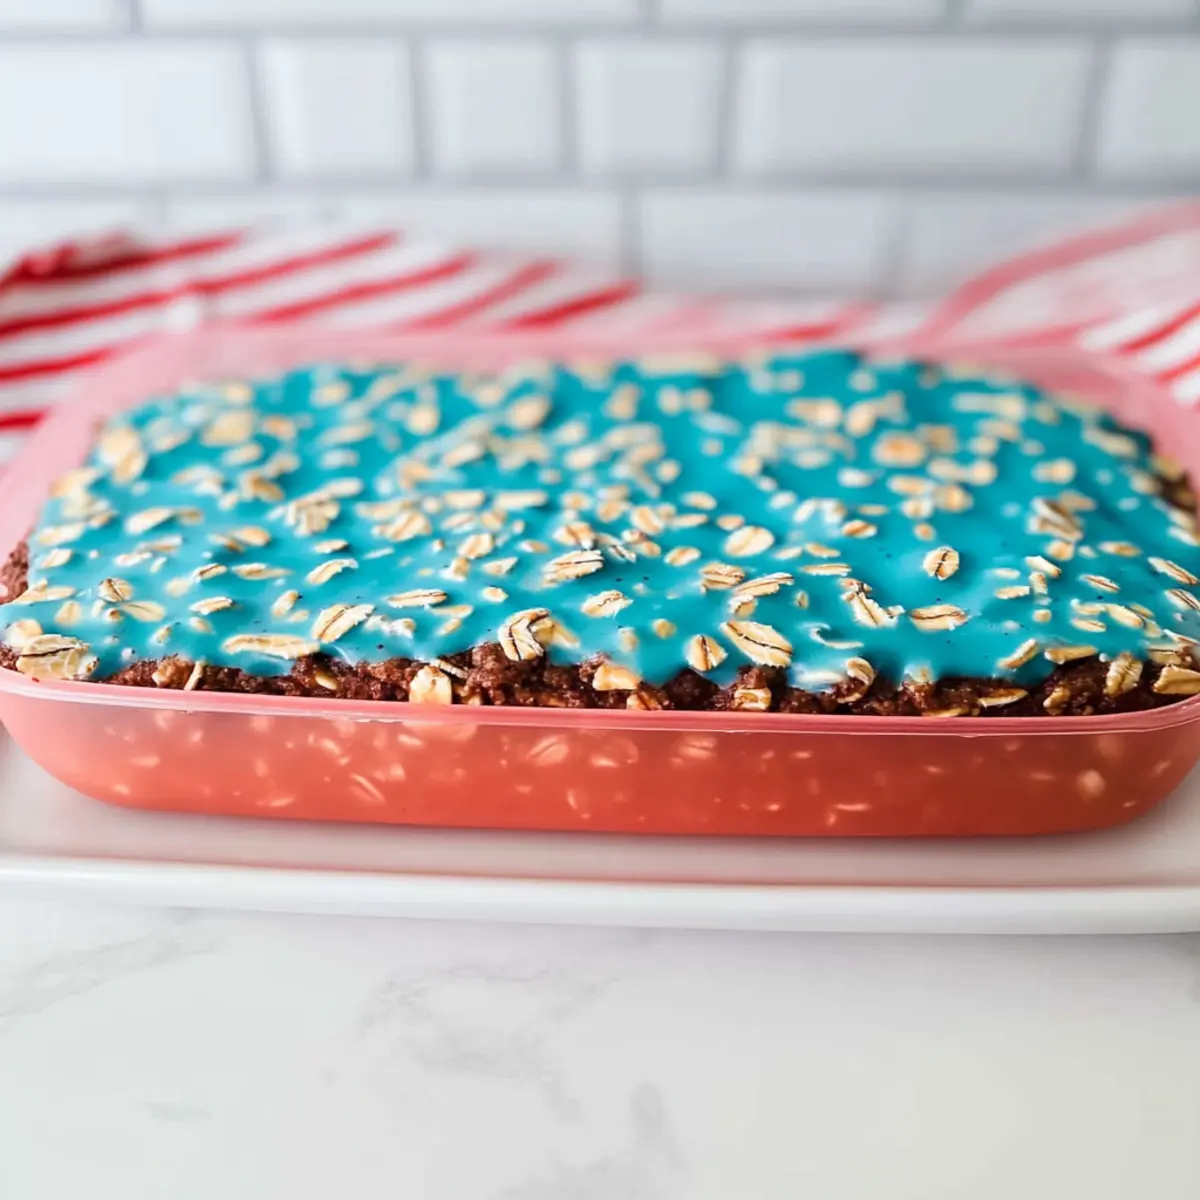
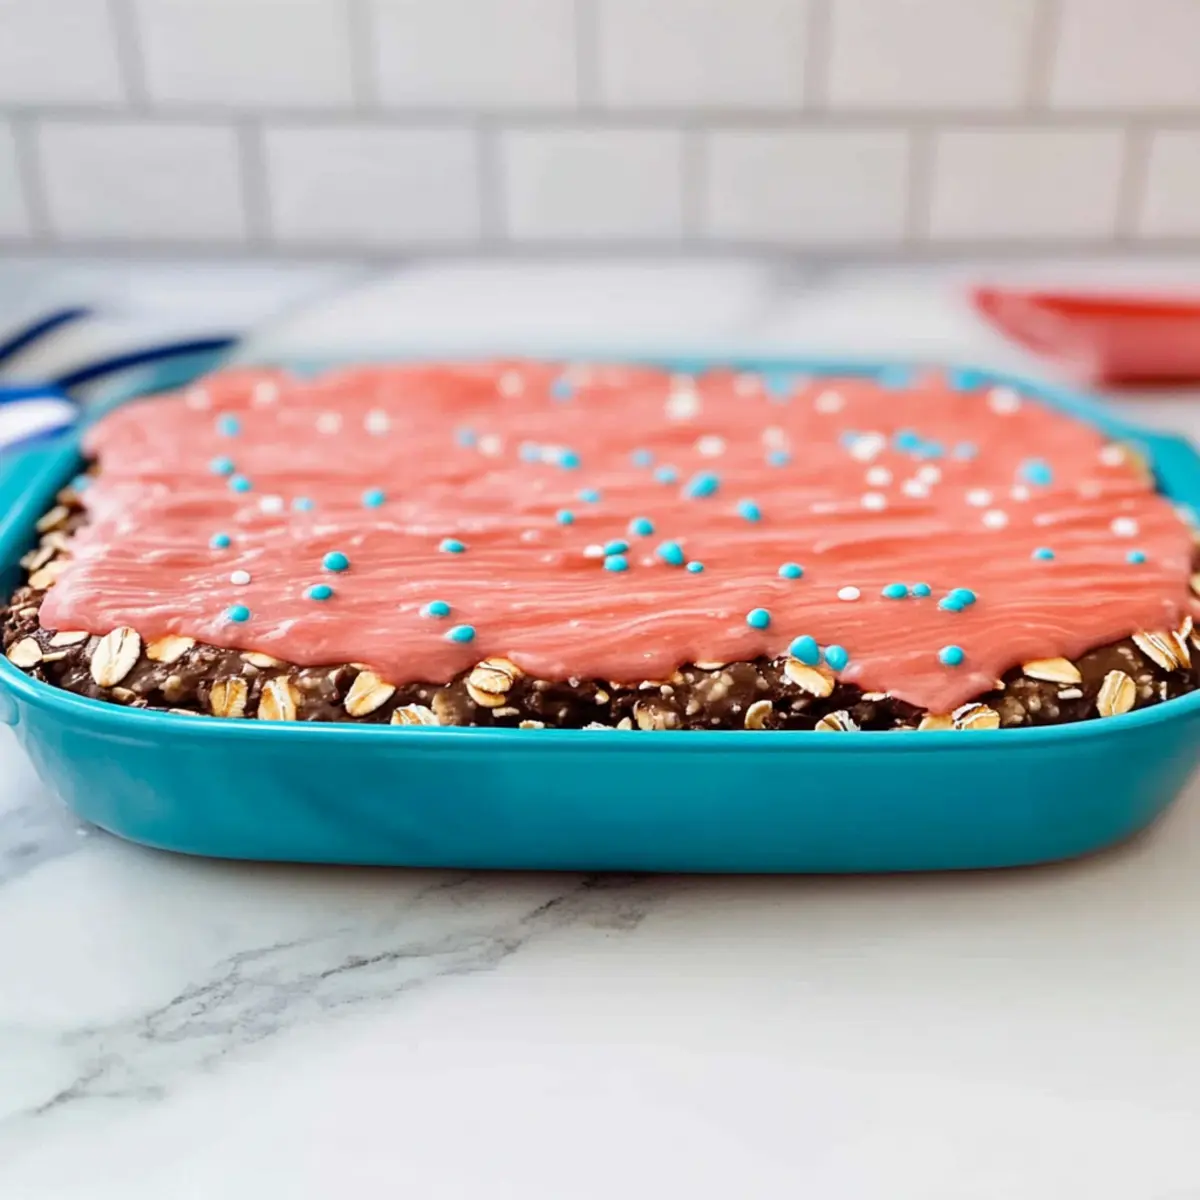
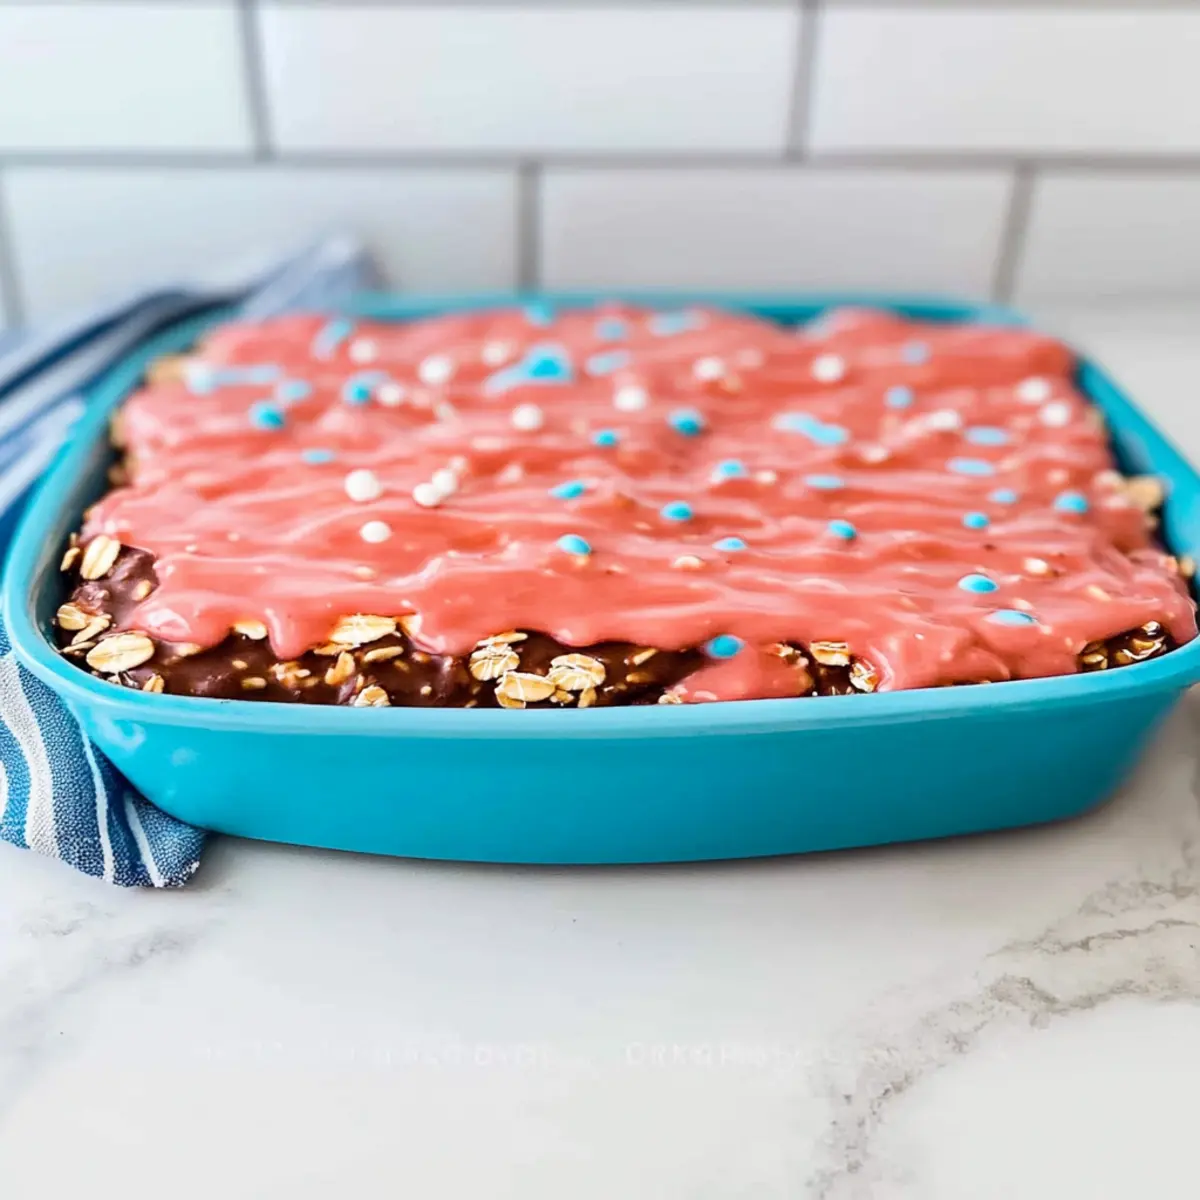
There’s a certain magic that happens when simplicity meets indulgence in the kitchen. Today, I’m excited to share my 4-Ingredient No-Bake Chocolate Oat Cookies, a sweet remedy for those nights when you crave something delicious without the fuss. Imagine sinking your teeth into these chewy, gluten-free delights that are not only quick to whip up but also guilt-free! Using just four wholesome ingredients, you can easily satisfy your sweet tooth while still keeping things healthy. As a bonus, you can customize them to your liking with various nut butters or sweeteners. Ready to elevate your snack game? Let’s dive into the creamy chocolatey goodness of these irresistible cookies!
Why are these cookies a must-try?
Quick and Easy: With just four simple ingredients, you can whip up these cookies in no time, perfect for busy days.
Guilt-Free Indulgence: Each cookie is gluten-free and made with wholesome ingredients, so you can enjoy a sweet treat without the guilt.
Customizable Delight: Adjust the flavors by swapping nut butters or sweeteners, making them truly your own.
No Baking Required: Save on time and energy; these no-bake cookies require minimal effort, making them a go-to recipe for any occasion.
Crowd-Pleasing Treat: Whether for kids or adults, these cookies are sure to impress at gatherings, just like my Chocolate Pancakes Sweet recipe!
Chocolate Oat Cookie Ingredients
For the Base
- Rolled Oats – Provide structure and chewiness; essential for a great texture.
- Nut Butter – Acts as a binding agent and adds healthy fats; try almond or sunflower seed butter for nut-free options.
For Sweetness
- Honey or Maple Syrup – Offers natural sweetness while ensuring moisture; use maple syrup for a vegan version.
For Chocolate Flavor
- Cocoa Powder – Adds rich chocolate flavor; ensure it is unsweetened for the best results.
Feel free to adapt these no-bake chocolate oat cookies to your taste and enjoy the delightful results!
Step‑by‑Step Instructions for 4-Ingredient No-Bake Chocolate Oat Cookies
Step 1: Combine Dry Ingredients
Start by gathering a medium mixing bowl and add 2 cups of rolled oats along with ½ cup of unsweetened cocoa powder. Stir them together using a whisk or a spoon until they are evenly mixed. The oats should appear coated with cocoa, giving a chocolaty hue that’s visually enticing. Set this bowl aside to prepare for the next step.
Step 2: Prepare Wet Ingredients
In a separate, larger bowl, measure and add 1 cup of your chosen nut butter—such as almond or sunflower seed butter. To this, pour in ½ cup of honey or maple syrup, depending on your preference for sweetness. Use a spatula to mix these ingredients thoroughly until smooth and creamy, ensuring that the nut butter and syrup are fully integrated.
Step 3: Mix Wet and Dry Ingredients
Carefully transfer the cocoa-oat mixture into the bowl with the wet ingredients. Stir everything together until the oats are well-coated and the mixture becomes sticky and slightly thick. This should take about 1 to 2 minutes of gentle folding, ensuring no dry oats remain. The colors will blend beautifully, resulting in a tempting chocolate batter.
Step 4: Form the Cookies
Line a baking sheet with parchment paper to prevent sticking. Using a cookie scoop or spoon, drop heaping tablespoons of the chocolate oat mixture onto the prepared sheet. Space them at least an inch apart, as they won’t spread out during the setting process. Aim for even shapes that are appealing to the eye and uniform in size.
Step 5: Chill to Set
Place the baking sheet in the refrigerator and allow the cookies to chill for at least 30 minutes. This step is crucial as it helps the cookies firm up and hold their shape. You’ll know they’re ready when they appear slightly harder to the touch and have a nice, chewy texture that you can easily bite into.
Step 6: Enjoy and Store
Once set, remove the cookies from the fridge and enjoy a few right away, savoring their chocolaty goodness. Store any leftover cookies in an airtight container in the refrigerator for up to one week. These no-bake chocolate oat cookies are perfect for quick snacks, making them a delightful treat anytime you desire!
Expert Tips for No-Bake Chocolate Oat Cookies
- Use Rolled Oats: Stick with rolled oats for the best cookie texture; instant oats can lead to a mushy result, ruining your chewy cookies.
- Don’t Skip Chilling: Refrigeration is key! Allow the cookies to chill for at least 30 minutes to achieve the perfect firmness and crunch.
- Mix Nut Butters: Swap traditional nut butter for variations like cashew or sunbutter; this not only alters flavor but also keeps the recipe nut-friendly.
- Opt for Unsweetened Cocoa: Always choose unsweetened cocoa powder for a true chocolate hit; sweetened versions can compromise the cookie’s balanced flavor.
- Add Flavor Enhancers: Consider adding a pinch of salt or a splash of vanilla extract for deeper flavor; these small additions can elevate your no-bake chocolate oat cookies.
Storage Tips for No-Bake Chocolate Oat Cookies
Room Temperature: Store cookies in an airtight container at room temperature for up to 3 days. Keep them away from direct sunlight to maintain freshness.
Fridge: For extended freshness, place the cookies in an airtight container in the refrigerator, where they can last up to 1 week. This will keep your no-bake chocolate oat cookies chewy and delicious.
Freezer: Want to save some for later? Freeze the cookies in a single layer in a freezer-safe container for up to 3 months. Simply thaw in the fridge before enjoying.
Reheating: If you prefer them slightly warm, pop the cookies in the microwave for a few seconds; they’ll become delightfully soft again!
What to Serve with 4-Ingredient No-Bake Chocolate Oat Cookies
Imagine the perfect snack time, where each delightful bite of these chocolate oat cookies is complemented by treats that elevate your experience and capture your senses.
-
Creamy Almond Milk: A glass of this nutty goodness enhances the chocolate flavor while providing a refreshing and creamy base that balances the cookie’s texture.
-
Fresh Berries: Juicy strawberries or raspberries add a tangy contrast to the sweetness of the cookies, creating a delightful explosion of flavors in your mouth.
-
Chilled Coconut Yogurt: This tropical delight not only makes for a creamy dip but also offers a light, refreshing element that pairs beautifully with the rich chocolate.
-
Dark Chocolate Drizzle: A simple drizzle over the cookies offers an extra indulgent touch, turning your snacks into a gourmet experience while enhancing the chocolate flavor.
-
Frozen Banana Slices: The natural sweetness and soft texture of frozen bananas beautifully complement the chewy oats, creating a delightful, textural contrast.
-
Herbal Tea: A warm cup of chamomile or peppermint tea provides a soothing backdrop to your chocolate treat, making for a cozy snack-time experience.
-
Oven-Baked Sweet Potato Fries: These crunchy yet soft fries bring earthy flavors and a hint of sweetness that perfectly balances the chocolate’s richness.
-
Coffee: A cup of bold coffee pairs wonderfully with the cookies, especially a mocha blend, intensifying the chocolate experience with its warm, rich aroma.
Indulging in these pairings will not only elevate your enjoyment of the cookies but also create a celebratory moment during your snack time!
No-Bake Chocolate Oat Cookies Variations
Feel free to adapt these cookies to fit your taste, whether you’re craving something nutty, sweet, or a little extra crunchy!
- Nut Butter Swap: Replace almond butter with peanut butter for a classic twist; it enhances the taste while keeping it creamy.
- Vegan Sweetener: Use agave syrup instead of honey for a completely vegan cookie that maintains the delightful sweetness.
- Chocolate Boost: Add mini chocolate chips or cacao nibs to the mix for a double chocolate experience that chocolate lovers will adore!
- Nut-Free Option: Opt for sunflower seed butter instead of nut butters for a delicious nut-free alternative that everyone can enjoy.
- Fruity Flavors: Stir in dried cranberries or chopped apricots for bursts of sweetness; these fruity additions work beautifully against the chocolate.
- Crunchy Texture: Toss in a 1/4 cup of chopped nuts or seeds for added crunch; it’s a delightful surprise in every bite!
- Spicy Kick: Add a pinch of cinnamon or a dash of cayenne pepper to the mixture for a delightful flavor twist; it brings warmth that contrasts the chocolatey sweetness nicely.
- Serving Suggestion: Pair these chewy treats with a refreshing glass of almond milk or coffee, similar to how you might enjoy my German Pancakes Wow recipe!
Enjoy crafting your perfect batch of no-bake chocolate oat cookies!
Make Ahead Options
These 4-Ingredient No-Bake Chocolate Oat Cookies are a fantastic option for meal prep enthusiasts! You can mix the dry ingredients (oats and cocoa powder) and store them in an airtight container in the pantry for up to 3 days in advance, ensuring maximum freshness. Additionally, the wet mixture (nut butter and honey or maple syrup) can be prepped and refrigerated for up to 24 hours. When you’re ready to make your cookies, simply combine the dry and wet ingredients, scoop onto a baking sheet, and refrigerate for 30 minutes to set. This way, you can enjoy delicious, homemade treats without the last-minute fuss, giving you time back in your busy week!
4-Ingredient No-Bake Chocolate Oat Cookies Recipe FAQs
What kind of oats should I use for this recipe?
Absolutely! For the best texture, I recommend using rolled oats. They provide the perfect chewiness and structure for your cookies. Instant oats can result in a mushy texture, which isn’t ideal for these chocolatey delights.
How long can I store the cookies?
These tasty treats can be kept in an airtight container at room temperature for about 3 days. However, if you’re looking to keep them fresher for longer, storing them in the refrigerator can extend their life to about 1 week. They’ll remain chewy and delicious!
Can I freeze the cookies?
Yes, you can! To freeze your no-bake chocolate oat cookies, first place them in a single layer on a baking sheet and freeze until firm. After that, transfer them to a freezer-safe container or zip-top bag overlapped with parchment paper to prevent sticking. They can be stored for up to 3 months. Just thaw them in the fridge before enjoying!
What should I do if the mixture is too dry?
If your mixture seems too dry and crumbly, don’t worry! Simply add a teaspoon of water or more nut butter, one tablespoon at a time, and mix until the consistency becomes sticky and holds together well. This extra liquid will help bind everything perfectly.
Are these cookies suitable for kids with nut allergies?
Great question! Yes, you can easily adapt this recipe for nut-free diets. Just replace the nut butter with sunflower seed butter or an alternative that suits your needs. This way, your kiddos can safely enjoy these yummy cookies without any worries!
Is there a way to adjust the sweetness of the cookies?
Absolutely! If you prefer a sweeter cookie, you can adjust the amount of honey or maple syrup to your liking. Start by adding an extra tablespoon and taste the mixture; you can always add more until it’s just right for your sweet tooth!
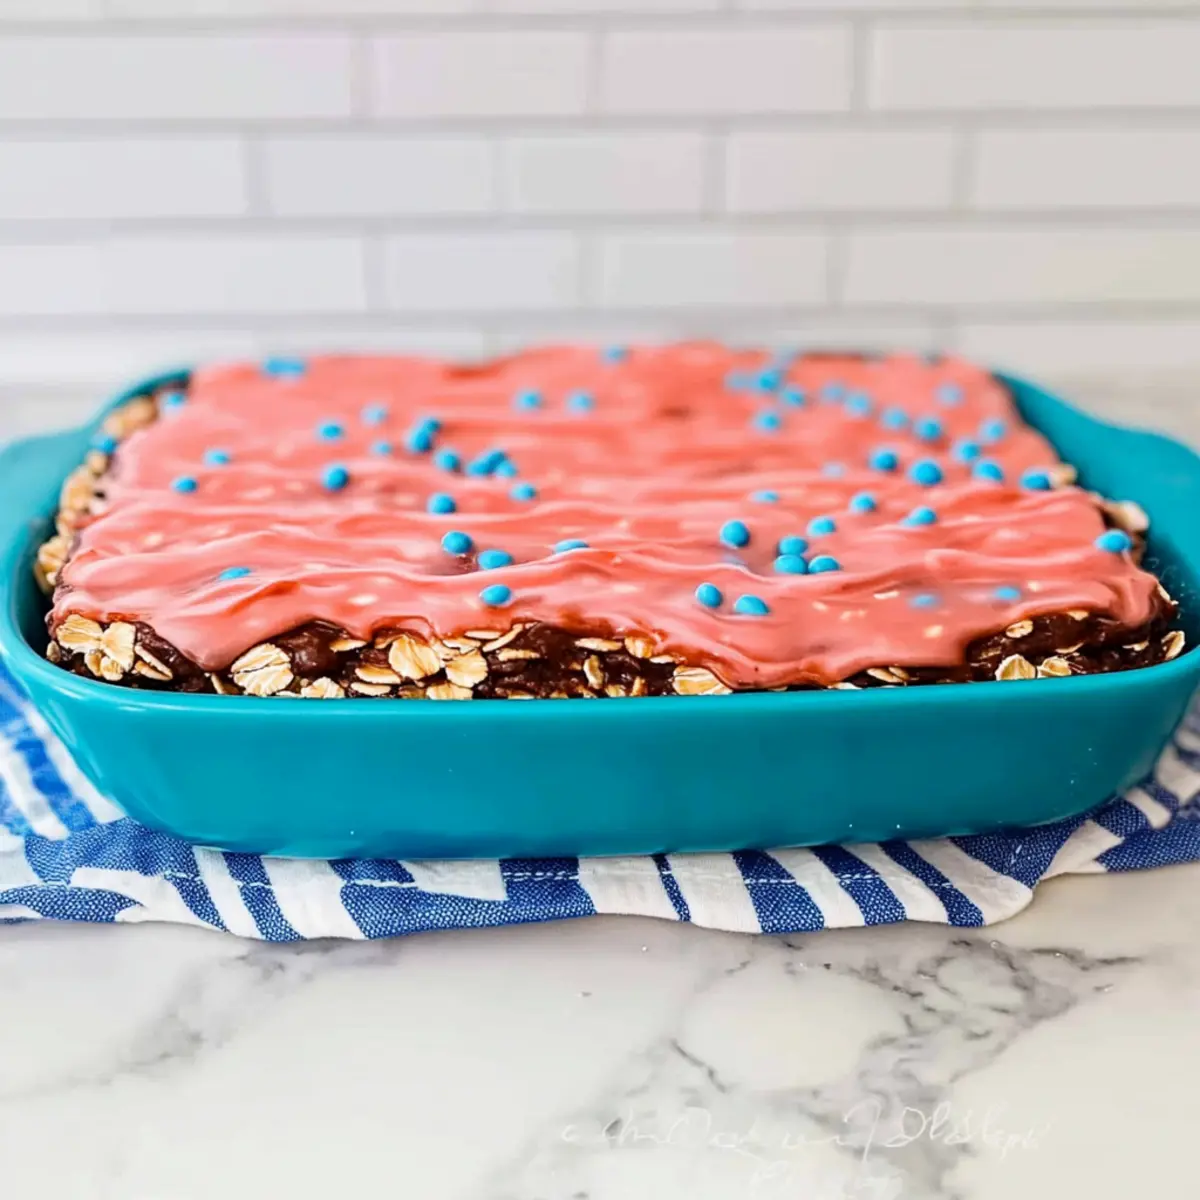
No-Bake Red, White and Blue Icebox Cake for Easy Summer Fun
Ingredients
Equipment
Method
- Combine rolled oats and cocoa powder in a medium mixing bowl. Stir until evenly mixed.
- In a larger bowl, combine nut butter and honey or maple syrup. Mix until smooth and creamy.
- Transfer cocoa-oat mixture to wet ingredients. Stir until sticky and well-coated.
- Drop heaping tablespoons of the mixture onto a lined baking sheet, spacing them apart.
- Refrigerate for at least 30 minutes to allow cookies to firm up.
- Enjoy fresh or store in an airtight container in the fridge for up to 1 week.
Leave a Reply