
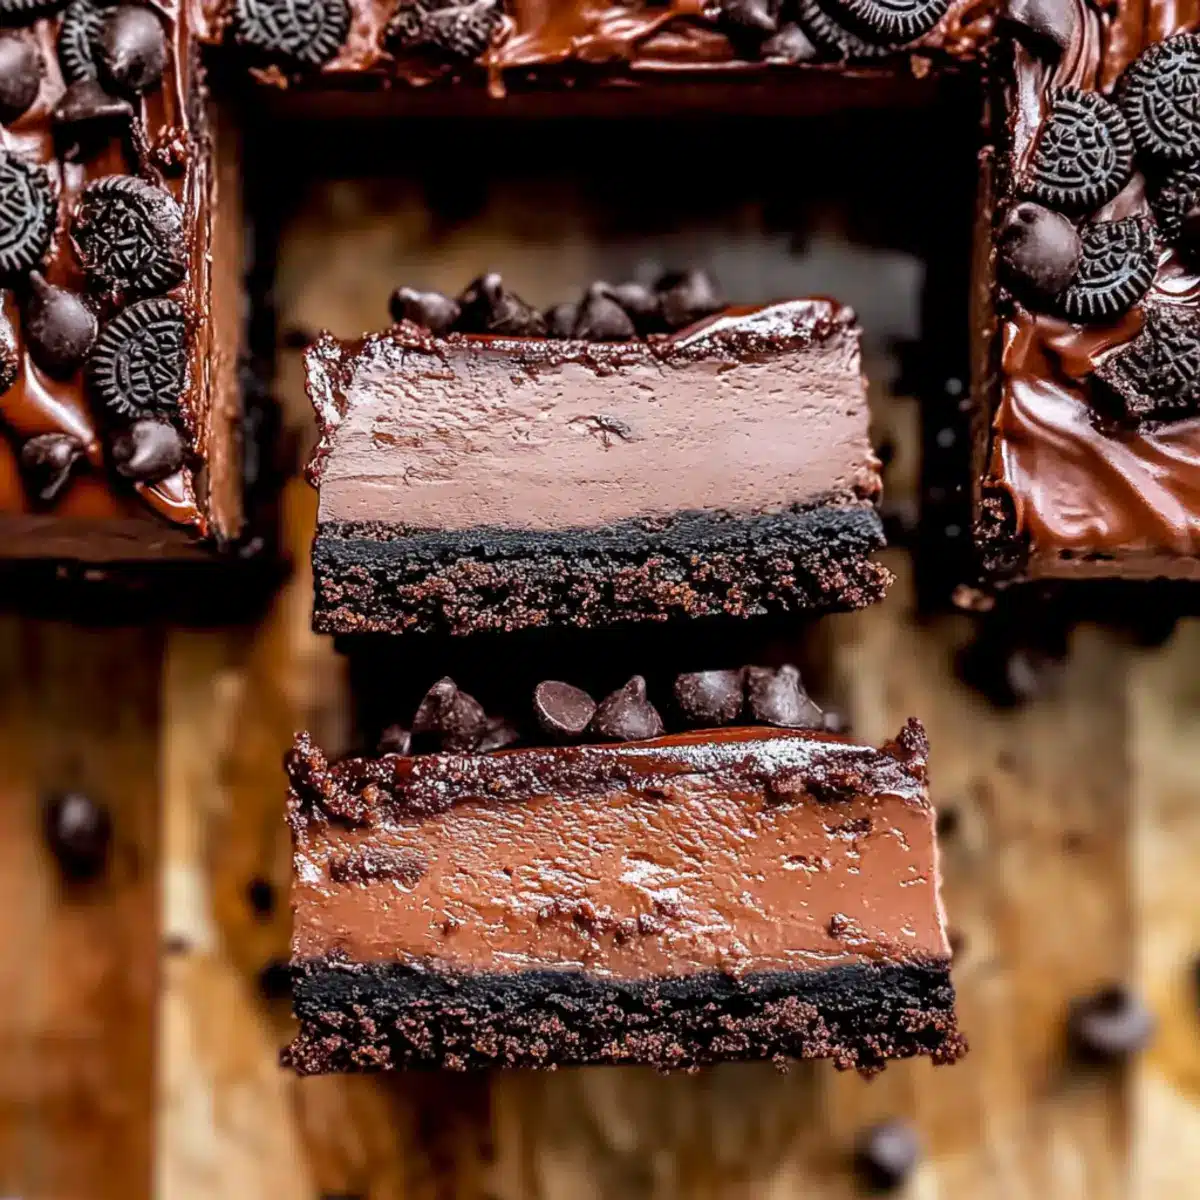
In the midst of a busy week, when the lure of takeout beckons, I stumbled upon a stunning revelation: making homemade desserts doesn’t have to be a daunting task. Enter these Chocolate Cheesecake Bars, a quick and easy delight that requires no water bath. With a luscious chocolate cheesecake filling resting on a buttery Oreo crust, this dessert is a chocolate lover’s dream come true. It promises to satisfy your sweet cravings while being simple enough to whip up on a whim. The best part? These decadent bars can be prepared in a flash, allowing you to indulge without hours in the kitchen. Ready to treat yourself to something extraordinary? Let’s dive into this recipe and discover just how effortless it can be to create dessert magic at home!
Why Are These Chocolate Cheesecake Bars Irresistible?
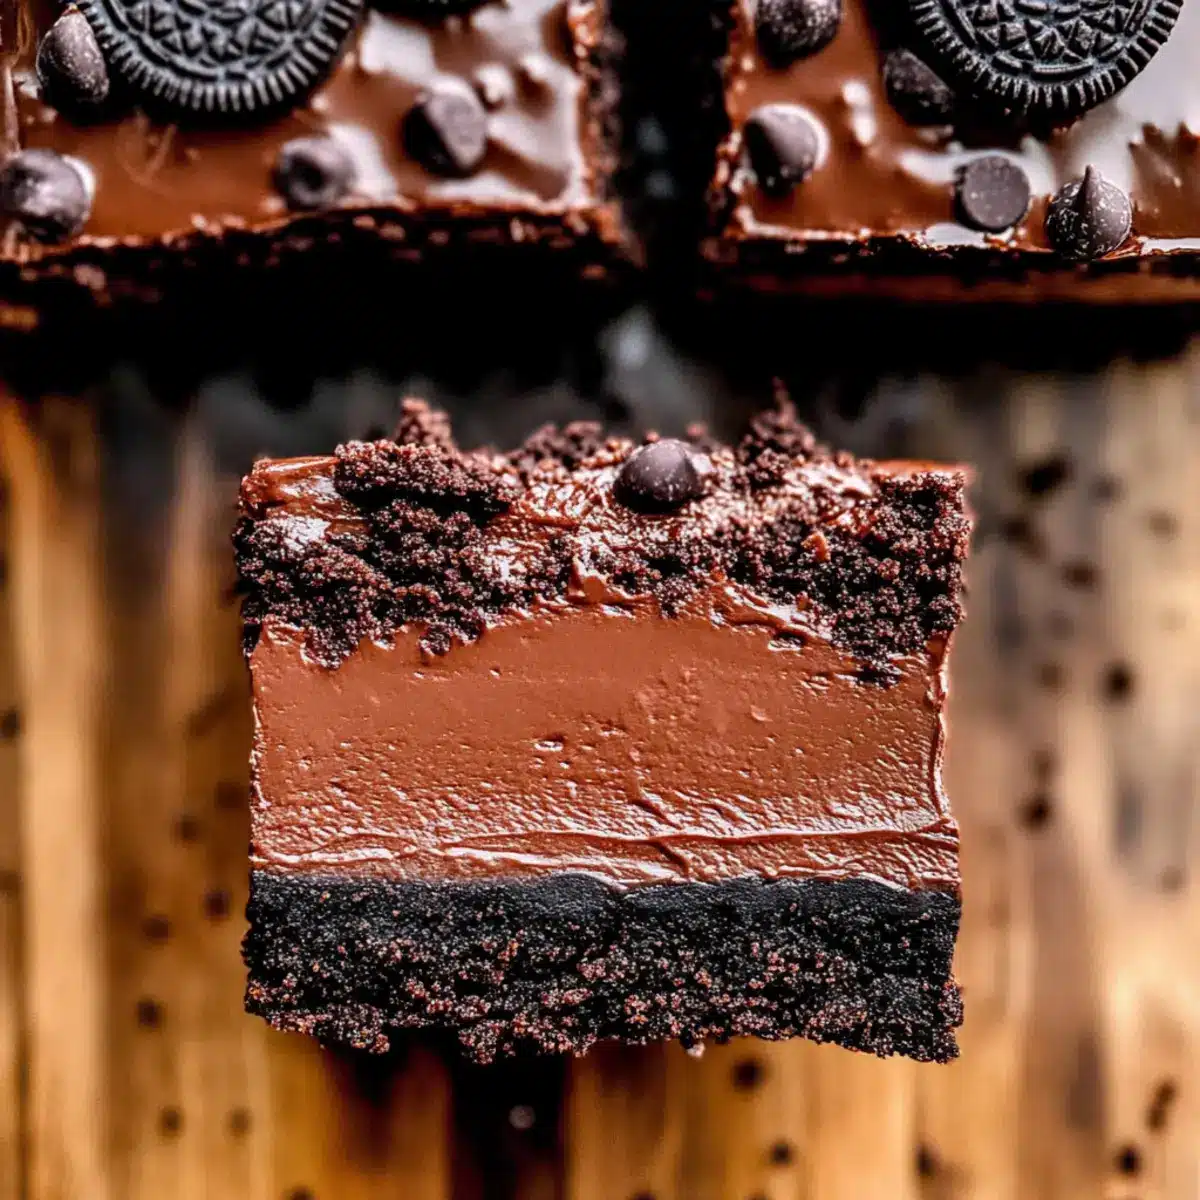
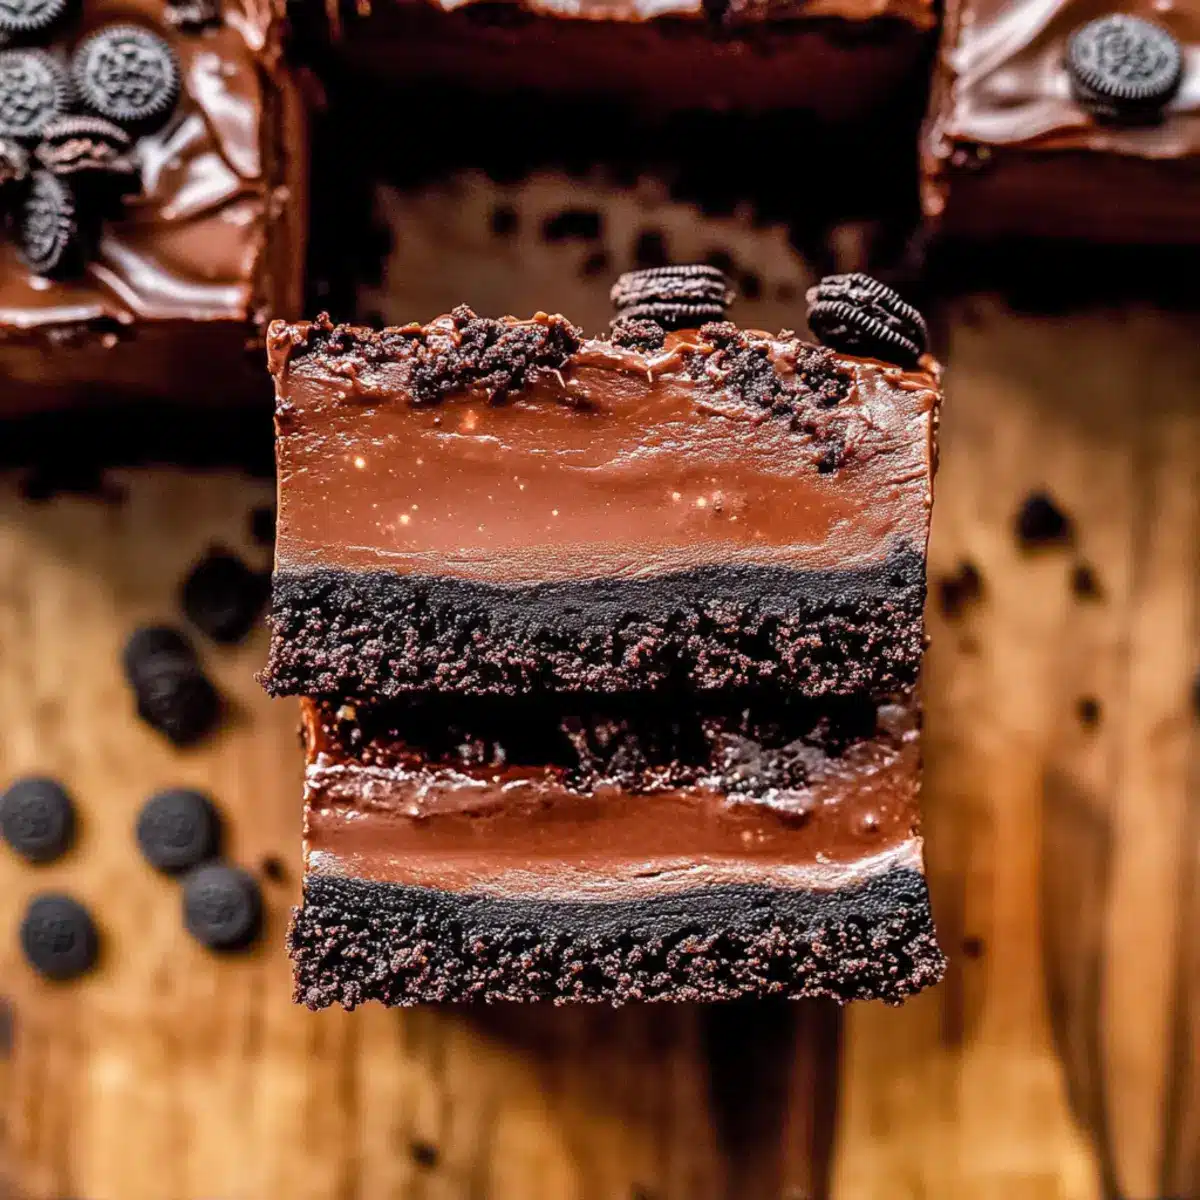
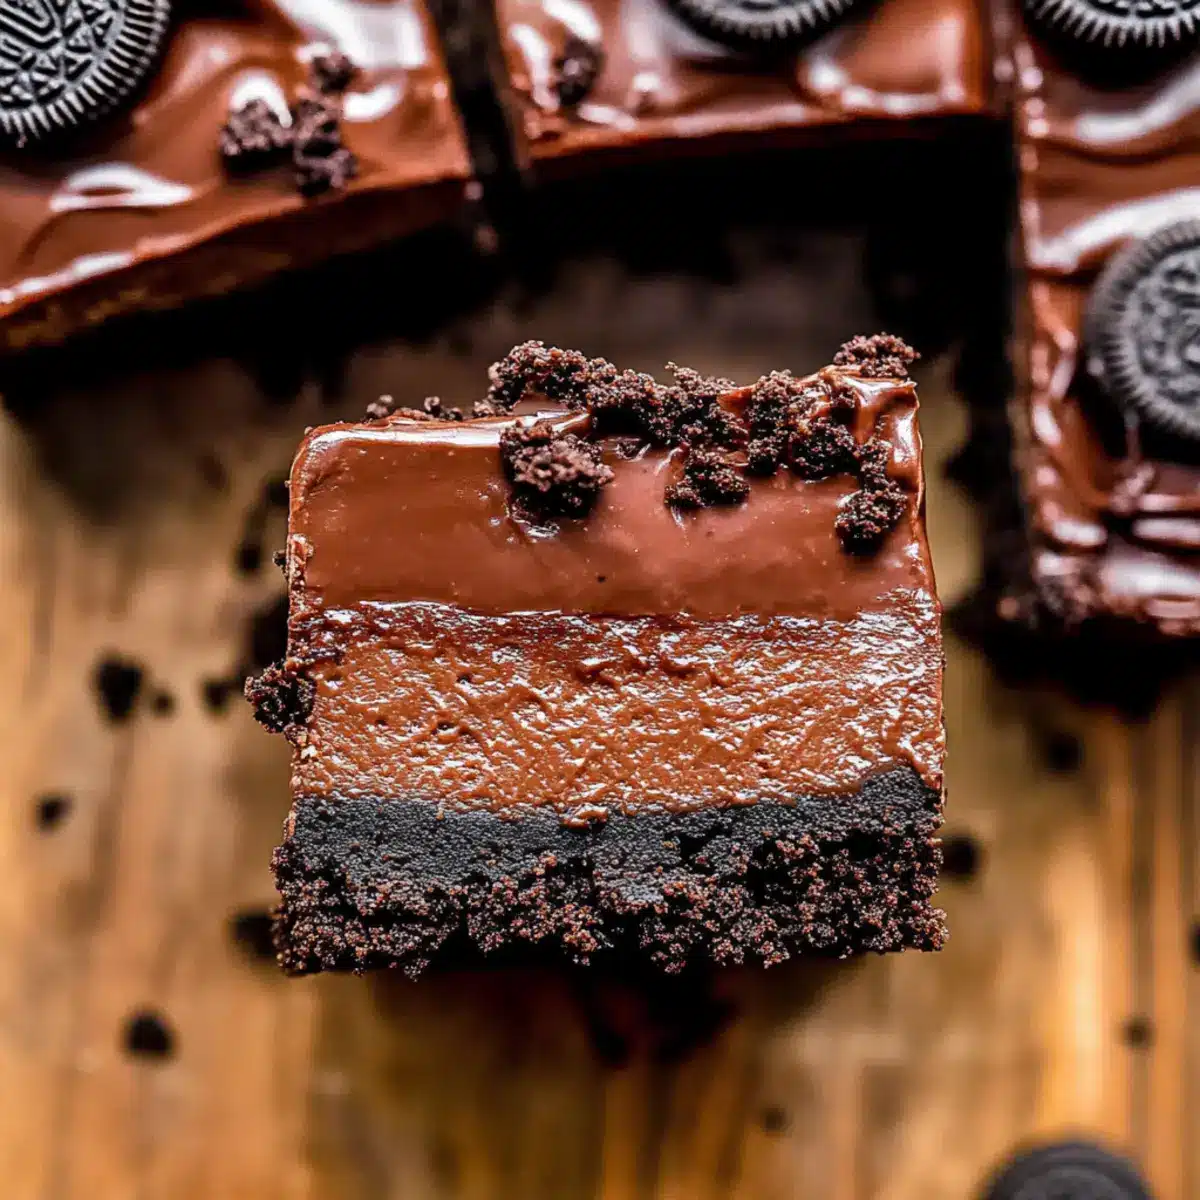
Decadent Taste: These bars offer a rich chocolate flavor that chocolate lovers crave, perfectly complemented by the sweet crunch of an Oreo crust.
No-Bake Convenience: Forget complicated water baths—this recipe is simple and quick, making it an excellent choice for busy bakers who love homemade treats.
Eye-Catching Presentation: With a glossy chocolate ganache on top, these bars are not only delicious but also visually stunning, perfect for impressing guests.
Versatile Flavor: Feel free to mix things up—try swapping the Oreo crust for a graham cracker base or use flavored chocolate for a unique twist!
Crowd-Pleaser: Whether for a family gathering or a cozy night in, these bars will please everyone at the table, making it your new go-to dessert.
If you’re also in the mood for something sweet yet simple, don’t forget to check out my Cereal Bars Homemade or satisfy your chocoholic cravings with Chocolate Pancakes Sweet.
Chocolate Cheesecake Bars Ingredients
• Dive into the delicious world of homemade Chocolate Cheesecake Bars with these essentials!
-
For the Oreo Crust
-
Oreo Crumbs – 2 cups, about 2 rows of Oreos in a regular pack. Provides a sweet, crunchy base.
-
Unsalted Butter – 4 TBSP, melted. Binds the crust together while adding richness.
-
For the Cheesecake Filling
-
Cream Cheese – 24 oz, room temperature. Creates a smooth, creamy cheesecake texture.
-
White Granulated Sugar – 1 cup. Adds sweetness to the cheesecake filling.
-
Unsweetened Cocoa Powder – ½ cup, use Dutch process. Enhances chocolate flavor and depth.
-
Chocolate Bar – 8 oz, melted (recommended: Lindt 70%). Adds rich chocolate flavor to the filling.
-
Heavy Cream – ½ cup, room temperature. Contributes to a creamy consistency.
-
Pure Vanilla Extract – 1 tsp. Enhances overall flavor.
-
Large Eggs – 4, room temperature. Provides structure and creaminess to the cheesecake.
-
For the Ganache Topping
-
Semi-sweet Chocolate Chips – 1 cup. Used for the ganache topping.
-
Heavy Cream – ½ cup, for ganache. Creates a smooth texture for the chocolate topping.
Step‑by‑Step Instructions for Decadent Chocolate Cheesecake Bars with Oreo Crust
Step 1: Prepare the Crust
Preheat your oven to 325°F (163°C). Line a 9×9-inch pan with parchment paper and lightly spray it with nonstick spray. In a mixing bowl, combine 2 cups of Oreo crumbs with 4 tablespoons of melted unsalted butter, mixing until well combined. Press the mixture firmly into the bottom of the prepared pan, ensuring it’s even, then bake for 12 minutes until set.
Step 2: Make the Cheesecake
While the crust cools, melt an 8 oz chocolate bar in a microwave, heating in intervals until smooth. In a stand mixer, beat together 24 oz of room temperature cream cheese, 1 cup of granulated sugar, and ½ cup of unsweetened cocoa powder for about 2 minutes until creamy. Add the melted chocolate, ½ cup of heavy cream, and 1 teaspoon of vanilla extract; mix until smooth.
Step 3: Add the Eggs
With the mixer running on low speed, add the 4 large room temperature eggs one at a time, mixing just until each egg is incorporated. This will help prevent overmixing, which can introduce air bubbles. The chocolate cheesecake filling should be perfectly smooth and glossy, ready to pour over the baked Oreo crust.
Step 4: Bake
Pour the cheesecake batter evenly over the cooled Oreo crust, smoothing the surface with a spatula. Bake in the preheated oven for 40-50 minutes, or until the edges are set but the center has a slight jiggle. Once done, turn off the oven, crack the door open, and let the bars cool inside for 20 minutes to ensure even cooling.
Step 5: Chill
After cooling, carefully remove the chocolate cheesecake from the oven and transfer it to a cooling rack. Once cooled completely, cover it with plastic wrap or aluminum foil and chill in the refrigerator for at least 6 hours, or overnight, to firm up the texture for easy slicing.
Step 6: Make Ganache
When ready to serve, prepare the ganache by heating ½ cup of heavy cream until steaming, then pour it over 1 cup of semi-sweet chocolate chips in a bowl. Let it sit for a few minutes, then stir until silky and smooth. This luscious ganache will add a rich touch to your decadent chocolate cheesecake bars.
Step 7: Assemble and Serve
Pour the smooth ganache over the chilled chocolate cheesecake, using a spatula to spread it evenly to the edges. Place it in the freezer for about 10 minutes to set the ganache before slicing into squares. Your Decadent Chocolate Cheesecake Bars are now ready to be enjoyed!
Expert Tips for Chocolate Cheesecake Bars
-
Room Temperature Ingredients: Ensure your cream cheese and eggs are at room temperature to achieve a smooth, lump-free filling, essential for classic chocolate cheesecake bars.
-
Avoid Overmixing: When adding eggs to the cheesecake batter, mix on low speed to prevent incorporating too much air, which can create cracks in your dessert.
-
Perfect Chilling Time: Allow the cheesecake to chill for at least 6 hours or overnight. This helps improve its texture, making it easier to slice and enhancing the overall flavor.
-
Watch the Oven: Keep an eye on the baking time. A slight jiggle in the center indicates doneness—overbaking may result in a dry cheesecake.
-
Ganache Smoothness: If your ganache ends up lumpy, a brief 15-second microwave session followed by stirring will bring it back to a silky texture, perfect for coating your chocolate cheesecake bars.
Storage Tips for Chocolate Cheesecake Bars
Fridge: Store your chocolate cheesecake bars in an airtight container for up to 5 days. This keeps them fresh and ready to enjoy whenever the chocolate cravings hit!
Freezer: For longer storage, cut the bars into squares and freeze them in a single layer on a baking sheet, then transfer to a freezer-safe container. They can be stored for up to 30 days without losing their delightful taste.
Thawing: To enjoy, simply remove one or more bars from the freezer and let them thaw in the fridge for a few hours before serving. This method ensures the chocolate cheesecake bars retain their creamy texture.
Reheating: If you prefer a warm treat, microwave a bar for about 15 seconds to soften the ganache slightly—just enough to enhance that luscious chocolate flavor!
What to Serve with Decadent Chocolate Cheesecake Bars
Elevate your dessert experience by pairing these rich, velvety bars with delightful accompaniments that balance flavors and textures.
-
Fresh Berries: A mix of raspberries and strawberries adds a burst of acidity, cutting through the richness of the cheesecake.
-
Whipped Cream: Light and airy, whipped cream complements the dense cheesecake, offering a contrasting texture that enhances each bite.
-
Coffee or Espresso: The bitterness of a freshly brewed cup beautifully balances the sweetness of the chocolate, creating a harmonious blend of flavors.
-
Chocolate Sauce: Drizzling additional chocolate sauce adds an indulgent layer, intensifying the chocolate experience for true chocoholics.
-
Mint Leaves: The fresh brightness of mint elevates the overall flavor profile, providing a refreshing note that works perfectly with chocolate.
-
Caramel Drizzle: A sweet caramel sauce can add a luxurious touch, bringing a delightful, chewy texture that pairs well with the cheesecake.
-
Ice Cream: A scoop of vanilla or coffee ice cream offers a creamy contrast, melting slightly over the warm cheesecake bars for an exquisite treat.
-
Nuts: Toasted pecans or almonds provide a satisfying crunch, enhancing the flavor while introducing a nutty richness to the dessert.
-
Chocolate Milkshake: A thick, creamy shake serves as a nostalgic beverage pairing, capturing the essence of childhood treats while complementing the chocolate flavors.
Make Ahead Options
These decadent Chocolate Cheesecake Bars are perfect for meal prep, making your dessert planning a breeze! You can prepare the Oreo crust and the cheesecake filling up to 24 hours in advance, allowing the flavors to meld beautifully. Simply bake the crust, let it cool, and then prepare the cheesecake filling, pouring it over the crust. Cover tightly and refrigerate overnight to prevent any drying out. When you’re ready to serve, simply make the ganache and top the chilled bars before slicing. This way, you’ll have a show-stopping dessert with minimal effort on the day of serving, ensuring your Chocolate Cheesecake Bars are just as delicious as the day they were made!
Chocolate Cheesecake Bars Variations
Feel free to unleash your creativity and customize these delectable bars however you like!
-
Graham Cracker Crust: Swap out the Oreo crust for crushed graham crackers for a classic cheesecake taste.
-
Flavored Chocolate: Use dark chocolate, mint chocolate, or even orange-infused chocolate bars to add a unique twist to your filling. Each flavor will sing its own sweet song in your mouth!
-
Nutty Crunch: Stir in ½ cup of finely chopped nuts, like walnuts or hazelnuts, into the cheesecake filling for added texture and richness. This delightful crunch complements the creamy bars beautifully.
-
Dairy-Free Delight: Substitute cream cheese with dairy-free cream cheese and heavy cream with coconut cream for a creamy vegan option that still satisfies chocolate cravings.
-
Peppermint Twist: Add ½ teaspoon of peppermint extract to the filling for a refreshing holiday flair. Top with crushed candy canes for garnish!
-
Add Some Heat: Spice things up by adding a pinch of cayenne pepper or chili powder to the filling for a surprising kick that beautifully enhances the chocolate flavor.
-
Fruit Fusion: Fold in 1 cup of mashed ripe bananas or chopped strawberries into the cheesecake filling to sweeten and lighten up every bite, perfect for a sunny day!
If you’re interested in other indulgent desserts, don’t miss out on my rich Butter Toffee Chocolate Chip Cookies or my decadent Japanese Cheesecake Light. The options are endless! Enjoy experimenting!
Chocolate Cheesecake Bars Recipe FAQs
What types of Oreos should I use for the crust?
Absolutely! You can use classic Oreos, double-stuff, or even flavored variations, like mint or birthday cake Oreos, for the crust. The primary goal is to achieve that sweet, crunchy base that complements the rich cheesecake filling.
How should I store leftover chocolate cheesecake bars?
To maintain their freshness, store your chocolate cheesecake bars in an airtight container in the fridge for up to 5 days. For longer storage, you can freeze them. Cut into squares before freezing for easy serving later on!
Can I freeze the chocolate cheesecake bars for later?
Yes, indeed! Place the chocolate cheesecake bars in a single layer on a baking sheet, freeze until solid, then transfer them to a freezer-safe container or zip-top bag. They can be kept for up to 30 days. Just thaw in the fridge for a few hours before enjoying.
What if my cheesecake bars crack after baking?
Very! If you notice cracks, it’s often due to overmixing or baking too long. To avoid this, mix your batter on low speed and watch for that slight jiggle in the center during baking. If cracks do occur, don’t worry; a luscious layer of ganache will cover it beautifully!
Are these chocolate cheesecake bars safe for pets?
No, chocolate should never be given to pets as it can be toxic to them. If you have furry friends around, keep these bars out of reach and treat them to their own safe pet-friendly treats instead.
What are some allergy considerations for this recipe?
This recipe primarily contains dairy and gluten, so if you’re catering to those with allergies, consider using gluten-free Oreos and dairy-free cream cheese alternatives. Always check labels to ensure safety for those with specific allergies!
Irresistible Chocolate Cheesecake Bars with Oreo Crust
Ingredients
Equipment
Method
- Preheat your oven to 325°F (163°C). Line a 9x9-inch pan with parchment paper and lightly spray with nonstick spray.
- In a mixing bowl, combine 2 cups of Oreo crumbs with 4 tablespoons of melted unsalted butter, mixing until well combined.
- Press the mixture firmly into the bottom of the prepared pan, ensuring it’s even, then bake for 12 minutes until set.
- While the crust cools, melt an 8 oz chocolate bar in a microwave, heating in intervals until smooth.
- In a stand mixer, beat together 24 oz of room temperature cream cheese, 1 cup of granulated sugar, and ½ cup of unsweetened cocoa powder for about 2 minutes until creamy.
- Add the melted chocolate, ½ cup of heavy cream, and 1 teaspoon of vanilla extract; mix until smooth.
- With the mixer running on low speed, add the 4 large room temperature eggs one at a time, mixing just until each egg is incorporated.
- The chocolate cheesecake filling should be perfectly smooth and glossy, ready to pour over the baked Oreo crust.
- Pour the cheesecake batter evenly over the cooled Oreo crust, smoothing the surface with a spatula.
- Bake in the preheated oven for 40-50 minutes, or until the edges are set but the center has a slight jiggle.
- Once done, turn off the oven, crack the door open, and let the bars cool inside for 20 minutes.
- After cooling, carefully remove the chocolate cheesecake from the oven and transfer it to a cooling rack.
- Once cooled completely, cover it with plastic wrap or aluminum foil and chill in the refrigerator for at least 6 hours, or overnight, to firm up.
- When ready to serve, prepare the ganache by heating ½ cup of heavy cream until steaming.
- Pour it over 1 cup of semi-sweet chocolate chips in a bowl, let it sit for a few minutes, then stir until silky and smooth.
- Pour the smooth ganache over the chilled chocolate cheesecake, using a spatula to spread it evenly to the edges.
- Place it in the freezer for about 10 minutes to set the ganache before slicing into squares.
Leave a Reply