
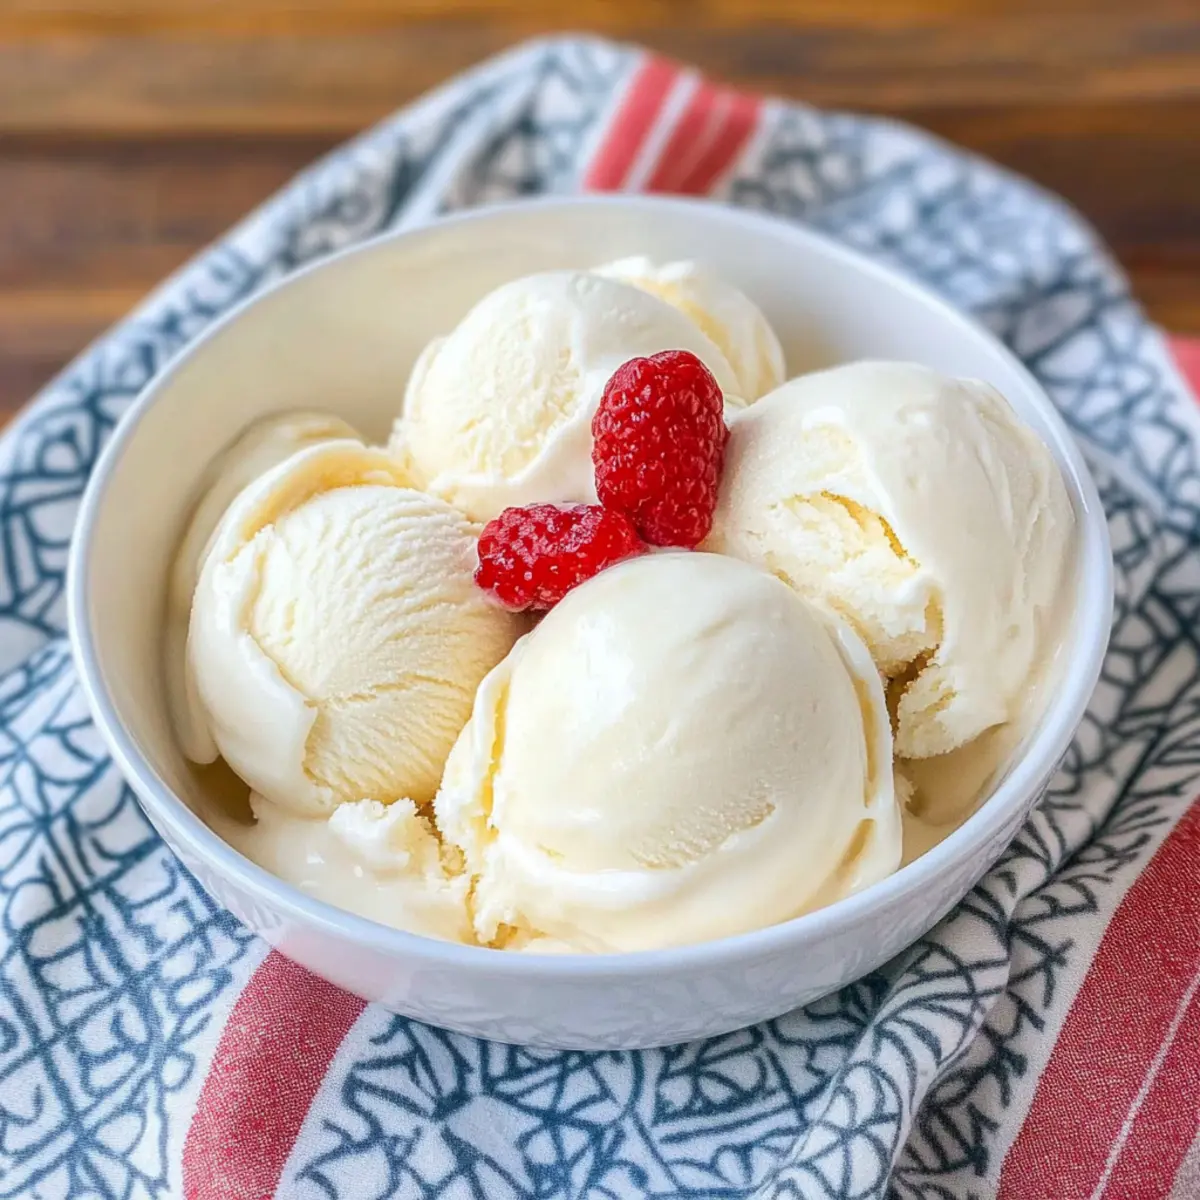
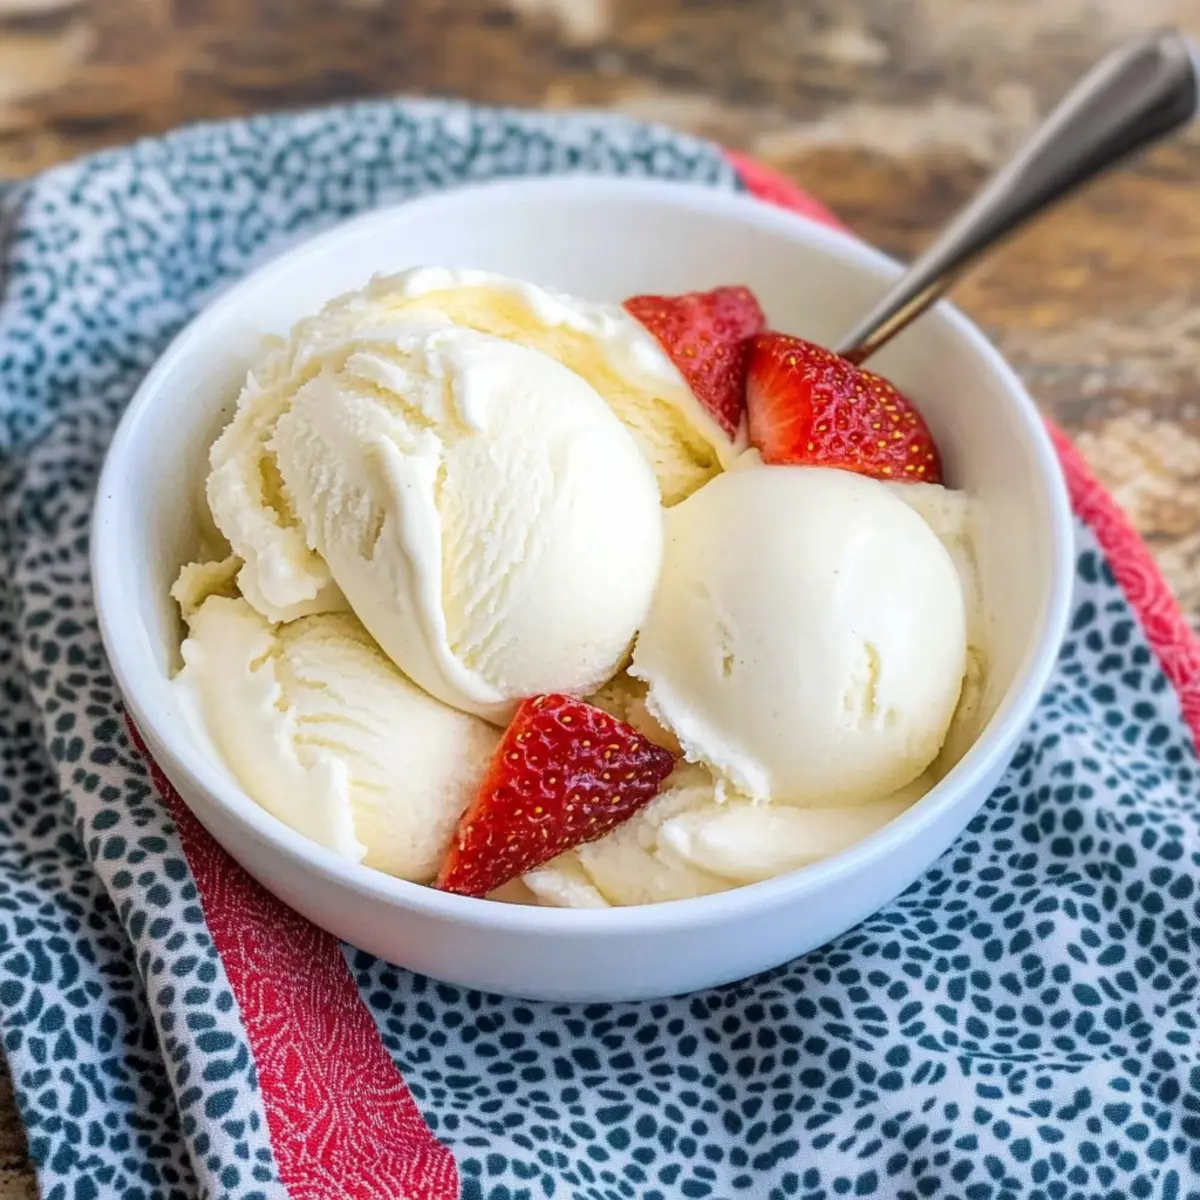
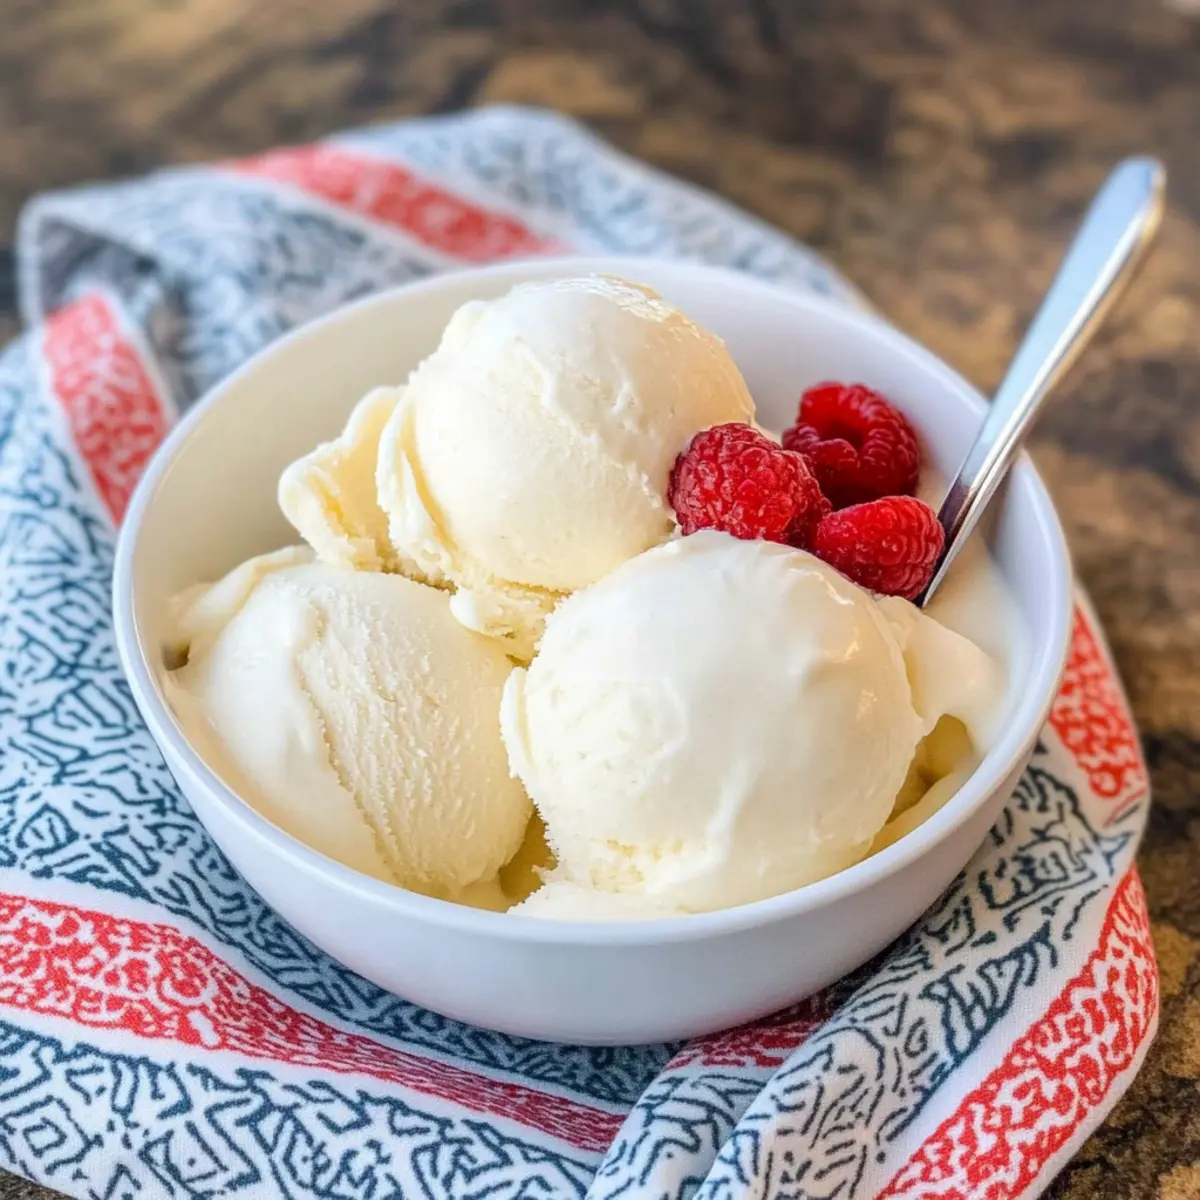
As summer sizzles, there’s a primal urge for something cold and creamy that can only be satisfied by homemade ice cream. The best part? You don’t need fancy equipment or countless ingredients to whip up this delightful homemade vanilla ice cream; just five pantry staples will do! This recipe not only serves as a foundation for your culinary creativity, allowing endless mix-in possibilities like cookie dough or rich brownie chunks, but it’s also a quick solution for those who want to avoid store-bought options. Each scoop of this creamy delight is sure to enchant your taste buds like no pre-packaged treat ever could. So why not grab your mixing bowl and get started? What flavor concoctions will you come up with today?
Why is this ice cream a must-try?
Simplicity at its Finest: With only five basic ingredients, this ice cream takes no time at all to create.
Versatile Creation: From classic vanilla to exciting add-ins like cookie dough or brownie chunks, the flavor possibilities are endless.
Smooth and Creamy Texture: The Philadelphia-style method results in an indulgently rich treat that surpasses any store-bought option.
No Machine Required: Enjoy the ease of making homemade ice cream right in your kitchen—no fancy gadgets needed, just a mixing bowl and a whisk!
Perfect for Sharing: This delightful dessert is sure to impress family and friends at gatherings. Try pairing it with a slice of warm pie or a bowl of fresh fruit for a truly magical experience.
The Best Homemade Ice Cream Ingredients
• For the Creamy Base
- Heavy Cream – Provides the essential fat content for that luscious, creamy consistency.
- Whole Milk – Adds volume and strikes the perfect balance with the cream’s richness.
• For Sweetening and Flavoring
- Sugar – Sweetens the mixture and contributes to a smooth texture; you can use alternative sweeteners for a healthier twist.
- Fine Sea Salt – Just a pinch enhances the flavor beautifully; don’t skip it for the best results!
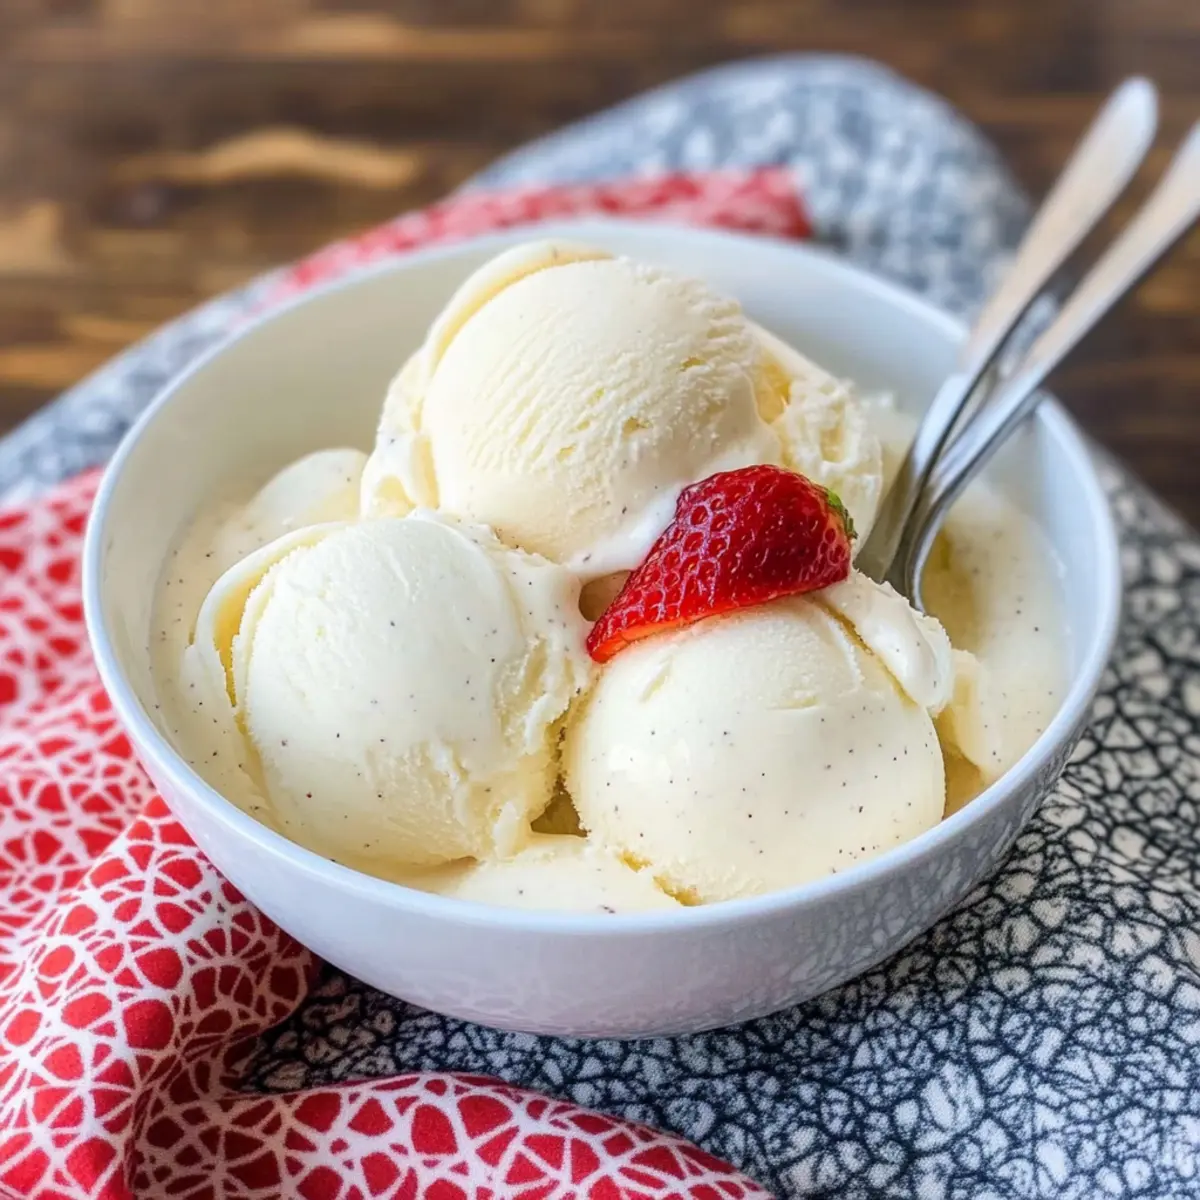
- Vanilla Extract or Vanilla Bean – Infuses a delightful vanilla flavor; you can substitute with pure vanilla extract if needed.
Enjoy crafting the best (and easiest) homemade ice cream with these simple ingredients!
Step‑by‑Step Instructions for The Best (and Easiest) Homemade Ice Cream
Step 1: Combine the Creamy Base
In a medium saucepan over medium heat, mix 1 cup of heavy cream with ¾ cup of sugar and a pinch of fine sea salt. Stir the mixture continuously until the sugar fully dissolves, about 2-3 minutes. If you’re using a vanilla bean, scrape the seeds into the mixture and add the pod for extra richness.
Step 2: Add Remaining Ingredients
Once the sugar is dissolved and the mixture is warm but not boiling, remove it from heat. Carefully whisk in the remaining 1 cup of heavy cream, 1 cup of whole milk, and 1 tablespoon of vanilla extract. Combine everything until you have a smooth, homogenous base for your homemade vanilla ice cream.
Step 3: Chill the Mixture
Transfer the creamy mixture into a large bowl and let it cool to room temperature, then cover and refrigerate for at least 2 hours or until it is thoroughly chilled. This step is crucial for achieving a rich texture in The Best (and Easiest) Homemade Ice Cream, allowing all the flavors to meld beautifully.
Step 4: Prepare to Churn
If you used a vanilla bean, now is the time to remove the pod from the chilled mixture. Give it a good whisk to ensure the consistency is smooth again. Pour the mixture into your ice cream maker, following the manufacturer’s instructions. This step is where the magic really happens!
Step 5: Churn the Ice Cream
Churn the mixture in your ice cream maker according to the specific instructions—this typically takes about 20-25 minutes. Watch for the mixture to thicken significantly and fluff up, indicating it’s almost ready. You’ll know it’s done when the texture becomes soft-serve consistency.
Step 6: Freeze for Firmness
For perfectly scoopable homemade ice cream, transfer the churned mixture to an airtight container. Smooth the top with a spatula and press a piece of parchment paper against the surface to prevent ice crystals. Freeze for at least 4 hours or until completely firm before serving.
Step 7: Serve and Enjoy
Once your ice cream is ready, scoop out perfectly creamy servings, and enjoy on its own or with your favorite toppings! The Best (and Easiest) Homemade Ice Cream can be served in bowls or cones, making it a delightful treat for any occasion—just wait till you taste that wonderful creamy flavor!
Variations & Substitutions for The Best Homemade Ice Cream
Feel free to unleash your creativity and tailor this ice cream recipe to your taste buds!
-
Dairy-Free: Substitute the cream and milk with coconut milk or almond milk for a dairy-free delight that’s just as creamy.
-
Lower Sugar: Use a natural sweetener like honey or agave syrup to cut down on sugar while still providing a lovely sweetness. Keep in mind, sweetness levels may vary with different sweeteners.
-
Chocolate Lovers: For a rich twist, mix in half a cup of cocoa powder during the initial steps or fold in melted chocolate once the mixture is chilled.
-
Flavor Infusion: Add in fresh herbs like mint or basil when warming the cream for a refreshing herbal note that pairs wonderfully with chocolate or fruit-based add-ins. Infusing flavors will take your ice cream to new heights!
-
Mix-ins Galore: Incorporate chocolate chips, crushed cookies, or brownie pieces during the last few minutes of churning for an exciting texture and flavor.
-
Caramel Swirls: Drizzle in some caramel sauce right before you freeze the churned ice cream. This creates delicious swirls of salty-sweet goodness throughout every scoop.
-
Fruit Varieties: Try blending ripe fruits, such as strawberries or peaches, into the mixture before churning for a vibrant, refreshing taste. The fruit will lend a lovely, colorful touch!
If you find yourself enjoying this ice cream creation, consider pairing it with a slice of warm pie or experimenting with a comforting dish like Creamy Beef and Shells for a delightful meal. Embrace these variations and enjoy each scoop!
Expert Tips for The Best Homemade Ice Cream
-
Chill First: Always chill your mixture for at least 2 hours; this enhances the flavor and results in a smoother texture for The Best (and Easiest) Homemade Ice Cream.
-
Don’t Skip Salt: A pinch of fine sea salt is essential as it enriches the flavor profile. Skipping it may lead to a bland taste.
-
Watch the Churning: Pay attention as you churn; stop when it reaches a soft-serve consistency. Over-churning can lead to icy ice cream instead of creamy bliss.
-
Mix-ins Timing: Add mix-ins like cookie dough or brownies during the last few minutes of churning for a perfect distribution without overwhelming the base.
-
Storage Technique: To avoid ice crystals, press parchment against the ice cream surface before sealing the container, preserving its creamy perfection!
How to Store and Freeze The Best (and Easiest) Homemade Ice Cream
-
Fridge: Store any leftover ice cream in the fridge for up to 30 minutes before you serve it. This allows it to soften slightly, making it easier to scoop.
-
Freezer: For optimal freshness, keep the homemade ice cream in an airtight container in the freezer for up to 2 weeks. Remember to press parchment paper against the surface to prevent ice crystals.
-
Reheating: If you’ve had it in the freezer for a bit too long, allow the ice cream to sit at room temperature for about 10-15 minutes before serving to regain that creamy texture.
-
Mix-ins Reminder: If you’ve added mix-ins like cookie dough or brownie chunks, ensure they’re evenly distributed before freezing, as they can settle at the bottom if not thoroughly mixed.
Make Ahead Options
These homemade vanilla ice cream preparations are perfect for busy home cooks wanting to save time! You can prepare the creamy base up to 24 hours in advance by following steps 1 and 2 and then refrigerating the mixture. To maintain quality, ensure you cover it tightly to prevent any absorption of odors from the fridge. When you’re ready to churn, give it a good whisk before pouring it into the ice cream maker. Additionally, you can store the churned ice cream in an airtight container for up to 2 weeks in the freezer for even more convenience. With these make-ahead options, you’ll have homemade vanilla ice cream ready to enjoy with minimal effort whenever the craving hits!
What to Serve with Easiest Homemade Vanilla Ice Cream?
Create a memorable dessert experience with the perfect accompaniments for your homemade treat.
-
Warm Brownies: Topped with a scoop of ice cream, this combo provides a delightful contrast between rich chocolate and creamy vanilla.
-
Fresh Berries: Strawberries, blueberries, or raspberries lend a refreshing touch to each indulgent scoop, adding a burst of freshness.
-
Chocolate Sauce: Drizzling warm chocolate sauce adds a luxurious, gooey element, making each bite incredibly decadent.
-
Waffle Cones: Crunchy and sweet, waffle cones turn your ice cream into a delightful handheld dessert, perfect for warm days and family gatherings.
-
Sprinkled Nuts: Chopped walnuts or pecans enhance texture while introducing a nutty flavor contrast, elevating the overall dish.
-
Caramel Swirl: A luxurious caramel drizzle transforms plain ice cream into a gourmet dessert, creating a beautiful presentation on your dessert plate.
-
Coffee or Espresso: Enjoy ice cream alongside a fresh cup of coffee for a delightful pairing that balances the sweetness with aromatic depth.
-
Coconut Macaroon Cookies: These chewy cookies add a tropical twist while providing a chewy contrast to the creamy ice cream. Enjoy them side by side for a delightfully sweet soirée!
Easiest Homemade Vanilla Ice Cream Recipe FAQs
What types of cream should I use for the best results?
You should primarily use heavy cream for its fat content, which contributes to that delightful creaminess. While half-and-half is an option, it will yield a less rich ice cream. I often recommend sticking with heavy cream for the best texture!
How should I store my homemade ice cream?
For the best flavor and texture, store your homemade ice cream in an airtight container in the freezer for up to 2 weeks. To prevent ice crystals from forming, press a piece of parchment paper against the surface of the ice cream before sealing the container.
Can I freeze my homemade ice cream for longer than two weeks?
Absolutely! While it remains safe to eat for a few months, the quality may decline after two weeks. If freezing longer, ensure it’s stored in an airtight container to maintain the best possible flavor and texture.
What should I do if my ice cream becomes too icy after freezing?
If your ice cream turns icy, it might be due to over-churning or not properly sealing the container. To revive it, allow the ice cream to sit at room temperature for 10-15 minutes before serving. This will help it soften and regain its creamy consistency!
Are there any dietary concerns I should be aware of?
Yes! This recipe contains dairy, so it may not be suitable for those who are lactose intolerant or have dairy allergies. For a dairy-free option, consider using coconut cream and almond milk as substitutes. Remember to check alternative sweeteners as well for any sugar-related dietary restrictions.
Can I make this ice cream without a machine?
Certainly! If you don’t have an ice cream maker, simply combine all ingredients and mix vigorously every 30-60 minutes while freezing for about 3-4 hours. This will help break up any ice crystals and create a smoother texture!
The Best and Easiest Homemade Ice Cream You’ll Ever Make
Ingredients
Equipment
Method
- In a medium saucepan over medium heat, mix 1 cup of heavy cream with ¾ cup of sugar and a pinch of fine sea salt. Stir until the sugar fully dissolves, about 2-3 minutes.
- Once the sugar is dissolved and the mixture is warm but not boiling, remove it from heat. Whisk in the remaining 1 cup of heavy cream, 1 cup of whole milk, and 1 tablespoon of vanilla extract until smooth.
- Transfer the mixture into a large bowl and let it cool to room temperature, then cover and refrigerate for at least 2 hours or until thoroughly chilled.
- Remove the vanilla bean pod if used, whisk the mixture again to ensure smooth consistency, then pour into your ice cream maker.
- Churn the mixture in your ice cream maker according to the instructions, typically about 20-25 minutes, until it thickens to a soft-serve consistency.
- Transfer the churned mixture to an airtight container, smoothing the top and pressing parchment paper against the surface. Freeze for at least 4 hours until firm.
- Scoop out servings of ice cream and enjoy on its own or with your favorite toppings.
Leave a Reply