
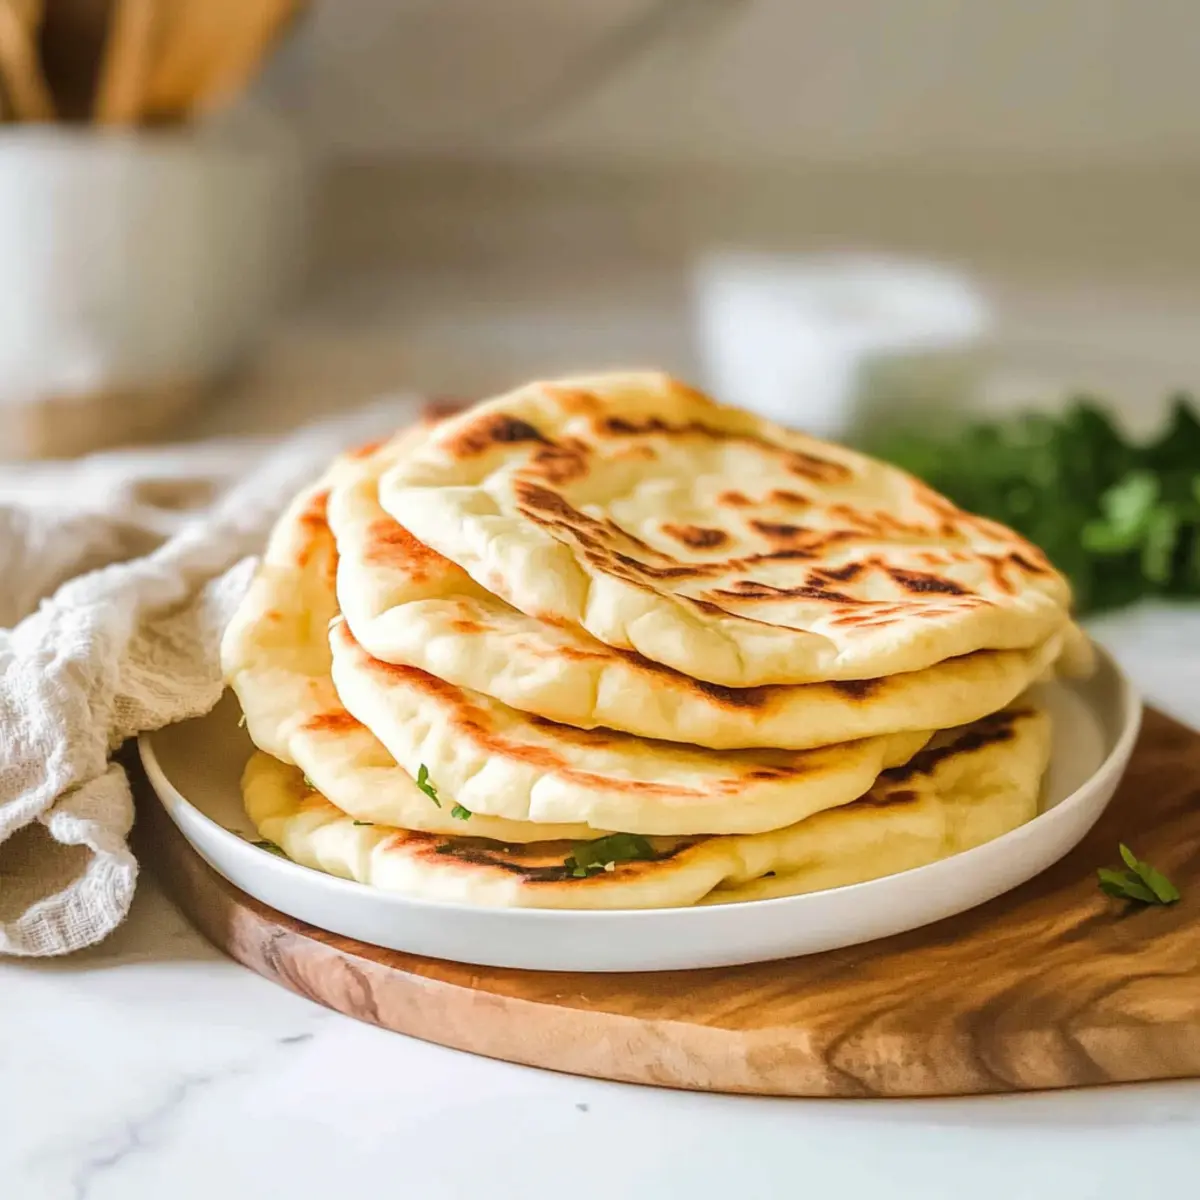
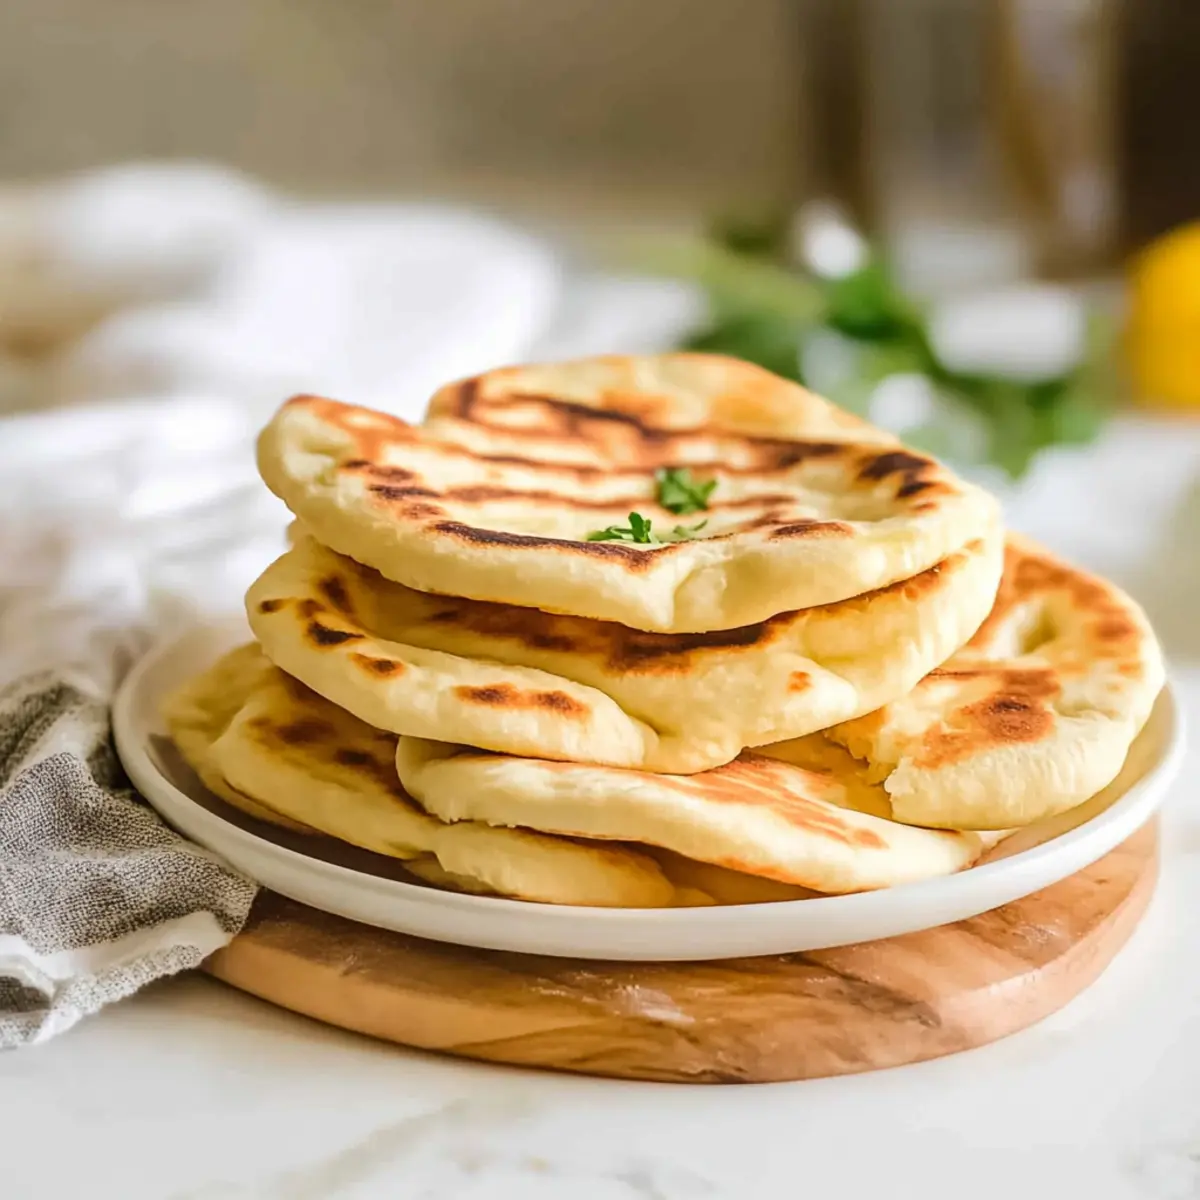
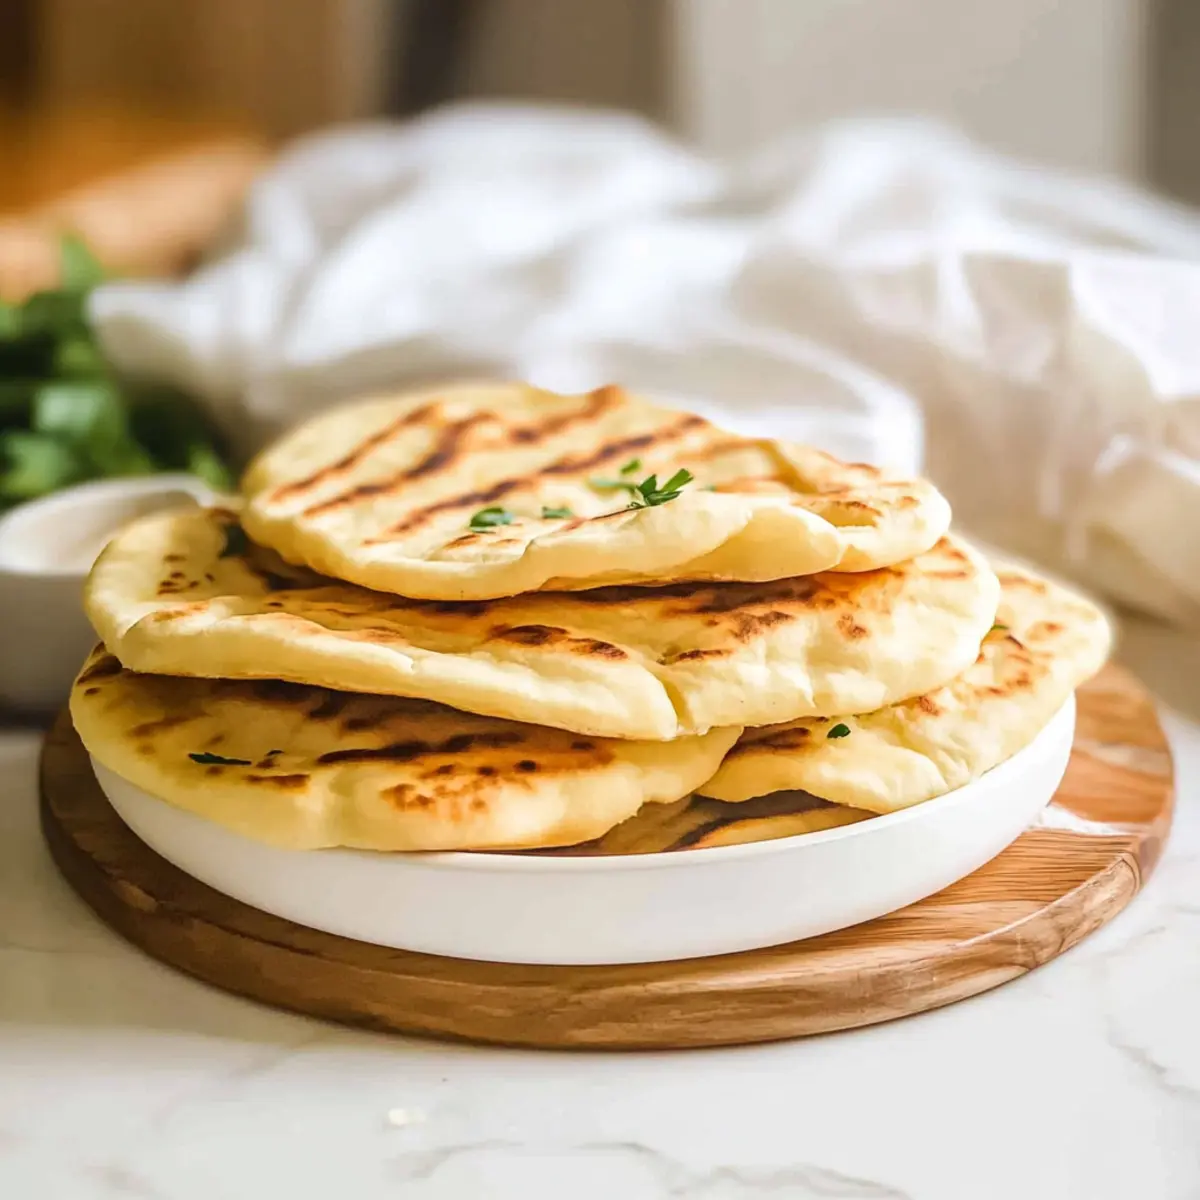
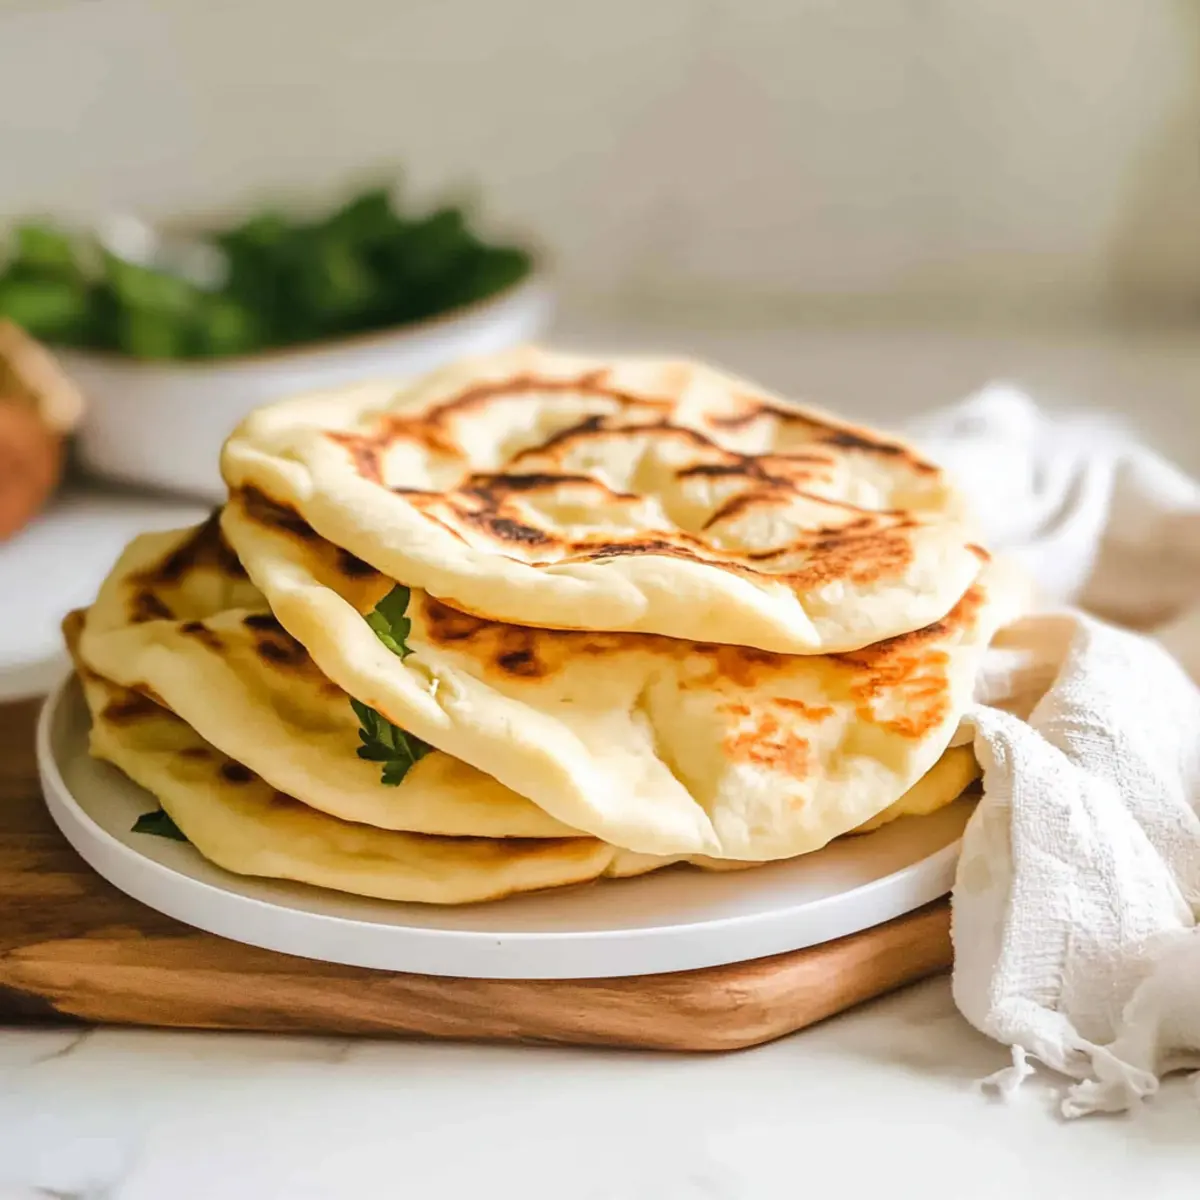
The aroma of freshly baked bread is a memory that lingers in my heart, transporting me to sun-soaked Mediterranean streets filled with vibrant flavors. Today, I’m excited to share my easy recipe for Fluffy Homemade Greek Pita Bread, a culinary adventure that promises both delight and satisfaction. This fluffy Greek pita is incredibly versatile, perfect for wraps, dips, or simply enjoying warm with a drizzle of olive oil. Not only will you impress your family and friends with your artisanal touch, but you’ll also relish the joy of crafting something special in your own kitchen. Plus, with a gluten-free option available, this recipe caters to everyone at the table. So, are you ready to embark on this delicious journey? Let’s get those pitas puffing!
Why is this Greek Pita Recipe a Must-Try?
Homemade Delight: There’s nothing quite like the satisfaction of baking your own bread at home, especially when it’s as easy as this Greek pita recipe!
Fluffy Texture: Experience the perfect puff and soft chewiness that makes each bite irresistible.
Versatility: Whether you’re using them for wraps, dips, or sandwiches, these pitas elevate any meal! They pair beautifully with delightful recipes like Greek Chicken Lemon or a bowl of creamy hummus.
Quick and Simple: With minimal ingredients and straightforward steps, you’ll be enjoying warm, fluffy pitas in no time!
Gluten-Free Option: Don’t shy away if you avoid gluten; this recipe offers a 1:1 substitute for gluten-free flour, accommodating everyone!
Crowd-Pleaser: Impress your family or guests at your next gathering with artisanal pitas that are sure to be a hit!
Greek Pita Ingredients
For the Dough
• 1 ½ cups all-purpose flour – Provides structure and texture; can be replaced with a 1:1 gluten-free flour blend for a gluten-free option.
• 1 tablespoon active dry yeast – Leavening agent that helps the dough rise; ensure yeast is fresh for proper rising.
• 1 teaspoon kosher salt – Enhances flavor and dough strength; you can use sea salt in the same quantity.
• ⅓ cup warm milk – Adds moisture and activates the yeast; substitute with plant-based milk for a vegan option.
• ⅓ cup warm water – Helps to combine ingredients and activate the yeast; no substitutions necessary.
• 2 tablespoons olive oil – Adds flavor and moisture, keeping the dough tender; any neutral cooking oil can be used.
Step‑by‑Step Instructions for Greek Pita
Step 1: Combine Dry Ingredients
In a large mixing bowl, whisk together 1 ½ cups of all-purpose flour, 1 tablespoon of active dry yeast, and 1 teaspoon of kosher salt until evenly mixed. This will create a solid base for your Greek pita dough. Make sure the yeast is properly incorporated, so your pitas rise beautifully during the cooking process.
Step 2: Mix in Wet Ingredients
Gradually add ⅓ cup of warm milk and ⅓ cup of warm water to the dry mixture, stirring until fully combined. The liquids will activate the yeast and help the dough to come together. You want to see a cohesive mixture forming; it should be slightly sticky but manageable, perfect for kneading.
Step 3: Knead the Dough
Pour in 2 tablespoons of olive oil and start kneading the dough with your hands. Knead it on a lightly floured surface for about 5-7 minutes, until it’s smooth and elastic. You’ll know it’s ready when the dough springs back slightly when pressed. This step is crucial for developing the texture of your fluffy Greek pitas.
Step 4: Let the Dough Rise
Grease a clean bowl with a little olive oil, place the kneaded dough inside, and cover it tightly with plastic wrap. Allow it to rest in a warm place for about 1 hour, until it doubles in size. The dough should look puffy and soft, a sign that the yeast is doing its job, setting you up for perfectly fluffy pitas.
Step 5: Shape the Pitas
After the dough has risen, punch it down gently to release the air. Flour a clean surface and divide the dough into 8 equal pieces. Roll each piece into a ball, then flatten it into a circle about ¼ inch thick. This is where you create the shape that will puff up beautifully when cooked.
Step 6: Preheat the Pan
While shaping the Greek pita rounds, preheat a cast iron skillet over high heat. Once the skillet is hot, drizzle a little olive oil to lightly coat the bottom, ensuring that the pitas don’t stick. You want the skillet to be sizzling hot, as this will help each pita puff nicely as it cooks.
Step 7: Cook the Pitas
Place each pita round onto the hot skillet and cook for approximately 1 minute on one side, or until it turns golden brown and starts to puff up. Carefully flip it over and cook the other side for an additional minute. The puffed pita should be soft and slightly chewy with a lovely golden exterior when done.
Step 8: Optional Butter Glaze
If desired, brush the warm pitas with melted garlic and herb butter right after they’re cooked, adding an extra layer of flavor. This step is entirely optional but adds a delicious aromatic touch to your homemade Greek pitas that your family and friends will love. Enjoy them warm!
How to Store and Freeze Greek Pita
Airtight Container: Store leftover Greek pitas in an airtight container at room temperature for up to 2-3 days to keep them soft and fresh.
Freezing: For longer storage, freeze the pitas in a single layer on a baking sheet, then transfer them to a freezer bag. They can be kept frozen for up to 3 months.
Reheating: To enjoy your pitas again, reheat in an oven at 350°F for about 5-7 minutes or warm them in a pan over low heat until heated through.
Thawing: If frozen, allow pitas to thaw in the fridge overnight or at room temperature for a few hours before reheating.
Make Ahead Options
These fluffy Greek pitas are perfect for meal prep enthusiasts! You can make the dough up to 24 hours in advance by mixing all the ingredients and allowing it to rise, then wrap it tightly in plastic wrap and refrigerate. The shaped pitas can also be prepped and stored in the fridge, simply spaced on a floured baking sheet for up to 3 days. When you’re ready to enjoy, just pull them out, let them come to room temperature for about 30 minutes, then cook them in a hot skillet as instructed. This way, you can enjoy homemade Greek pitas with minimal effort on busy weeknights, keeping them just as delicious as when freshly made!
Greek Pita Variations & Substitutions
Invite your culinary creativity to take center stage with these delightful twists on the classic Greek pita recipe!
-
Herb-Infused: Add dried oregano or fresh rosemary to the dough for an aromatic flavor burst. These herbs will transport your pitas to a sunlit Mediterranean garden!
-
Whole Wheat: Substitute half of the all-purpose flour with whole wheat flour for added nutrition and a nuttier flavor. Your pitas will have a hearty taste, perfect for healthy wraps.
-
Spicy Kick: Mix in a pinch of cayenne pepper or chili flakes for a zesty heat element that tantalizes the taste buds. This is a simple way to excite your palate!
-
Cheese-Stuffed: Before cooking, place a small cheese cube (like feta or mozzarella) in the center of each round and fold it over. This ooey-gooey filling creates an indulgent surprise with each bite.
-
Balsamic Glaze: After cooking, drizzle balsamic reduction over the warm pitas to elevate them with a sweet and tangy flavor. This unexpected topping takes your dinner vibes to another level!
-
Vegan Twist: Use almond or coconut milk instead of regular milk and opt for vegetable oil to make the recipe fully plant-based. Everyone can enjoy this fluffy delight!
-
Mediterranean Flavors: Add sun-dried tomatoes or kalamata olives into the dough for an Italian twist. These ingredients offer a flavorful depth that pairs beautifully with your favorite spreads.
-
Keto-Friendly: For a low-carb option, consider substituting the flour with almond flour and adding psyllium husk to maintain texture. This version allows you to keep the joy of pitas for your keto diet!
Don’t forget to enjoy these fluffy wonders alongside tempting pairings like Greek Chicken Lemon or a vibrant serving of hummus. Happy cooking!
What to Serve with Fluffy Homemade Greek Pita Bread
Imagine the warmth of your kitchen filled with the aroma of fresh pita bread, just waiting to elevate your next meal.
-
Creamy Hummus: A classic pairing, its smooth texture and rich flavors perfectly complement the fluffy pita, making every bite heavenly.
-
Tzatziki Sauce: This cool and refreshing yogurt-based dip adds a zesty twist that balances the warmth of the pita bread, ideal for dipping!
-
Grilled Chicken: Juicy, marinated chicken pieces wrapped in pita create a satisfying and hearty meal that combines flavors beautifully.
-
Greek Salad: Crisp veggies tossed in olive oil and feta offer a refreshing crunch that contrasts with the soft pita, elevating your Mediterranean experience.
-
Roasted Vegetables: Seasonal roasted veggies spark joy with their caramelized sweetness, a delightful match for warm pita straight off the skillet.
-
Stuffed Grape Leaves (Dolmas): A traditional favorite, these flavorful wraps bring an authentic Mediterranean touch, perfect for a full-themed meal.
-
Olive Oil & Herbs: A simple drizzle of olive oil infused with fresh herbs makes for a light yet elegant way to enjoy your homemade pitas.
-
Red Wine: Pair with a glass of smooth red wine for the ultimate Mediterranean dinner experience, creating a romantic and cozy atmosphere.
-
Baklava: For dessert, treat yourself to sweet, honey-drenched baklava that pairs wonderfully with the warm, fluffy pita for a complete feast.
-
Greek Yogurt with Honey: A simple yet delightful dessert, this combination enhances the meal with a touch of sweetness that lingers on the palate.
Expert Tips for Greek Pita
Preheat Perfectly: Ensure your cooking pan is thoroughly preheated. A hot skillet helps the pitas puff up beautifully, creating that signature fluffy texture.
Fresh Ingredients: Always check the freshness of your active dry yeast. Using expired yeast can lead to flat pitas that won’t rise.
Sticky Dough: If your dough feels too sticky, add a little more flour gradually while kneading. This keeps the texture right for great Greek pita results.
Even Thickness: Roll each pita to an even ¼ inch thickness for uniform cooking. Uneven shapes can lead to pitas that puff differently and cook inconsistently.
Storage Tips: Store leftover pitas in an airtight container for 2-3 days at room temperature or freeze them for longer storage. Enjoy them fresh whenever you wish!
Greek Pita Bread Recipe FAQs
What is the best way to choose ripe ingredients for this recipe?
Absolutely! For the best Greek pita, ensure your active dry yeast is fresh—check the expiration date on the package. When selecting flour, look for a fine texture, and avoid any that have dark spots or off smells. The milk and water should be warm but not hot—around 110°F is perfect to activate the yeast.
How do I store leftover Greek pita bread, and how long does it last?
Very! Store any leftover Greek pitas in an airtight container at room temperature for up to 2-3 days. This keeps them soft and fresh. If you need to keep them longer, consider freezing them to maintain their texture.
Can I freeze Greek pita bread, and how should I do it?
Absolutely! To freeze your Greek pitas, first cool them completely. Then, arrange them in a single layer on a baking sheet. Once frozen solid, transfer them to a freezer bag or wrap them tightly in plastic wrap. They can be frozen for up to 3 months. When you want to enjoy them, thaw in the fridge overnight before reheating.
What should I do if my pitas don’t puff up while cooking?
A common troubleshooting issue! If your pitas didn’t puff up, check that your skillet is adequately preheated; it should be sizzling hot to create steam in the dough. Also, ensure your yeast is fresh. If the dough is too dry or too sticky, you may need to adjust by adding a little more water or flour while kneading.
Are there any dietary considerations I should keep in mind with this recipe?
Very! This Greek pita recipe can be made gluten-free by using a 1:1 gluten-free flour blend. Just ensure that none of your other ingredients come into contact with gluten-containing items, especially if someone has a severe gluten allergy. Also, if going vegan, swap the milk for a plant-based alternative, making this recipe suitable for various dietary requirements.
Irresistibly Fluffy Greek Pita That's Easy to Make at Home
Ingredients
Equipment
Method
- In a large mixing bowl, whisk together 1 ½ cups of all-purpose flour, 1 tablespoon of active dry yeast, and 1 teaspoon of kosher salt until evenly mixed.
- Gradually add ⅓ cup of warm milk and ⅓ cup of warm water to the dry mixture, stirring until fully combined.
- Pour in 2 tablespoons of olive oil and start kneading the dough with your hands on a lightly floured surface for about 5-7 minutes, until smooth and elastic.
- Grease a clean bowl with olive oil, place the kneaded dough inside, and cover it tightly with plastic wrap. Allow it to rest in a warm place for about 1 hour.
- After the dough has risen, punch it down gently to release the air. Flour a clean surface and divide the dough into 8 equal pieces.
- While shaping the Greek pita rounds, preheat a cast iron skillet over high heat. Drizzle a little olive oil to coat the bottom.
- Place each pita round onto the hot skillet and cook for approximately 1 minute on one side, then flip and cook for an additional minute.
- If desired, brush the warm pitas with melted garlic and herb butter right after cooking.
Leave a Reply