
As I poured the golden drippings from the roasted turkey, the tantalizing aroma whisked me back to family gatherings, where laughter always filled the air. There’s something magical about making Turkey Gravy from Drippings—the way it transforms simple ingredients into a rich, velvety sauce that elevates your holiday feast. This homemade treasure not only offers an easy solution for those tired of store-bought options but also brings a heartfelt touch to your meal, infusing everything it touches with flavor. Plus, it’s quick to whip up and allows for endless customization. Whether you prefer a thicker consistency or want to experiment with herbs, this gravy can adapt to suit your taste. Ready to make those mashed potatoes and turkey sing? Let’s dive into creating the perfect holiday gravy together!
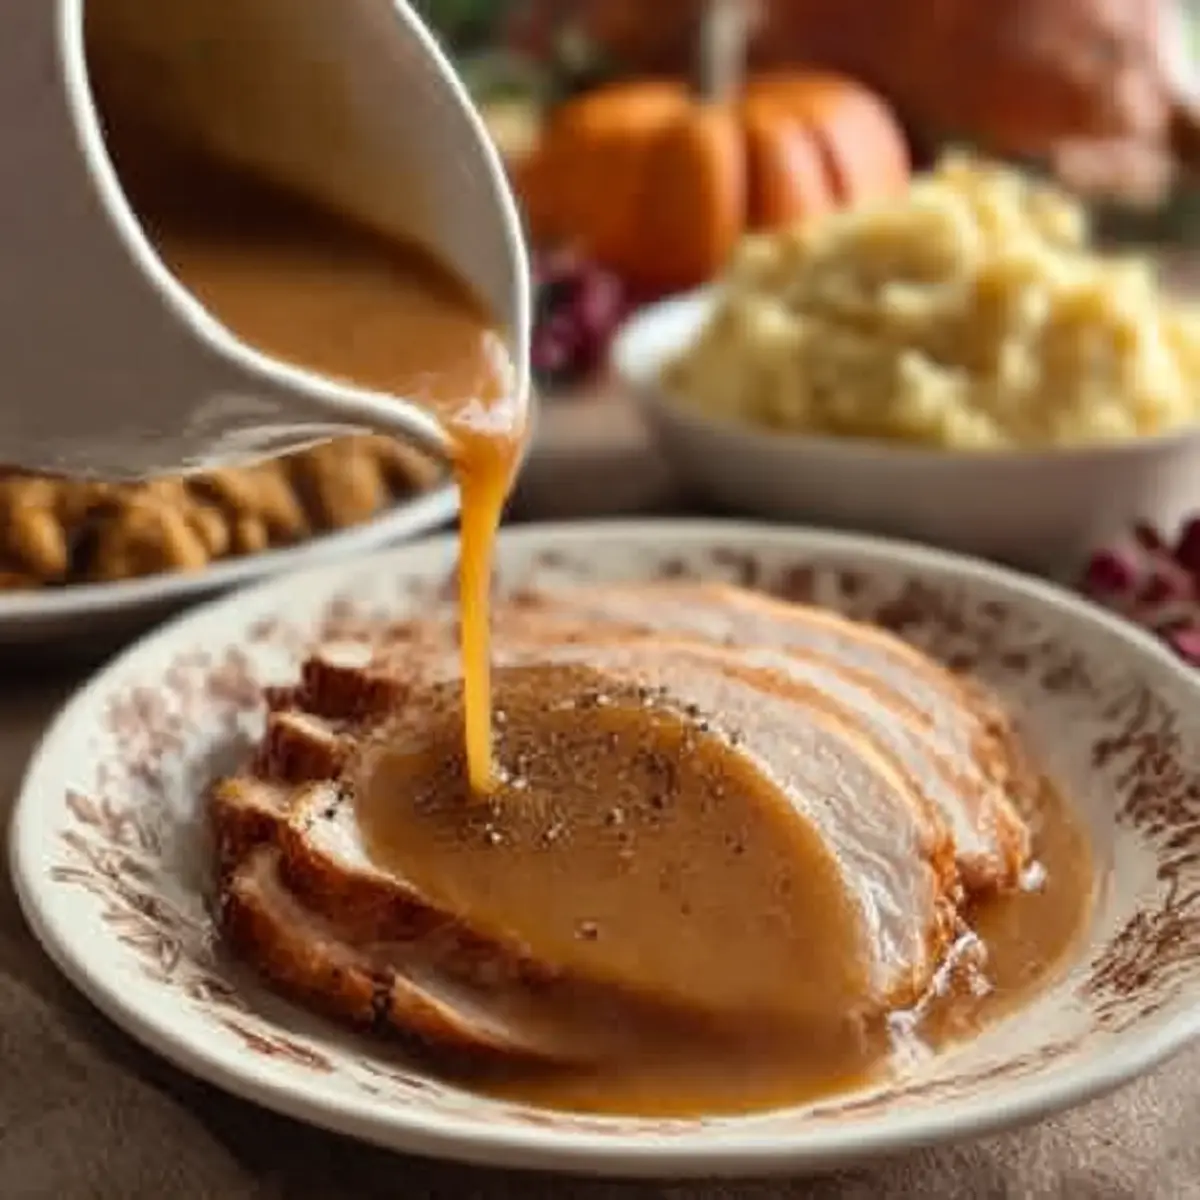
Why is Turkey Gravy So Essential?
Simplicity at its Finest: This recipe is incredibly easy to master, making it accessible for everyone, from novice cooks to seasoned chefs.
Rich and Flavorful: Using pan drippings heightens the flavor profile, delivering a taste that will leave your guests raving.
Endless Customization: Love experimentation? You can garnish it with fresh herbs like thyme or rosemary, or add citrus notes for a zesty twist.
Perfect Consistency: Whether you desire it thick or smooth, this gravy can easily be adjusted to your ideal texture.
Crowd-Pleasing Delight: Serve it over turkey, mashed potatoes, or stuffing and watch as your family digs in with delight! This is not just a recipe—it’s a tradition. Embrace it during your next holiday meal to create unforgettable memories around the table.
Ingredients for Turkey Gravy from Drippings
• Here’s everything you need to create your rich and smooth Turkey Gravy from Drippings.
For the Gravy
- Turkey pan drippings – These liquid gold drippings are what bring depth and richness to your gravy.
- All-purpose flour – This ingredient will thicken your gravy, so whisk it in slowly for a smooth texture.
- Turkey stock or chicken broth – Provides a flavorful base; turkey stock is best, but chicken broth can be a great substitute.
- Salt and pepper – Essential seasonings to enhance flavor; adjust to suit your taste.
- Butter (optional) – Adds an extra layer of richness; feel free to omit if you’re looking for a lighter option.
Extra Flavor Enhancements
- Sautéed onions or garlic – Incorporate these for a delightful aromatic boost.
- Fresh herbs (thyme or sage) – Add them to elevate the flavor profile and add freshness.
- Citrus juice (lemon or orange) – A splash can brighten up your gravy, making it even more refreshing.
- Cooked bacon bits – For an indulgent touch, mix in crumbles for flavor depth.
Step‑by‑Step Instructions for Turkey Gravy from Drippings
Step 1: Prepare the Drippings
After your turkey has rested, pour off the excess fat from the roasting pan, leaving about 1/4 cup of the flavorful drippings. Skim off any remaining fat on top if necessary. Place the pan over medium heat on the stovetop and scrape any browned bits from the bottom to incorporate all those delicious flavors into your homemade Turkey Gravy from Drippings.
Step 2: Heat the Base
Transfer the retained drippings into a saucepan and heat over medium heat. If you prefer a creamier texture, add 2 tablespoons of butter at this stage and allow it to melt completely. Cook until the mixture is bubbling gently, which indicates that it is warm enough to begin thickening into a rich gravy.
Step 3: Create the Roux
Gradually whisk in 1/4 cup of all-purpose flour into the bubbling drippings. It’s essential to whisk continuously for about 2-3 minutes until the roux turns a light golden color; this process helps eliminate any raw flour taste and develops a deeper flavor. The mixture will thicken slightly, forming a paste-like consistency.
Step 4: Add the Liquid
Slowly pour in 2 cups of turkey stock or chicken broth while continuing to whisk vigorously. This step is crucial for achieving a smooth texture in your Turkey Gravy from Drippings, preventing lumps from forming. As the mixture combines, you’ll notice it becoming velvety and aromatic.
Step 5: Thicken the Gravy
Increase the heat to medium-high and bring the gravy to a gentle boil. Continue stirring occasionally for about 5 minutes until it thickens to your desired consistency. Keep an eye on it, as it should cling nicely to the back of a spoon, showcasing its perfect texture.
Step 6: Season to Perfection
Once thickened, taste and adjust the seasoning with salt and pepper according to your preference. You can add fresh herbs, such as thyme or sage, at this point to boost the flavor. Let the gravy simmer for an additional minute or two for the spices to fully integrate.
Step 7: Strain for Smoothness
If your gravy has any lumps, pour it through a fine mesh strainer into a clean container. This step ensures a super smooth and luxurious finish to your Turkey Gravy from Drippings. Feel free to add a bit more broth if you desire a thinner consistency.
Step 8: Serve and Enjoy
Allow the gravy to cook for a few final minutes on low heat to deepen the flavor. Once ready, serve the gravy warm over your roasted turkey, mashed potatoes, or stuffing, and watch as it transforms your holiday feast into a memorable dining experience.
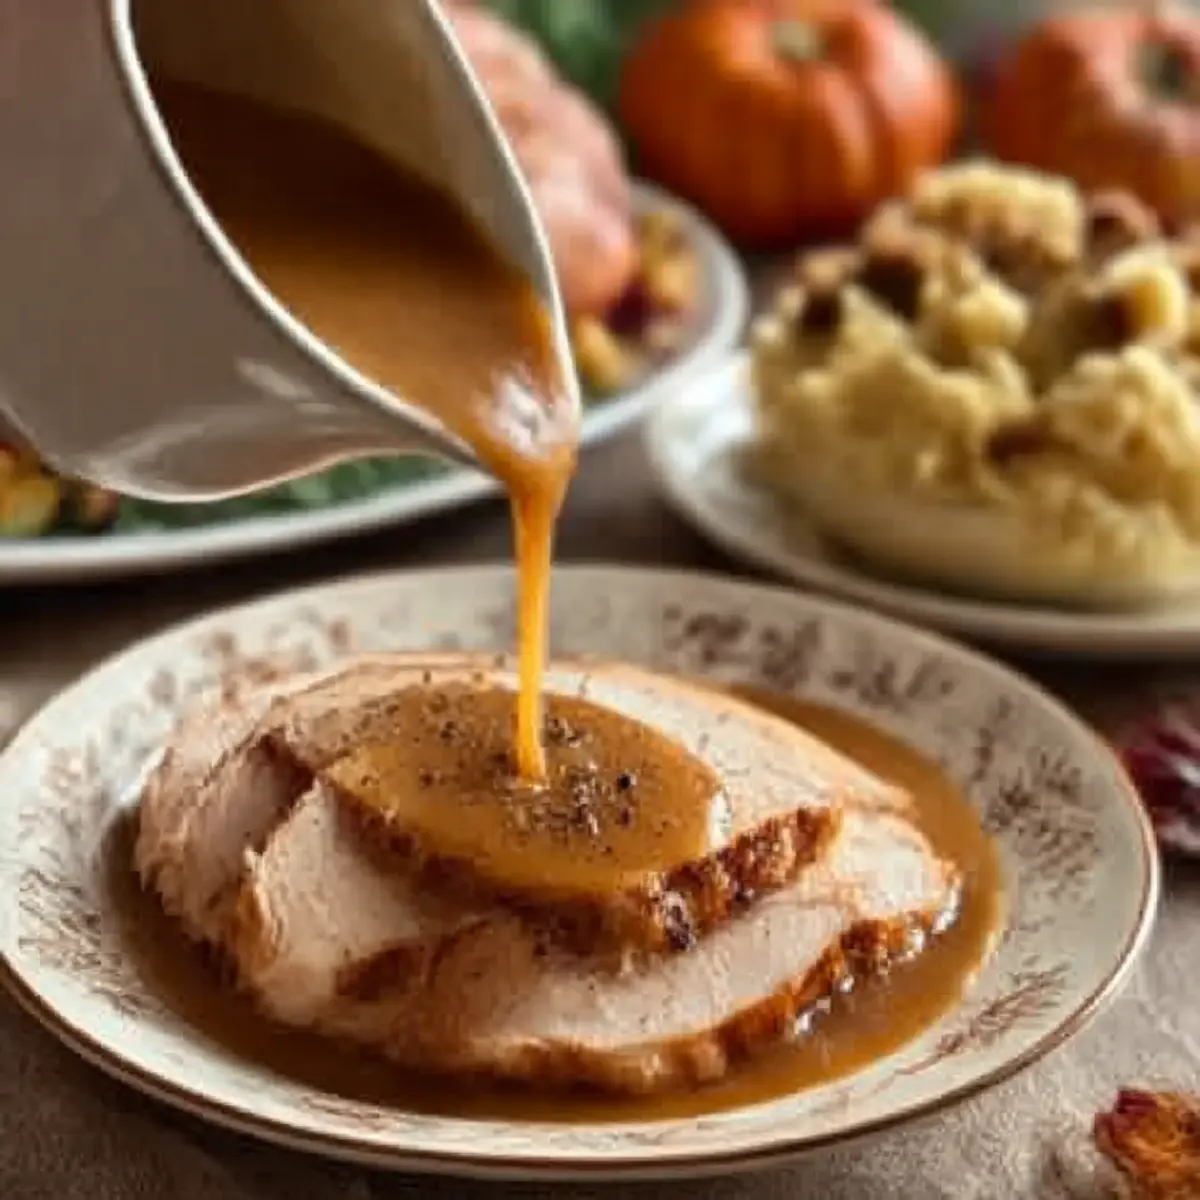
Storage Tips for Turkey Gravy from Drippings
Fridge: Store leftover gravy in an airtight container for up to 3 days. Make sure it cools completely before sealing to prevent condensation.
Freezer: For longer storage, freeze in a freezer-safe container for up to 3 months. Consider portioning into smaller containers for easy reheating.
Reheating: Gently reheat the gravy on the stovetop over low heat, whisking frequently to restore its smooth texture. You may need to add a splash of stock to achieve the desired consistency.
What to Serve with Turkey Gravy from Drippings
Transform your holiday table into a feast for the senses with dishes that beautifully enhance the rich flavors of your gravy.
-
Creamy Mashed Potatoes: The buttery smoothness of mashed potatoes is the perfect canvas for your velvety turkey gravy, creating a comforting harmony of flavors.
-
Savory Stuffing: A hearty stuffing, seasoned with herbs and spices, provides a delightful contrast to the richness of the gravy, soaking up every delectable drop.
-
Roasted Vegetables: Add color and nutrition with seasonal roasted veggies. Their caramelized sweetness pairs wonderfully, balancing the savory notes of the turkey gravy.
-
Golden Dinner Rolls: Soft and fluffy rolls act as perfect vessels for soaking up gravy, multiplying the joy with each tasty bite.
-
Cranberry Sauce: The tartness of homemade cranberry sauce cuts through the richness of the gravy, offering a refreshing contrast that brightens the plate.
-
Apple Pie: As a sweet ending, apple pie’s spiced flavors create a delightful finale to your meal, creating cherished memories with every slice.
Make your holiday feast unforgettable by serving these dishes alongside your sumptuous Turkey Gravy from Drippings!
Make Ahead Options
These Turkey Gravy from Drippings are perfect for busy home cooks looking to save time during the holidays! You can prepare the gravy up to 3 days in advance, making your meal planning a breeze. Start by cooking the gravy as directed and allow it to cool completely, then transfer it into an airtight container for refrigerating. To maintain that rich, velvety texture, gently reheat the gravy on the stovetop over low heat, whisking in a bit more turkey stock or broth if necessary to restore creaminess. This way, when it’s time to serve, your homemade gravy will still be just as delicious, letting you focus on enjoying the feast with your loved ones!
Turkey Gravy from Drippings Variations
Feel free to make this classic recipe your own by trying out these delightful twists that can elevate your Turkey Gravy!
- Swap Stock: Replace turkey stock with chicken broth for a lighter flavor without compromising richness.
- Fresh Herb Boost: Mix in sage, rosemary, or thyme to infuse your gravy with aromatic depth that compliments any holiday spread.
- Citrus Zest: Add a splash of lemon or orange juice for a refreshing twist that brightens the savory notes.
- Mushroom Medley: Incorporate sautéed mushrooms for an earthy, umami punch that deepens the overall flavor profile.
- Sweet Touch: Stir in caramelized onions for a touch of sweetness that contrasts beautifully with the savory gravy.
- Creamy Addition: For a richer texture, add a splash of heavy cream right after thickening to create a velvety finish.
- Heat It Up: Introduce a pinch of cayenne pepper or red pepper flakes for a delightful kick that warms the heart.
- Bacon Infusion: Crumble crispy bacon into the gravy for a savory, smoky flavor that takes your dish to new heights.
Feel inspired to explore these variations—your family will love the creativity you bring to this beloved dish! If you’re looking for even more inspiration, check out my tips on enhancing homemade sauces or consider using leftover turkey for another meal. Happy cooking!
Expert Tips for Turkey Gravy
Whisk Constantly: Keep whisking while adding stock to prevent lumps from forming; a smooth gravy is every cook’s dream!
Low and Slow: Start on medium to low heat as high heat can scorch the gravy, causing an undesirable bitter taste.
Adjust Thickness: If your gravy is too thick, simply whisk in more turkey stock; it’s easier to thin than to thicken!
Flavor Boosters: Enhance your Turkey Gravy from Drippings by adding sautéed onions, garlic, or fresh herbs for a delightful depth of flavor.
Strain for Perfection: If lumps do form, strain your gravy through a fine mesh strainer. This one step can elevate its presentation and texture.
Turkey Gravy from Drippings Recipe FAQs
What type of turkey drippings should I use for the best gravy?
Absolutely! The best drippings come from your roasted turkey, as it contains the fat and juices that impart rich flavor. Look for those golden, savory drippings that flow from the turkey during roasting—this is liquid gold! Avoid collecting any burnt bits as they can give the gravy an unpleasant taste.
How long can I store leftover turkey gravy?
You can store your leftover Turkey Gravy from Drippings in an airtight container in the fridge for up to 3 days. Just make sure it cools down completely before sealing to prevent condensation from forming inside the container, which can alter its texture.
Can I freeze turkey gravy? If so, how?
Very! Freezing your turkey gravy is a great way to extend its shelf life. To do this, allow the gravy to cool, then pour it into freezer-safe containers, leaving some space at the top for expansion as it freezes. It can be stored for up to 3 months. For easier reheating, consider portioning it into smaller containers. When you’re ready to enjoy it, simply thaw overnight in the fridge and gently reheat on the stovetop, stirring in a bit of broth to restore its creamy consistency.
What if my turkey gravy ends up lumpy?
Don’t worry! If your gravy has lumps, simply pour it through a fine mesh strainer to achieve a smooth finish. If it still seems too thick after straining, you can whisk in a little more turkey stock or broth to reach your desired consistency.
Can I use turkey gravy for pets? Is it safe for them?
While a small amount of your homemade turkey gravy can be a tasty treat for your pets, it’s important to ensure it does not contain any onions or excess salt, which can be harmful. Consult your veterinarian if you’re unsure, and it’s best to serve them plain turkey without gravy for their health.
How do I adjust the thickness of my turkey gravy?
If your gravy is too thick, simply whisk in a bit more turkey stock or broth gradually until you reach your desired texture. Conversely, if it’s too thin, you can cook it for a few more minutes on medium heat to allow it to reduce and thicken, or mix a small amount of cornstarch with cold water and add it to the gravy while whisking. This can help achieve that luxurious consistency you’re looking for.
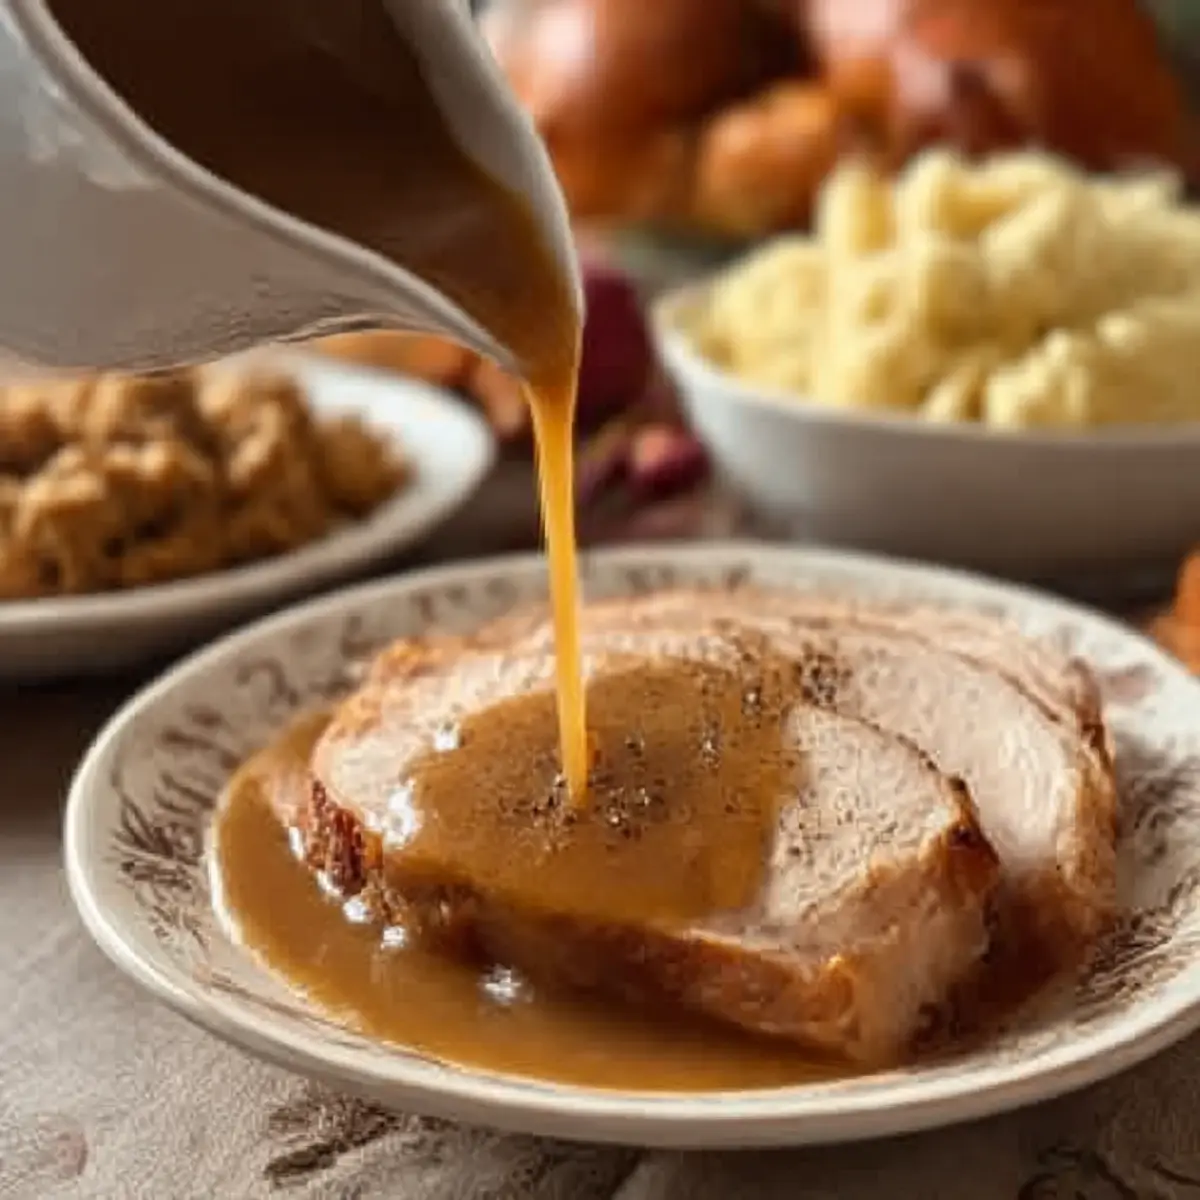
Smooth and Rich Turkey Gravy from Drippings for Your Feast
Ingredients
Equipment
Method
- Prepare the Drippings: Pour off excess fat from the roasting pan, leaving about 1/4 cup of drippings. Skim off remaining fat if necessary, and heat the pan over medium heat.
- Heat the Base: Transfer drippings into a saucepan, add butter if desired, and heat until bubbling gently.
- Create the Roux: Whisk in flour gradually, cooking for 2-3 minutes until it turns a light golden color.
- Add the Liquid: Slowly pour in turkey stock or chicken broth while whisking vigorously to keep the mixture smooth.
- Thicken the Gravy: Increase heat to medium-high and bring to a gentle boil, stirring for about 5 minutes until thickened.
- Season to Perfection: Taste and adjust seasoning with salt and pepper; add fresh herbs if desired.
- Strain for Smoothness: Pour through a fine mesh strainer into a clean container to ensure smooth gravy.
- Serve and Enjoy: Cook for a few final minutes on low heat before serving over turkey, mashed potatoes, or stuffing.
Leave a Reply