
As I stood in my kitchen, the sweet aroma of pandan wafted through the air, instantly transporting me to the bustling streets of Vietnam. Today, I’m excited to share my take on the Easy Banh Bo Nuong, a delightful Vietnamese Honeycomb Cake that’s not just stunning to look at but also a treat for the taste buds. This recipe is incredibly easy to make and embodies a gluten-free and dairy-free twist that doesn’t compromise on flavor. The soft, cloud-like texture paired with the aromatic coconut and pandan infusion will have your friends and family reaching for seconds! Whether you’re celebrating a special occasion or simply treating yourself, this cake is perfect for keeping the fast food at bay. Curious about how you can create this captivating dessert in your own home? Let’s dive in!
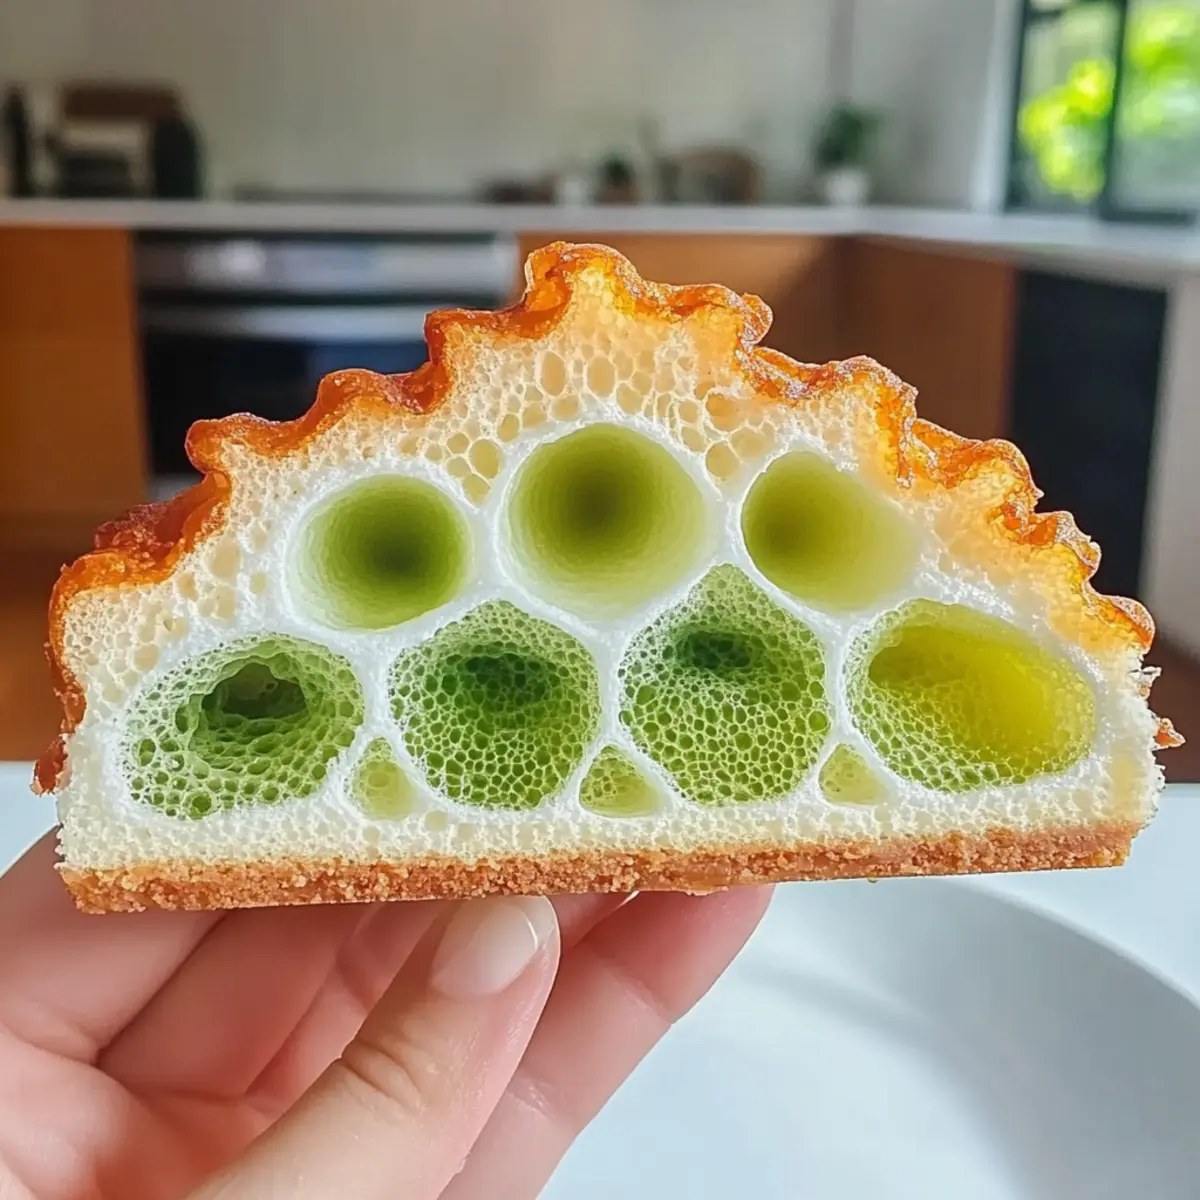
Why Try This Vietnamese Honeycomb Cake?
Simplicity at its Core: This Easy Banh Bo Nuong is perfect for cooks of all levels! The process is quick and straightforward, requiring just a few key ingredients.
Unique Flavor Profile: The marriage of pandan and coconut creates an aromatic sensation that truly sets this cake apart. Each bite is a delight!
Gluten-Free & Dairy-Free: Enjoy this light dessert without worry. It’s a great option for anyone avoiding gluten and dairy, making it accessible to more people.
A Showstopper at Gatherings: Impress your guests with the beautiful honeycomb appearance. This cake is not just delicious but also a conversation starter!
Perfect for Any Occasion: Whether it’s a birthday or just a sweet craving, this cake fits right in. Serve it alongside fresh mango slices or coconut ice cream for a complete experience. Check out our other delightful creations like Chocolate Pancakes Sweet for a sweet brunch idea!
Vietnamese Honeycomb Cake Ingredients
For the Batter
• Coconut Milk – Provides richness and moisture; for the best flavor, use full-fat.
• Pandan Leaves – Offers a unique, sweet aroma; if you can’t find these, substitute with 1 tsp of pandan extract.
• Eggs – Essential for structure and texture; using large eggs yields the lightest cake.
• Granulated Sugar – Sweetens the cake; adjust to your preferred level of sweetness.
• Pandan Extract – Enhances the pandan flavor; double the amount if using in place of leaves.
• Vanilla Extract – Adds depth to the cake’s flavor profile.
• Tapioca Starch – Critical for achieving the iconic honeycomb texture.
• Single Acting Baking Powder – Helps the cake rise; ensure it’s fresh for the best result.
• Salt – Balances the sweetness and enhances all the flavors.
For Serving (Optional)
• Fresh Fruits – Ripe mango slices complement the cake beautifully with a refreshing contrast.
• Coconut Ice Cream – Pairs wonderfully for a creamy addition to your dessert experience.
• Toasted Coconut Flakes – Sprinkle on top for an added crunch and a lovely tropical touch.
This Vietnamese Honeycomb Cake brings a delightful twist to any gathering and is sure to please!
Step‑by‑Step Instructions for Vietnamese Honeycomb Cake
Step 1: Preheat Oven
Begin by preheating your oven to 350°F (177°C). As it heats, place your bundt pan inside for 10 minutes to ensure it’s warm—this helps with the cake’s signature texture and ensures it releases easily after baking.
Step 2: Prepare Coconut Mixture
In a blender, combine 14 oz of full-fat coconut milk with 10 pandan leaves. Blend until smooth, then strain the mixture through a fine mesh sieve into a bowl. This step will capture any impurities and ensure your Vietnamese Honeycomb Cake is silky smooth and full of aromatic flavor.
Step 3: Mix Wet Ingredients
In a large mixing bowl, gently whisk together the strained coconut mixture, 5 large eggs, and 1 1/3 cups of granulated sugar. Be careful to mix slowly to avoid incorporating air bubbles, which can affect the cake’s texture. Ensure everything is thoroughly combined before moving on.
Step 4: Add Flavorings
To the wet mixture, stir in 1/2 teaspoon of pandan extract and 1 teaspoon of vanilla extract. This addition enhances the delightful flavors of your Vietnamese Honeycomb Cake, creating a rich and aromatic profile that will transport you straight to Vietnam.
Step 5: Combine Dry Ingredients
In a separate bowl, whisk together 1 cup of tapioca starch, 1 teaspoon of single acting baking powder, and a pinch of salt. Gradually fold the dry ingredients into the wet mixture using a spatula. This careful incorporation will maintain the light texture while ensuring everything is well-combined.
Step 6: Pour & Bake
Pour the batter into your preheated bundt pan, spreading it evenly. Slide it into the oven and bake for 50-55 minutes. You’ll know it’s ready when a toothpick inserted in the center comes out clean, and the cake has a golden hue, inviting you to dig in.
Step 7: Cool Cake
Once baked, allow your Vietnamese Honeycomb Cake to cool in the bundt pan for about 60 minutes. This cooling period is essential as it helps the cake firm up and makes removing it from the pan much easier without breaking.
Step 8: Invert & Serve
After cooling, carefully invert the bundt pan onto a wire rack. Gently tap the pan to release the cake, revealing its beautiful honeycomb design. Allow it to cool completely before slicing, then serve with fresh fruits or coconut ice cream for an irresistible treat.
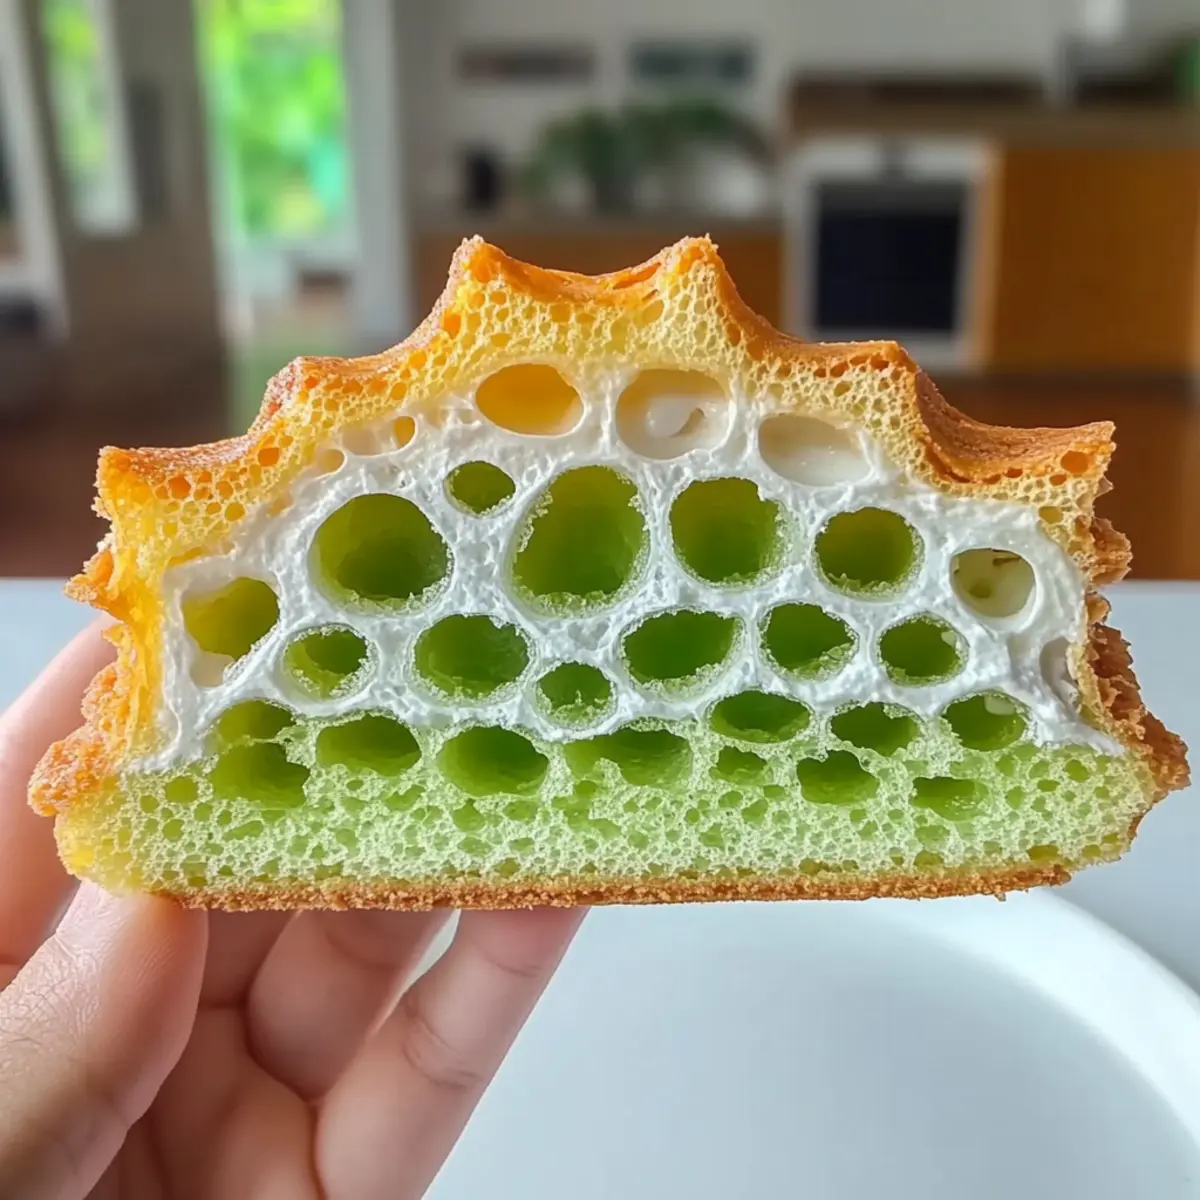
What to Serve with Easy Banh Bo Nuong
Indulging in this delightful honeycomb cake opens up a world of pairing possibilities that bring out its unique flavors.
- Fresh Mango Slices: The juicy sweetness of ripe mango beautifully complements the cake’s light texture, offering a refreshing contrast.
- Coconut Ice Cream: A scoop of creamy coconut ice cream adds richness and a tropical touch to enhance the dessert experience.
- Toasted Coconut Flakes: Sprinkling toasted coconut on top delivers a satisfying crunch and an additional layer of coconut goodness.
- Green Tea: The earthy notes of green tea balance the sweetness of the cake, creating a harmonious pairing that’s soothing and delightful.
- Tropical Fruit Salad: A vibrant mix of tropical fruits adds color and freshness, while its acidity can brighten up each bite of the cake.
- Whipped Coconut Cream: Light and fluffy, this topping accentuates the cake’s soft texture, providing a delightful, airy finish.
- Almond Milk Latte: Pairing with a warm almond milk latte brings a cozy vibe, perfect for a leisurely afternoon treat with this Japanese-inspired dessert.
- Sesame Cookies: The nuttiness of sesame cookies creates a contrasting texture and flavor, offering a unique twist alongside this fluffy delight.
- Sparkling Water: A glass of bubbly, flavored sparkling water refreshes the palate and enhances the cake’s aromatic qualities without overpowering them.
Make Ahead Options
These Easy Banh Bo Nuong (Vietnamese Honeycomb Cake) are perfect for meal prep enthusiasts! You can prepare the batter up to 24 hours in advance to save time. Simply mix the wet and dry ingredients as directed, then cover the bowl tightly and refrigerate to prevent any ingredients from separating. When you’re ready to bake, just give the batter a gentle stir and pour it into your preheated bundt pan. Bake as instructed for that light, fluffy texture. To maintain quality, avoid refrigerating the baked cake for more than 3 days, but feel free to freeze it for up to 2 months; thaw overnight before serving for the same delightful taste!
Variations for Vietnamese Honeycomb Cake
Feel free to let your creativity shine when making this delicious Vietnamese Honeycomb Cake—there are so many ways to customize it!
-
Gluten-Free: Ensure all ingredients are certified gluten-free for a safe baking experience for those with gluten sensitivities.
-
Dairy-Free: Swap coconut milk for almond milk for a delightful nutty twist that complements the cake’s flavors perfectly.
-
Brown Sugar: Substitute granulated sugar with brown sugar for a deeper, richer flavor that adds a nice caramel note.
-
Citrus Zest: Add a tablespoon of fresh orange or lemon zest to brighten the cake’s flavors and create a refreshing citrus zing.
-
Additional Flavors: Introduce a splash of almond extract alongside the vanilla for a subtle complexity that enhances the overall taste.
-
Fruity Twist: Mix in 1/2 cup of finely chopped tropical fruits like pineapple or mango into the batter for a sweet surprise in every bite.
-
Textural Toppings: Enhance with a drizzle of coconut glaze or sprinkle with toasted coconut flakes for a delightful crunch that pairs beautifully with the fluffy cake.
-
Spicy Kick: Add a hint of ground ginger or a pinch of chili powder to your batter for a surprising kick that harmonizes beautifully with the sweetness.
Whether you choose to experiment with flavors or textures, your version of this Vietnamese Honeycomb Cake will undoubtedly be a hit!
Storage Tips for Vietnamese Honeycomb Cake
Room Temperature: Store the cake in an airtight container at room temperature for up to 3 days to maintain its fluffy texture.
Fridge: If you live in a warmer climate or want to keep it longer, refrigerate the cake for up to a week; wrap it well to avoid drying out.
Freezer: You can freeze the Vietnamese Honeycomb Cake for up to 2 months. Slice it before freezing for easy serving. Thaw overnight in the fridge before enjoying!
Reheating: If desired, gently reheat individual slices in the microwave for about 10-15 seconds for a warm treat that brings back its lovely aroma.
Expert Tips for Vietnamese Honeycomb Cake
-
Preheat Your Pan: Preheating the bundt pan is essential; it ensures the cake releases easily while achieving that signature fluffy texture.
-
Smooth Mixture: Strain the coconut mixture thoroughly to prevent lumps; this will give your Vietnamese Honeycomb Cake a light, airy consistency.
-
Avoid Over-Mixing: When combining wet and dry ingredients, be gentle. Over-mixing can create a denser cake than desired, so fold carefully to maintain airiness.
-
Cooling Time Matters: Allow the cake to cool fully in the pan before inverting to prevent breakage. Patience here is key for the perfect honeycomb shape.
-
Check Baking Powder Freshness: Make sure your baking powder is fresh to achieve the right rise. Stale baking powder can lead to a flat cake, robbing you of that delightful fluffy texture.
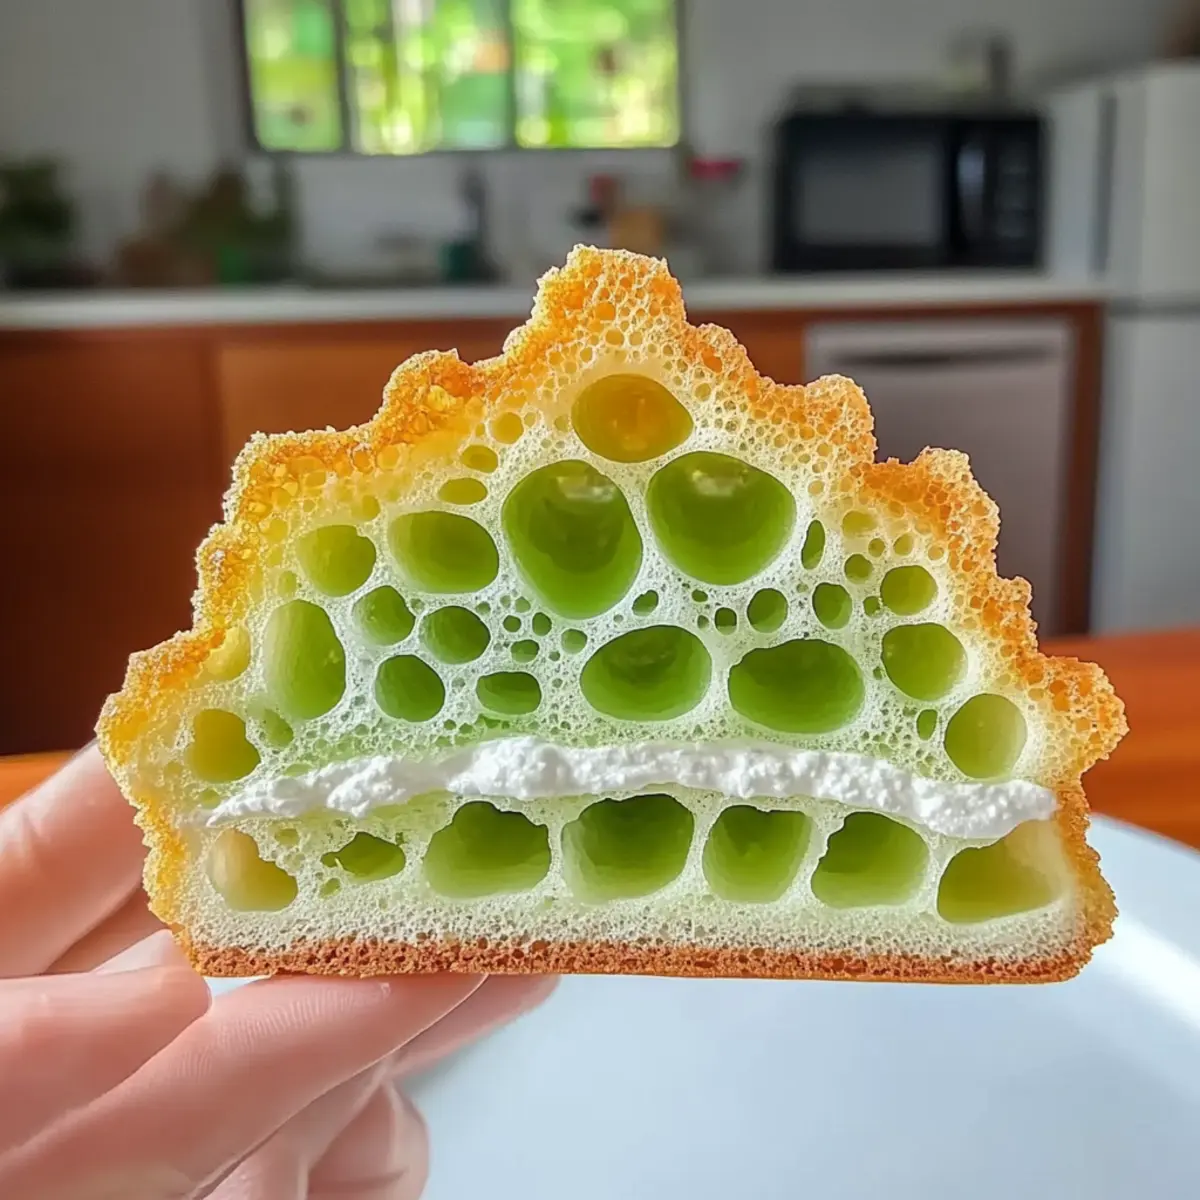
Vietnamese Honeycomb Cake Recipe FAQs
What type of pandan leaves should I use?
Absolutely! Fresh pandan leaves provide the best aroma and flavor, giving your Vietnamese Honeycomb Cake that authentic edge. If unavailable, you can substitute with 1 teaspoon of pandan extract, which can be found in Asian markets or online.
How should I store the cake?
To keep your Vietnamese Honeycomb Cake fresh, store it in an airtight container at room temperature for up to 3 days. If you’re in a warmer climate, it’s wise to refrigerate it; it’ll stay good for up to a week. Make sure to wrap it well to prevent it from drying out!
Can I freeze the cake, and if so, how?
Very! You can freeze your Vietnamese Honeycomb Cake for up to 2 months. I recommend slicing it first to make for easy serving later. To freeze, wrap each slice in plastic wrap, then place them in a freezer-safe bag. When you’re ready to enjoy, thaw overnight in the fridge before serving.
What if the cake doesn’t rise properly?
The more the merrier! A common reason for a flat cake is stale baking powder; always check its freshness before use. If your cake didn’t rise as expected, ensure you also mixed the dry and wet ingredients just until combined, as over-mixing can lead to a denser texture. If it’s still an issue next time, consider reducing the oven temperature slightly for a more gradual rise.
Is this cake suitable for people with dietary restrictions?
Absolutely! This Vietnamese Honeycomb Cake is both gluten-free and dairy-free, making it a fantastic dessert option. Just be sure to check your ingredient labels to confirm they’re certified gluten-free, and for dairy-free, using a dairy-free milk alternative like almond milk can work, but will slightly change the flavor profile.
Can my pets have this cake?
No, it’s best to keep this delightful treat away from your pets. Ingredients like sugar and coconut milk can upset their stomachs. If you’re looking for a pet-friendly dessert option, consider making a special treat just for them with safe ingredients!
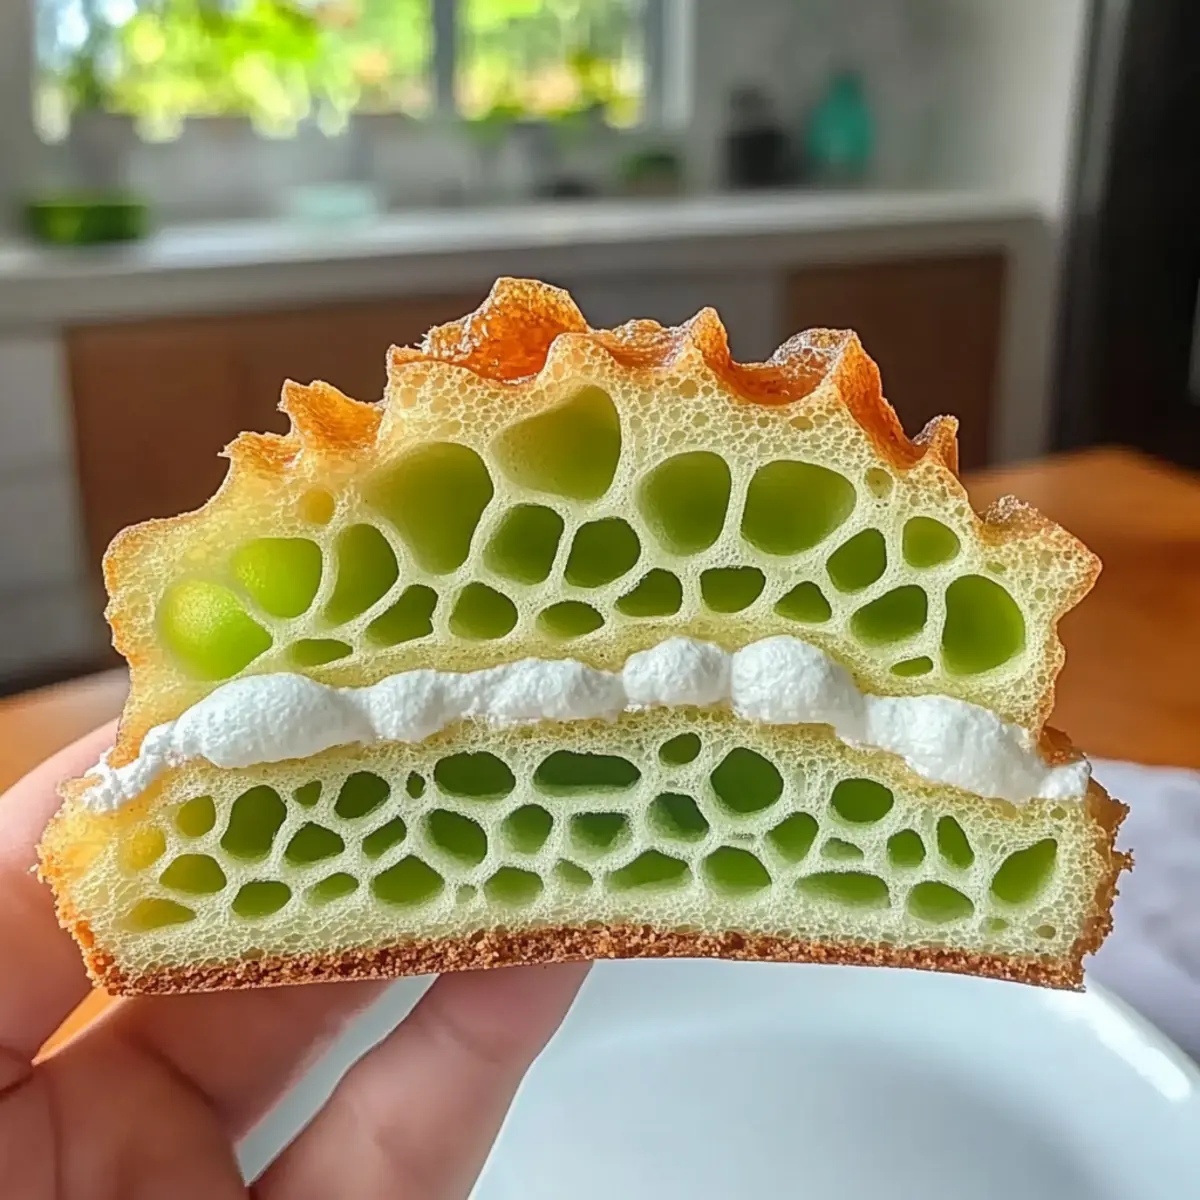
Delicious Vietnamese Honeycomb Cake: Light, Fluffy Bliss
Ingredients
Equipment
Method
- Preheat your oven to 350°F (177°C) and place the bundt pan inside for 10 minutes to warm it.
- In a blender, combine coconut milk and pandan leaves, blend until smooth, then strain into a bowl.
- In a large mixing bowl, whisk together the strained coconut mixture, eggs, and sugar carefully to avoid air bubbles.
- Stir in pandan extract and vanilla extract into the wet mixture to enhance flavors.
- In a separate bowl, whisk together tapioca starch, baking powder, and salt, then fold into the wet mixture.
- Pour the batter into the preheated bundt pan and bake for 50-55 minutes until a toothpick comes out clean.
- Allow the cake to cool in the bundt pan for about 60 minutes.
- Invert the bundt pan onto a wire rack and allow the cake to cool completely before slicing.
Leave a Reply