
In a cozy café tucked away in Italy, the rich scent of warm vanilla dances through the air as sweet treats beckon from a glass case. Among them, Cannoli Cookies stand out, offering a delightful fusion of crispy texture and creamy filling that echoes the beloved traditional cannoli. These Easy Cannoli Cookies are not only a celebration of Italian flavors, but they also come together with simple ingredients and no butter, making them a guilt-free indulgence. In just six straightforward steps, you can create these delightful cookies that are perfect for sharing at gatherings or savoring with your afternoon coffee. Get ready to impress your friends and family with a cookie that combines the charm of an Italian pastry with the ease of homemade goodness. Curious how to create this delicious treat? Let’s dive in!
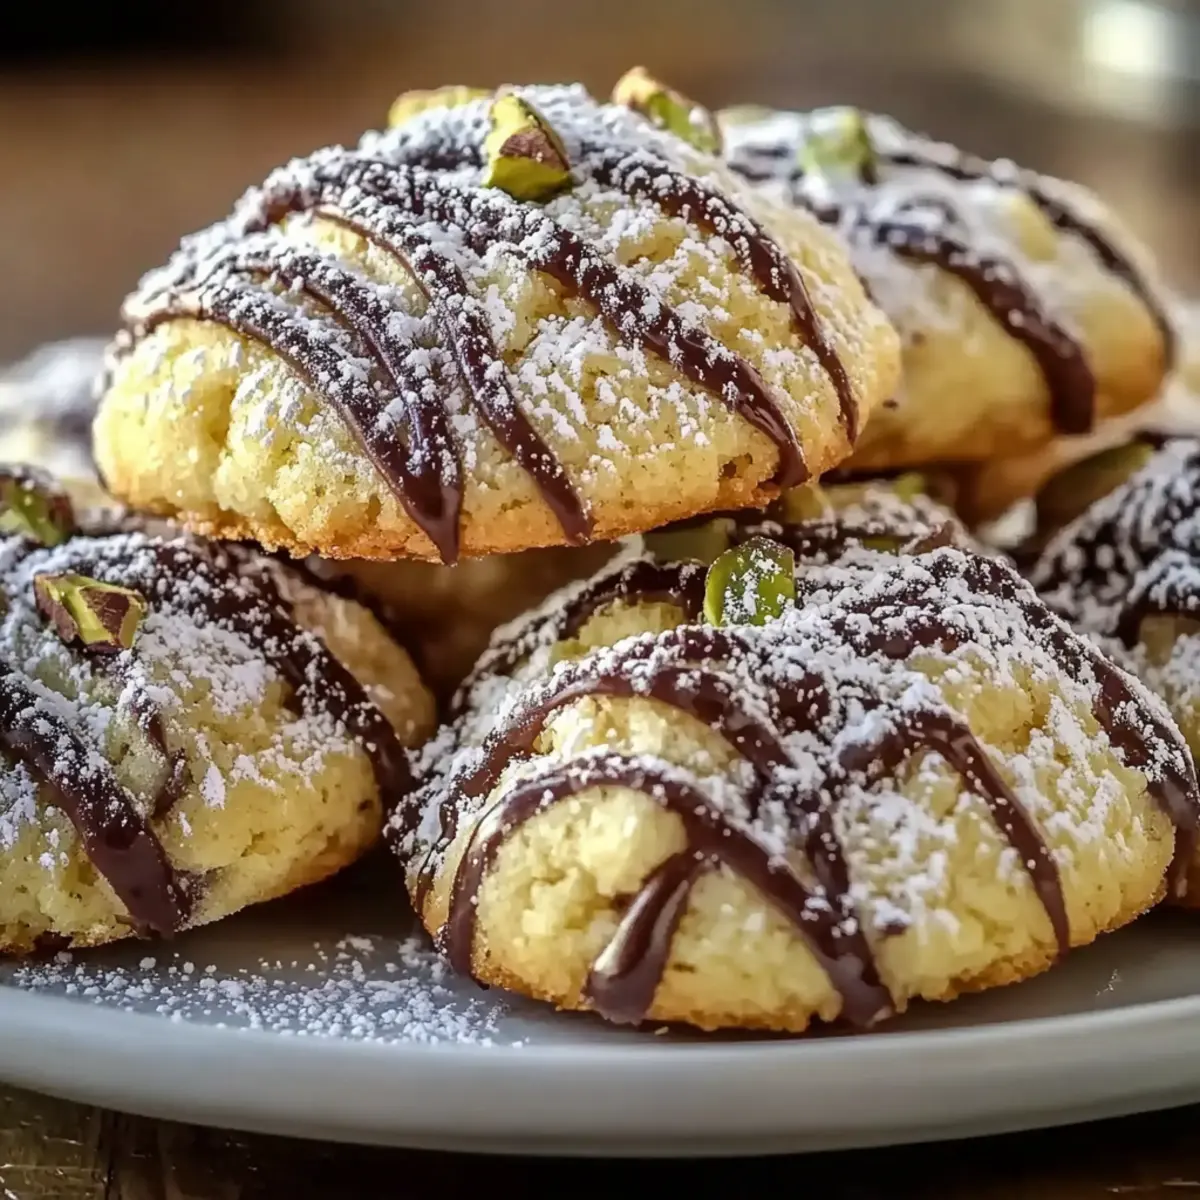
Why are Cannoli Cookies a must-try?
Authentic Italian Flavor: These cookies capture the essence of classic cannoli, delivering a burst of rich flavors with every bite.
Simple Ingredients: Made with everyday ingredients, you can whip up these treats without a fuss, even on a busy day.
No Butter Required: Guilt-free indulgence is possible! Enjoy the crispy texture and creamy filling without any butter.
Quick and Easy: In just six steps, you can have these delicious cookies ready to impress at your next gathering, or to enjoy during your coffee break.
Versatile Variations: Experiment with different fillings or toppings, from chocolate chips to nuts, making each batch uniquely yours!
Cannoli Cookies Ingredients
For the Cookies
• All-purpose flour – Provides structure to the cookie; substitute with gluten-free flour for a gluten-free option.
• Granulated sugar – Adds sweetness; can be replaced with coconut sugar for a lower glycemic index.
• Ricotta cheese (1/2 cup total, divided) – Adds moisture and richness to cookies and filling; use mascarpone as a creamy alternative.
• Egg – Binds the ingredients together and contributes to texture; a flaxseed egg can be used as a vegan alternative.
• Vanilla extract – Enhances the flavor profile; substitute with almond extract for a different twist.
• Lemon zest – Adds a bright citrus flavor; substitute with orange zest for a variation.
For the Filling
• Mini chocolate chips – Provide sweetness and texture contrast; can be omitted or replaced with white chocolate chips.
• Chopped pistachios – Add crunch and nutty flavor; walnuts or almonds can be used for different nut flavors.
For the Finishing Touch
• Powdered sugar – For dusting to enhance presentation; optional, but adds a sweet touch to your Cannoli Cookies.
Step‑by‑Step Instructions for Cannoli Cookies
Step 1: Preheat the Oven
Begin your Cannoli Cookies adventure by preheating your oven to 350°F (175°C). This is essential for achieving that perfect golden-brown color on your cookies. As the oven warms, prepare your baking sheets by lining them with parchment paper to ensure easy removal once baking is complete.
Step 2: Mix Dry Ingredients
In a large mixing bowl, whisk together the all-purpose flour and granulated sugar until evenly combined. This will be the foundation for your Cannoli Cookies. Aim for a light and airy mixture, which will help the cookies maintain a wonderful texture once baked. Set this dry mixture aside for the next step.
Step 3: Combine Wet Ingredients
In a separate bowl, blend together ¼ cup of ricotta cheese, the egg, vanilla extract, and lemon zest until completely smooth. This creamy mixture not only adds depth of flavor but also moisture to your cookie dough. Take your time to ensure everything is well incorporated for a uniform taste throughout your Cannoli Cookies.
Step 4: Form the Dough
Gradually add the dry flour mixture to the wet ricotta mixture, stirring gently until a soft dough begins to form. Be cautious not to overmix; a gentle fold is key to achieving the ideal texture. Once combined, you’ll notice a lovely dough taking shape, ready for a brief rest.
Step 5: Rest the Dough
Cover your dough with a clean kitchen towel or plastic wrap and let it rest for 30 minutes at room temperature. This resting phase allows the ingredients to meld and helps the cookies hold their shape while baking. A little patience here makes all the difference in the final outcome.
Step 6: Shape the Cookies
After resting, roll out the dough on a lightly floured surface to about ¼ inch thick. Use a sharp knife or a pizza cutter to cut the dough into 2×3 inch rectangles. Each piece will cradle the delicious filling. Keep a close eye on the thickness for even baking; the ideal consistency will create the perfect Cannoli Cookies.
Step 7: Prepare the Filling
In a small bowl, mix together the remaining ¼ cup of ricotta, mini chocolate chips, and chopped pistachios until well combined. This creamy and crunchy filling is what sets your Cannoli Cookies apart. Ensure that every bite will have that rich and delightful essence reminiscent of traditional cannoli.
Step 8: Assemble and Seal
Place a small dollop of filling on one end of each dough rectangle. Gently fold the dough over and pinch the edges firmly to seal them, ensuring the filling stays inside while baking. This step is crucial for creating that delicious surprise hidden within your Cannoli Cookies, adding a touch of creativity and flair.
Step 9: Bake the Cookies
Arrange your filled cookies on the prepared parchment-lined baking sheets, making sure to leave some space between each cookie for expansion. Bake in the preheated oven for 15-18 minutes, or until the edges are beautifully golden brown. Keep an eye on the cookies towards the end to prevent overbaking, ensuring a soft interior.
Step 10: Cool and Dust
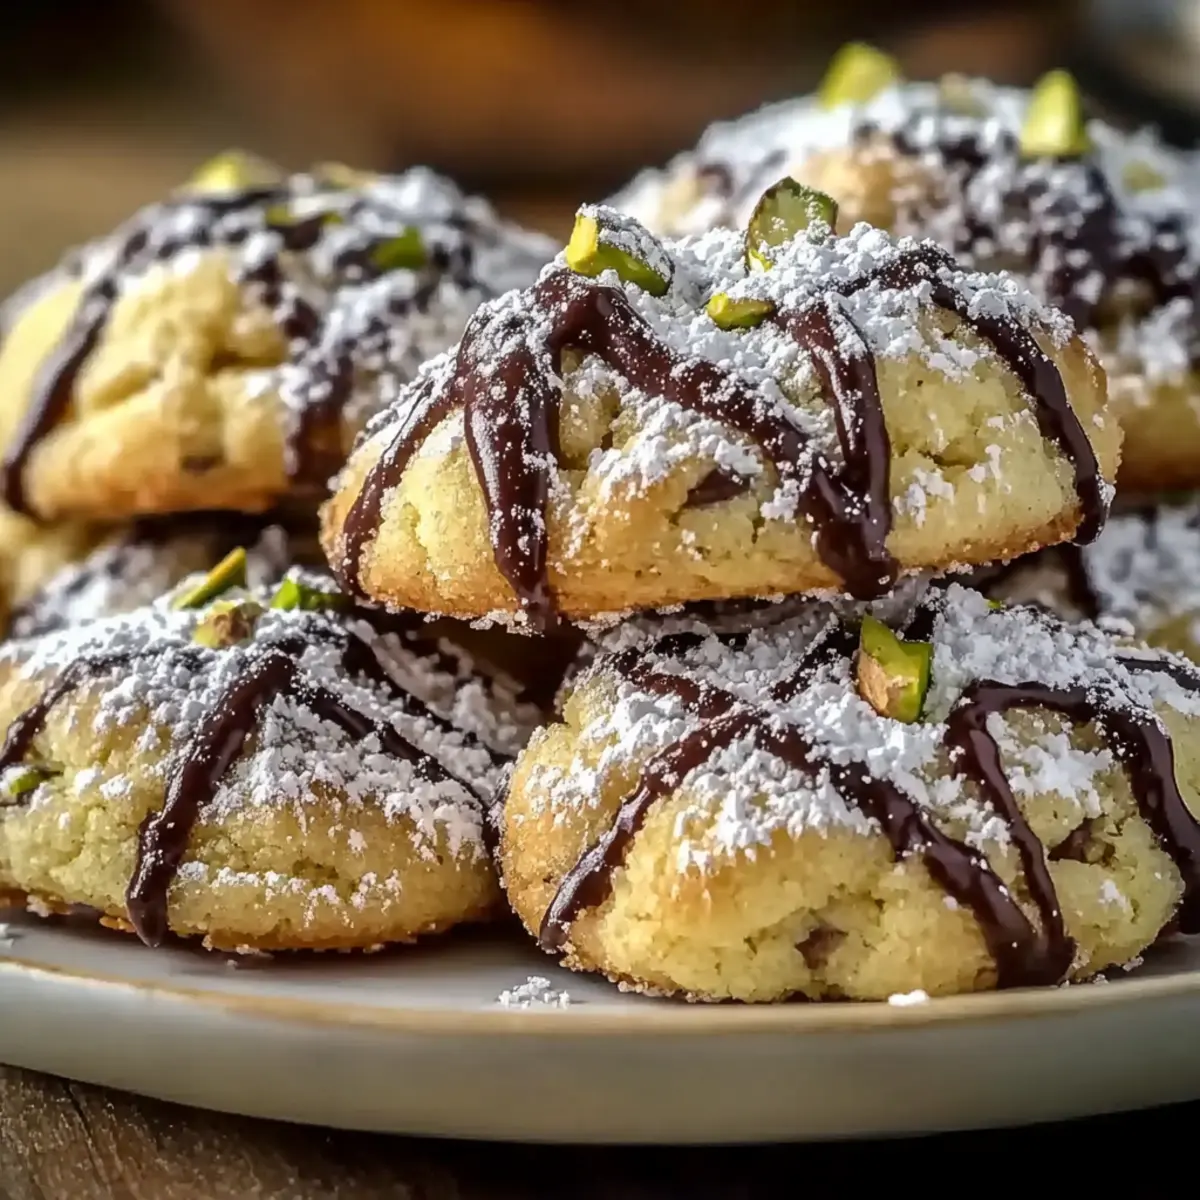
Once baked, remove the cookies from the oven and allow them to cool slightly on the baking sheets for 5 minutes. Then transfer them to a wire rack to cool completely. Just before serving, dust the Cannoli Cookies with powdered sugar for an elegant touch and a hint of sweetness that perfectly complements the creamy filling.
Storage Tips for Cannoli Cookies
Room Temperature: Store leftover Cannoli Cookies in an airtight container at room temperature for up to 3 days to maintain their delightful texture and flavor.
Fridge: If you prefer to keep them fresh a bit longer, you can refrigerate the cookies in an airtight container for up to 5 days. Just allow them to come to room temperature before serving for the best taste.
Freezer: For longer storage, wrap each cookie tightly in plastic wrap and place them in a freezer-safe bag. They can be frozen for up to 1 month. Thaw in the fridge overnight before enjoying.
Reheating: If you want to warm them up, briefly heat the cookies in the oven at 300°F for about 5 minutes, so they regain their delightful crispness.
Make Ahead Options
These Easy Cannoli Cookies are perfect for meal prep enthusiasts looking to save time during busy weeknights! You can prepare the cookie dough up to 24 hours in advance: simply follow steps 1 through 5 and then wrap the dough tightly in plastic wrap before refrigerating. For the filling, you can mix together the ricotta, chocolate chips, and pistachios one day ahead and store it in an airtight container in the refrigerator for up to 3 days. When you’re ready to bake, simply roll out the refrigerated dough, fill it with your prepared mixture, and follow the baking instructions. This way, you’ll enjoy the same delicious taste, freshly baked with minimal effort!
What to Serve with Easy Cannoli Cookies
Indulging in the sweet, crispy delight of Cannoli Cookies calls for the perfect partners to create a delightful meal or snack experience.
-
Rich Espresso: The bold flavors of espresso complement the sweet, creamy filling beautifully, creating an exquisite balance.
-
Vanilla Ice Cream: A scoop of vanilla ice cream adds a cool, creamy contrast to the crispy exterior, enhancing the overall decadence. Enjoy a delightful spoonful together!
-
Fresh Berries: Bright and juicy strawberries or raspberries offer a refreshing burst of flavor, cutting through the sweetness and adding a lightness to your dessert experience.
-
Chocolate Drizzle: A simple drizzle of melted chocolate elevates the cookies further, visually appealing and adding an extra layer of rich flavor.
-
Dessert Wine: Pairing these cookies with a sweet dessert wine like Moscato creates a rich and indulgent treat, perfect for elegant gatherings or cozy evenings.
-
Chopped Pistachios: Sprinkling extra chopped pistachios on top gives a delightful crunch and visual appeal, emphasizing the nutty elements in the filling.
-
Coconut Macaroons: Serve alongside chewy coconut macaroons for a textural contrast that visitors will adore; the flavors beautifully intermingle, creating delightful bites.
Cannoli Cookies Variations & Substitutions
Feel free to personalize your Cannoli Cookies with these delightful twists and substitutions that enhance flavors and fit various dietary needs.
- Gluten-Free: Substitute all-purpose flour with a 1:1 gluten-free baking flour to keep these cookies friendly for gluten-sensitive guests.
- Vegan: Replace the egg with a flaxseed egg (1 tablespoon ground flaxseed mixed with 2.5 tablespoons water). Use a non-dairy ricotta or tofu ricotta for a creamy vegan filling.
- Sweetener Swap: For a healthier version, try coconut sugar instead of granulated sugar. It adds a lovely caramel flavor while being lower on the glycemic index.
- Nutty Fillings: Switch up the texture by adding chopped hazelnuts or almonds into the filling. These will elevate the nuttiness and give an extra crunch with each bite.
- Citrus Variations: Replace lemon zest with orange or lime zest for a citrusy twist that brightens the flavor profile.
- Chocolate Lovers: For an indulgent treat, incorporate dark chocolate chips or mini Reese’s pieces into the filling. This adds a rich chocolaty taste to contrast the creamy ricotta.
- Berry Bliss: Add finely chopped strawberries or dried cranberries to your filling for a fruity burst. This variation adds color and a refreshing sweetness to the cookies, creating a delightful surprise in each bite.
- Spice It Up: A dash of cinnamon or nutmeg in the dough will give these cookies a warm, comforting flavor reminiscent of holiday treats, perfect for cozy gatherings.
These variations ensure that your Cannoli Cookies cater to everyone’s tastes, just like a cozy Italian café would. You might also find inspiration from my Chocolate Oat Cookies or Butter Toffee Cookies for more innovative ingredient swaps! Enjoy getting creative!
Expert Tips for Cannoli Cookies
- Room Temperature Ricotta: Ensure your ricotta cheese is at room temperature for easier mixing. This helps create a smoother filling for your Cannoli Cookies.
- Watch Your Dough: If the dough feels too sticky while rolling out, lightly dust with more flour. This prevents tearing and ensures the cookies hold their shape.
- Avoid Overbaking: The cookies are done when they’re golden brown at the edges; avoid baking too long to keep them soft and delicious inside.
- Filling Variation: Get creative with fillings! You can add dried fruits or different nuts for a personal touch that makes each batch of Cannoli Cookies uniquely yours.
- Presentation Matters: Dust the cookies with powdered sugar just before serving. This not only looks beautiful but adds a pleasant sweetness to each delightful bite.

Cannoli Cookies Recipe FAQs
What type of ricotta should I use for the cookies?
I recommend using whole milk ricotta for the best creaminess and flavor in your Cannoli Cookies. If you’re looking for a richer option, mascarpone cheese can also be a delightful alternative. Just make sure whatever you choose is at room temperature to mix seamlessly into the dough.
How should Cannoli Cookies be stored?
Store your leftover Cannoli Cookies in an airtight container at room temperature for up to 3 days to maintain their delightful texture. If you want them to last a bit longer, you can refrigerate them for up to 5 days. Just allow them to come to room temperature before serving for the optimal taste!
Can I freeze Cannoli Cookies?
Absolutely! For longer storage, wrap each cookie tightly in plastic wrap and then place them in a freezer-safe bag. They can be frozen for up to 1 month. To enjoy, thaw them in the fridge overnight, and if you prefer them warm, briefly heat in the oven at 300°F for about 5 minutes to regain crispness.
What should I do if the dough is too sticky?
If you find your dough is too sticky while rolling it out, don’t worry! Simply dust your work surface and the dough with a little more flour. This will make it easier to handle without it tearing, ensuring you get perfectly shaped cookies every time!
Can I use different types of nuts in the filling?
Very much so! While chopped pistachios add a lovely crunch, you can substitute them with walnuts or almonds for a different flavor. Feel free to experiment with other nuts to tailor the filling to your taste. Each variation can create a delightful twist on your Cannoli Cookies!
Are Cannoli Cookies safe for people with nut allergies?
If you’re cooking for someone with nut allergies, I recommend keeping the filling nut-free. You can simply omit the nuts altogether or replace them with ingredients such as seeds or dried fruits for added texture and flavor.
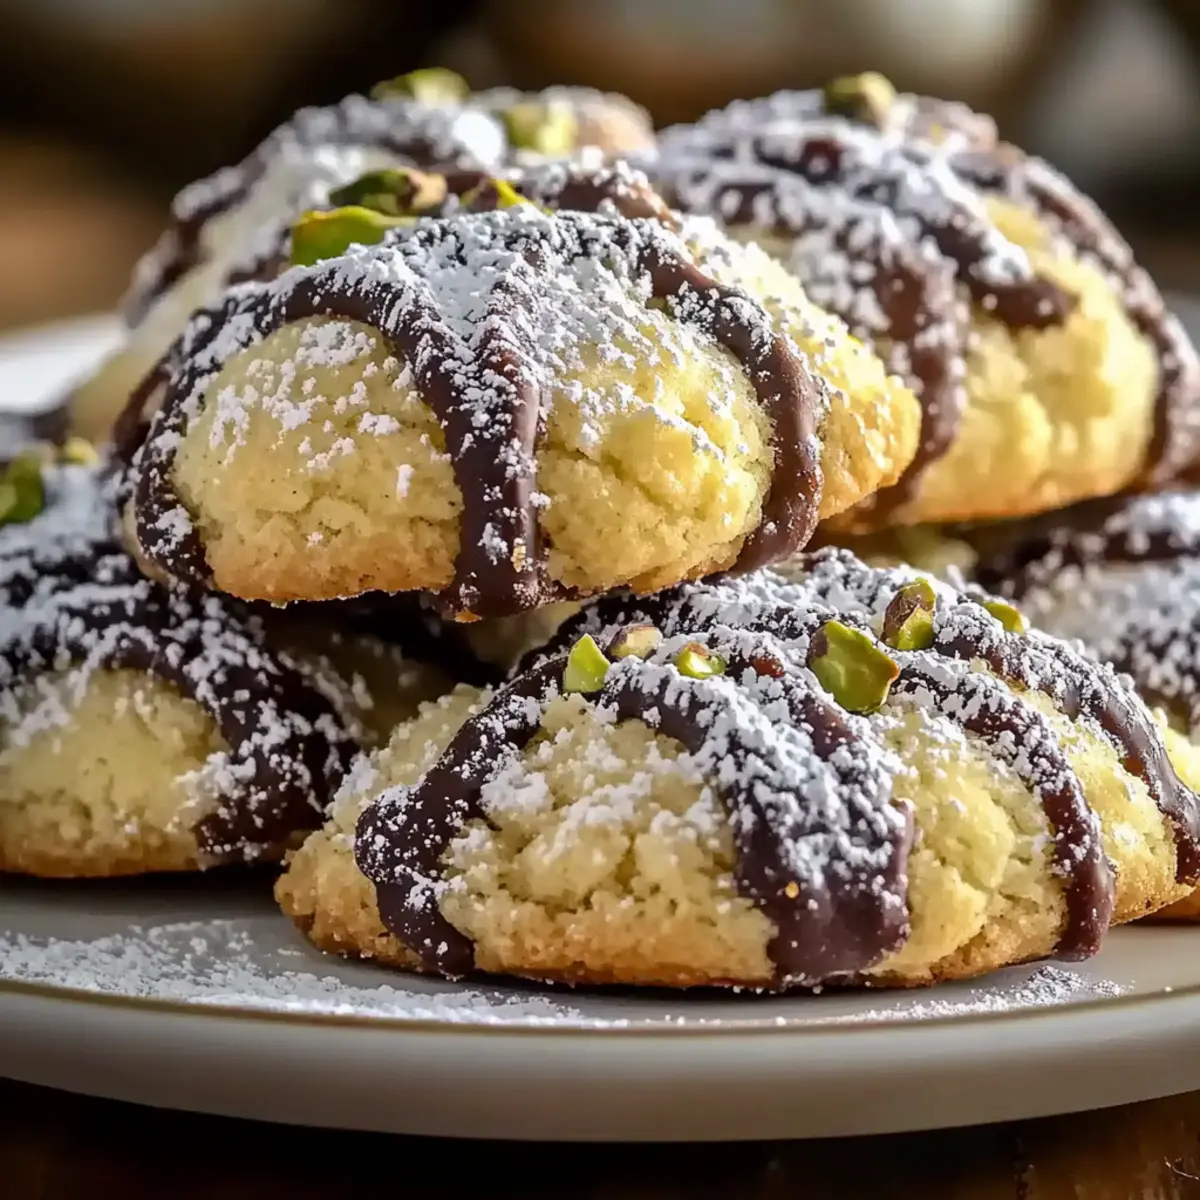
Cannoli Cookies: Indulge in Crispy Italian Bliss Today
Ingredients
Equipment
Method
- Preheat your oven to 350°F (175°C) and line your baking sheets with parchment paper.
- In a large mixing bowl, whisk together the all-purpose flour and granulated sugar until evenly combined.
- In a separate bowl, blend together ¼ cup of ricotta cheese, the egg, vanilla extract, and lemon zest until smooth.
- Gradually mix the dry ingredients into the wet ingredients until a soft dough forms.
- Cover the dough and let it rest for 30 minutes at room temperature.
- Roll out the dough to about ¼ inch thick and cut into 2x3 inch rectangles.
- Mix the remaining ¼ cup of ricotta with the mini chocolate chips and chopped pistachios.
- Place a small dollop of filling on one end of each dough rectangle, fold over, and pinch to seal.
- Bake the cookies on the prepared baking sheets for 15-18 minutes until golden brown.
- Cool the cookies for 5 minutes on the sheets, then transfer to a wire rack and dust with powdered sugar before serving.
Leave a Reply