
As the sunlight wanes and dinner time approaches, the familiar sizzle of shrimp in a pan can spark an almost primal excitement in any home cook. Today, I’m thrilled to share my Hawaiian Garlic Shrimp recipe—a dish that brings the vibrant flavors of Hawaiian cuisine right to your kitchen. This scrumptious dish pairs succulent shrimp with a rich, buttery garlic sauce, creating a meal that is not just quick to prepare but also delivers an unforgettable taste that will impress family and friends alike. With just 20 minutes from start to finish, this Garlic Shrimp recipe provides an escape from the ordinary, making it perfect for those busy weeknights or a delightful treat on the weekend. Are you ready to whip up a taste of paradise? Let’s dive in!
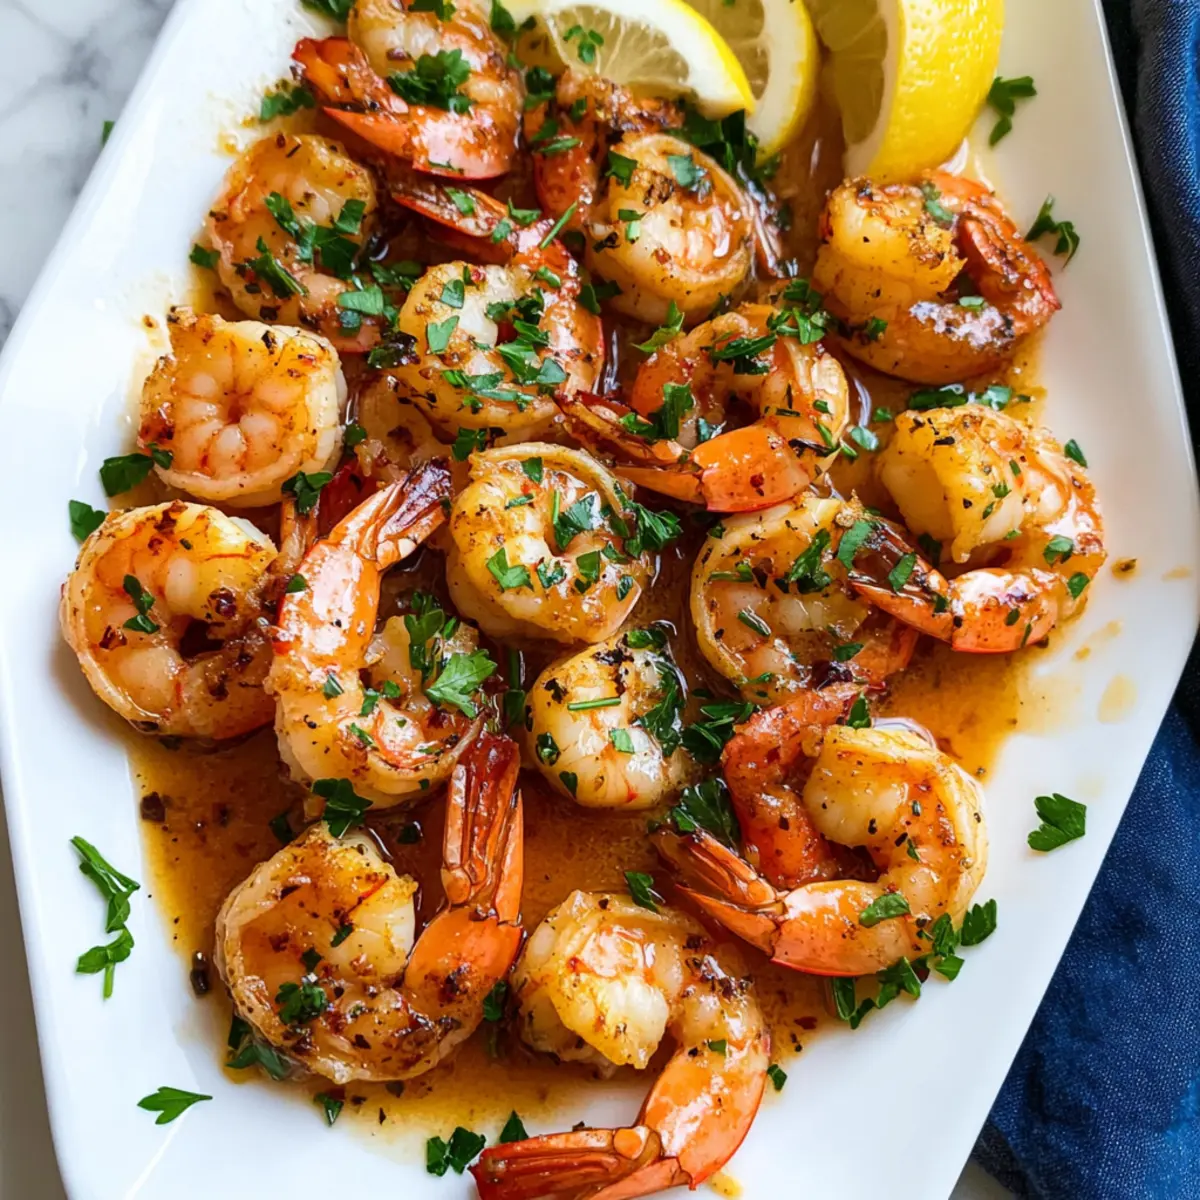
Why is Garlic Shrimp a must-try?
Simplicity: This dish is wonderfully straightforward, allowing even novice cooks to shine in the kitchen.
Rich Flavor: The buttery garlic sauce melds perfectly with the shrimp for an irresistible taste that will transport you to Hawaii with every bite.
Quick Cooking: In just 20 minutes, you’ll have a gourmet meal ready to impress guests or satisfy your own cravings.
Versatile Pairing: Enjoy it on its own or serve alongside white rice or a fresh salad for a complete meal. Looking for more delectable ideas? Try it with Honey Garlic Roasted Brussels Sprouts for a perfect side dish!
Impressive Presentation: The vibrant colors from paprika and parsley create a visually stunning dish that looks as good as it tastes.
Crowd-Pleaser: Whether it’s a casual family dinner or a festive gathering, this Garlic Shrimp will surely win everyone over!
Garlic Shrimp Ingredients
• For the Shrimp
- Extra Large Shrimp – Main protein; ensure they are peeled and deveined for the best texture.
- Salt and Freshly Ground Black Pepper – Enhances overall flavor; season to your taste.
• For the Sauce
- Minced Fresh Garlic – Provides a robust, aromatic flavor; about 1 medium head will do.
- Unsalted Butter – Creates a rich, creamy sauce; diced for even melting.
- Olive Oil – Balances the flavors and prevents butter from burning; perfect for sautéing.
- Fresh Lemon Juice – Brightens the dish; lime juice can be a tasty substitute.
• For the Coating
- All-Purpose Flour – Helps the shrimp get a nice sear and the sauce to cling well; no gluten-free substitutions recommended unless using alternatives.
- Paprika – Adds mild flavor and color; adjust to your taste for more depth.
- Cayenne Pepper – Optional for a kick; omit for a milder experience.
• For Garnish
- Minced Fresh Parsley – Optional but adds freshness and a burst of color to your presentation.
This Garlic Shrimp dish promises to tantalize your taste buds and elevate your dinner routine!
Step‑by‑Step Instructions for Garlic Shrimp
Step 1: Prepare the Shrimp
Start by patting the extra large shrimp dry with paper towels to remove excess moisture, ensuring a perfect sear later. In a mixing bowl, toss the shrimp with all-purpose flour, paprika, cayenne pepper, salt, and freshly ground black pepper until they are evenly coated. This coating will give the shrimp a delightful texture and enhance the overall flavor of your Hawaiian Garlic Shrimp.
Step 2: Heat the Skillet
In a large non-stick skillet, add the diced unsalted butter and a splash of olive oil. Heat the mixture over medium heat until it begins to sizzle, creating a rich, aromatic base for the sauce. This step takes about 2-3 minutes; keep an eye on the butter to prevent it from browning too much before you add the garlic for your delicious garlic shrimp.
Step 3: Sauté the Garlic
Once the butter has melted and is bubbling gently, add the minced fresh garlic to the skillet. Sauté the garlic for about 30 seconds, stirring frequently. You want to achieve a fragrant aroma without allowing the garlic to brown, as this could create a bitter taste that would detract from the savory richness of your Hawaiian Garlic Shrimp.
Step 4: Cook the Shrimp
Carefully place the coated shrimp into the skillet in a single layer, ensuring they’re not overcrowded. Allow them to cook for about 2 minutes or until the underside turns a beautiful pink. This quick cooking method is crucial to retaining the tender, juicy texture of the shrimp that you want to highlight in this dish.
Step 5: Flip and Finish Cooking
Gently flip each shrimp using tongs and continue cooking for another 2 minutes, or until they are fully cooked and opaque throughout. The shrimp should appear plump and firm at this point. This step is essential to ensure that your Hawaiian Garlic Shrimp is highlighted by a succulent texture, reflecting the very essence of the dish.
Step 6: Toss with Lemon Juice
Remove the skillet from the heat, then drizzle fresh lemon juice over the cooked shrimp, tossing gently to combine. The citrus will brighten the flavors considerably and enhance the overall taste of your garlic shrimp. Don’t skip this step, as it adds a refreshing contrast to the richness of the buttery sauce!
Step 7: Garnish and Serve
Plate the Hawaiian Garlic Shrimp and finish with a sprinkle of minced fresh parsley for a touch of color and freshness. Serve immediately, drizzling any remaining sauce over the shrimp for an enticing presentation. This final step showcases your delicious creation, making it a delightful centerpiece for any meal.
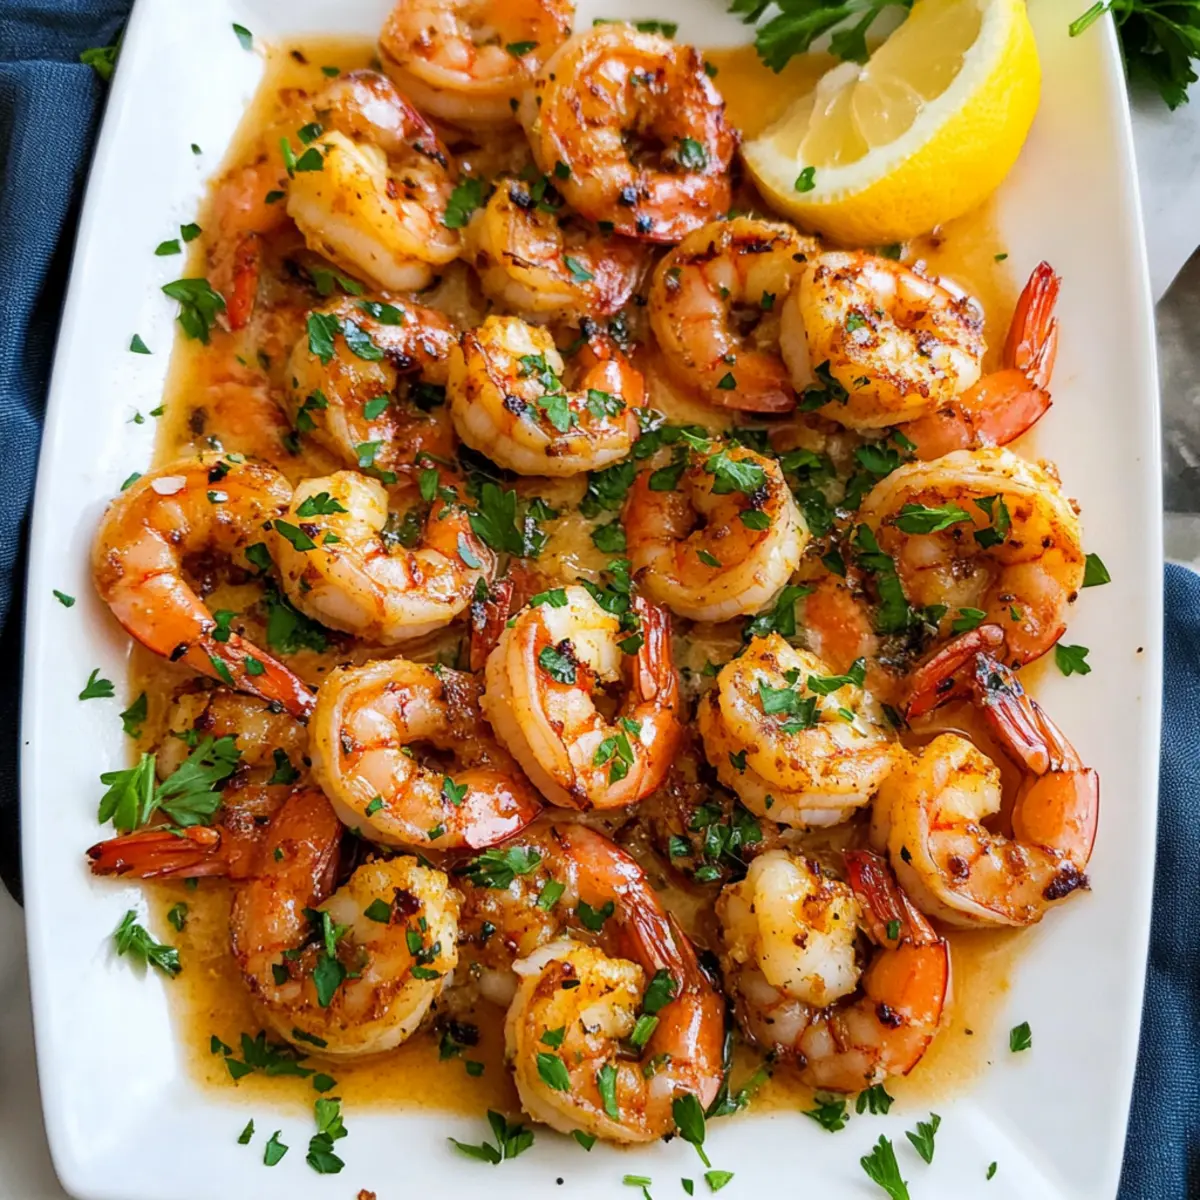
What to Serve with Hawaiian Garlic Shrimp
As your senses are enveloped in the alluring aroma of buttery garlic, envision the perfect accompaniments that will elevate your meal to tropical paradise status.
- Steamed White Rice: A classic pairing that soaks up the rich garlic sauce, making every bite more deliciously satisfying.
- Quinoa Salad: This nutty, nutritious option adds a fresh contrast with crunchy veggies and keeps the meal light yet filling.
- Coconut Jasmine Rice: Infused with coconut, this fragrant rice enhances the dish’s Hawaiian flair, marrying sweetness with savory.
- Garlic Bread: For avid garlic lovers, this buttery, toasted goodness doubles down on the garlic flavor and is perfect for dipping.
- Grilled Asparagus: The crisp-tender spears complement the shrimp’s richness, adding a touch of elegance and a vibrant green pop.
- Mango Salsa: This refreshing mix of diced mango, red onion, and cilantro offers a delightful sweetness that balances the savory shrimp.
- Hibiscus Iced Tea: A floral, fruity drink that complements the dish’s bold flavors while keeping you cool and refreshed.
- Chocolate Lava Cake: For dessert, this indulgent treat wraps up the meal on a sweet note, creating a memorable dining experience.
Each pairing harmonizes beautifully with the stunning flavors of Hawaiian Garlic Shrimp, ensuring a feast that is both delightful and unforgettable!
How to Store and Freeze Garlic Shrimp
Fridge: Store leftover Garlic Shrimp in an airtight container for up to 2 days to retain its flavor and moisture.
Freezer: For longer storage, freeze cooked Garlic Shrimp in a freezer-safe bag for up to 3 months. Be sure to remove as much air as possible to prevent freezer burn.
Reheating: When ready to enjoy, reheat gently in a skillet over medium-low heat. Add a splash of water or broth to keep it juicy and avoid overcooking.
Serving Tip: Unfreeze overnight in the fridge for best results before reheating, ensuring the Garlic Shrimp stays tender and flavorful!
Make Ahead Options
These Hawaiian Garlic Shrimp are perfect for meal prep enthusiasts! You can coat the shrimp with flour, paprika, cayenne, salt, and pepper up to 24 hours in advance. Just make sure to refrigerate them in a sealed container to keep them fresh and flavorful. You can also mince the garlic and store it separately in an airtight container for 2-3 days, preventing it from losing its aromatic qualities. When you’re ready to serve, simply heat the butter and olive oil in the skillet, sauté the garlic until fragrant, and cook the shrimp until they are pink and opaque. You’ll enjoy restaurant-quality results with minimal effort, all ready to impress your family or guests!
Garlic Shrimp Variations & Substitutions
Feel free to get creative with this delicious recipe and make it your own with these tempting modifications!
-
Scallop Swap: Substitute extra large shrimp with large scallops for a delightful twist on texture.
-
Spicy Kick: Increase the cayenne pepper or add crushed red pepper flakes for an extra heat boost; it will wake up your taste buds!
-
Herb Twist: Replace parsley with fresh cilantro or chives for a different herbal note; they’ll add freshness and complementary flavors.
-
Lemon Zing: Instead of lemon juice, try a splash of lime juice to brighten the dish with a tropical twist.
-
Sautéing Alternative: Use coconut oil instead of olive oil for a hint of sweet nuttiness that pairs beautifully with garlic and shrimp.
-
Vegetable Medley: Add a mix of sautéed bell peppers and snap peas for added color and crunch; this will upgrade the dish while introducing more nutrients.
-
Creamy Sauce: For a richer sauce, stir in a splash of heavy cream at the end; it enhances the butter sauce into a creamy delight.
-
Garlic Lovers: Double the amount of fresh garlic for even more flavor; perfect for those who can’t resist a garlicky kick. Try it with Honey Garlic Roasted Brussels Sprouts for a fantastic side!
Expert Tips for Garlic Shrimp
-
Pat Dry First: Ensure shrimp are patted dry before coating. Moisture prevents a good sear and affects texture.
-
Watch the Garlic: Sauté garlic just until fragrant, about 30 seconds. Overcooking can lead to bitterness in your Garlic Shrimp.
-
Avoid Crowding: Cook shrimp in a single layer to ensure even cooking and a succulent finish. Crowding can result in steaming rather than searing.
-
Control Heat: Use medium heat to maintain a steady cooking environment. Too high heat can burn butter and garlic, changing the dish’s flavor.
-
Fresh Ingredients: Opt for fresh lemon juice and parsley to elevate the flavors in your Garlic Shrimp. These fresh touches make a remarkable difference!
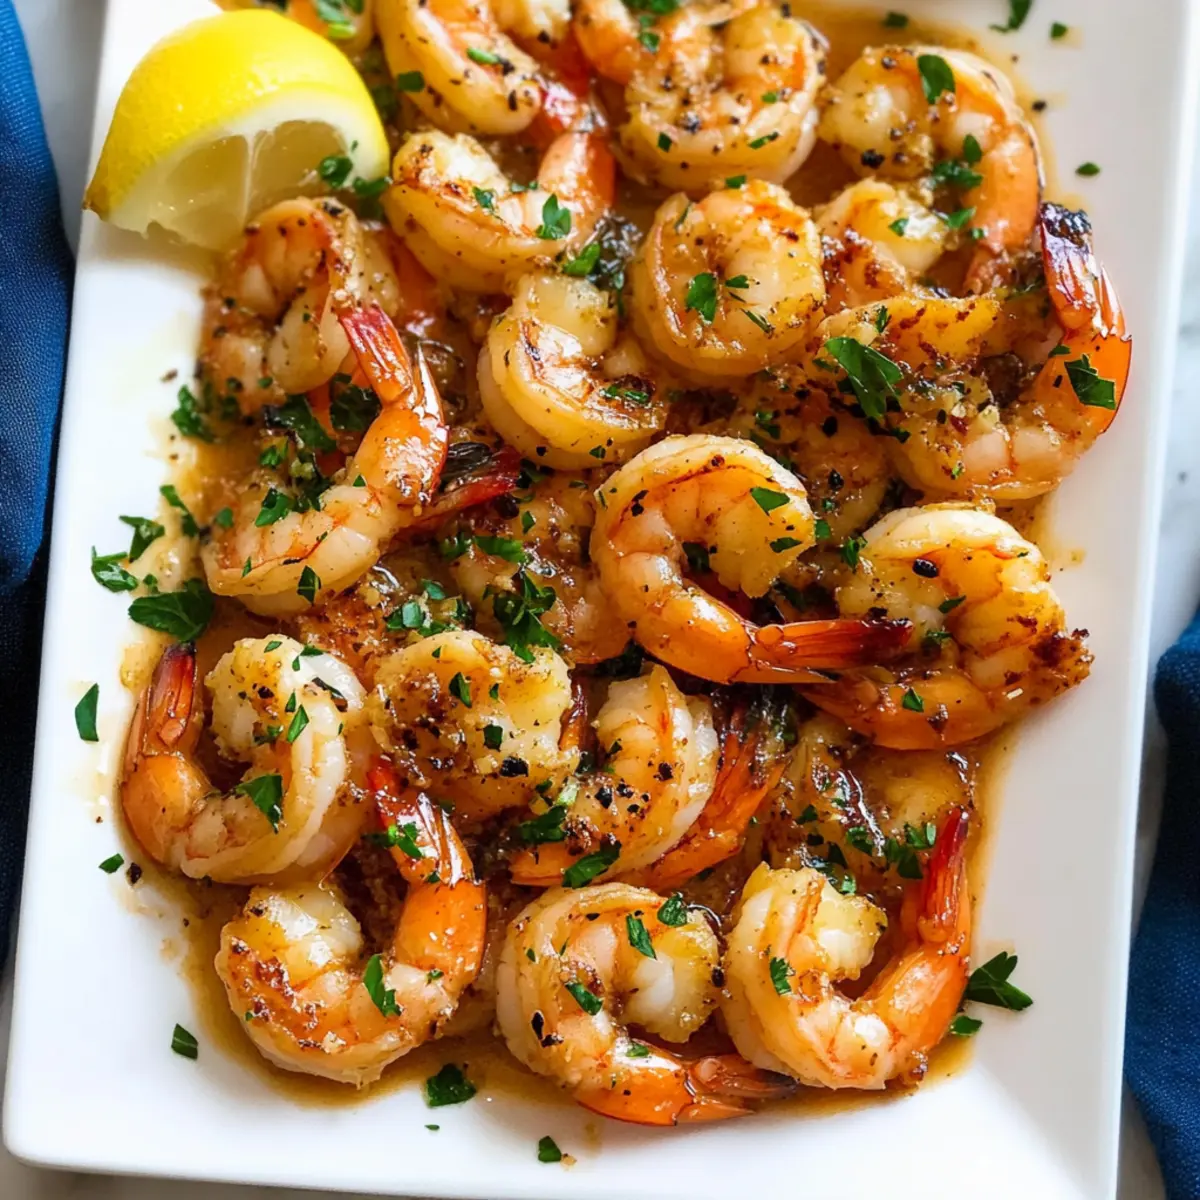
Hawaiian Garlic Shrimp Recipe FAQs
How do I select the best shrimp for this recipe?
Absolutely! Look for extra large shrimp that are firm and translucent, with no dark spots or strong odors. Fresh shrimp should look shiny and have a “ocean” scent—not fishy. Always choose shrimp that are peeled and deveined for an easier cooking experience.
What’s the best way to store leftover Garlic Shrimp?
For sure! Place any leftover Garlic Shrimp in an airtight container in the refrigerator. It will stay fresh for about 2 days. When reheating, do so gently on medium-low heat to avoid overcooking the shrimp, which can make them tough.
Can I freeze Garlic Shrimp?
Yes, you can! To freeze, place the cooked Garlic Shrimp in a freezer-safe bag, removing as much air as possible to prevent freezer burn. It will keep well for up to 3 months. When ready to enjoy, thaw it in the fridge overnight and then gently reheat in a skillet on medium-low heat with a splash of broth or water to retain moisture.
What if my Garlic shrimps turn out rubbery?
Very! Rubberiness usually results from overcooking. Make sure to cook the shrimp just until they turn pink and opaque, which typically takes about 4 minutes total—2 minutes on each side. Keeping a close eye on them will help achieve that tender, succulent texture.
Can I adapt this recipe for gluten-free diets?
Yes! If you’re looking for a gluten-free option, you can replace all-purpose flour with a gluten-free flour alternative like almond flour or a gluten-free all-purpose blend. However, ensure that your substitutions maintain the same texture for the best results.
Is this recipe safe for pets?
Certainly! While some shrimp in moderation can be safe for dogs, make sure not to include any seasonings or ingredients harmful to pets. Always consult with your veterinarian before introducing any human food into your pet’s diet.
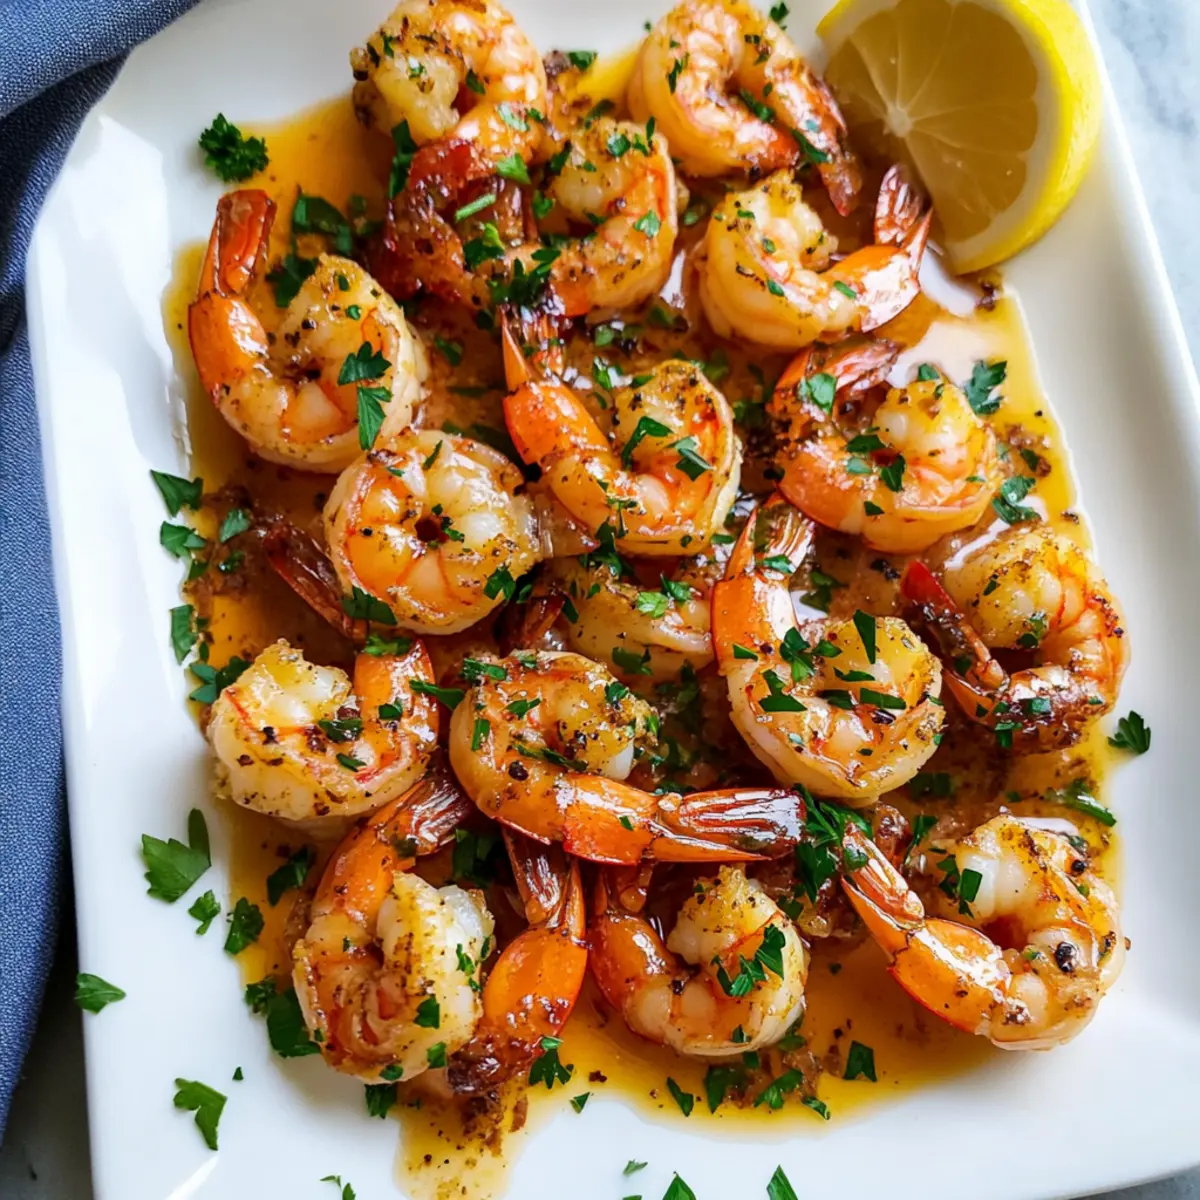
Savory Garlic Shrimp: Your New Favorite 20-Minute Delight
Ingredients
Equipment
Method
- Pat the extra large shrimp dry with paper towels. Toss the shrimp with all-purpose flour, paprika, cayenne pepper, salt, and freshly ground black pepper in a mixing bowl until evenly coated.
- In a large non-stick skillet, add the diced unsalted butter and a splash of olive oil. Heat over medium heat until it begins to sizzle.
- Add the minced garlic to the skillet. Sauté for about 30 seconds until fragrant without browning.
- Carefully place the shrimp into the skillet in a single layer. Cook for about 2 minutes or until the underside turns pink.
- Gently flip each shrimp and continue cooking for another 2 minutes until fully cooked and opaque.
- Remove from heat, drizzle with lemon juice, and toss gently to combine.
- Plate the shrimp and sprinkle with minced parsley. Serve immediately, drizzling remaining sauce over the shrimp.
Leave a Reply