
The first bite of a well-made no-bake cheesecake can transport you to sunny days and carefree celebrations. It’s the kind of dessert that whispers, “Relax and indulge,” while still being incredibly simple to whip up at home. My Easy No-Bake Cheesecake recipe strikes the perfect balance between creamy decadence and delightful crunch, making it a definite crowd-pleaser for any gathering or casual dinner. Not only is this dessert a breeze to prepare—no oven involved!—but it also offers the freedom to customize it with your favorite toppings like fresh fruit or rich chocolate sauce. Curious about how to craft this stunning treat that looks as good as it tastes? Stick around; I’ll guide you every step of the way!
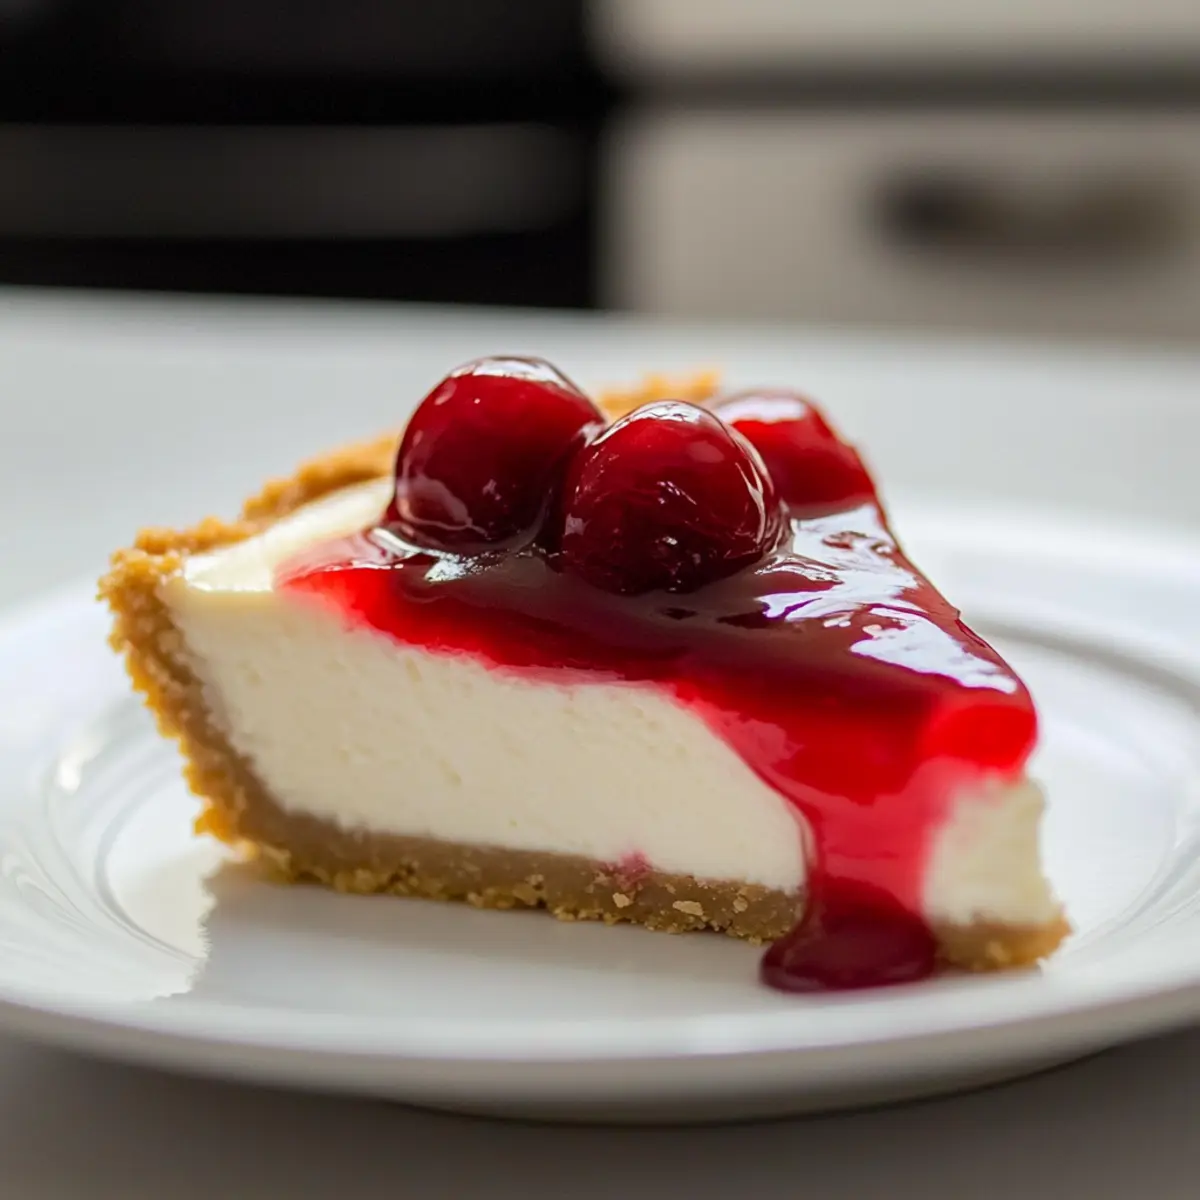
Why is No-Bake Cheesecake a Must-Try?
Simplicity at Its Best: This no-bake cheesecake makes dessert night a breeze with minimal prep and no oven required.
Creamy & Dreamy: The silky cream cheese filling pairs perfectly with a buttery graham cracker crust, promising a delightful texture that melts in your mouth.
Crowd-Pleaser: Whether you’re hosting a gathering or just indulging at home, this cheesecake is sure to impress everyone.
Customize Your Way: Top it off with fresh fruit, chocolate, or whipped cream for a personal touch—this dessert is versatile enough to fit any occasion!
If you prefer a fruit-forward option, check out my Japanese Cheesecake Light for an airy twist.
No-Bake Cheesecake Ingredients
Creamy, Simple Goodness Awaits
For the Crust
• Graham Cracker Crumbs – A delightful base for the crust, providing a crunchy texture. Substitution: Try crushed Oreos for a chocolatey twist.
• Butter (melted) – Binds the crumbs tightly, ensuring your crust holds up beautifully. Note: Margarine won’t give the same rich taste, so stick with real butter.
For the Filling
• Cream Cheese (softened) – The star of your cheesecake, creating that signature creamy texture. Prep Note: Let it sit at room temperature for easy mixing.
• Granulated Sugar – Sweetens the filling perfectly. Substitution: Use powdered sugar for a smoother consistency.
• Vanilla Extract – Brings out the wonderful flavors in your cheesecake. Note: Always opt for pure vanilla for the best results.
• Heavy Cream (cold) – Whipped into the filling for lightness and fluffiness. Prep Note: Chill the cream beforehand for the best whipping texture.
Optional Topping
• Canned Pie Filling – Adds flavor and color to your cheesecake. Variation: Fresh fruit or whipped cream make excellent, fresh toppings.
Get ready to prepare a delightful no-bake cheesecake that’s sure to impress!
Step‑by‑Step Instructions for Easy No-Bake Cheesecake
Step 1: Prepare the Crust
In a medium bowl, combine the graham cracker crumbs with melted butter until evenly moistened. Press the mixture firmly into the bottom of an 8 or 9-inch pie plate using the back of a measuring cup or your fingers, creating an even layer. Refrigerate the crust for 15–20 minutes to allow it to set and firm up while you prepare the filling.
Step 2: Mix the Filling
In a large mixing bowl, use an electric mixer to beat the softened cream cheese, granulated sugar, and vanilla extract together on medium speed until the mixture is smooth and lump-free, about 2–3 minutes. The filling should have a creamy, silky texture, ensuring that your Easy No-Bake Cheesecake will be delightful and uniform when served.
Step 3: Whip the Heavy Cream
In a separate, chilled bowl, pour in the cold heavy cream and whip with a hand mixer on medium-high speed until stiff peaks form, approximately 3–5 minutes. Be careful not to overmix, as you’ll want soft peaks for incorporating the cream into the cream cheese filling. The cold temperature helps achieve a light and airy consistency.
Step 4: Combine Mixtures
Gently fold the whipped heavy cream into the cream cheese mixture in thirds, using a spatula to retain the airiness. Start by adding one-third of the whipped cream, then fold carefully until incorporated before repeating the process with the remaining cream. This method ensures a light and fluffy filling for your Easy No-Bake Cheesecake.
Step 5: Assemble the Cheesecake
Pour the creamy filling over the chilled graham cracker crust, using a spatula to smooth the top. It should be level and even, inviting a beautiful presentation. Once smoothed, gently tap the pie plate on the counter to remove any air bubbles and ensure it settles into the crust correctly.
Step 6: Chill to Set
Cover the assembled cheesecake with plastic wrap and refrigerate for at least 2 hours, or overnight for the best results. This chilling time allows the cheesecake to set properly, enhancing its flavor and making it easier to slice later. Meanwhile, you can prepare your toppings.
Step 7: Serve and Enjoy
When you’re ready to serve, remove the cheesecake from the refrigerator and take off the plastic wrap. Top it off with your favorite canned pie filling or fresh fruit for a pop of color and flavor. Slice into wedges and dish it out cold for a refreshing dessert perfect for any occasion!
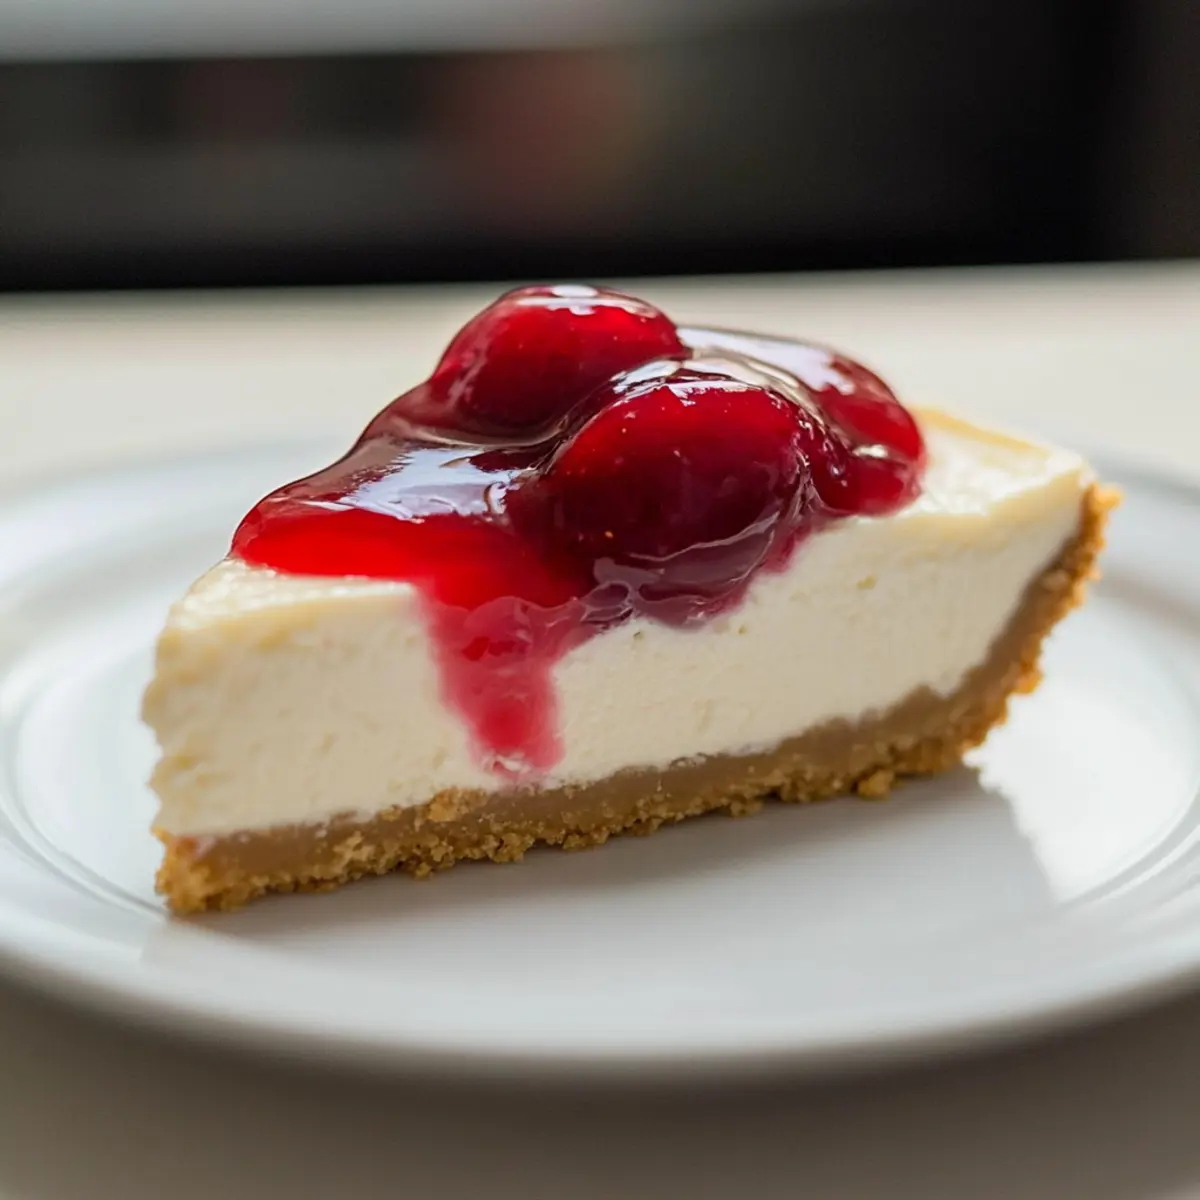
No-Bake Cheesecake Variations Await
Feel free to get creative and personalize this dessert to suit your tastes and dietary preferences!
-
Gluten-Free: Use gluten-free graham cracker crumbs or almond flour to create a crust that everyone can enjoy.
-
Chocolate Lovers: Substitute cocoa powder in the crust or mix melted chocolate into the filling for a rich chocolate cheesecake.
-
Fruit-Infused: Add a layer of pureed berries or a teaspoon of fruit preserves into the filling for a fruity burst.
-
Nutty Crunch: Mix chopped nuts like pecans or almonds into the crust for an extra crunch and flavor dimension.
-
Tropical Twist: Incorporate coconut milk in the filling for a light, tropical flavor reminiscent of a beach vacation.
-
Less Sweet: Reduce granulated sugar or substitute with a sugar alternative like stevia for a less sugary dessert without compromising flavor.
-
Zesty Flavor: Stir in lemon or lime zest into the filling for a refreshing citrus zing that brightens up each bite.
If you’re looking for a more delicate dessert, why not try my Japanese Cheesecake Light? It’s light and fluffy, great for any occasion! And for an indulgent option, check out my Cheesecake Decadent Indulgence to explore lavish rich flavors.
Make Ahead Options
Preparing this Easy No-Bake Cheesecake ahead of time is a fantastic way to save precious minutes on busy weeknights! You can make the crust and filling up to 24 hours in advance. Simply prepare the graham cracker crust and refrigerate it until set, about 15-20 minutes, then mix and pour the filling over the crust, smoothing the top and covering it tightly with plastic wrap. Refrigerate for at least 2 hours or, for optimal results, overnight. To maintain the cheesecake’s creamy texture, avoid leaving it at room temperature for long periods and keep it refrigerated until serving. When ready to serve, top with your favorite canned pie filling or fresh fruit for a delightful finish that’s just as delicious as if made today!
Storage Tips for No-Bake Cheesecake
Fridge: Store your no-bake cheesecake in an airtight container in the refrigerator for up to 5 days. Keep it covered to maintain its freshness and prevent drying out.
Freezer: If you want to save some for later, freeze the cheesecake for up to 1 month. Wrap it tightly in plastic wrap, then in foil to avoid freezer burn.
Thawing: To serve, transfer the frozen cheesecake to the fridge for a few hours or overnight to thaw gently. Avoid using the microwave, as it can change the texture.
Serving Cold: For the best taste and texture, serve your cheesecake chilled. Just top it with your favorite pie filling or fresh fruit right before serving for that perfect finish!
Expert Tips for No-Bake Cheesecake
• Use Room Temperature Cream Cheese: Letting the cream cheese soften at room temperature ensures a smooth and lump-free filling, enhancing the overall texture.
• Chill Your Mixing Bowl: For best results when whipping the heavy cream, chill your mixing bowl beforehand. It helps achieve lighter, fluffier peaks, making your no-bake cheesecake more delightful.
• Don’t Overmix: After adding the heavy cream to the cream cheese mixture, fold gently. Overmixing can deflate the whipped cream, leaving you with a denser filling.
• Set Overnight: Although you can refrigerate for 2 hours, letting the cheesecake chill overnight develops richer flavors and a firmer consistency, resulting in a superior no-bake cheesecake.
• Experiment with Toppings: Feel free to get creative with toppings; fresh fruits or sauces can elevate the dessert visually and taste-wise, allowing for personalized indulgence!
What to Serve with Easy No-Bake Cheesecake?
Elevate your dessert experience with delightful sides that perfectly balance the sweetness of this creamy delight.
- Fresh Berries: Juicy strawberries, blueberries, or raspberries add a tart contrast that brightens each bite, enhancing the cheesecake’s richness. Their natural sweetness pairs beautifully with the creamy texture.
- Chocolate Drizzle: A warm, rich chocolate sauce adds elegance and extra indulgence, making every slice decadent and inviting.
- Whipped Cream: Fluffy whipped cream offers a light finish that complements the cheesecake’s density, refreshing each mouthful with airy bliss.
- Fruit Salad: A vibrant mix of seasonal fruits brings freshness to the table, balancing the richness of the cheesecake while providing a burst of color.
- Coffee: A rich, bold brew perfectly balances the sweetness of the cheesecake, enhancing flavors and giving guests a wonderful after-dinner experience.
- Mint Sprigs: Adding a few fresh mint leaves on top of slices gives a pop of color and a refreshing finish that cleanses the palate.
- Caramel Sauce: Drizzling caramel adds a smooth sweetness with a slightly salty edge that pairs delightfully with cream cheese’s richness.
Serve these delightful combinations alongside your Easy No-Bake Cheesecake to create a dessert spread that is both visually stunning and deliciously satisfying!
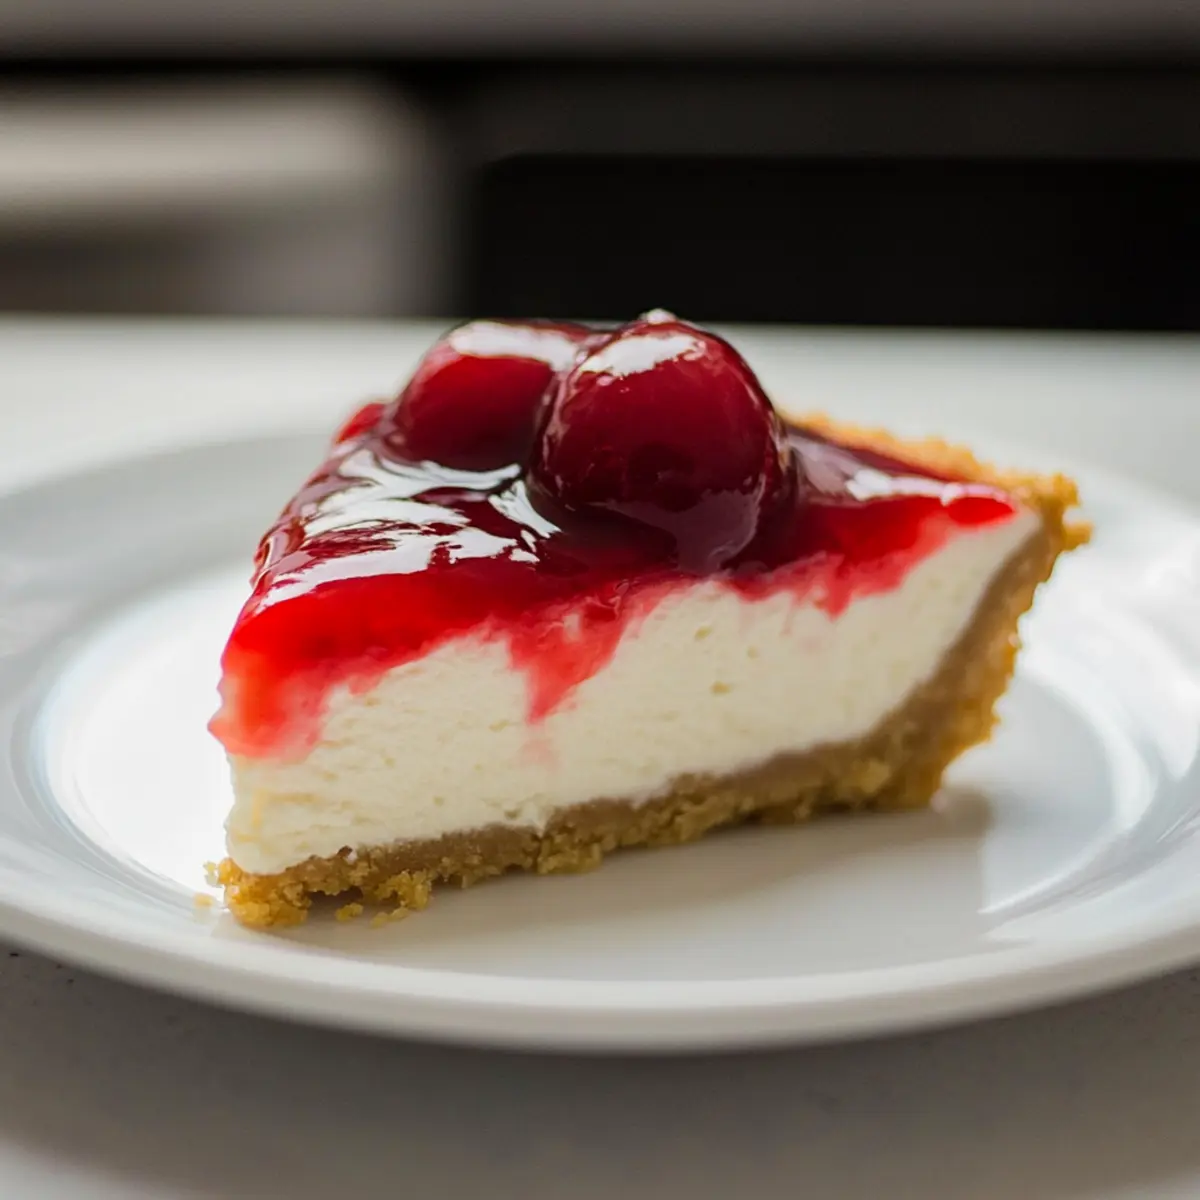
Easy No-Bake Cheesecake Recipe FAQs
What type of graham crackers should I use for the crust?
You can use regular graham crackers for a traditional taste, but feel free to get creative! Crushed Oreos or digestive biscuits are excellent alternatives, providing a unique flavor twist to your crust.
How long can I store leftover no-bake cheesecake?
You can store your no-bake cheesecake in an airtight container in the refrigerator for up to 5 days. It’s essential to keep it covered to maintain its freshness and prevent it from absorbing any odors from the fridge.
Can I freeze no-bake cheesecake?
Absolutely! You can freeze your no-bake cheesecake for up to 1 month. Wrap it tightly with plastic wrap and then with foil to prevent freezer burn. When you’re ready to enjoy it, simply transfer the cheesecake to the fridge to thaw gently overnight.
What should I do if my cheesecake filling is too runny?
If your filling becomes too runny, it’s usually because the heavy cream wasn’t whipped enough or the cream cheese was too warm. To fix this, you can try whipping another cup of cold heavy cream until stiff peaks form and gently fold it into the mixture to add more structure. This will help thicken the filling and achieve that creamy consistency you’re looking for.
Is this dessert suitable for those with allergies?
This dessert contains dairy ingredients like cream cheese and heavy cream, which may not be suitable for lactose intolerant individuals or those with dairy allergies. Consider using dairy-free cream cheese and coconut cream as alternatives to make a lactose-free version of this no-bake cheesecake.
How can I make my cheesecake more decorative?
To add some flair to your no-bake cheesecake, top it with your favorite canned pie filling, fresh fruits, or a drizzle of chocolate sauce right before serving. You can also sprinkle some crushed nuts or chocolate shavings on top for an attractive finish!
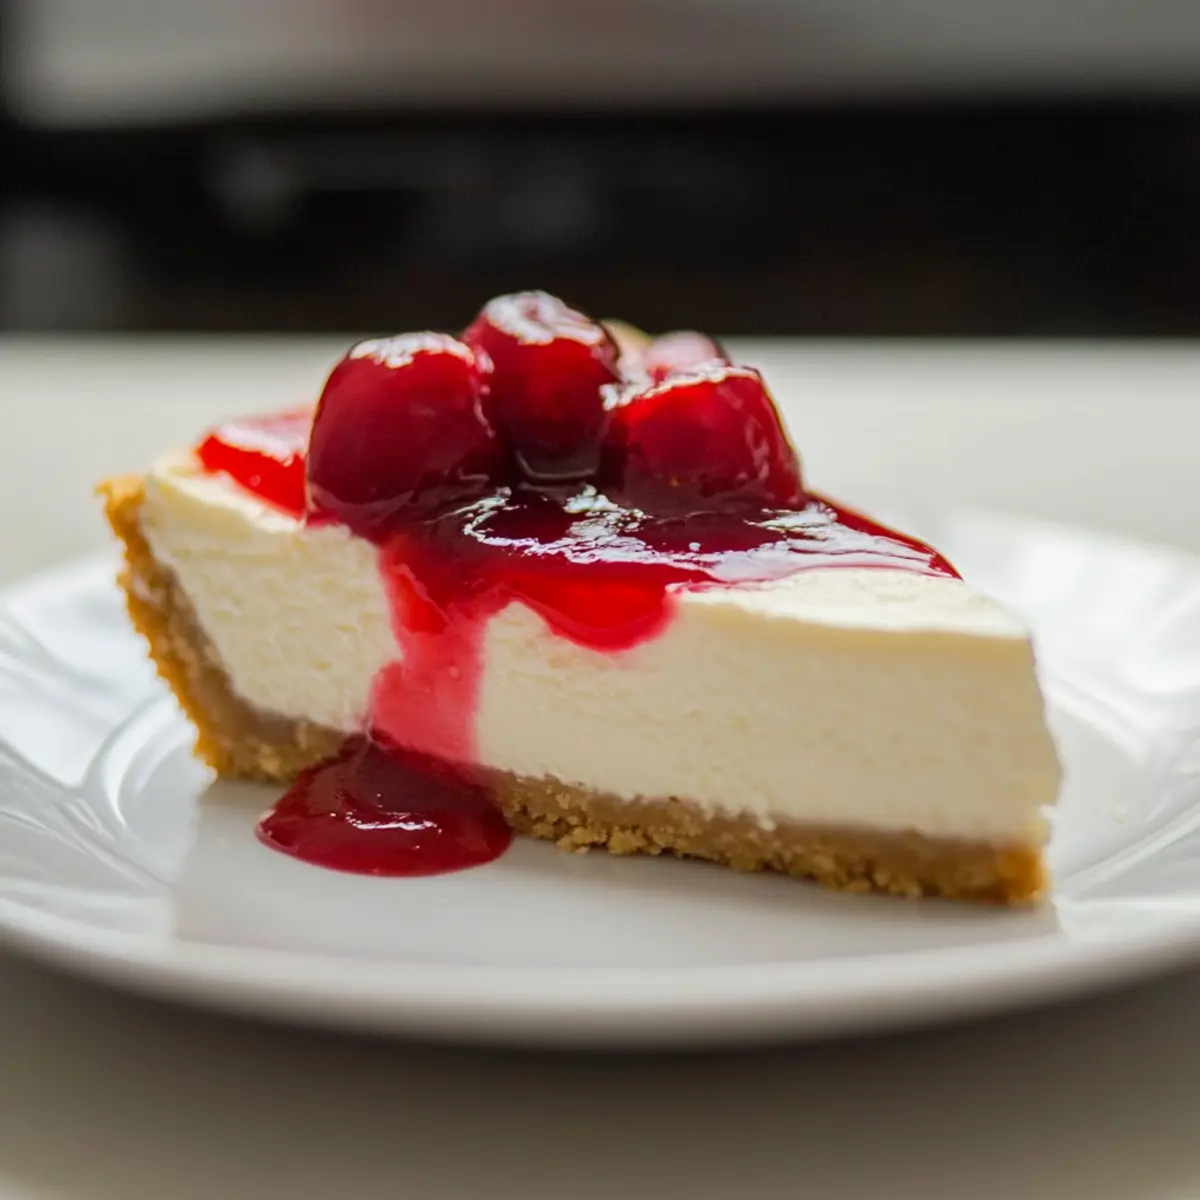
Dreamy No-Bake Cheesecake that Everyone Will Love
Ingredients
Equipment
Method
- In a medium bowl, combine the graham cracker crumbs with melted butter until evenly moistened. Press the mixture firmly into the bottom of an 8 or 9-inch pie plate. Refrigerate for 15–20 minutes to set.
- In a large mixing bowl, beat the softened cream cheese, granulated sugar, and vanilla extract together on medium speed until smooth, about 2–3 minutes.
- In a separate, chilled bowl, whip the cold heavy cream until stiff peaks form, approximately 3–5 minutes.
- Gently fold the whipped heavy cream into the cream cheese mixture in thirds, using a spatula to retain airiness.
- Pour the creamy filling over the chilled crust and smooth the top. Tap the pie plate to remove any air bubbles.
- Cover with plastic wrap and refrigerate for at least 2 hours, or overnight for best results.
- When ready to serve, remove from the refrigerator, top with canned pie filling or fresh fruit, slice, and serve cold.
Leave a Reply