
The aroma of freshly brewed espresso wafts through the kitchen, instantly whisking me away to my favorite café corner. As I dive into this rich Espresso Coffee Cheesecake recipe, I can hardly contain my excitement—this dessert marries two beloved worlds: coffee and cheesecake. With its creamy texture and a tantalizing hint of coffee flavor, this heavenly treat is perfect for any occasion, whether you’re hosting friends or simply indulging yourself. Plus, it’s convenient to make; the straightforward process and crowd-pleasing result mean you can impress guests without stress. As you prepare to whip up this exquisite coffee cheesecake, just imagine the delighted faces as they savor each bite. Curious about how to elevate your dessert game? Let’s dive into the mouthwatering details!
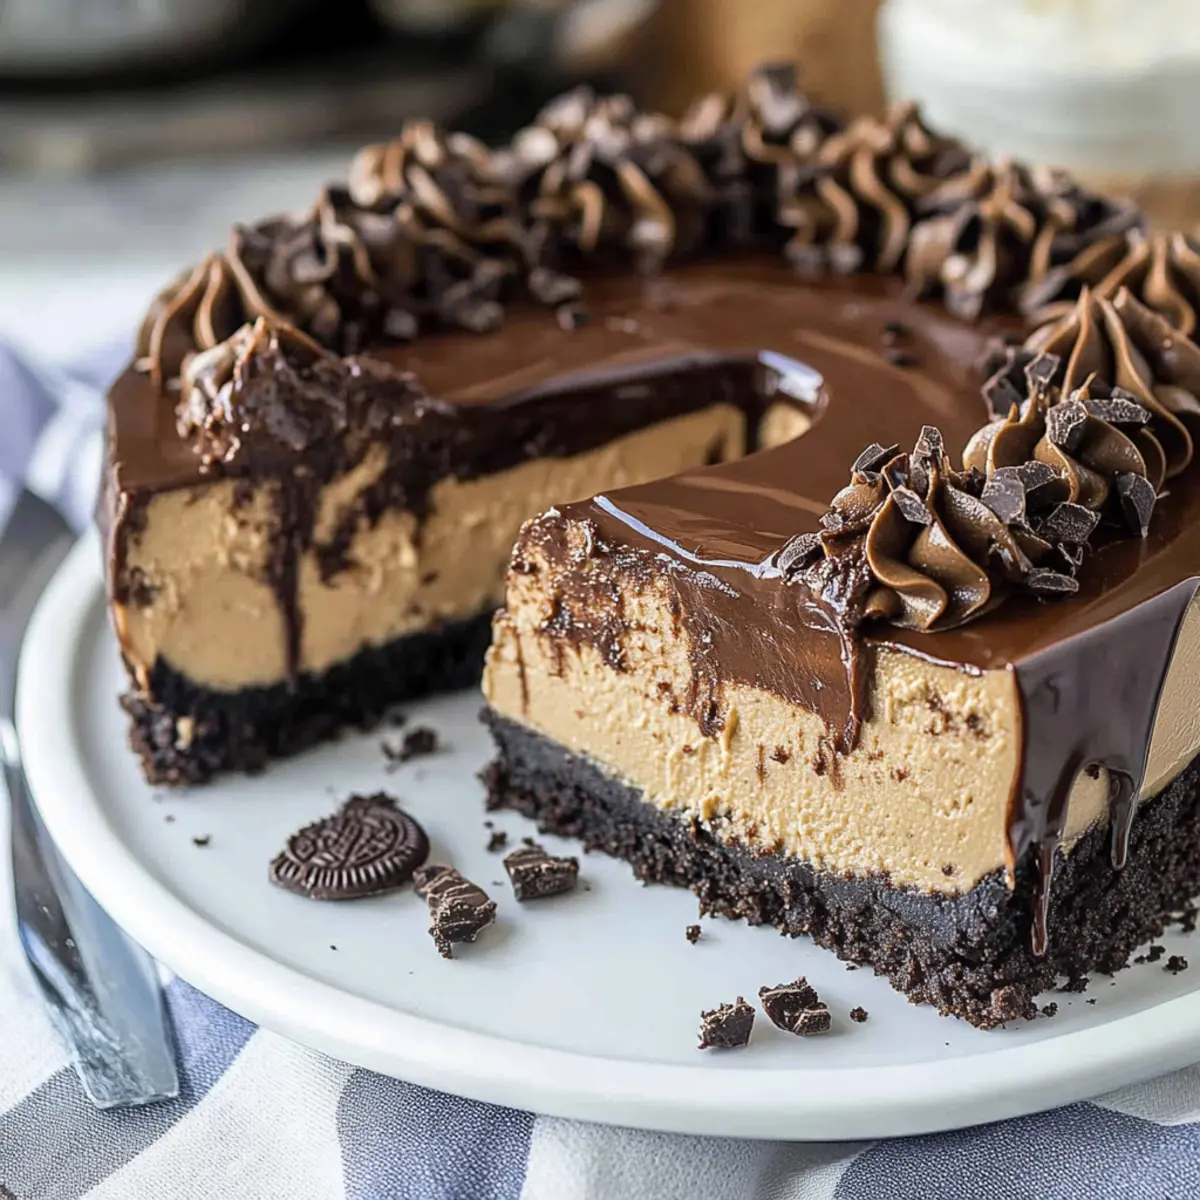
Why Choose This Coffee Cheesecake?
Irresistible Flavor: The espresso-infused filling perfectly complements the crunchy Oreo crust, creating a symphony of rich flavors that will excite your taste buds.
Effortlessly Elegant: With simple steps, even novice bakers can create a stunning dessert that looks and tastes gourmet, perfect for gatherings or a sweet treat at home.
Customizable Delight: This recipe allows for flavor boosts—try adding chocolate chips or a hint of orange zest for unique variations to keep your guests guessing!
Crowd-Pleasing Appeal: Whether you’re serving coffee lovers or dessert aficionados, this cheesecake is bound to earn rave reviews and become a new favorite that keeps them coming back for more.
Imagine serving a slice alongside a dollop of whipped cream or fresh berries for a beautiful contrast—the possibilities are endless! If you love cheesecakes, don’t forget to check out my recipes for Japanese Cheesecake Light and Cheesecake Decadent Indulgence for more delightful options to impress your guests.
Coffee Cheesecake Ingredients
• Get ready to create magic with these key ingredients!
For the Crust
- Oreo crumbs – Provides the crust structure and flavor. Substitution: Use gluten-free cookies for a gluten-free option.
- Unsalted butter (4 Tbsp) – Binds the crust ingredients. Note: Can substitute with coconut oil for a dairy-free version.
For the Filling
- Cream cheese (3 packages, 8 oz each) – Creates the creamy cheesecake filling. Use full-fat for best results.
- Granulated sugar (1 cup) – Adds sweetness to balance the coffee. Consider coconut sugar for a healthier alternative.
- Vanilla extract (1 tsp) – Enhances flavor depth. No substitutions necessary.
- Brewed espresso (⅓ cup) – Provides the rich coffee flavor. Substitution: Use strong brewed coffee when espresso is unavailable.
- Large eggs (3) – Adds structure to the filling. Avoid over-beating to prevent air bubbles.
For the Ganache
- Heavy cream (½ cup) – Used to create the ganache. Can substitute with a non-dairy cream for a vegan option.
- Chocolate chips (1 cup) – Forms the ganache topping for added richness. Semi-sweet or dark chocolate may be used.
Gather these ingredients to embark on a delightful journey of making an exquisite coffee cheesecake!
Step‑by‑Step Instructions for Espresso Coffee Cheesecake
Step 1: Prepare the Crust
Preheat your oven to 350°F (175°C). In a mixing bowl, combine Oreo crumbs with melted butter until well combined. Press this mixture firmly into the bottom and slightly up the sides of a 9-inch springform pan. Aim for an even layer that is tightly packed; this will create a crunchy base for your decadent espresso coffee cheesecake.
Step 2: Make Cheesecake Filling
In a large mixing bowl, blend three packages of cream cheese with one cup of granulated sugar, one teaspoon of vanilla extract, and ⅓ cup of brewed espresso until the mixture is completely smooth and creamy. Beat in the eggs one at a time, being careful to mix gently to avoid incorporating too much air, which can cause cracks in the final cheesecake.
Step 3: Create Water Bath
Prepare a water bath to help maintain moisture during baking, which ensures a soft texture for your espresso coffee cheesecake. Wrap the outside of the springform pan tightly in an oven-safe bag to prevent water from seeping in. Place this pan inside a larger roasting pan, and fill the roasting pan with enough hot water to reach about 1 inch up the sides of the springform pan.
Step 4: Bake
Carefully pour the cheesecake filling into the prepared crust, smoothing the top with a spatula. Transfer the roasting pan to the preheated oven and bake for 1 hour and 15 minutes, or until the center of the cheesecake is set but still slightly jiggly. This gentle baking will help develop the delicious flavors of the coffee cheesecake.
Step 5: Cool Slowly
Once baked, turn off the oven and leave the cheesecake inside with the door cracked for about an hour. This gradual cooling will help prevent cracks on the surface of the cheesecake. Afterward, transfer it to the refrigerator and let it chill overnight; this allows the flavors to meld beautifully.
Step 6: Prepare Ganache
To make the luscious chocolate ganache, heat ½ cup of heavy cream in a small saucepan until it reaches a simmer. Remove from heat and pour it over 1 cup of chocolate chips in a mixing bowl. Stir gently until the chocolate is completely melted and the mixture is smooth. Allow the ganache to cool slightly before pouring it over your chilled cheesecake.
Step 7: Serve
Once the ganache has set, carefully slice your espresso coffee cheesecake, wiping the knife between cuts for neat edges. Serve your slices plain or adorned with whipped cream and chocolate shavings if desired. Enjoy this delightful treat that perfectly marries the rich flavors of coffee and cheesecake!
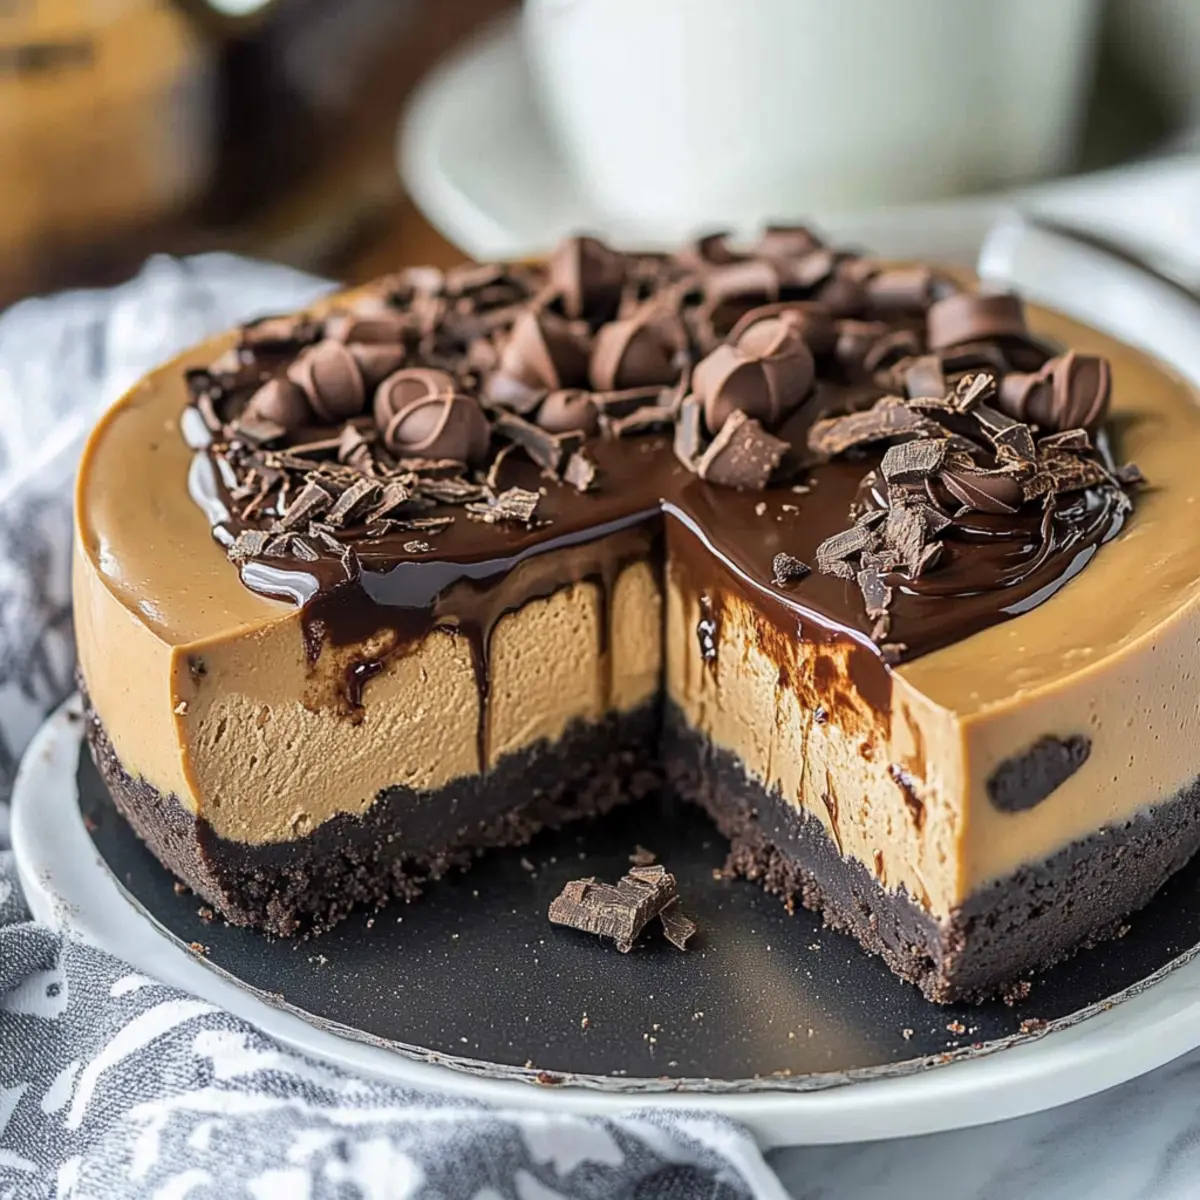
Coffee Cheesecake Variations & Substitutions
Feel free to get creative with your dessert! Explore these ideas to customize your cheesecake experience into something extra special.
-
Dairy-Free: Substitute cream cheese with vegan cream cheese and use coconut oil instead of butter for the crust.
-
Gluten-Free: Swap Oreo crumbs for gluten-free chocolate cookies to keep that delicious crust without gluten.
-
Flavor Boost: Enhance the coffee flavor by adding a tablespoon of espresso powder to the filling for an extra kick.
-
Chocolate Lovers: Use chocolate Oeros for the crust or fold in chocolate chips into the cheesecake filling for a chocolatey delight.
-
Citrus Twist: Add a zesty kick by incorporating 1 teaspoon of lemon or orange zest into the filling to brighten the flavor profile.
-
Nutty Crunch: Fold in crushed nuts, like hazelnuts or pecans, into the crust for added texture, creating a crunchy surprise with each bite.
-
Decadent Caramel: Drizzle homemade caramel sauce on top of the ganache before serving for a luscious sweet addition.
-
Spiced Up: Flavor your filling with a pinch of cinnamon or nutmeg for a warm, cozy taste that pairs beautifully with the coffee.
If you’re looking for delightful variations on cheesecakes, don’t forget to check out Japanese Cheesecake Light or Cheesecake Decadent Indulgence for more delicious inspirations!
Make Ahead Options
These Espresso Coffee Cheesecake preparations are perfect for busy home cooks looking to save time! You can make the crust and cheesecake filling up to 24 hours in advance. Simply prepare the crust as directed and press it into your springform pan, then cover it tightly with plastic wrap and refrigerate. Additionally, the cheesecake filling can be mixed and stored in the fridge (in a separate bowl) until you’re ready to bake. On baking day, pour the filling into the crust and follow the baking instructions. By prepping ahead, your cheesecake will still taste just as delicious when it’s finally served!
Storage Tips for Coffee Cheesecake
Refrigerator: Store your coffee cheesecake in an airtight container for up to one week. This helps maintain its rich flavor and creamy texture.
Freezer: To freeze, slice the cheesecake and wrap each piece tightly in plastic wrap, then aluminum foil. It can be kept in the freezer for up to three months.
Thawing: When ready to enjoy, transfer the cheesecake slices to the fridge for several hours or overnight to thaw gently.
Reheating: Eat the cheesecake cold or at room temperature. Avoid reheating, as it may affect the creamy texture of the coffee cheesecake.
What to Serve with Espresso Coffee Cheesecake?
Elevate your dessert experience by pairing this rich coffee cheesecake with delightful accompaniments that enhance its flavors.
- Whipped Cream: A light and airy dollop adds a luxurious creaminess, balancing the rich coffee notes beautifully.
- Fresh Berries: Strawberries or raspberries introduce a burst of freshness, offering a vibrant contrast to the cheesecake’s smooth texture.
- Chocolate Shavings: Sprinkle some over your slice for an extra chocolate kick that plays well with the ganache layer.
- Vanilla Ice Cream: The cold, creamy goodness of vanilla ice cream melts into the warm notes of coffee, creating a dreamy combination.
- Espresso Martini: Sip on this coffee-flavored cocktail to amplify the caffeine experience and keep the party vibes flowing!
- Citrus Sorbet: Lemon or orange sorbet adds a refreshing zing, cleansing the palate between indulgent bites of cheesecake.
- Nutty Biscotti: Serve alongside this treat for a delightful crunch that complements the creamy texture of the cheesecake.
- Dark Roast Coffee: Enjoy a cup of strong brew to enhance the flavors of the cheesecake, making each bite feel like a café treat.
Expert Tips for Coffee Cheesecake
-
Use Full-Fat Cream Cheese: Ensure you use full-fat cream cheese for a rich, creamy texture, avoiding reduced-fat options that may lead to a less enjoyable cheesecake.
-
Gradual Mixing: Incorporate eggs one at a time and mix gently to prevent air bubbles, which can result in cracks in your coffee cheesecake during baking.
-
Perfect Water Bath: Don’t skip the water bath! It helps maintain moisture and ensures a smooth, creamy filling while avoiding unnecessary drying out.
-
Cool Gradually: After baking, leave the cheesecake to cool in the oven with the door slightly ajar. This slow cooling prevents cracking on the surface.
-
Let Ganache Cool: Allow the ganache to cool to room temperature before pouring it over the cheesecake. This helps achieve a cleaner and smoother finish.
-
Boost Coffee Flavor: For a more intense coffee flavor, consider increasing the amount of brewed espresso in the filling or adding espresso powder for an extra kick.
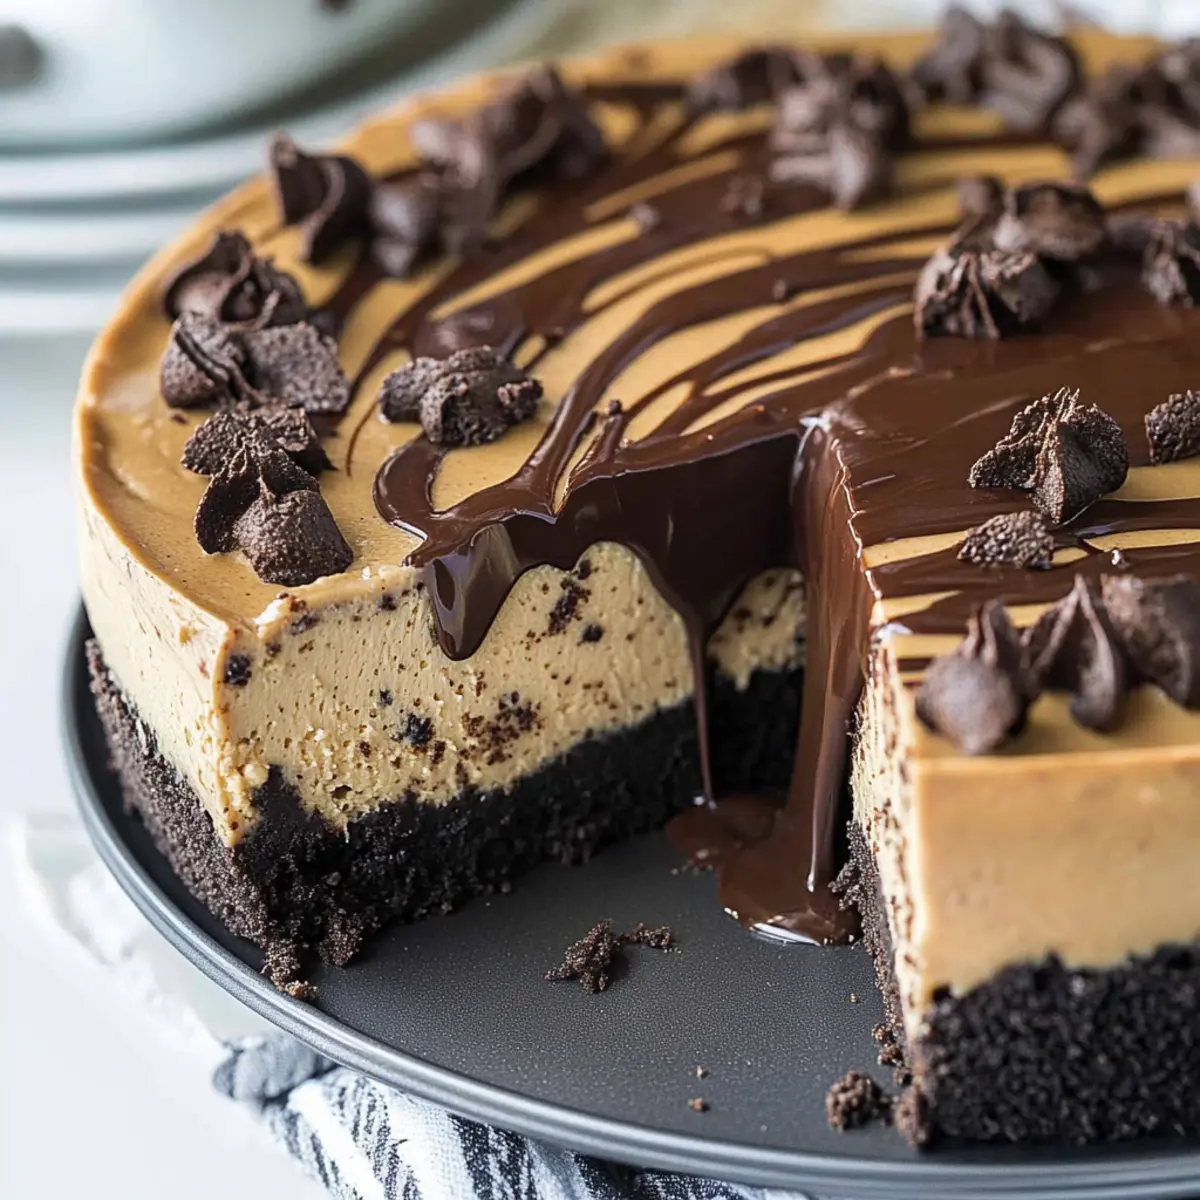
Espresso Coffee Cheesecake Recipe FAQs
What type of coffee should I use for the cheesecake?
I recommend using brewed espresso for the richest flavor in your cheesecake. However, if you don’t have espresso on hand, strong brewed coffee can work as an alternative. Aim for a coffee that you enjoy drinking, as its flavor will be prominently featured in the dessert!
How should I store leftover coffee cheesecake?
Store your coffee cheesecake in an airtight container in the refrigerator for up to one week. This keeps its creamy texture and rich flavors intact, ensuring each slice is as delightful as the first. I often cover it with plastic wrap before sealing it in a container to be extra cautious about freshness.
Can I freeze coffee cheesecake?
Absolutely! To freeze your coffee cheesecake, slice it into individual portions. Wrap each slice tightly in plastic wrap, then wrap it again in aluminum foil to prevent freezer burn. It can be stored in the freezer for up to three months. When you’re ready to enjoy, transfer the slices to the fridge and let them thaw overnight for the best texture.
What should I do if my cheesecake cracks during baking?
If you find your cheesecake cracks, don’t worry! This can happen even to the best of us. To prevent this in the future, ensure you are mixing the filling gently and avoid over-beating the eggs. Using a water bath is also crucial for keeping moisture in. If cracks do form, you can cover them with ganache or whipped cream—no one will know!
Is this coffee cheesecake suitable for people with gluten allergies?
This particular recipe uses Oreo cookies for the crust, which contain gluten. However, you can easily make a gluten-free version by substituting the Oreo crumbs with gluten-free cookies of your choice. Just check that all other ingredients are gluten-free as well to ensure everyone can enjoy this tasty treat!
How can I enhance the coffee flavor in my cheesecake?
For a more intense coffee taste, consider adding a bit more brewed espresso than the recipe calls for or mixing in some espresso powder into the filling. You might also experiment with adding a hint of vanilla extract or a touch of coffee liqueur for an additional depth of flavor. The more the merrier when it comes to that coffee kick!
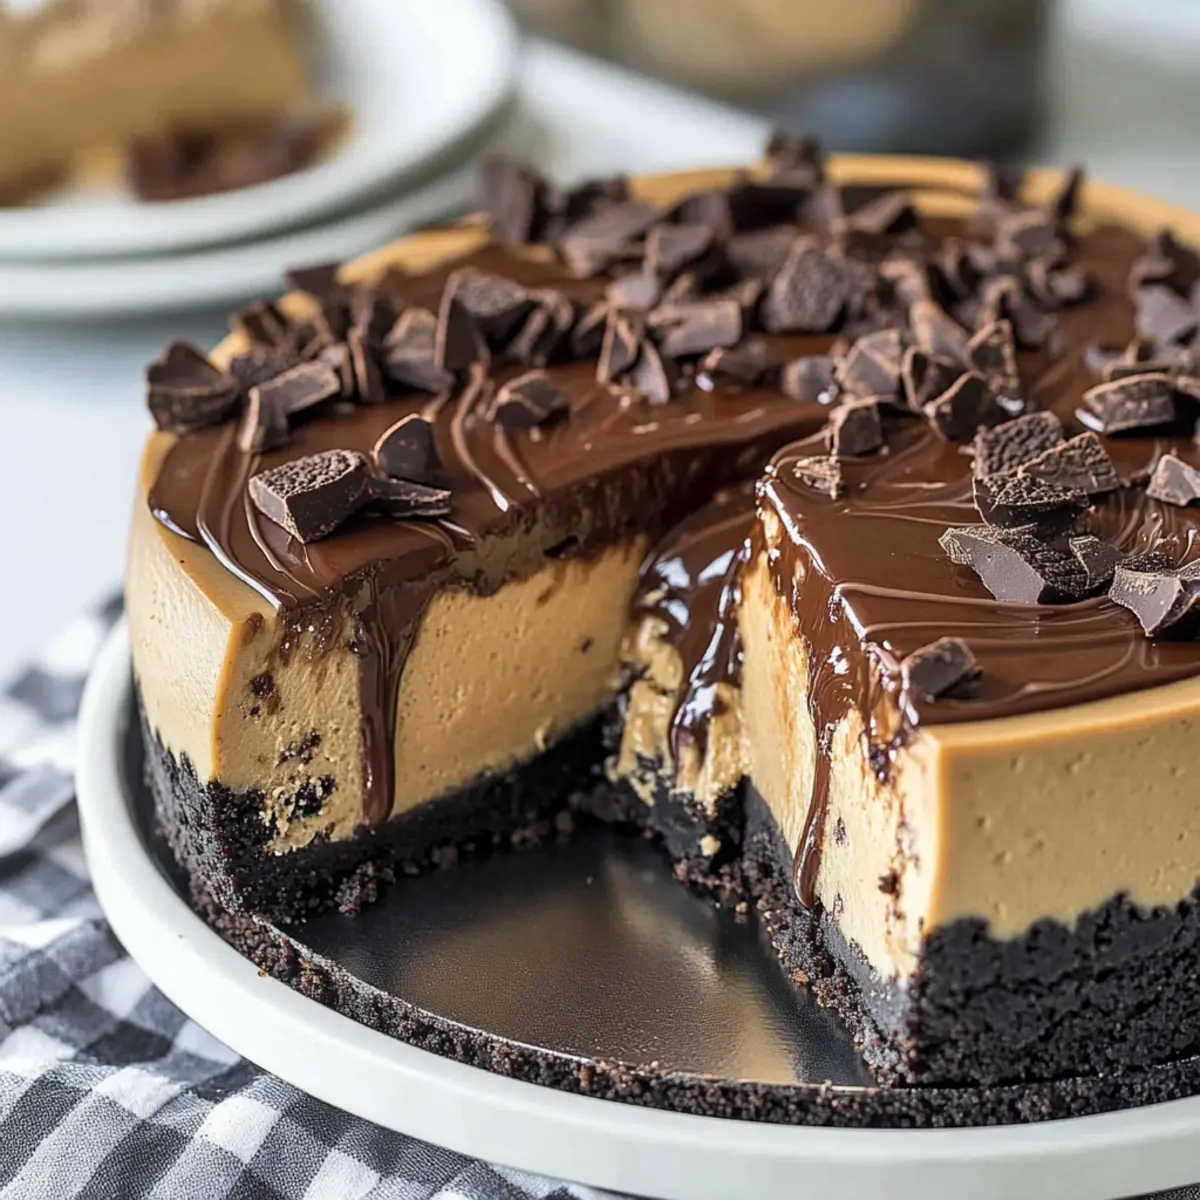
Decadent Coffee Cheesecake That's Simply Irresistible
Ingredients
Equipment
Method
- Preheat your oven to 350°F (175°C). In a mixing bowl, combine Oreo crumbs with melted butter until well combined. Press this mixture firmly into the bottom and slightly up the sides of a 9-inch springform pan.
- In a large mixing bowl, blend three packages of cream cheese with one cup of granulated sugar, one teaspoon of vanilla extract, and ⅓ cup of brewed espresso until completely smooth and creamy. Beat in the eggs one at a time.
- Prepare a water bath by wrapping the outside of the springform pan tightly in an oven-safe bag. Place in a larger roasting pan and fill with hot water up to about 1 inch up the sides.
- Carefully pour the cheesecake filling into the prepared crust and bake for 1 hour and 15 minutes, until the center is set but slightly jiggly.
- Turn off the oven and leave the cheesecake inside with the door cracked for about an hour. Then transfer to the refrigerator to chill overnight.
- Heat ½ cup of heavy cream in a small saucepan until simmering. Pour over 1 cup of chocolate chips in a mixing bowl and stir until smooth. Allow to cool slightly before pouring over the chilled cheesecake.
- Slice the cheesecake, wiping the knife between cuts for neat edges. Serve with whipped cream and chocolate shavings, if desired.
Leave a Reply