
As I rummaged through my pantry, my eyes landed on an unopened package of Oreos, and inspiration struck. Enter the No Bake Oreo Dessert—a quick and creamy delight that’s a game-changer when you crave something sweet without the hassle of turning on the oven. With just three simple ingredients—Oreo cookies, melted butter, and heavy cream—this dessert is not only incredibly easy to whip up, but it also delivers that rich, satisfying taste we all love. Plus, it’s a fantastic way to involve kids in the kitchen; they’ll have a blast crushing the cookies and swirling the filling! Ready to elevate your dessert game? Grab those Oreos and let’s dive into this deliciously simple recipe that surely will become a family favorite! What’s your favorite twist on classic desserts?
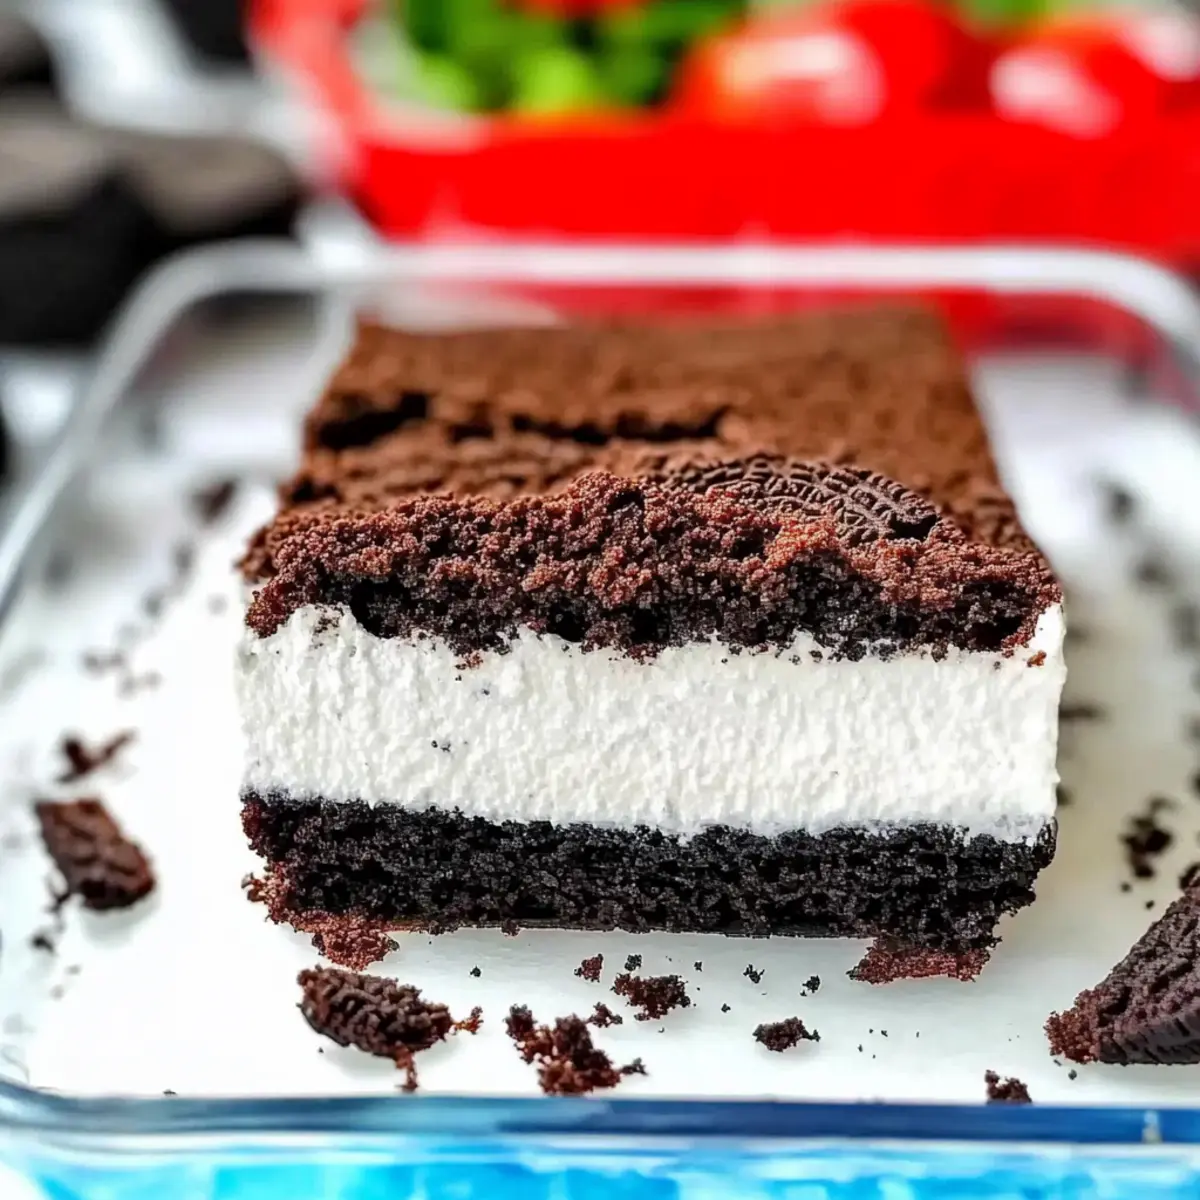
Why is No Bake Oreo Dessert the ultimate treat?
Irresistible Simplicity: This dessert requires just three ingredients—Oreo cookies, butter, and heavy cream—making it a breeze to whip up.
Endless Variations: Switch things up by trying different Oreo flavors or adding fun mix-ins like extracts or cream cheese for a rich bite.
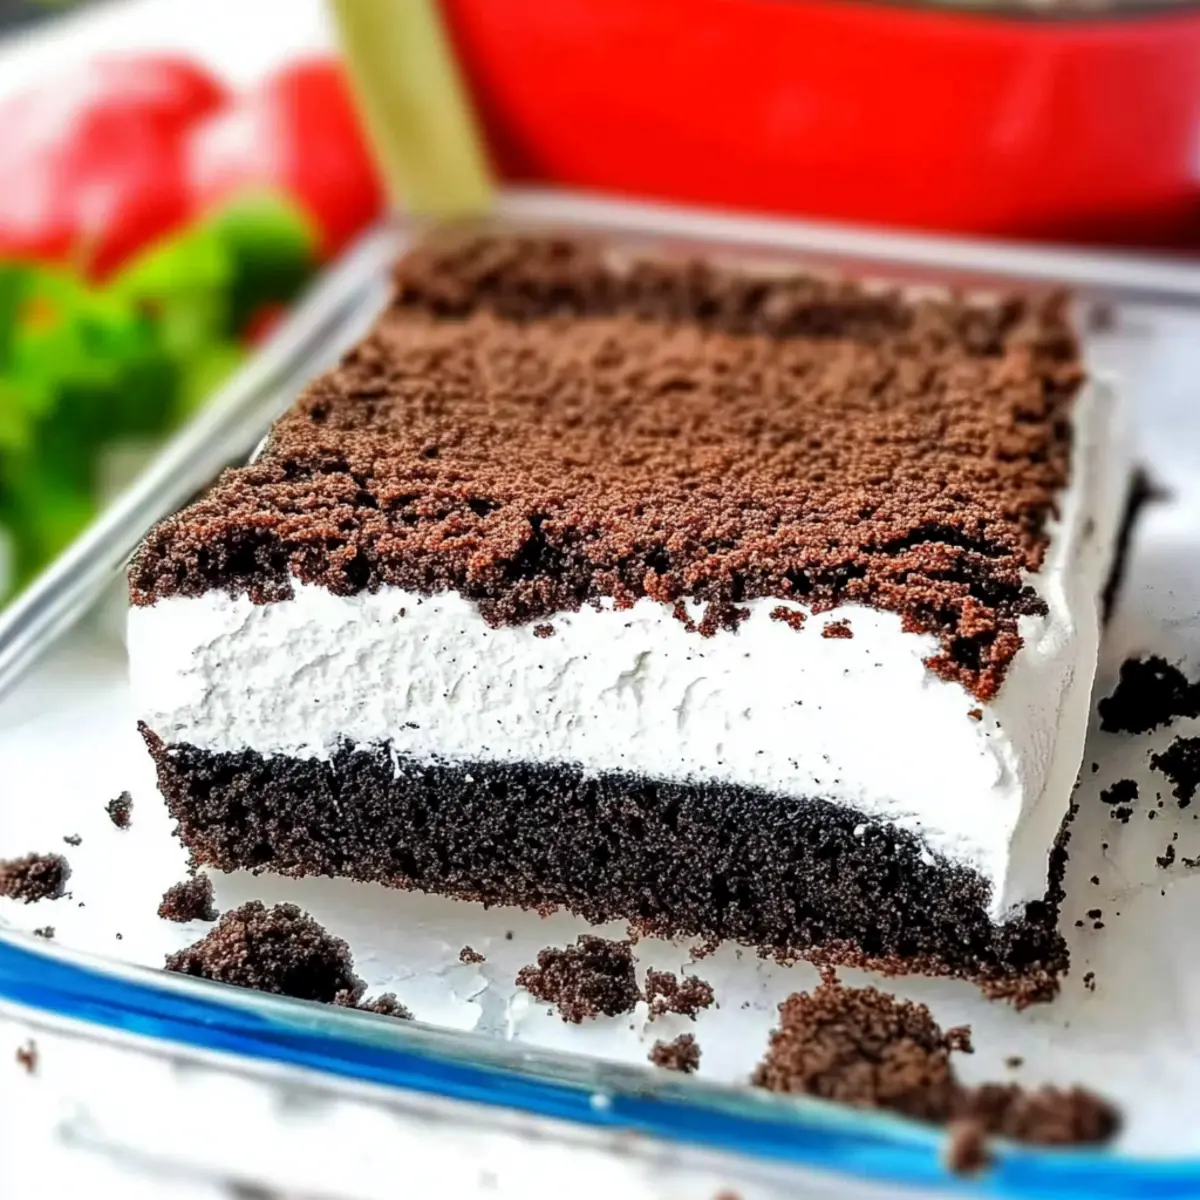
Creamy Bliss: Imagine layers of fluffy, whipped filling over a crunchy crust—each bite tastes like a chilled mousse that melts in your mouth.
Kid-Friendly Fun: Involving the little ones in the making process is exciting; they’ll love crushing cookies and watching your creation come to life.
Perfectly Chilled: Ideal for hot days or gatherings, this dessert can be prepped ahead, serving as a delightful finish to any meal.
For more quick and delightful recipes, check out my Peanut Butter Bake or Baked Prosciutto Egg—your taste buds will thank you!
No Bake Oreo Dessert Ingredients
For the Crust
• Oreo Cookies – The main flavor base; use regular Oreos for the best taste.
• Unsalted Butter – Binds the crushed cookies together for a firm crust; substitute with melted coconut oil for a dairy-free option.
For the Filling
• Heavy Cream – Creates a rich and creamy filling; ensure it’s cold for optimal whipping—look for cream with at least 33% fat.
Step‑by‑Step Instructions for No Bake Oreo Dessert
Step 1: Prep Cookies
Begin by separating your Oreo cookies; carefully scrape the creamy filling into a large bowl while keeping the cookie halves intact. Place the cookies into a food processor or a zip-top bag, and crush them into fine crumbs using a rolling pin. This will take about 1-2 minutes and is crucial for creating a delicious crust for your No Bake Oreo Dessert.
Step 2: Make Crust
In a mixing bowl, combine two-thirds of the crushed Oreo crumbs with melted unsalted butter, mixing until the crumbs are evenly moistened. Next, press this mixture firmly into the bottom of an 8×8-inch pan to form a solid crust. Aim for an even layer that feels compact, and let it chill in the fridge for 10-15 minutes to set while you prepare the filling.
Step 3: Whip Filling
In a cold mixing bowl, use an electric mixer to beat the heavy cream along with the reserved Oreo filling. Start with a low speed and gradually increase to medium-high, mixing until stiff peaks form, which should take about 3-5 minutes. The cold cream is key to achieving that luscious, airy texture for your No Bake Oreo Dessert filling.
Step 4: Assemble Dessert
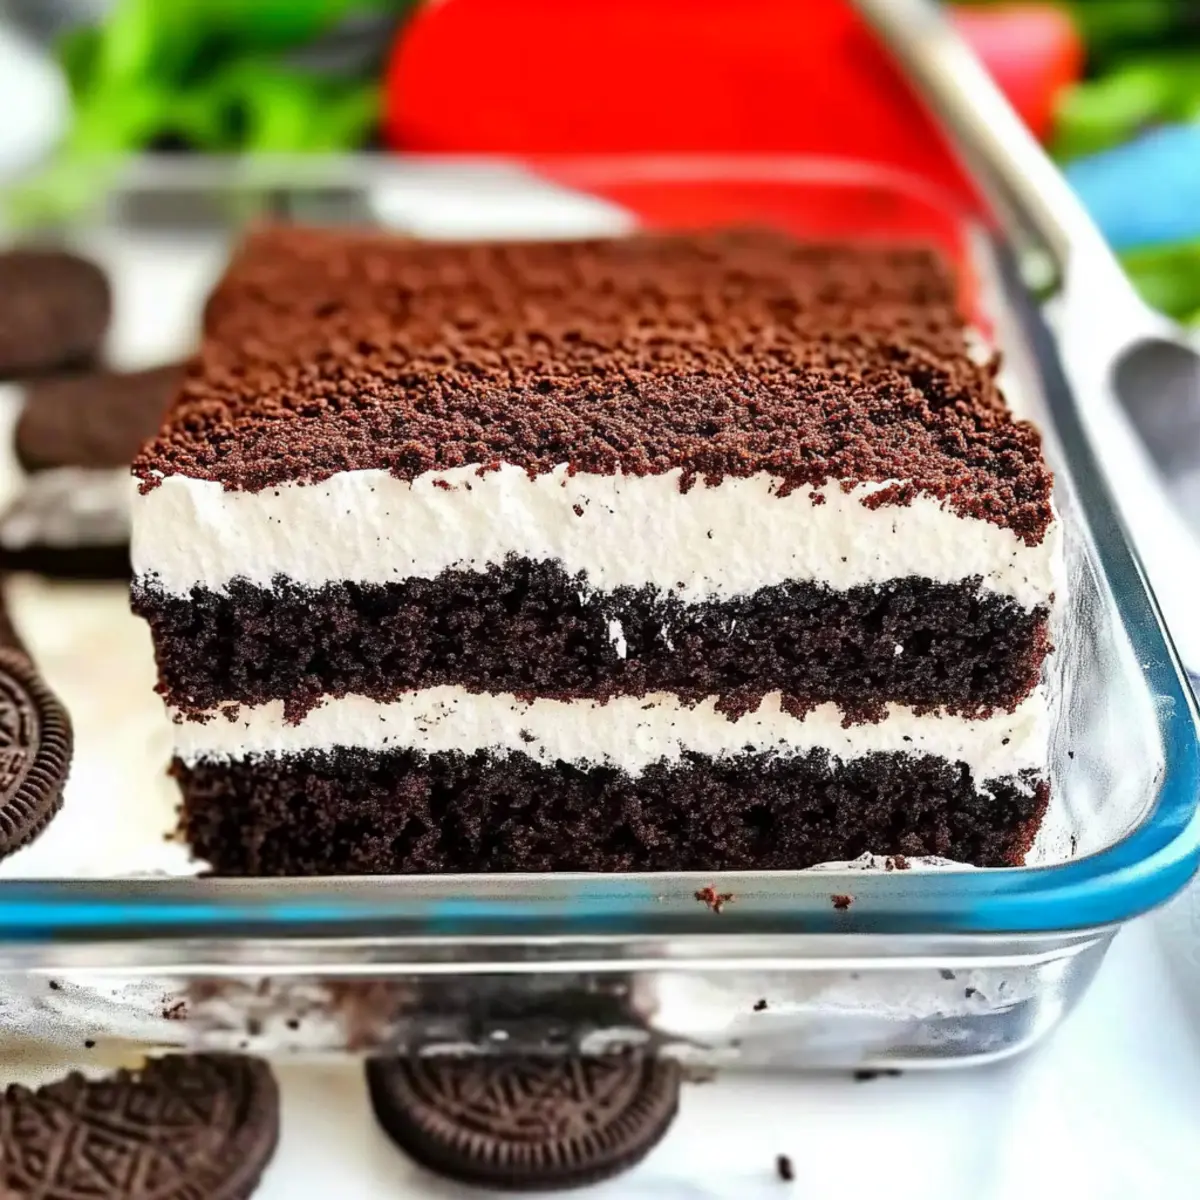
Once the filling is whipped to perfection, spread it generously over the chilled crust using a rubber spatula. Make sure to glide it smoothly, covering the crust completely. Once layered, sprinkle the remaining Oreo crumbs over the top for an extra touch of crunch and flavor, creating visually appealing layers that showcase the cookies and cream theme.
Step 5: Chill
Transfer the assembled No Bake Oreo Dessert back to the refrigerator and chill for at least 3-4 hours, or until firmly set. This allows the flavors to meld beautifully and the filling to firm up, creating that delightful mousse-like texture. When ready to serve, slice into squares using a sharp knife dipped in hot water for clean cuts.
Storage Tips for No Bake Oreo Dessert
-
Fridge: Store your No Bake Oreo Dessert in an airtight container in the refrigerator for up to 5 days to maintain its creamy texture and freshness.
-
Cover: Ensure to cover the pan with plastic wrap or foil to prevent the dessert from absorbing odors from other foods in the fridge.
-
Freezer: Freezing is not recommended, as it may alter the texture of the whipped filling, resulting in a less enjoyable dessert experience.
-
Reheating: If you prefer it chilled, simply slice and serve directly from the fridge. For a special twist, let it sit at room temperature for 10-15 minutes before serving for a softer bite.
What to Serve with No Bake Oreo Dessert?
Prepare to impress your family and friends with a delightful meal that perfectly complements this creamy and dreamy dessert!
-
Fresh Berries: Juicy strawberries or raspberries add a burst of freshness and tangy contrast to the rich dessert.
-
Mint Chocolate Chip Ice Cream: This cool treat offers a refreshing twist and complements the dessert’s chocolatey flavor beautifully.
-
Chocolate Sauce Drizzle: For the chocolate lovers, a warm drizzle enhances every decadent bite, creating a luxurious experience.
-
Whipped Cream Topping: Light, airy whipped cream pairs flawlessly with the rich filling, making each mouthful even more indulgent.
-
Caramel Sauce: A drizzle of sweet caramel brings an additional layer of flavor, balancing the dessert’s creaminess wonderfully.
-
Chilled Lemonade: A cool, tangy drink brightens the palate between bites, making it a refreshing companion to the sweet Oreo layers.
-
Coffee or Espresso: A warm cup of coffee underscores the dessert’s flavors, providing a cozy finish to your meal.
-
Chocolate Chip Cookies: Serve alongside for the ultimate cookie bliss, as your guests enjoy the contrasting textures and flavors.
Consider fleshing out your meal with these complementary options, creating an inviting and satisfying dining experience!
Expert Tips for No Bake Oreo Dessert
-
Chill Your Ingredients: Ensure your heavy cream is cold before whipping; a cold mixing bowl and beaters can enhance the fluffiness of your filling.
-
Crust Consistency: Press the cookie-butter mixture firmly to form a solid base—don’t leave it crumbly, or it may not hold together after slicing.
-
Slicing Smartly: Dip your knife in hot water for clean cuts of the No Bake Oreo Dessert, preventing crumbling and ensuring beautiful squares.
-
Experiment with Flavors: Don’t hesitate to mix different Oreo flavors or add cream cheese to the filling for a unique twist that enhances taste and texture.
-
Storage Know-How: Keep this dessert refrigerated for up to 5 days; freezing may alter the creamy consistency, so enjoy fresh!
Make Ahead Options
These No Bake Oreo Dessert squares are perfect for busy weeknights and meal prep enthusiasts! You can prepare the crust and filling up to 24 hours in advance, allowing you to save time when hosting friends or family. Simply make the crust and pack it tightly in the pan, then whip the filling and store it separately in an airtight container in the fridge. This ensures maximum freshness and prevents the crust from becoming soggy. When you’re ready to serve, spread the whipped filling over the crust, sprinkle the remaining Oreo crumbs on top, and chill for at least 3-4 hours before slicing. You’ll enjoy the same delicious, creamy goodness with minimal effort!
No Bake Oreo Dessert Variations
Feel free to get creative with this delightful treat and make it your own!
-
Dairy-Free: Substitute melted coconut oil for butter and use a coconut whipped topping for the filling.
Amp up the tropical flavors with a hint of vanilla extract. You’ll love the subtle twist in a classic dessert! -
Nutty Twist: Add 1/2 cup of crushed nuts like almonds or walnuts to the crust for extra crunch.
This brings a delightful texture and flavor enhancement, making each slice even more irresistible! -
Chocolate Lover’s Delight: Use chocolate Oreos instead of the regular ones for a double chocolate experience.
Add chocolate shavings on top for an extra layer of decadence—perfect for any chocolate fanatic! -
Mixed Berry Layers: Fold in fresh berries like raspberries or strawberries into the filling for vibrant flavor.
This refreshing addition cuts through the creaminess and adds a burst of fruity goodness. -
Minty Fresh: Swap original Oreos with mint-flavored ones for a cool twist.
This minty version is especially refreshing, making it a great summertime treat—perfect for parties! -
Cream Cheese Indulgence: Blend in 1/2 cup of softened cream cheese into the whipped filling for a rich texture.
Your dessert will have an added layer of creaminess that everyone will be asking for seconds! -
Seasonal Spice: Incorporate pumpkin spice or cinnamon into the filling during fall for a seasonal twist.
This warm flavor infusion brings comfort and nostalgia—perfect for cozy gatherings!
For more delightful creations, try crafting a Dump Bake Chicken or explore the flavors in a Chicken Zucchini Bake. They each offer quick, satisfying meals that will leave your family asking for more!
No Bake Oreo Dessert Recipe FAQs
What type of Oreo cookies should I use for the best flavor?
Absolutely, I recommend using regular Oreo cookies for the classic taste that pairs perfectly with the creamy filling. You can experiment with other flavors, like peanut butter or birthday cake, but for the traditional No Bake Oreo Dessert, stick to the classic version!
How should I store my No Bake Oreo Dessert?
Keep your No Bake Oreo Dessert in an airtight container in the refrigerator for up to 5 days. Make sure it’s covered with plastic wrap or foil to prevent it from absorbing any odors from other foods in your fridge. Enjoy it chilled for the best experience!
Can I freeze the No Bake Oreo Dessert?
Freezing is generally not recommended for this dessert as it can significantly alter the texture of the fluffy filling. However, if you decide to freeze it, wrap it tightly in plastic wrap and then in aluminum foil to prevent freezer burn. When you’re ready to enjoy it, let it thaw in the fridge overnight.
What should I do if my heavy cream isn’t whipping properly?
If your heavy cream isn’t whipping, it may be due to the cream being too warm. To fix this, ensure your heavy cream is cold—chill it along with your mixing bowl and beaters in the refrigerator for about 10 minutes beforehand. Whipping should take about 3-5 minutes at medium-high speed until stiff peaks form.
Are there any dietary considerations with the ingredients?
Yes, if you or your loved ones have allergies, it’s important to note that Oreos contain wheat and may have cross-contamination with milk, so be cautious if there are gluten or lactose sensitivities. You could use gluten-free Oreos or substitute with dairy-free alternatives for a family-friendly twist.
How can I add a unique twist to my No Bake Oreo Dessert?
You can get creative by mixing in different flavored extracts like almond or mint into the whipped filling. A fun addition is to layer in cream cheese for extra richness or use graham crackers instead of Oreos for a different flavor profile! Don’t forget to sprinkle toppings like chocolate curls, fresh fruit, or festive sprinkles for added flair.
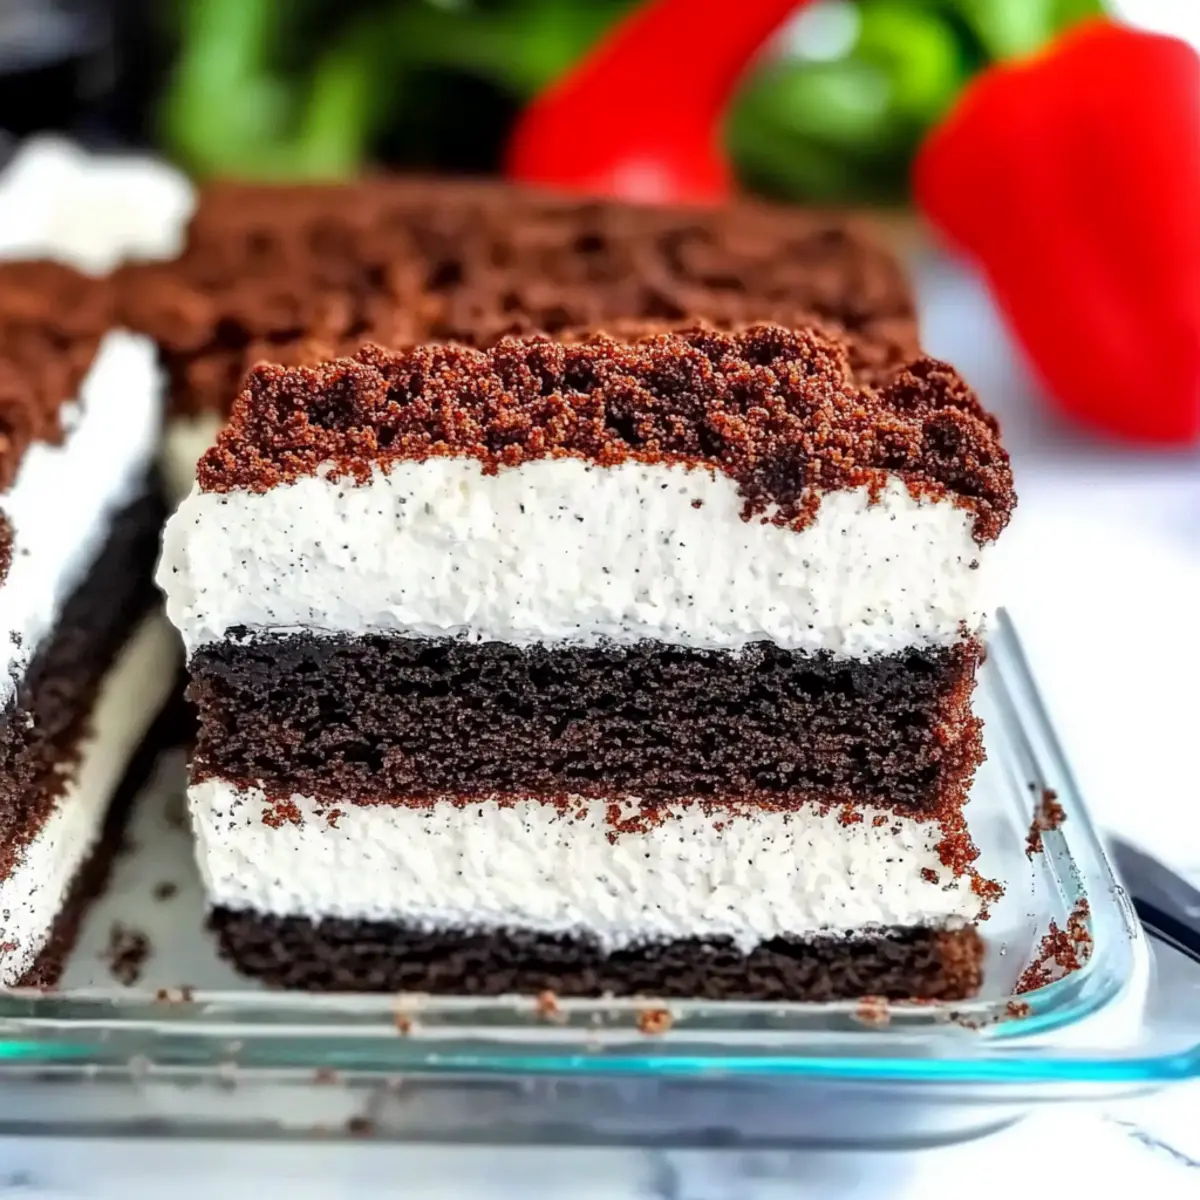
No Bake Oreo Dessert: Creamy Bliss Without the Oven
Ingredients
Equipment
Method
- Begin by separating your Oreo cookies; carefully scrape the creamy filling into a large bowl while keeping the cookie halves intact. Crush the cookies into fine crumbs.
- In a mixing bowl, combine two-thirds of the crushed Oreo crumbs with melted butter and mix. Press into an 8x8-inch pan and chill for 10-15 minutes.
- In a cold mixing bowl, use an electric mixer to beat the heavy cream with the reserved Oreo filling until stiff peaks form, about 3-5 minutes.
- Spread the whipped filling over the chilled crust, smooth it out, and sprinkle the remaining Oreo crumbs on top.
- Chill the dessert in the refrigerator for at least 3-4 hours until firmly set.
Leave a Reply