
A culinary wonder awaits as we dive into the sweet embrace of Biscoff Milk Cake—a delightful fusion of rich, caramelized cookie flavors and a sponge that’s tender and soaked in luscious milk. As I whipped up this showstopper, I was struck by how it strikes the perfect balance between indulgence and simplicity, making it an ideal dessert for both celebrations and cozy nights in. This Biscoff Milk Cake is not just satisfying to your sweet cravings; it’s also surprisingly easy to make, ensuring that even a novice can impress family and friends. So, are you ready to embark on this journey of creamy deliciousness? Let’s uncover the magic together!
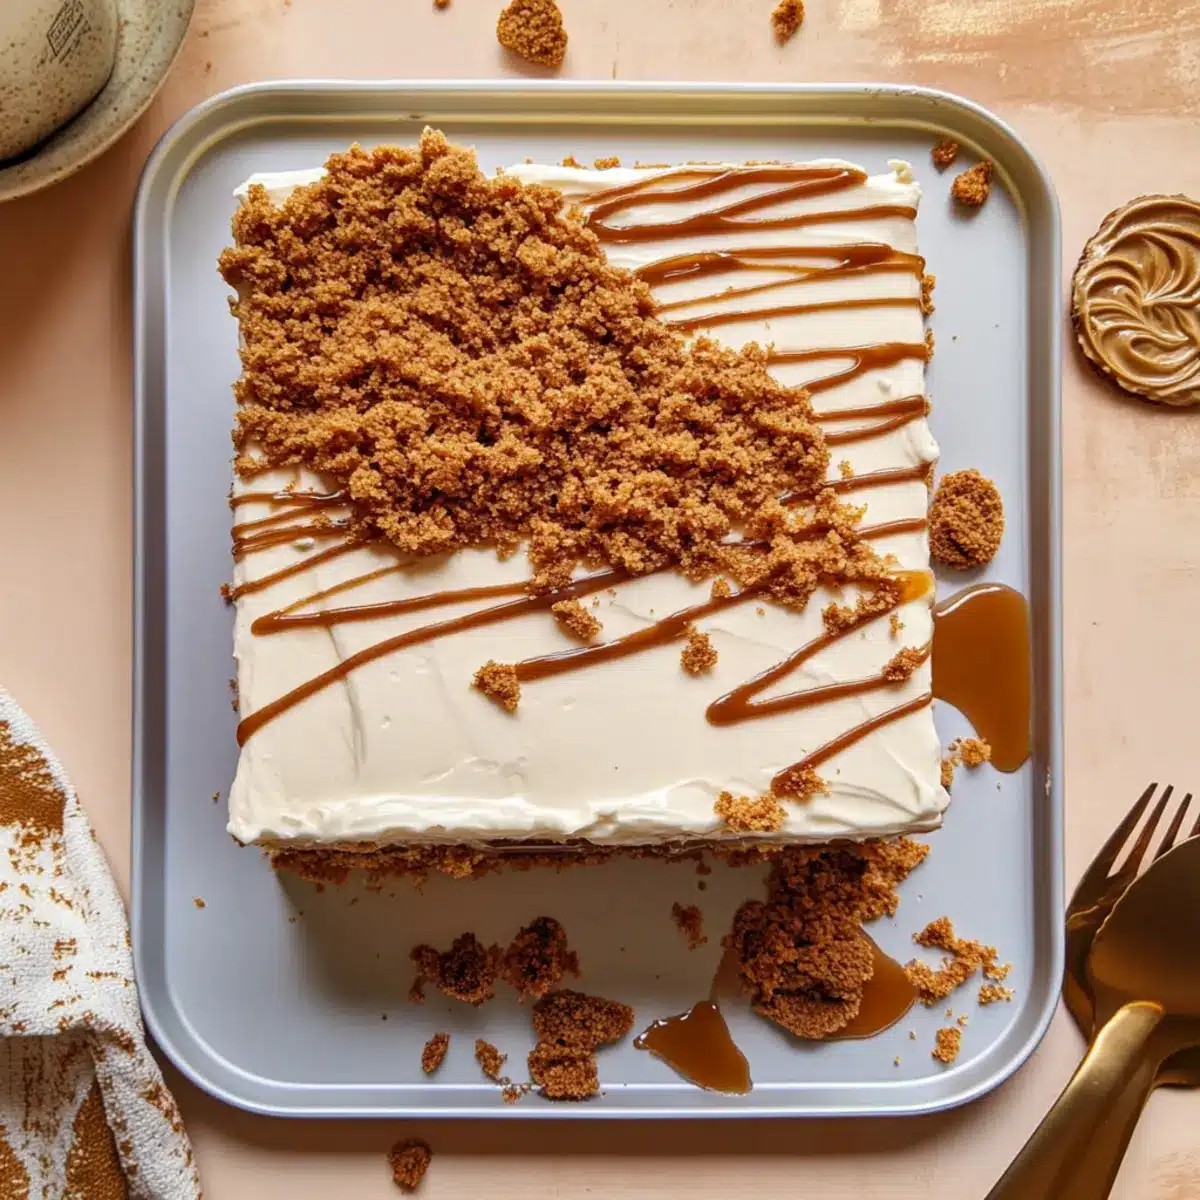
Why is this Biscoff Milk Cake a must-try?
Irresistible Flavor: The combination of caramelized Biscoff cookies and creamy milk creates a flavor explosion you won’t forget.
Effortlessly Simple: You don’t need to be a pro chef to whip this up—perfect for anyone who loves homemade desserts.
Perfect for Any Occasion: Whether it’s a festive gathering or a cozy night in, this cake will steal the show.
Versatile Options: Try different flavors, like Nutella or espresso, to keep things exciting! It’s all about making it your own.
Elevate your dessert game and serve it with a side of fresh fruit or ice-cold coffee for a delightful treat that pleases everyone.
Biscoff Milk Cake Ingredients
• For an unforgettable homemade treat!
For the Cake
- All-Purpose Flour – Provides structure; can substitute with gluten-free flour for a gluten-free version.
- Cornstarch – Adds lightness to the cake texture; may use additional flour if unavailable.
- Baking Powder – Leavening agent for cake rise; ensure it is fresh for best results.
- Cinnamon – Adds warmth and spice; optional and can be omitted if desired.
- Salt – Enhances flavor; essential, so do not omit.
- Large Eggs (4) – Contribute to the cake’s moisture and structure; use room-temperature eggs for better whisking.
- Granulated Sugar (1 cup) – Sweetens the cake; can substitute brown sugar for a deeper flavor.
- Milk (¼ cup) – Adds moisture; any type of milk, including plant-based alternatives, works well.
- Oil (2 tablespoons) – Adds moisture; vegetable or canola oil works beautifully.
For the Creamy Milk Mixture
- Evaporated Milk (1 can) – Creates the milk mixture for soaking; substitute with a blend of whole milk and cream in a pinch.
- Condensed Milk (1 can) – Sweetens and thickens the milk mixture; cannot substitute easily due to unique properties.
- Half-and-Half or Whole Milk (1½ cups) – Makes the milk mixture creamy; can use plant-based milk options as well.
- Biscoff Spread (¼ cup, melted) – Flavor base for both cake and milk mixture; any cookie butter can substitute.
For the Whipped Topping
- Heavy Cream (2 cups) – Used for the whipped topping; can substitute with coconut cream for a non-dairy version.
- Powdered Sugar (¼ cup) – Stabilizes whipped cream; optional, can reduce to taste.
- Vanilla Extract (1 tsp) – Enhances the whipped cream flavor; always opt for pure for the best taste.
This Biscoff Milk Cake is not just a treat; it’s a delightful experience you won’t want to miss!
Step‑by‑Step Instructions for Biscoff Milk Cake
Step 1: Preheat the Oven
Begin by preheating your oven to 350°F (175°C). While the oven heats up, generously grease a 9×13 inch baking pan with cooking spray or butter to ensure your Biscoff Milk Cake releases easily once baked. This early preparation is essential for achieving that perfect golden-brown crust on your cake.
Step 2: Mix Dry Ingredients
In a medium bowl, whisk together 1 ½ cups of all-purpose flour, 2 tablespoons of cornstarch, 1 tablespoon of baking powder, 1 teaspoon of cinnamon, and ½ teaspoon of salt. Ensure the ingredients are well combined and free of lumps, as this will contribute to the lightness of your Biscoff Milk Cake. Set this dry mix aside while you focus on the wet ingredients.
Step 3: Beat Eggs and Sugar
In a large mixing bowl, combine 4 large eggs with 1 cup of granulated sugar. Using a hand mixer or stand mixer, beat the mixture on high speed for about 5 minutes, until it becomes pale, thick, and fluffy. Gradually add ¼ cup of milk and 1 tablespoon of vanilla extract, mixing until just combined, ensuring a rich and flavorful base for your cake.
Step 4: Combine Mixtures
Gently fold the dry ingredients into the egg mixture in batches, being careful not to overmix. Use a spatula to incorporate the flour mixture until just combined and the batter is smooth. This careful folding helps maintain the light and airy texture that makes the Biscoff Milk Cake irresistibly soft.
Step 5: Bake the Cake
Pour the batter into your prepared baking pan, spreading it evenly with a spatula. Place the pan in the preheated oven and bake for about 25 minutes, or until the cake is lightly golden and a toothpick inserted in the center comes out clean. The lovely aroma of cake will start to fill your kitchen, giving you a hint of the delicious treat to come.
Step 6: Cool and Poke Cake
Once baked, remove the cake from the oven and let it cool in the pan for at least 30 minutes. After cooling, use a fork to poke holes all over the top of the cake—this will allow the delightful milk mixture to soak in properly later. Set the cake aside while you prepare the soaking milk.
Step 7: Prepare Milk Mixture
In a separate bowl, whisk together 1 can of evaporated milk, 1 can of condensed milk, 1½ cups of half-and-half (or whole milk), and ¼ cup of melted Biscoff spread until smooth. This creamy mixture is essential for soaking your cake, providing it the signature flavor and texture of a classic Biscoff Milk Cake. Reserve a bit of this mixture for serving.
Step 8: Soak Cake
Evenly pour the milk mixture over the cooled cake, ensuring it seeps into the holes you’ve poked. Cover the cake with plastic wrap and refrigerate for at least 2 hours, but ideally overnight. This soaking process allows the flavors to meld beautifully, creating a moist and decadent Biscoff Milk Cake.
Step 9: Make Whipped Cream Topping
In a mixing bowl, whip together 2 cups of heavy cream, ¼ cup of powdered sugar, 1 teaspoon of vanilla extract, and ¼ cup of melted Biscoff spread until stiff peaks form. This luxurious topping is what will crown your cake, adding a delightful creaminess that perfectly complements the soaked layers below.
Step 10: Assemble and Decorate
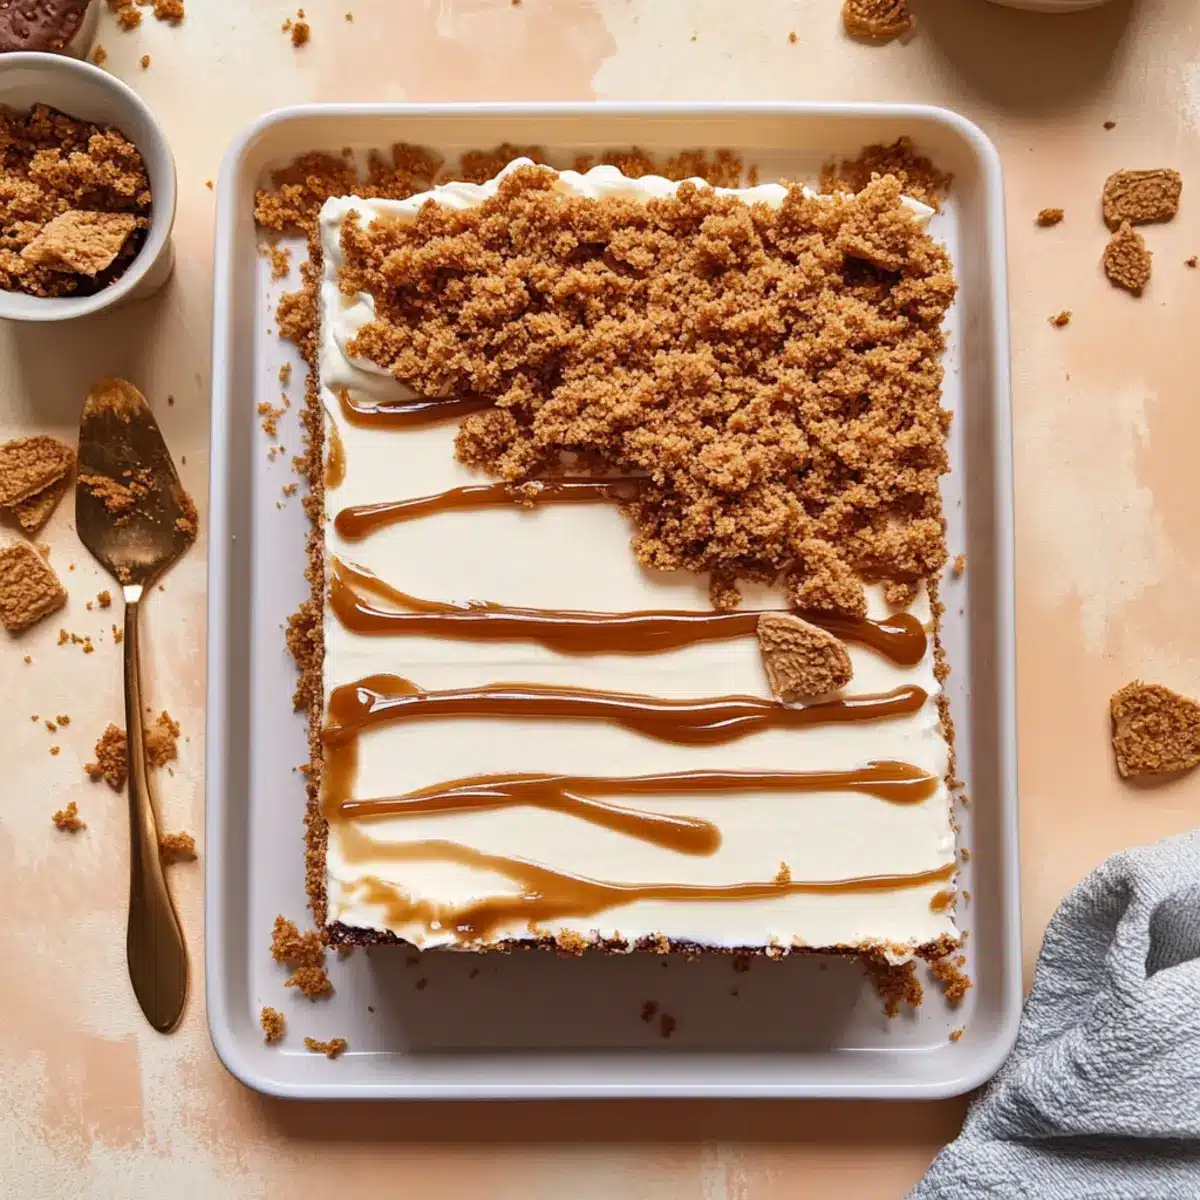
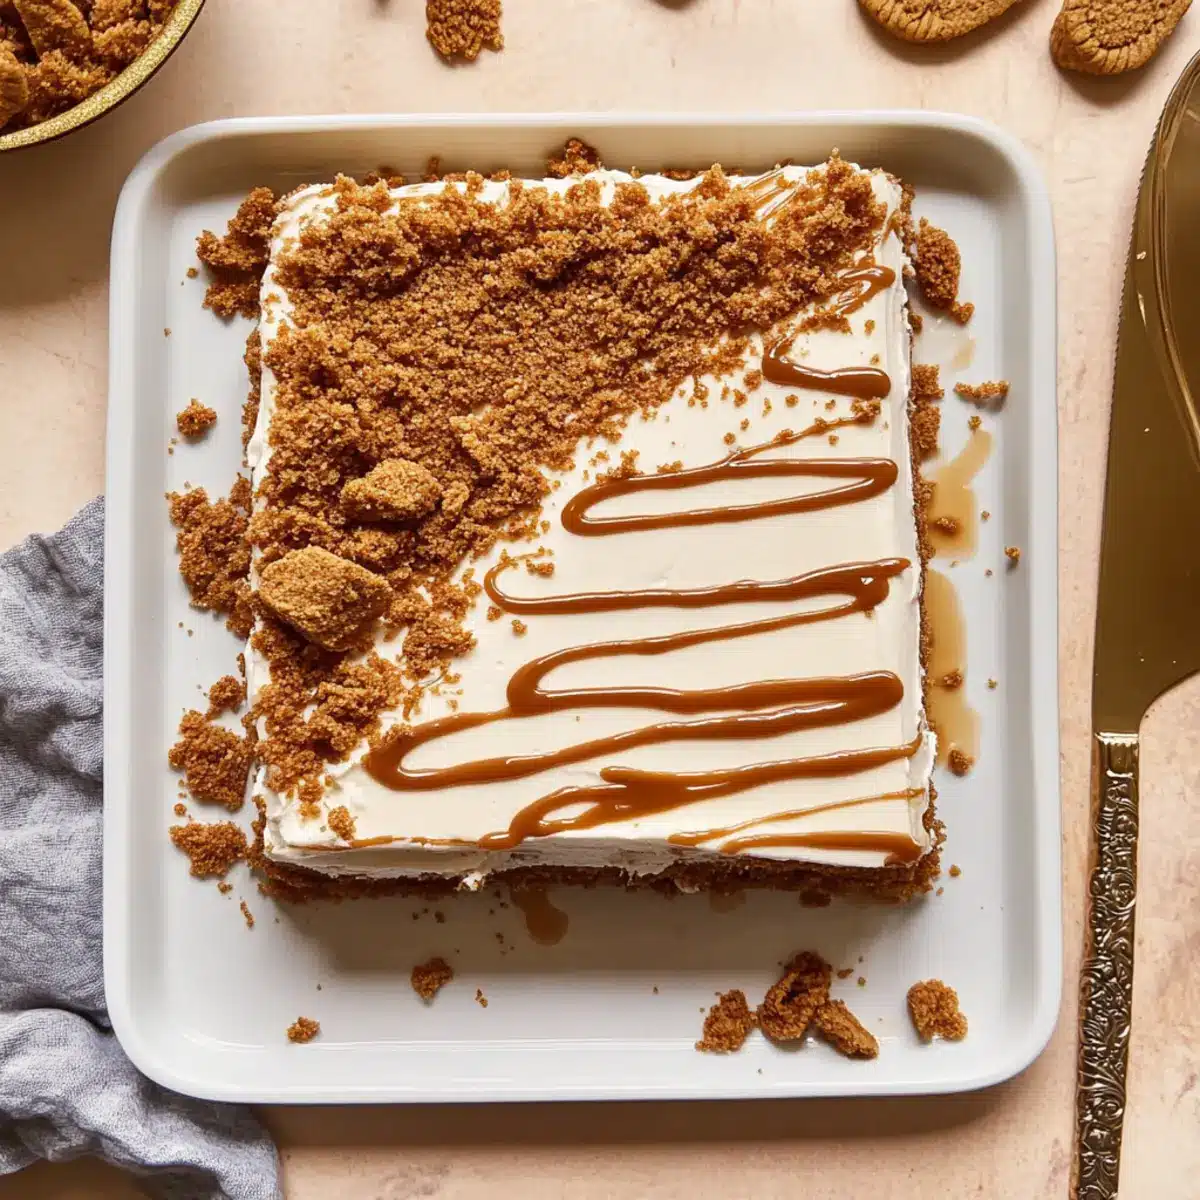
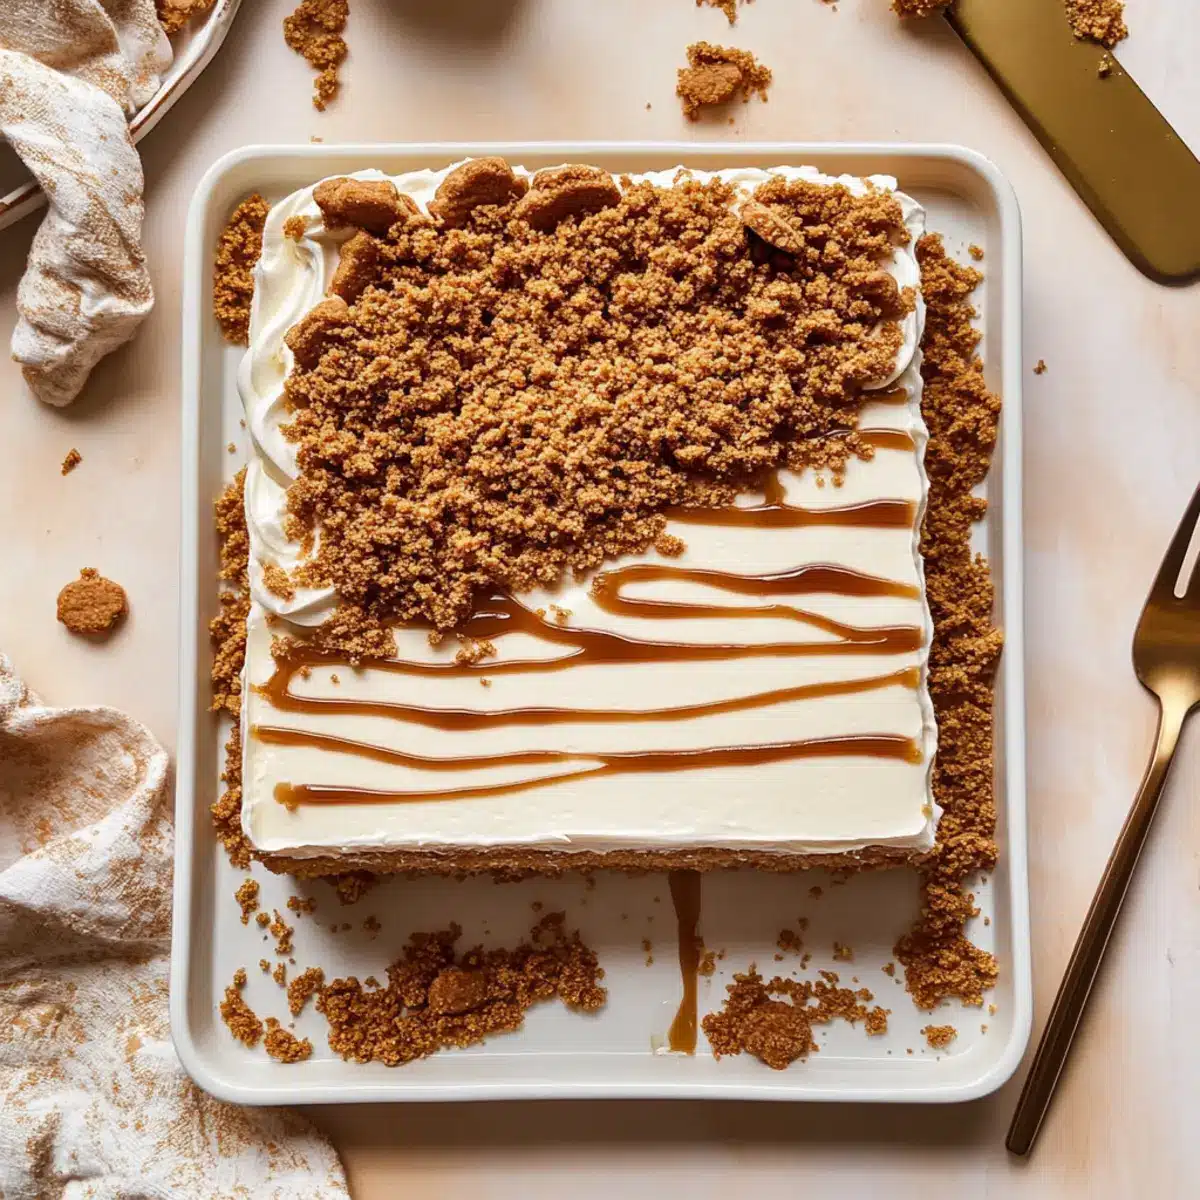
Once the cake is well-soaked and chilled, spread the whipped cream topping evenly over the surface. Drizzle any remaining melted Biscoff over the whipped cream and garnish with crushed Biscoff cookies for a delightful finish. Now, it’s ready to be sliced and served—each piece promising a rich and creamy experience that everyone will love!
Make Ahead Options
These Biscoff Milk Cakes are perfect for meal prep enthusiasts! You can bake the cake itself up to 3 days in advance and store it tightly wrapped at room temperature. To enhance the flavors, soak the cake with the milk mixture up to 24 hours ahead of time; simply cover it with plastic wrap and refrigerate. When you’re ready to serve, whip up the Biscoff-infused heavy cream and spread it on top. As a critical tip for maintaining quality, avoid adding the whipped topping until just before serving, ensuring every slice is as fresh and decadent as possible. Enjoy the convenience of having this delightful Biscoff Milk Cake ready to impress your family or guests with minimal last-minute effort!
Expert Tips for Biscoff Milk Cake
- Soaking Time: Allowing the Biscoff Milk Cake to soak overnight will enhance the flavors dramatically and give it a truly decadent texture.
- Room Temperature Eggs: Using room-temperature eggs when mixing improves the batter and helps achieve a fluffier cake.
- Poking Holes: Don’t rush the process of poking holes in the cooled cake; this step is crucial for the milk mixture to absorb properly, ensuring every bite is moist.
- Watch Your Mixing: Be careful not to overmix the batter when combining wet and dry ingredients, as this can lead to a dense cake instead of a light and airy Biscoff Milk Cake.
- Chill Your Topping: For best results, chill the bowl and beaters before whipping the cream to achieve the perfect, fluffy topping that holds its shape beautifully.
How to Store and Freeze Biscoff Milk Cake
Fridge: Store leftover Biscoff Milk Cake in an airtight container for up to 3-4 days to maintain its creamy texture and flavor.
Freezer: For longer storage, slice the cake and wrap each piece tightly in plastic wrap before placing in a freezer-safe container. It can be frozen for up to 2 months.
Thawing: To enjoy, simply transfer the desired slice to the fridge to thaw overnight. Avoid refreezing after thawing to maintain quality.
Reheating: If you prefer a warm treat, gently warm the cake in the microwave for 15-20 seconds, but be cautious not to overheat, as it may lose its delightful creaminess.
What to Serve with Biscoff Milk Cake
Pair this indulgent dessert with a few delightful complementing dishes that elevate your dining experience.
- Fresh Berries: The tartness of strawberries or blueberries cuts through the richness of the cake, creating a refreshing balance. Think of the juicy burst as you take a bite!
- Iced Coffee: A chilled cup of iced coffee pairs beautifully with the creamy texture and sweetness, making each sip a perfect refreshment alongside your dessert.
- Vanilla Ice Cream: Creamy vanilla ice cream enhances the flavor profile, adding a cold, smooth contrast to the warm and moist cake. It’s a classic match!
- Chocolate Ganache: A drizzle of silky chocolate ganache adds a decadent twist, with rich chocolate notes complementing the caramel flavors in the Biscoff cake.
- Coconut Whipped Cream: For a tropical flair, serve with coconut whipped cream, adding a light and airy texture that perfectly complements the moist cake.
- Mint Sprigs: A simple garnish of fresh mint not only adds vibrant color but also brings a refreshing note that contrasts the cake’s sweetness, brightening up the dessert.
- Espresso: A shot of strong espresso pairs wonderfully, creating an elevated experience that mirrors the traditional coffee with dessert pairing. Perfect for coffee lovers!
- Homemade Caramel Sauce: Drizzle homemade caramel sauce over each slice for an extra layer of flavor that deepens the delightful experience of the Biscoff Milk Cake.
- Cheese Platter: A selection of mild cheeses, like cream cheese or brie, can provide a savory counterpoint to the sweetness, enhancing the overall meal with diverse tastes and textures.
Biscoff Milk Cake Variations
Feel free to let your creativity shine and personalize your Biscoff Milk Cake experience with these delightful variations!
-
Nutty Delight: Swap Biscoff spread for Nutella or peanut butter for a deliciously different flavor profile. The creamy richness adds a comforting twist that you’ll adore.
-
Coffee Infusion: Incorporate freshly brewed espresso into the milk mixture for an energizing coffee-flavored cake. The rich aroma blends beautifully with the sweetness of Biscoff.
-
Fruity Twist: Layer fresh berries on top of the whipped cream before serving for a refreshing contrast. Raspberries or strawberries work wonders against the creamy backdrop!
-
Dairy-Free Option: Use coconut cream instead of heavy cream for the topping and choose plant-based milks to keep it creamy but dairy-free. You’ll still have that amazing texture and flavor.
-
Spiced Pumpkin: For a seasonal twist, add pumpkin puree and spice to the batter. This will create a festive flavor reminiscent of autumn delights.
-
Personalized Toppings: Consider adding crushed chocolate or caramel candies on top of the whipped cream. They’ll bring extra crunch and excitement to your dessert!
-
Layered Beauty: Create a layered cake by baking two separate cakes and stacking them with milk mixture in between. This adds a stunning presentation and extra lusciousness!
-
Less Sweet: Reduce the sugar in the milk mixture or use less condensed milk for a subtler sweetness that lets the Biscoff flavor shine through.
For more fun with cake recipes, check out my delectable Chocolate Pancakes Sweet or discover the magic of Japanese Souffle Pancakes! Let’s make your kitchen a creative haven!
Biscoff Milk Cake Recipe FAQs
What type of Biscoff cookies should I use?
I recommend using the classic Biscoff cookies, as they offer the perfect blend of caramelized flavor and crunch, enhancing both the cake and the milk mixture. If you’re feeling adventurous, you could also try other variations, like chocolate-covered Biscoff for a unique twist!
How should I store leftover Biscoff Milk Cake?
To keep your cake fresh, store it in an airtight container in the refrigerator for up to 3-4 days. This will preserve its creamy texture and flavor. Just make sure to consume it within this timeframe for the best experience!
Can I freeze Biscoff Milk Cake?
Absolutely! To freeze, slice the chilled cake and wrap each piece tightly in plastic wrap. Place the wrapped slices in a freezer-safe container or bag, and you can keep them in the freezer for up to 2 months. When you’re ready to enjoy them, just thaw in the fridge overnight.
What should I do if my cake turns out dense?
If you find your Biscoff Milk Cake is denser than expected, it’s often due to overmixing the batter. Be gentle when folding in the dry ingredients after mixing the eggs and sugar—this will help maintain a light texture. Also, make sure your baking powder is fresh, as this is crucial for proper rising!
Is this cake suitable for someone with nut allergies?
Yes, the Biscoff Milk Cake can be a nut-free dessert as it primarily uses flour, milk, and eggs. However, be mindful of the ingredients you choose, especially if substituting the Biscoff spread or certain whipped cream brands. Always check labels to ensure they don’t contain nuts or traces of nuts that could affect someone with allergies.
Biscoff Milk Cake: A Dreamy Twist on Classic Tres Leches
Ingredients
Equipment
Method
- Preheat the oven to 350°F (175°C) and grease a 9x13 inch baking pan.
- In a medium bowl, whisk together flour, cornstarch, baking powder, cinnamon, and salt.
- In a large bowl, beat eggs and sugar until pale and fluffy. Add milk and vanilla, mix until combined.
- Gently fold dry ingredients into the egg mixture in batches until just combined.
- Pour the batter into the prepared baking pan and bake for about 25 minutes until golden.
- Let the cake cool for 30 minutes, then poke holes in it using a fork.
- Whisk together evaporated milk, condensed milk, half-and-half, and melted Biscoff spread.
- Pour the milk mixture over the cooled cake and refrigerate for at least 2 hours or overnight.
- Whip together heavy cream, powdered sugar, and vanilla until stiff peaks form.
- Spread whipped topping over the chilled cake and garnish with Biscoff spread and crushed cookies.
Leave a Reply