
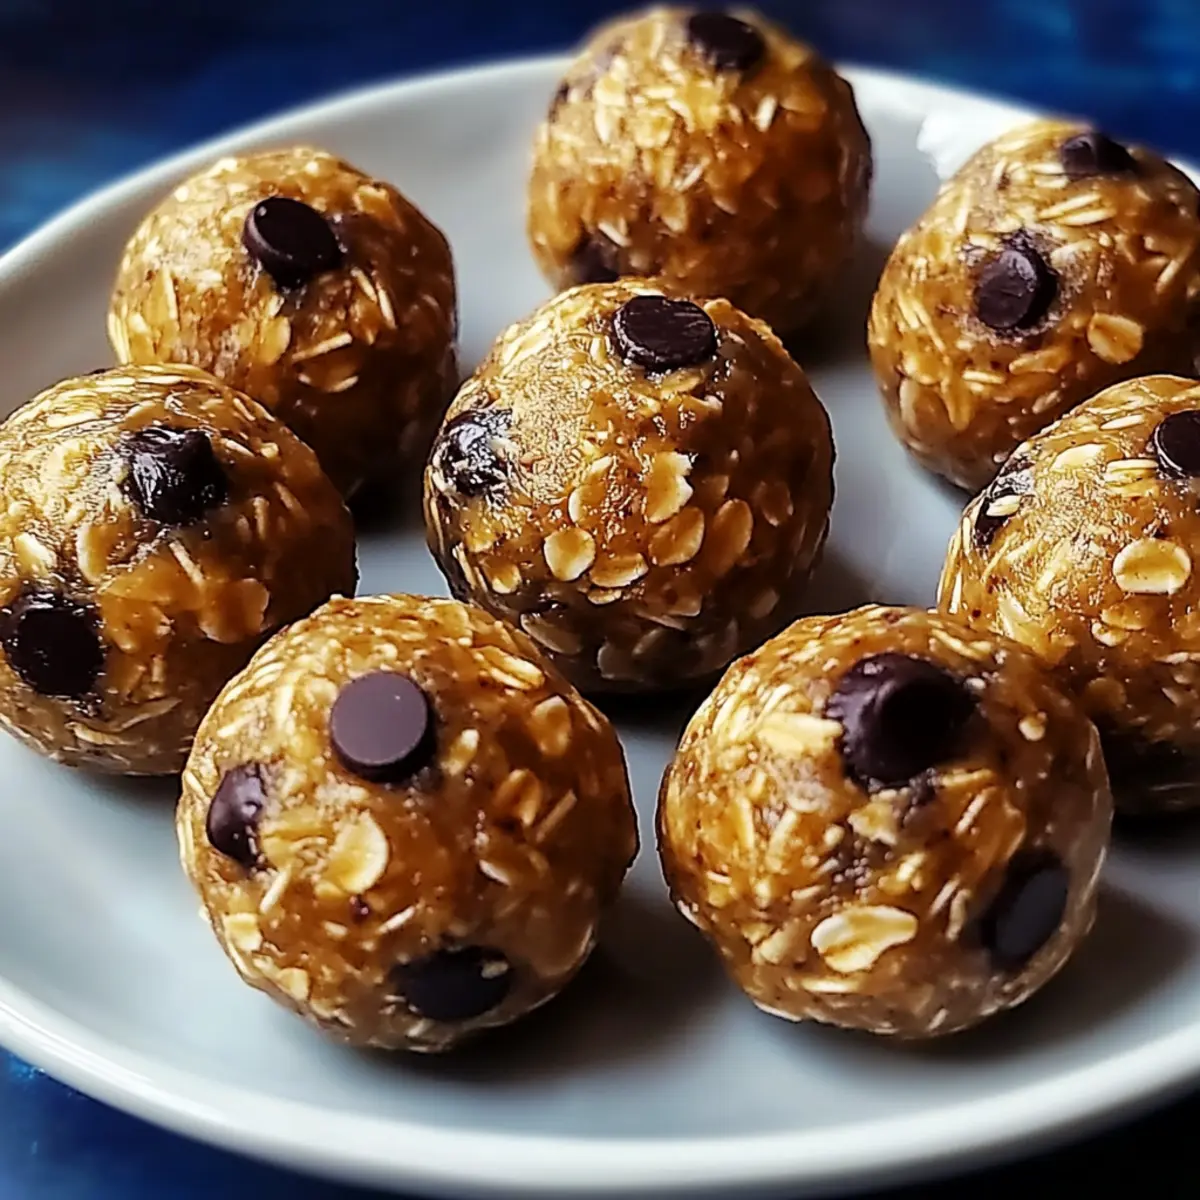
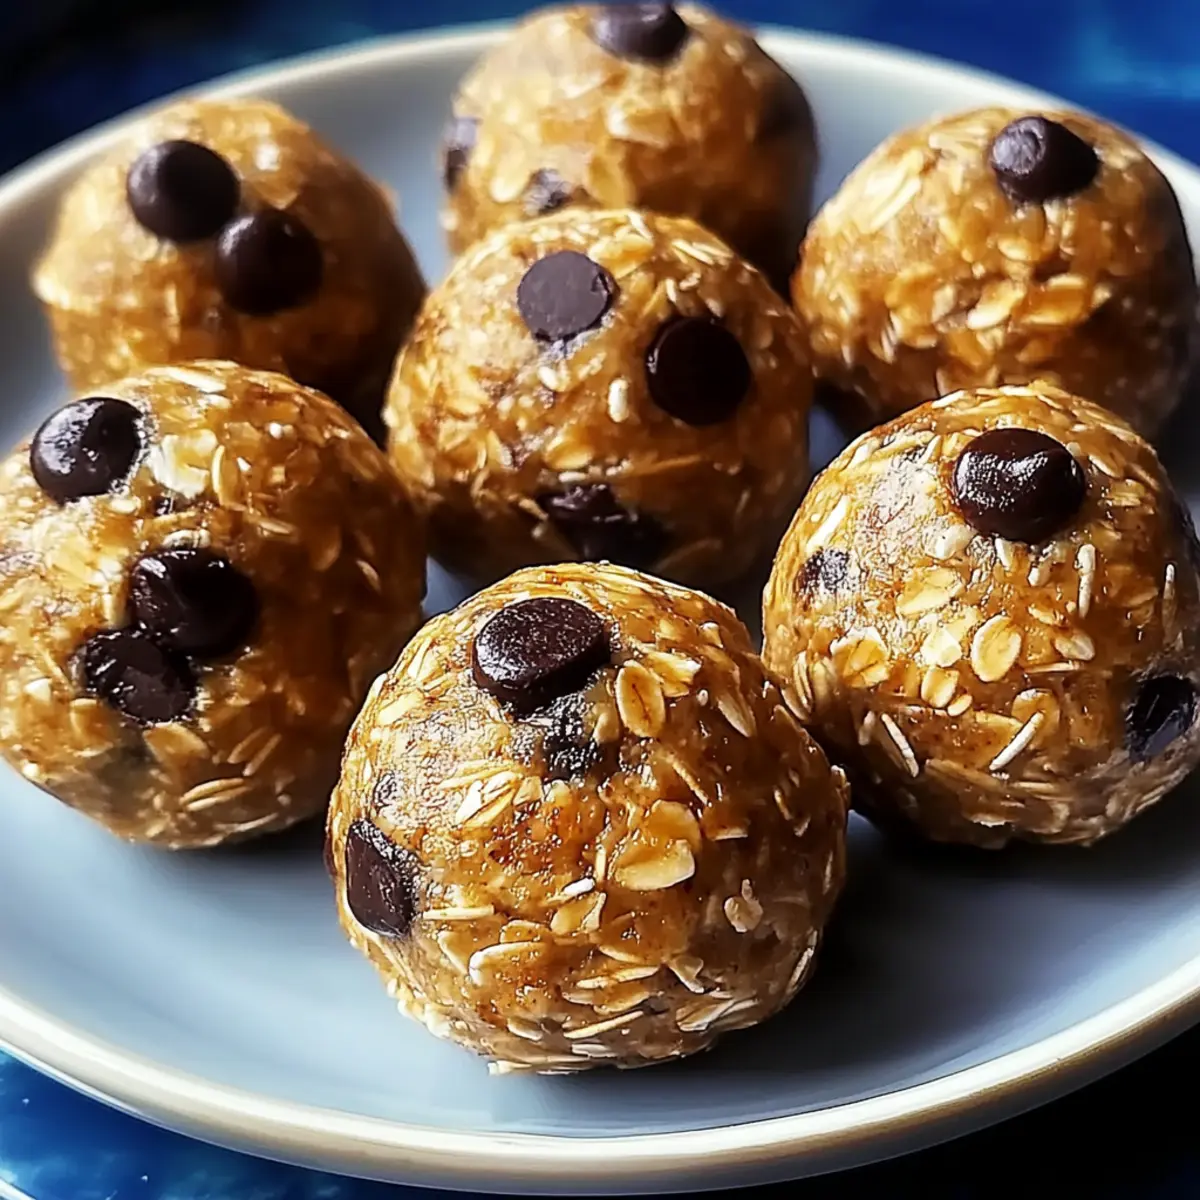
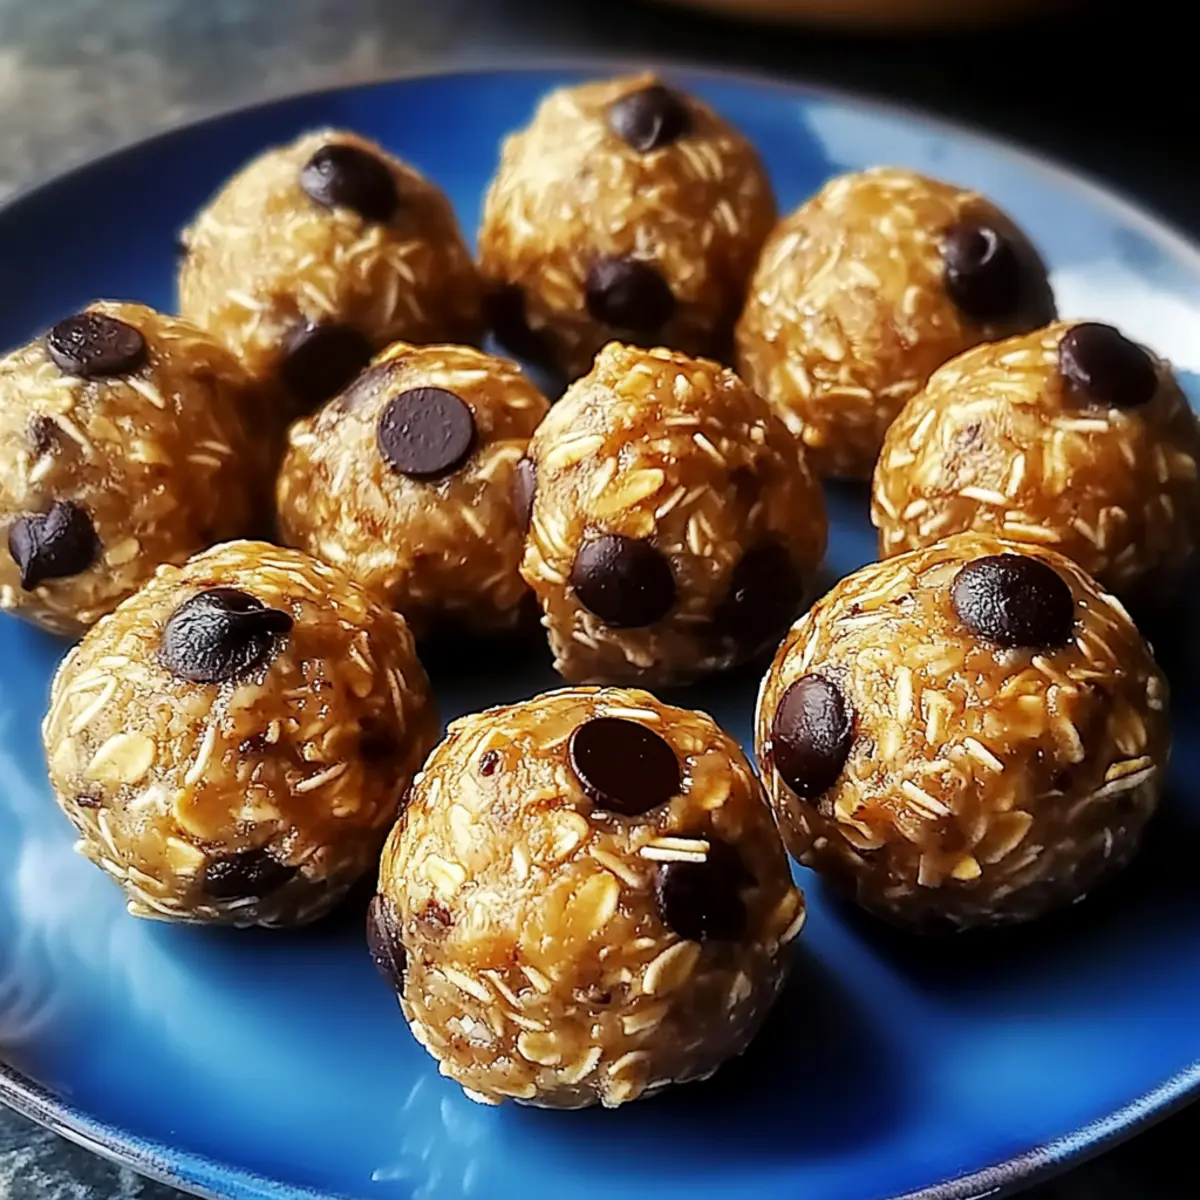
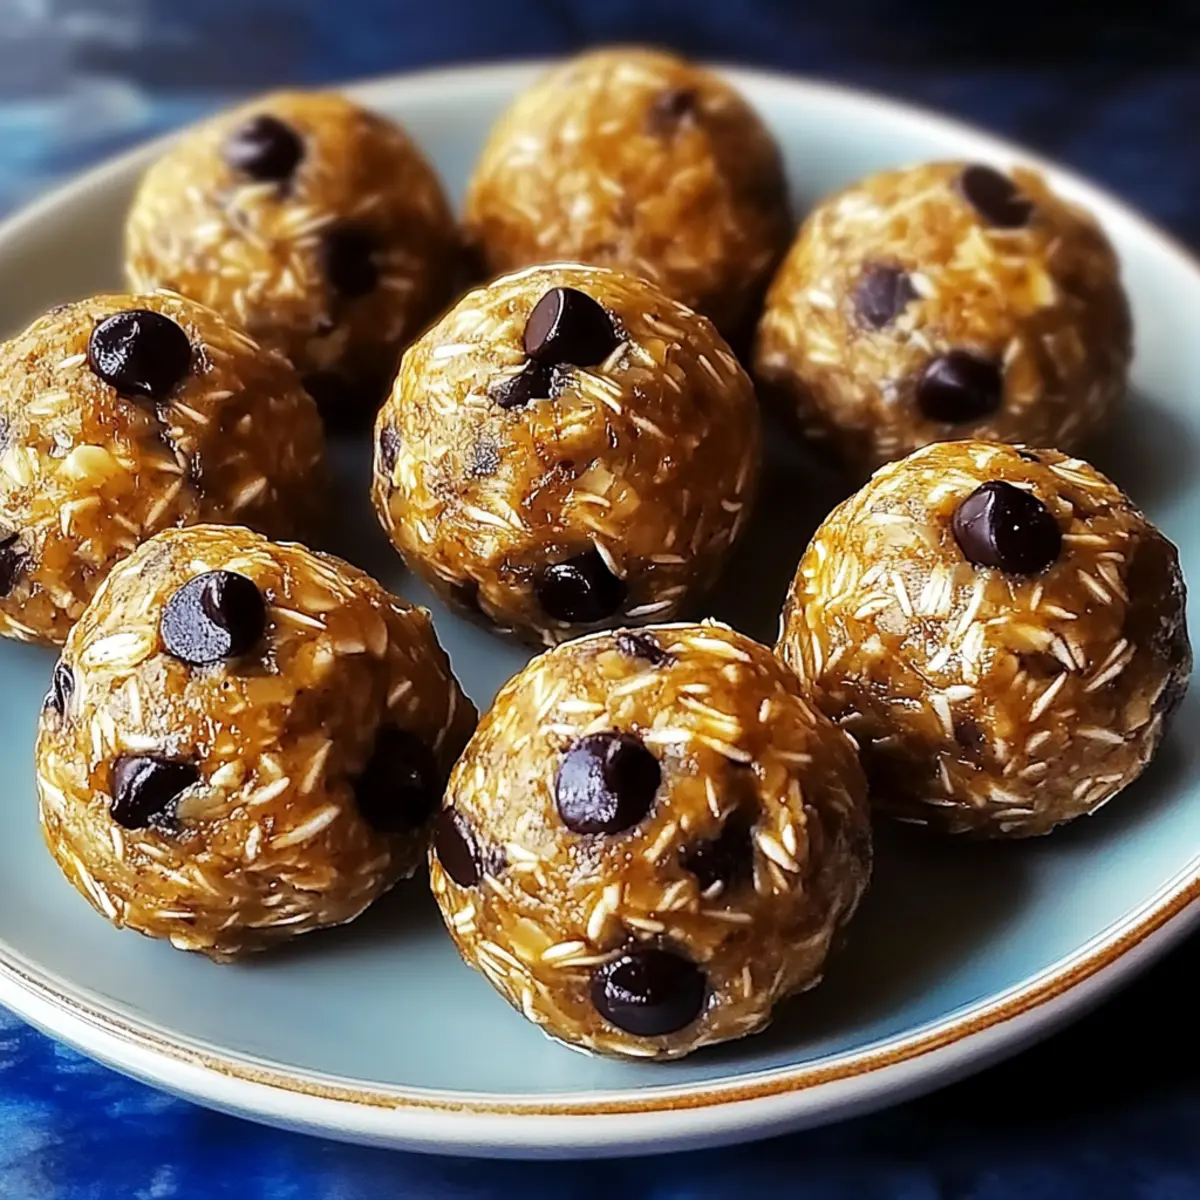
As I stood in my kitchen, the delightful blend of honey and toasted oats wafted through the air, instantly lifting my spirits. With life’s hectic pace, I often find myself craving a quick yet wholesome snack that packs a nutritional punch. Enter my No-Bake Protein Balls—an effortlessly easy recipe that caters to busy mornings or a mid-afternoon energy slump. These little powerhouses are not just protein-packed; they’re also completely customizable, making them a fun canvas for your favorite flavors and add-ins. Plus, they’re guilt-free, satisfying your sweet tooth while keeping health in check. Curious about how to whip up these tasty morsels? Let’s dive in!
Why are No-Bake Protein Balls a Must-Try?
Quick and Easy: These protein balls come together in no time, perfect for busy lifestyles or unexpected snack cravings.
Customizable Delight: You can tailor the recipe to your taste preferences by adding nuts, dried fruits, or even swapping the nut butter.
Nutritious & Satisfying: Each bite is packed with protein, fiber, and antioxidants. They make ideal post-workout snacks—pair them with a smoothie for a balanced meal!
Guilt-Free Indulgence: Enjoy the delightful combination of nutty oats and sweet chocolate without the guilt of traditional snacks.
Convenient Storage: Prep a batch in advance, store them in your fridge, and you’ll always have a healthy snack on hand—much like my popular Oreo Protein Balls and Cookie Energy Balls!
Family Favorite: Kids and adults alike will enjoy these tasty bites—make them together for fun kitchen bonding!
No-Bake Protein Balls Ingredients
Note: Gather everything you need to create these delightful no-bake protein balls that are perfect for a healthy snack!
For the Base
• Old-Fashioned Oats – Provides structure and a chewy texture; opt for gluten-free oats if you’re sensitive.
• Peanut Butter – Adds creaminess and protein; substitute with almond or sunflower butter for different flavors.
• Honey – Acts as a binding agent and natural sweetener; for a vegan option, use maple syrup.
• Vanilla Extract – Enhances overall flavor; go for pure vanilla extract for the best results.
For Extra Flavor
• Chocolate Chips – Offers a touch of sweetness and richness; dark chocolate can elevate the taste.
• Chia Seeds – Contributes fiber and omega-3 fatty acids; feel free to use flax seeds as an alternative.
Step‑by‑Step Instructions for No-Bake Protein Balls
Step 1: Combine Ingredients
In a large mixing bowl, combine 1 cup of old-fashioned oats, 1/2 cup of peanut butter, 1/3 cup of honey, and 1 teaspoon of vanilla extract. Use a sturdy spatula or your hands to mix until all the ingredients are well-coated and sticky. This should take about 2-3 minutes, and the mixture should start to clump together visibly.
Step 2: Incorporate Extras
Next, gently fold in 1/2 cup of chocolate chips and 2 tablespoons of chia seeds to the oat mixture. Ensure that these extras are evenly distributed throughout the mix, giving it a delightful balance of sweetness and texture. This process should take around 1-2 minutes of careful folding to maintain the mixture’s cohesiveness.
Step 3: Chill Mixture
Now, cover the bowl with plastic wrap or a lid and place it in the refrigerator for about 30 minutes. Chilling helps the mixture firm up, making it easier to roll into balls later. Check that the mixture has hardened slightly; it should feel more cohesive and manageable when you’re ready for the next step.
Step 4: Shape Balls
Once the mixture is chilled, use your hands to roll it into 1-inch balls. The protein balls should feel compact and firm but not overly hard. This step may take about 5-10 minutes. You’ll notice how nicely the mixture holds its shape as you create each delightfully round snack.
Step 5: Store
Finally, place your freshly made No-Bake Protein Balls in an airtight container. They can be stored in the refrigerator for up to a week or frozen for up to three months. Ensure they are well-separated if freezing to prevent sticking. Enjoy having these healthy snacks readily available for busy days!
Expert Tips for No-Bake Protein Balls
-
Choose the Right Oats: Use old-fashioned oats for the best texture; quick oats can turn mushy and affect the final result.
-
Chill for Rolling: Don’t skip the chilling step! It’s crucial for helping the mixture firm up, making it easier to roll into perfectly shaped No-Bake Protein Balls.
-
Mind the Sweetness: Adjust the amount of honey or maple syrup based on your taste preference, but remember, too much can make them overly sticky.
-
Add Flavor Creatively: Be adventurous with add-ins like chopped nuts, dried fruits, or a dash of cinnamon to elevate the flavor profile without compromising health.
-
Storage Tips: Keep your protein balls in an airtight container in the fridge for up to a week, or freeze for longer storage; they’re a lifesaver for quick snacks!
How to Store and Freeze No-Bake Protein Balls
-
Fridge: Store your No-Bake Protein Balls in an airtight container in the refrigerator for up to 1 week. This keeps them fresh and ready to enjoy whenever cravings hit.
-
Freezer: For longer storage, place the protein balls in a single layer on a baking sheet to freeze for 1-2 hours. Once solid, transfer them to a resealable bag, where they can last for up to 3 months.
-
Thawing: To enjoy frozen No-Bake Protein Balls, simply remove them from the freezer and let them thaw in the fridge for a few hours or at room temperature for about 30 minutes.
-
Reheating: No need to reheat these delightful snacks! Enjoy them chilled straight from the fridge or at room temperature for the best texture.
Make Ahead Options
These No-Bake Protein Balls are ideal for meal prep and can save you time during busy weekdays! You can combine the ingredients—1 cup of old-fashioned oats, 1/2 cup of peanut butter, 1/3 cup of honey, and 1 teaspoon of vanilla extract—up to 24 hours in advance. Simply cover the mixture and refrigerate to maintain freshness. The addition of chocolate chips and chia seeds can also be done at this stage. When you’re ready to indulge, roll the chilled mixture into balls and store them in an airtight container. This way, you’ll have delicious and nutritious snacks ready to go, just as delightful and satisfying as when freshly made!
What to Serve with No-Bake Protein Balls?
Elevate your snacking experience with delightful pairings that complement these wholesome protein-packed bites.
-
Greek Yogurt Parfait:
Layer creamy Greek yogurt with fresh fruit and a drizzle of honey for a refreshing contrast to the protein balls. -
Fresh Fruit Salad:
A vibrant mix of seasonal fruits adds a burst of freshness, balancing the sweetness of the protein balls beautifully. -
Nutty Granola:
Sprinkling crunchy granola on top provides a delightful texture variation, enhancing the nutty flavors of the protein balls. -
Herbal Tea or Coffee:
Warm herbal tea or a cup of freshly brewed coffee complement these snacks perfectly, offering a cozy afternoon pick-me-up. -
Vegetable Sticks with Hummus:
Enjoy a crunchy side of carrot or cucumber sticks dipped in creamy hummus for a satisfying, nutritious pairing. -
Coconut Chia Pudding:
This smooth and creamy dessert echoes the chia seeds in the protein balls while providing an indulgent yet healthy finish to your snack. -
Oatmeal Smoothie:
Make an easy smoothie with oats, banana, and almond milk for a filling, faster alternative that matches the wholesome ingredients.
These pairings not only enhance your snacking but also provide a variety of textures and flavors, transforming a simple treat into a delightful meal.
No-Bake Protein Balls Variations
Feel free to get creative with these protein balls, customizing them to suit your taste preferences!
-
Nut-Free: Use sunbutter instead of peanut or almond butter to keep it nut-free while maintaining that creamy texture. This swap is perfect for school lunches or gatherings.
-
Vegan Delight: Swap honey for maple syrup to make these protein balls completely vegan. You won’t even miss the honey as the maple syrup provides a sweet, rich flavor!
-
Coconut Bliss: Mix in 1/3 cup of shredded coconut for a tropical twist. This not only adds texture but also a delightful sweetness in every bite!
-
Fruit Fusion: Toss in 1/2 cup of chopped dried fruit, like cranberries or apricots, to add sweetness and a chewy texture that complements the nutty oats beautifully.
-
Choco-Lover’s Paradise: Replace regular chocolate chips with dark chocolate for a richer flavor, or experiment by adding cocoa powder for a chocolatey treat!
-
Protein Boost: Add a scoop of your favorite protein powder to the mix for an extra protein punch. This can be a game-changer if you’re looking to amp up your workout recovery!
-
Spicy Kick: Add a pinch of cayenne pepper or cinnamon for a surprising warmth and extra depth of flavor. This twist can elevate your snacking experience and keep your taste buds guessing!
-
Dipped Delight: Once rolled, dip each ball in melted dark chocolate and place them in the fridge for a tempting chocolate-covered snack reminiscent of treats from the store. They will be a hit at parties and gatherings!
With these variations, you’re sure to keep mealtime exciting! For more delicious energy bites, check out my High Protein Burger Bowl or my beloved Sweet Sour Meatballs for family-friendly recipes that pack a punch!
No-Bake Protein Balls Recipe FAQs
How do I select the right oats for my No-Bake Protein Balls?
Absolutely! It’s best to use old-fashioned oats for these protein balls. They provide the perfect chewy texture and structure. Quick oats tend to become mushy when mixed, which can affect the overall feel of your protein balls. If you need a gluten-free option, make sure to use certified gluten-free oats.
How should I store my No-Bake Protein Balls?
Keep your No-Bake Protein Balls in an airtight container in the refrigerator for up to 1 week. This method ensures they remain fresh, chewy, and ready for an on-the-go snack! If you want to enjoy them longer, they freeze beautifully—up to 3 months in a resealable bag.
Can I freeze my No-Bake Protein Balls? How?
Very! To freeze your protein balls, lay them out in a single layer on a baking sheet and freeze them for about 1-2 hours until they’re firm. Once solid, transfer them to a resealable plastic bag. This prevents them from sticking together, and you can pop one out anytime you need a quick snack!
What should I do if my mixture is too sticky?
If you find your mixture is too sticky to roll into balls, try adding a bit more oats or nut butter to balance the consistency. This can often happen due to variations in ingredient brand or moisture content. Mix a tablespoon at a time until the stickiness diminishes, allowing for easier rolling.
Are No-Bake Protein Balls safe for kids with nut allergies?
Yes, definitely! You can customize these No-Bake Protein Balls to avoid nut allergies. Simply substitute the peanut butter with sunflower seed butter or tahini—both work wonderfully without the nut content. Always ensure that any other add-ins, like chocolate or granola, are also nut-free. Enjoy making these treats safe for everyone!
Savory No-Bake Protein Balls for Guilt-Free Snacking
Ingredients
Equipment
Method
- In a large mixing bowl, combine old-fashioned oats, peanut butter, honey, and vanilla extract. Mix until well-coated and sticky, about 2-3 minutes.
- Gently fold in chocolate chips and chia seeds to the mix, ensuring they are evenly distributed, about 1-2 minutes.
- Cover the bowl and chill in the refrigerator for about 30 minutes until firmer.
- Once chilled, roll the mixture into 1-inch balls for compact and firm protein balls, approximately 5-10 minutes.
- Store in an airtight container in the refrigerator for up to a week or freeze for up to three months.
Leave a Reply